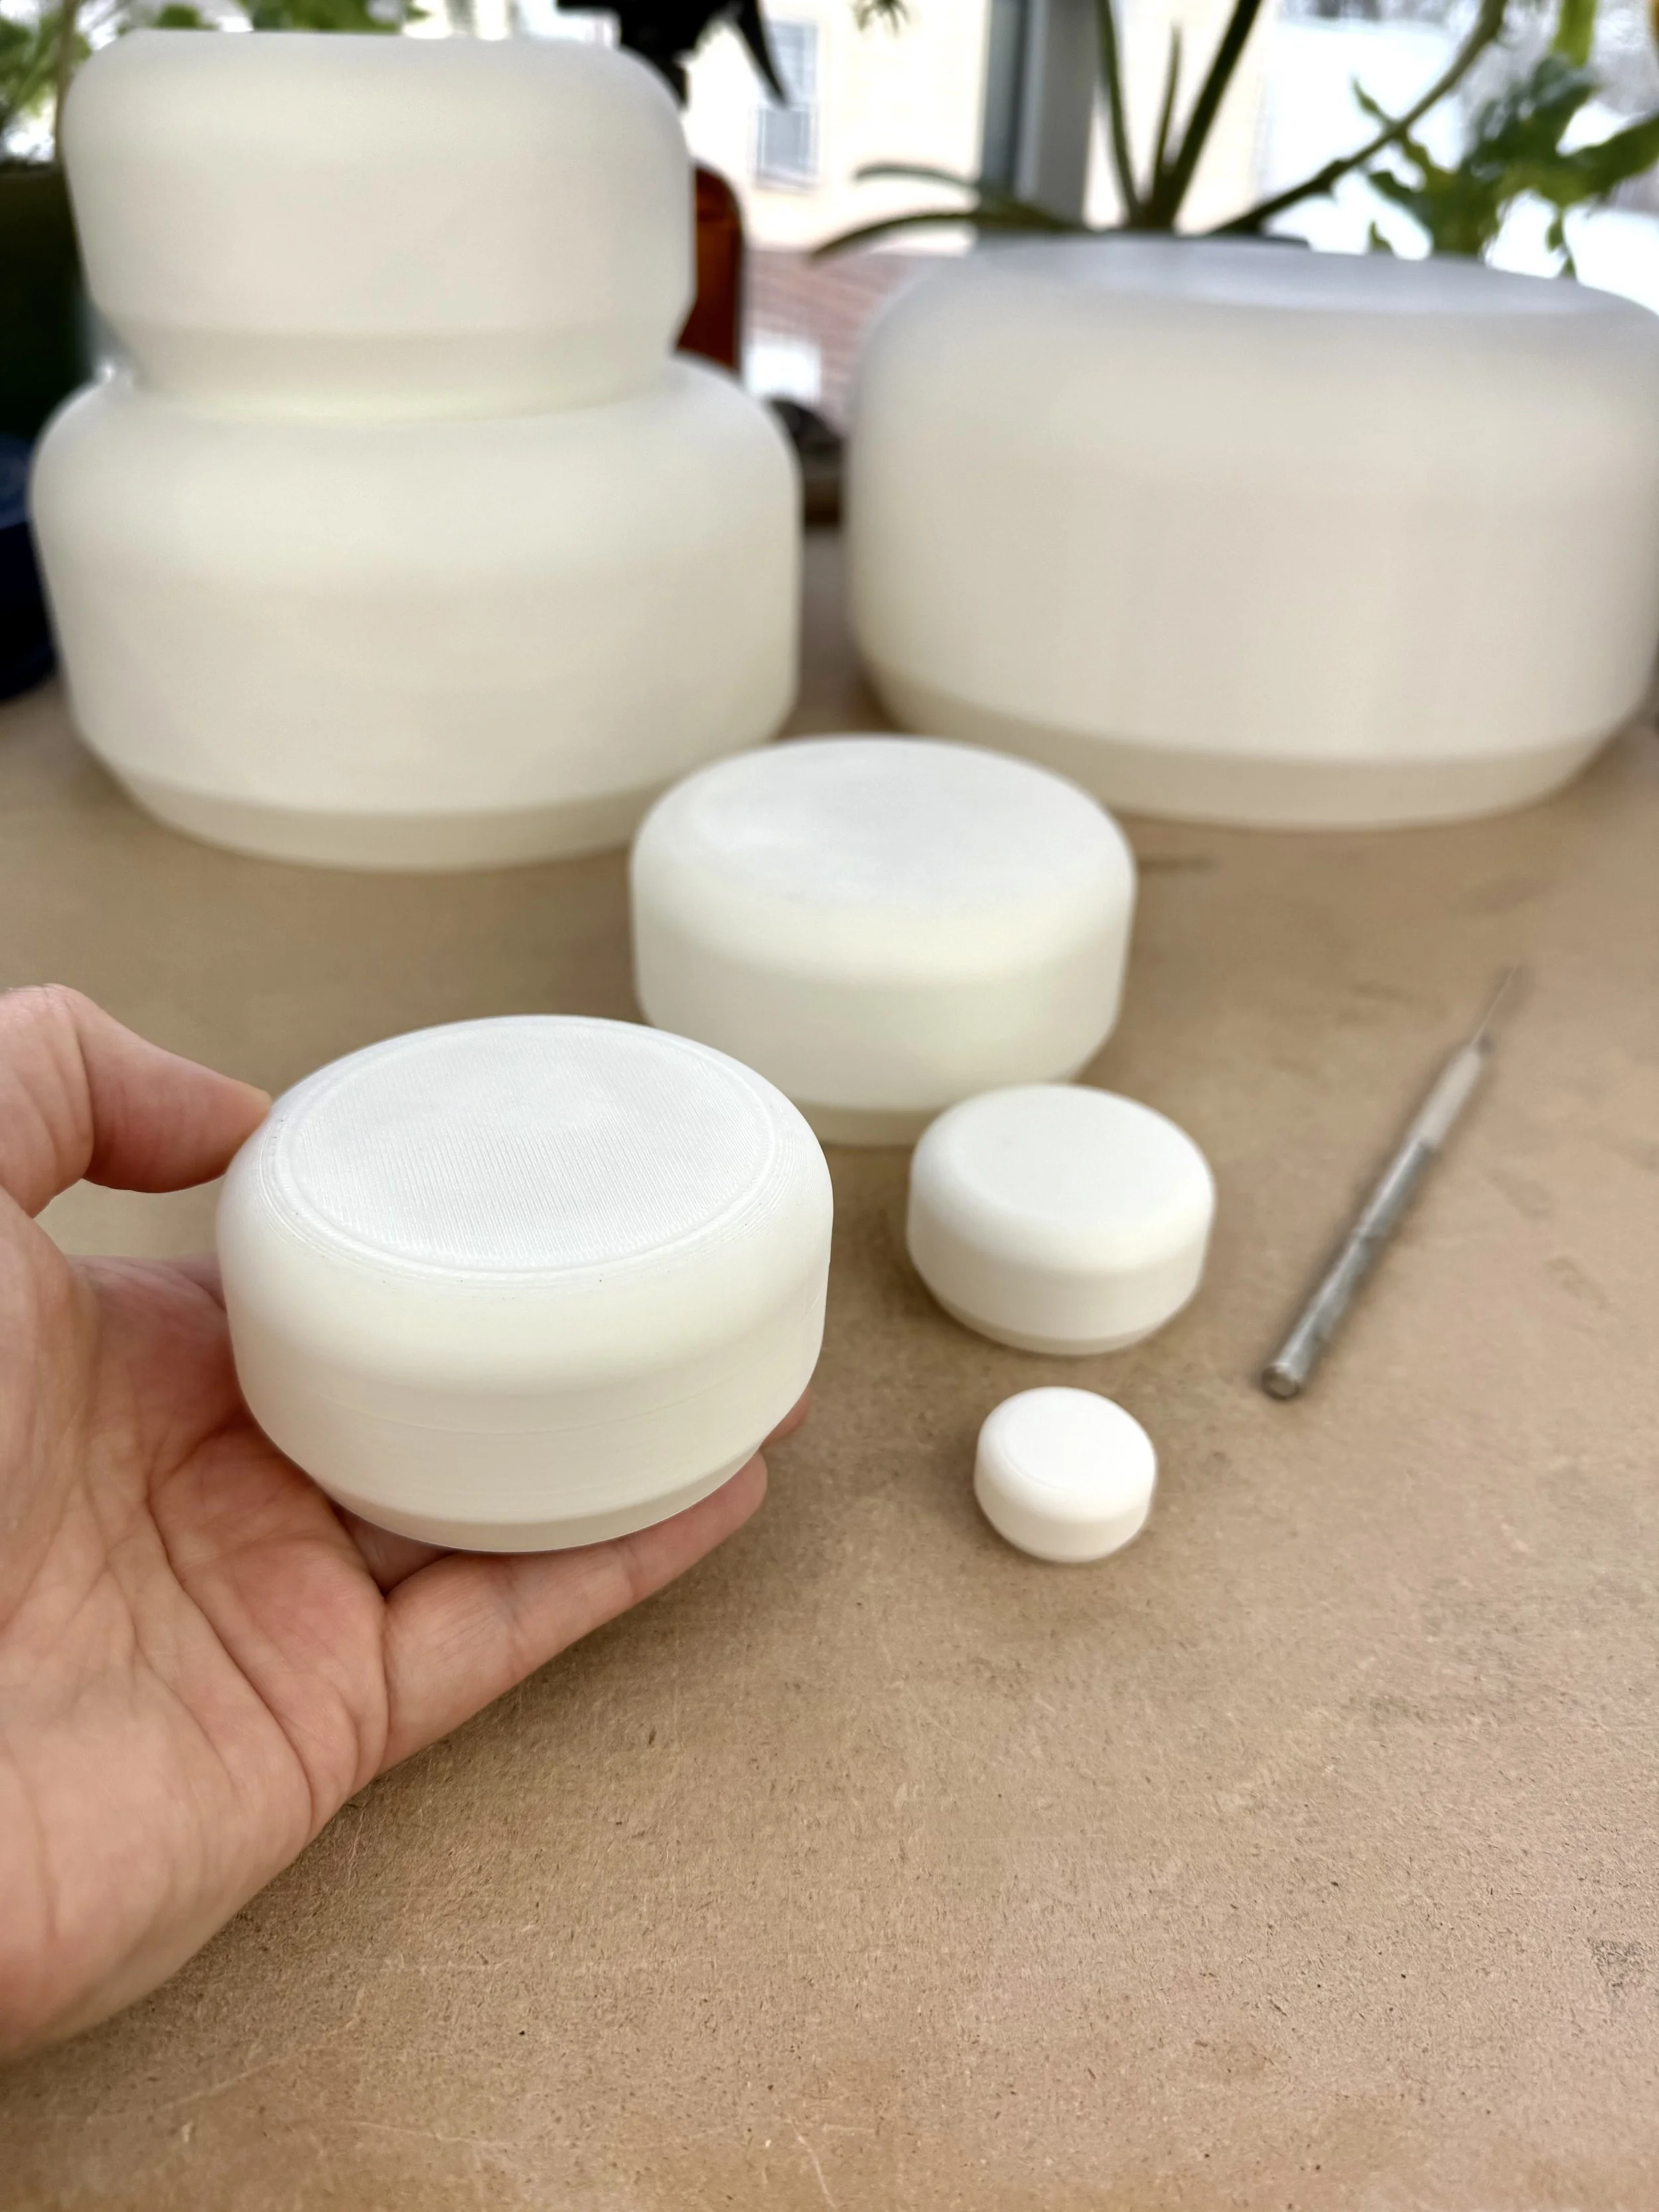
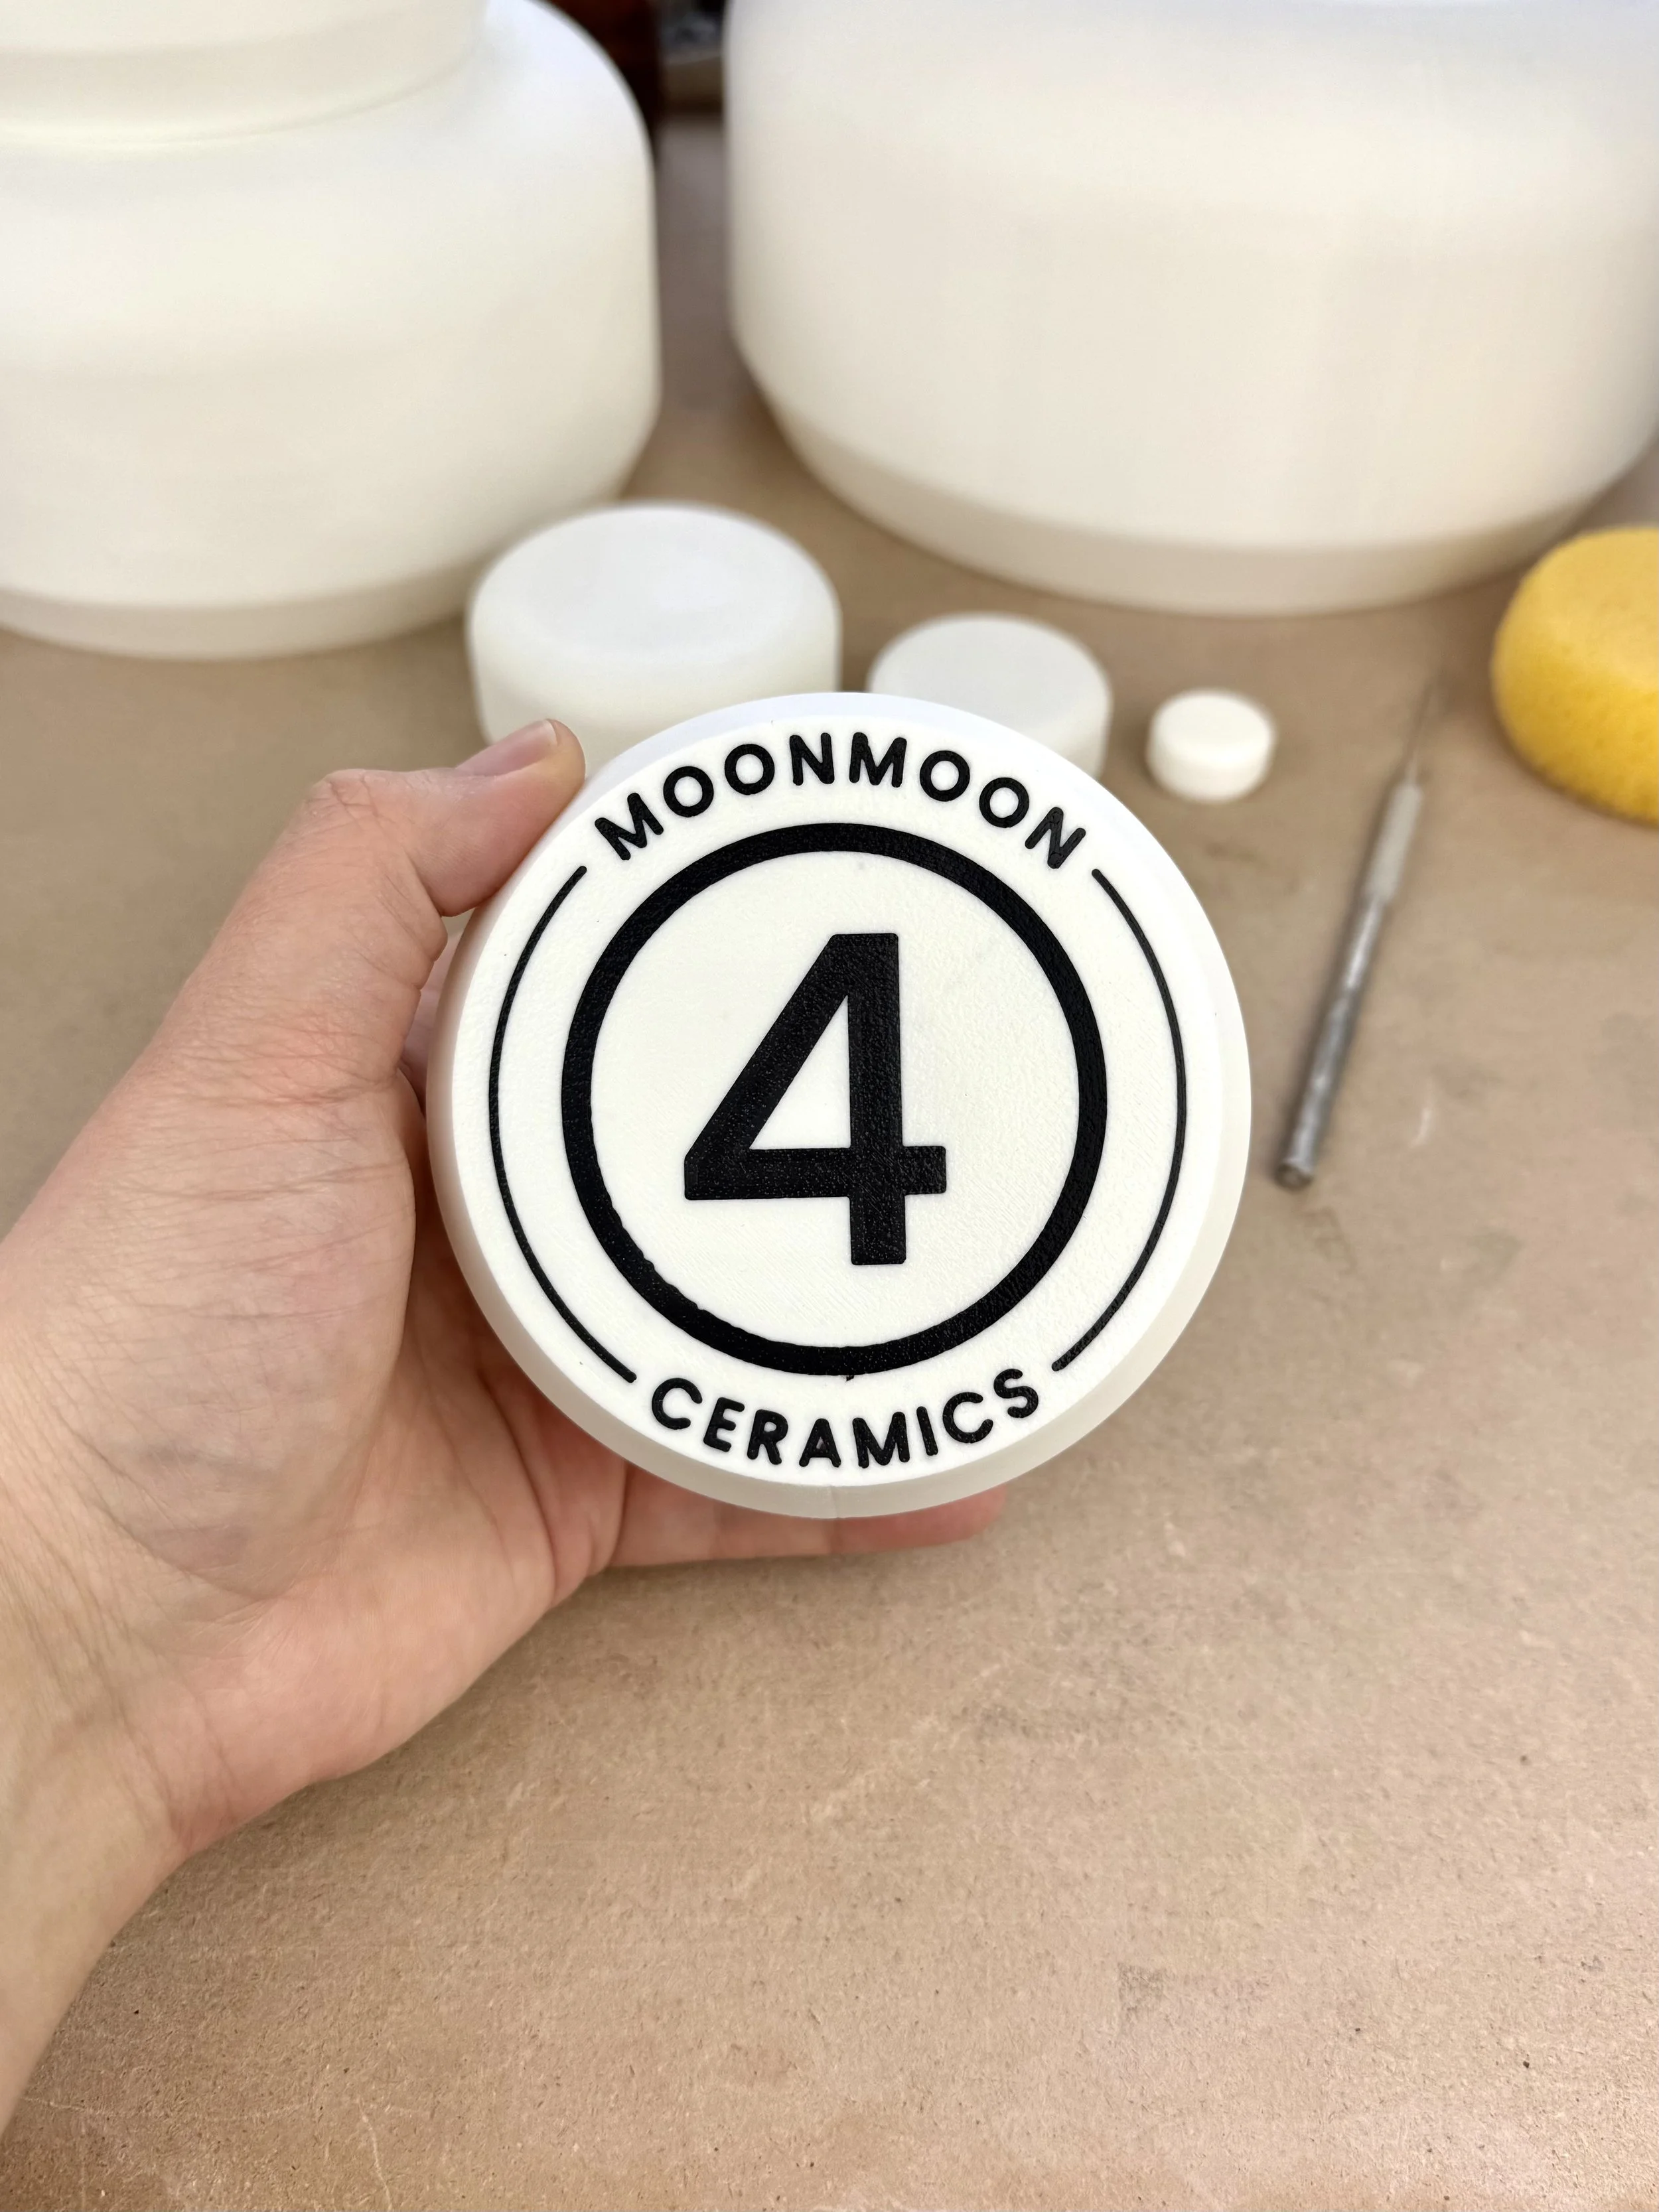
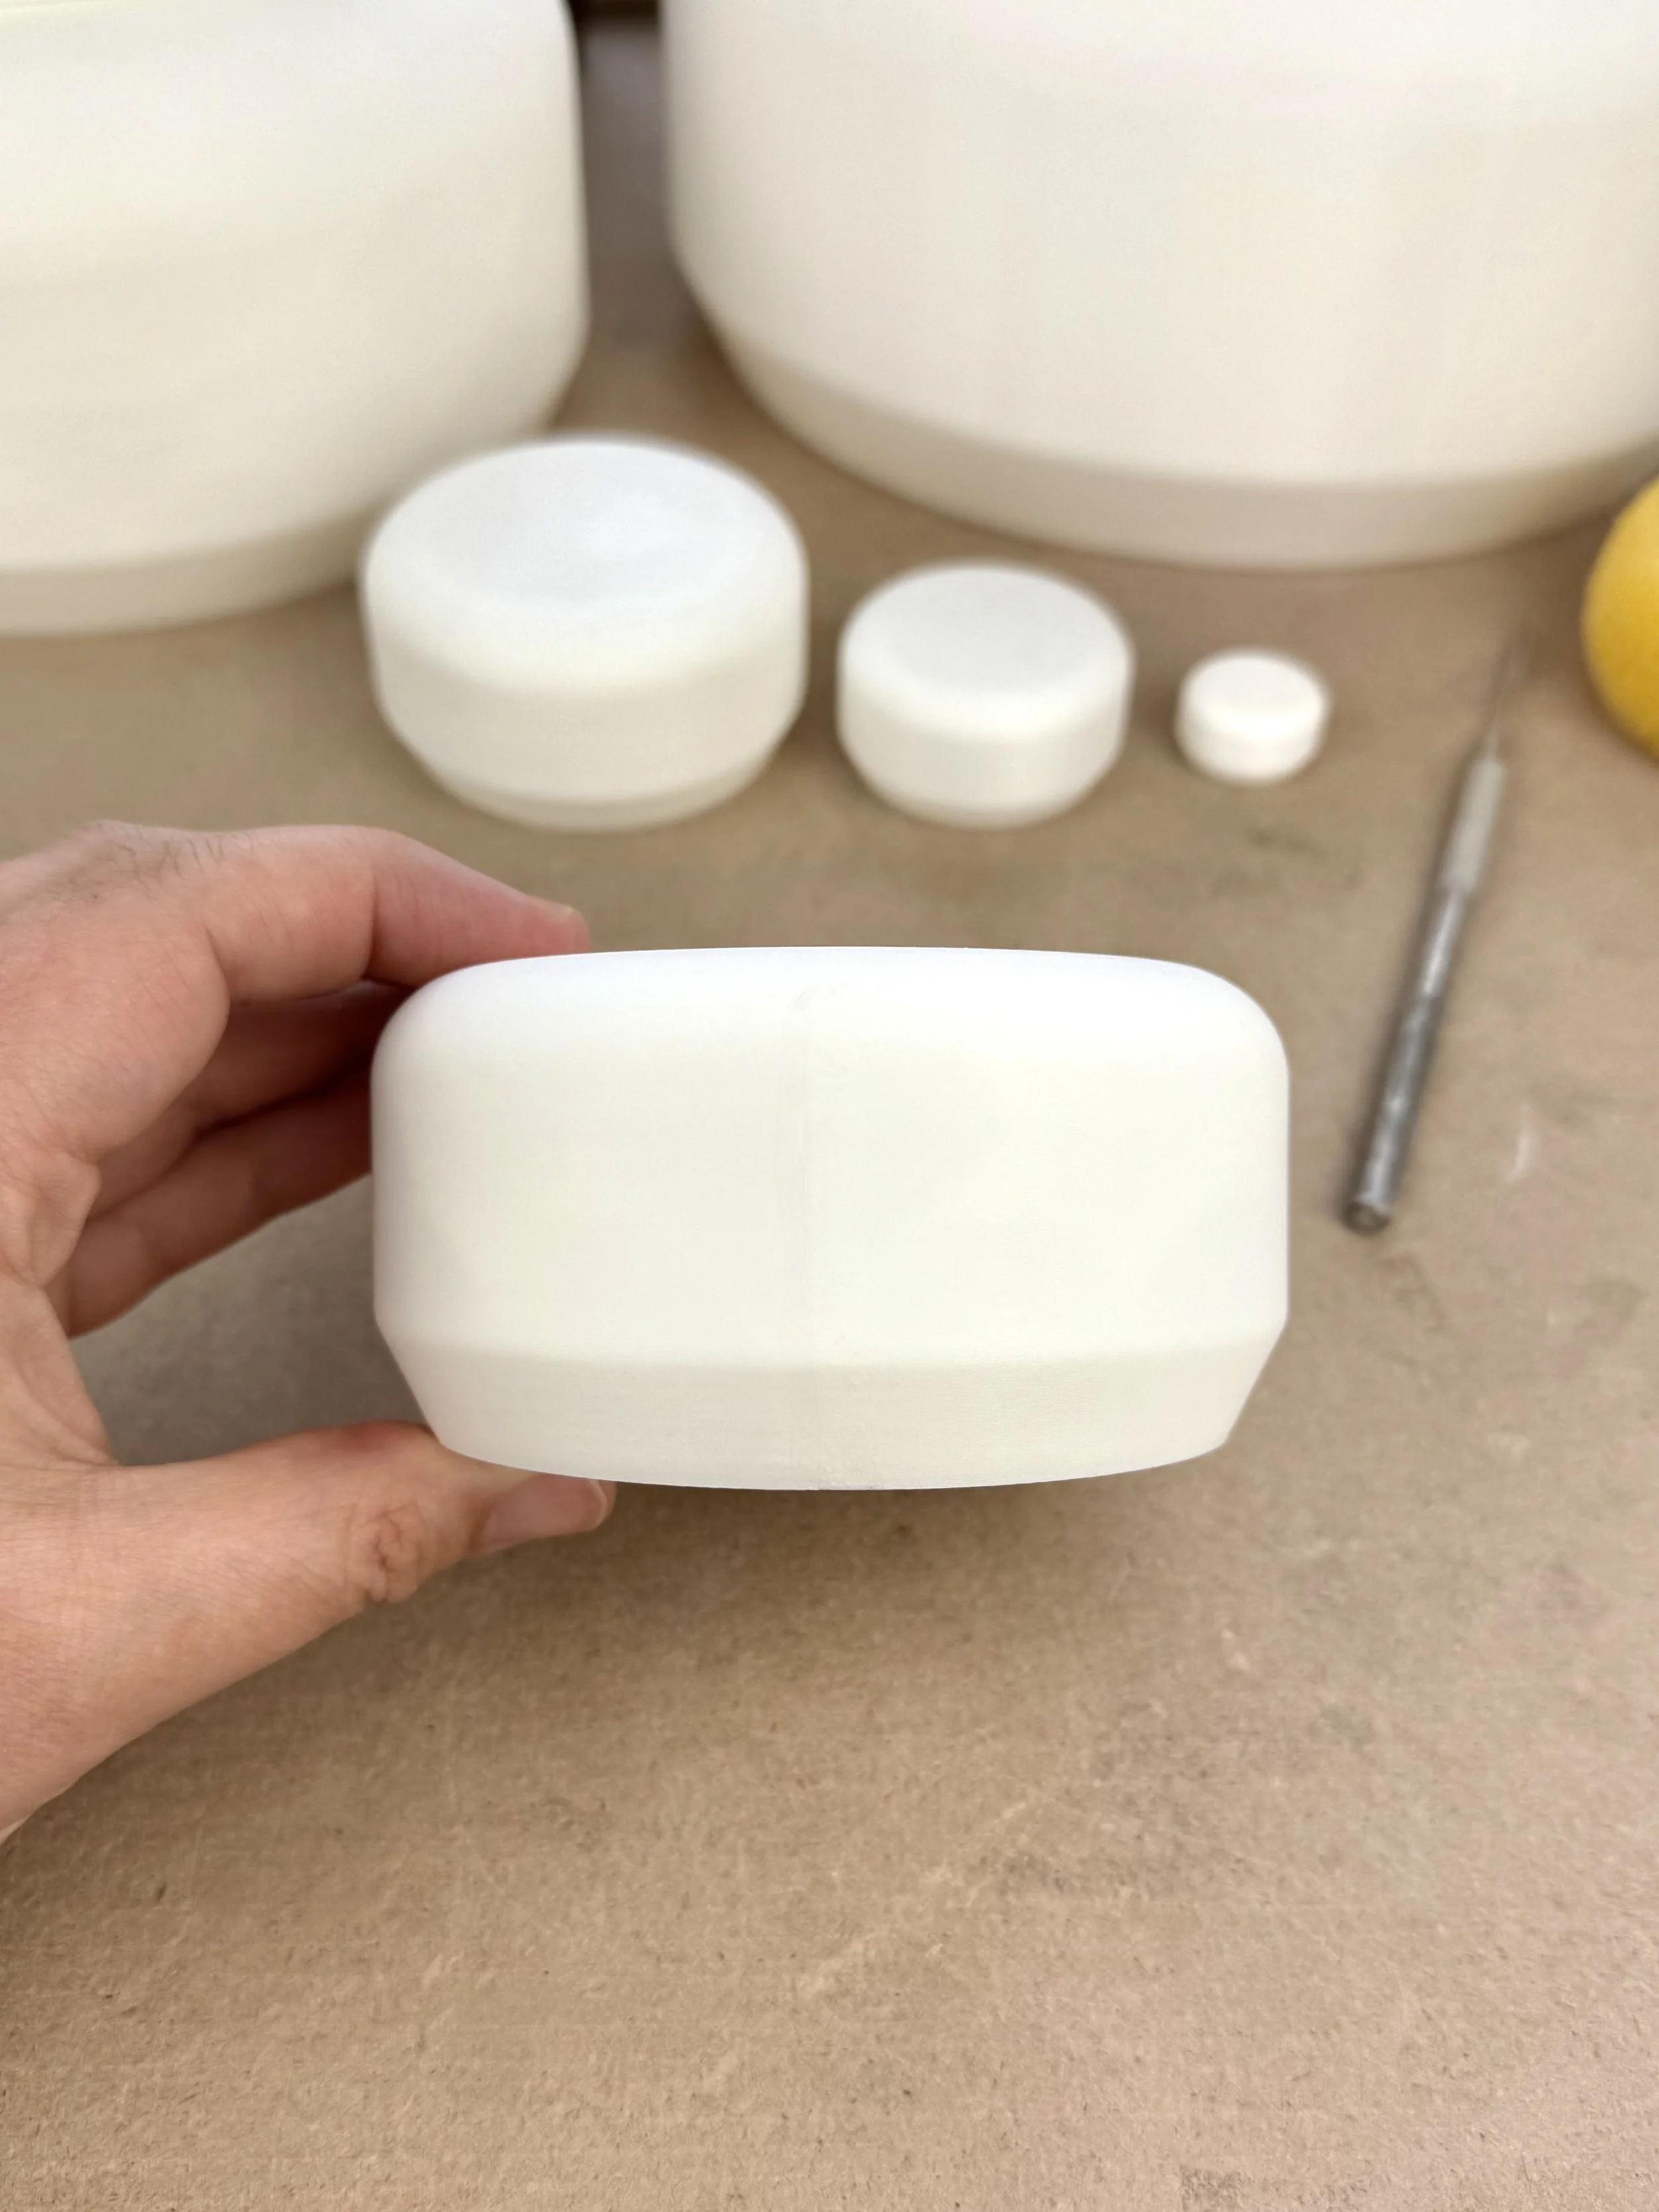
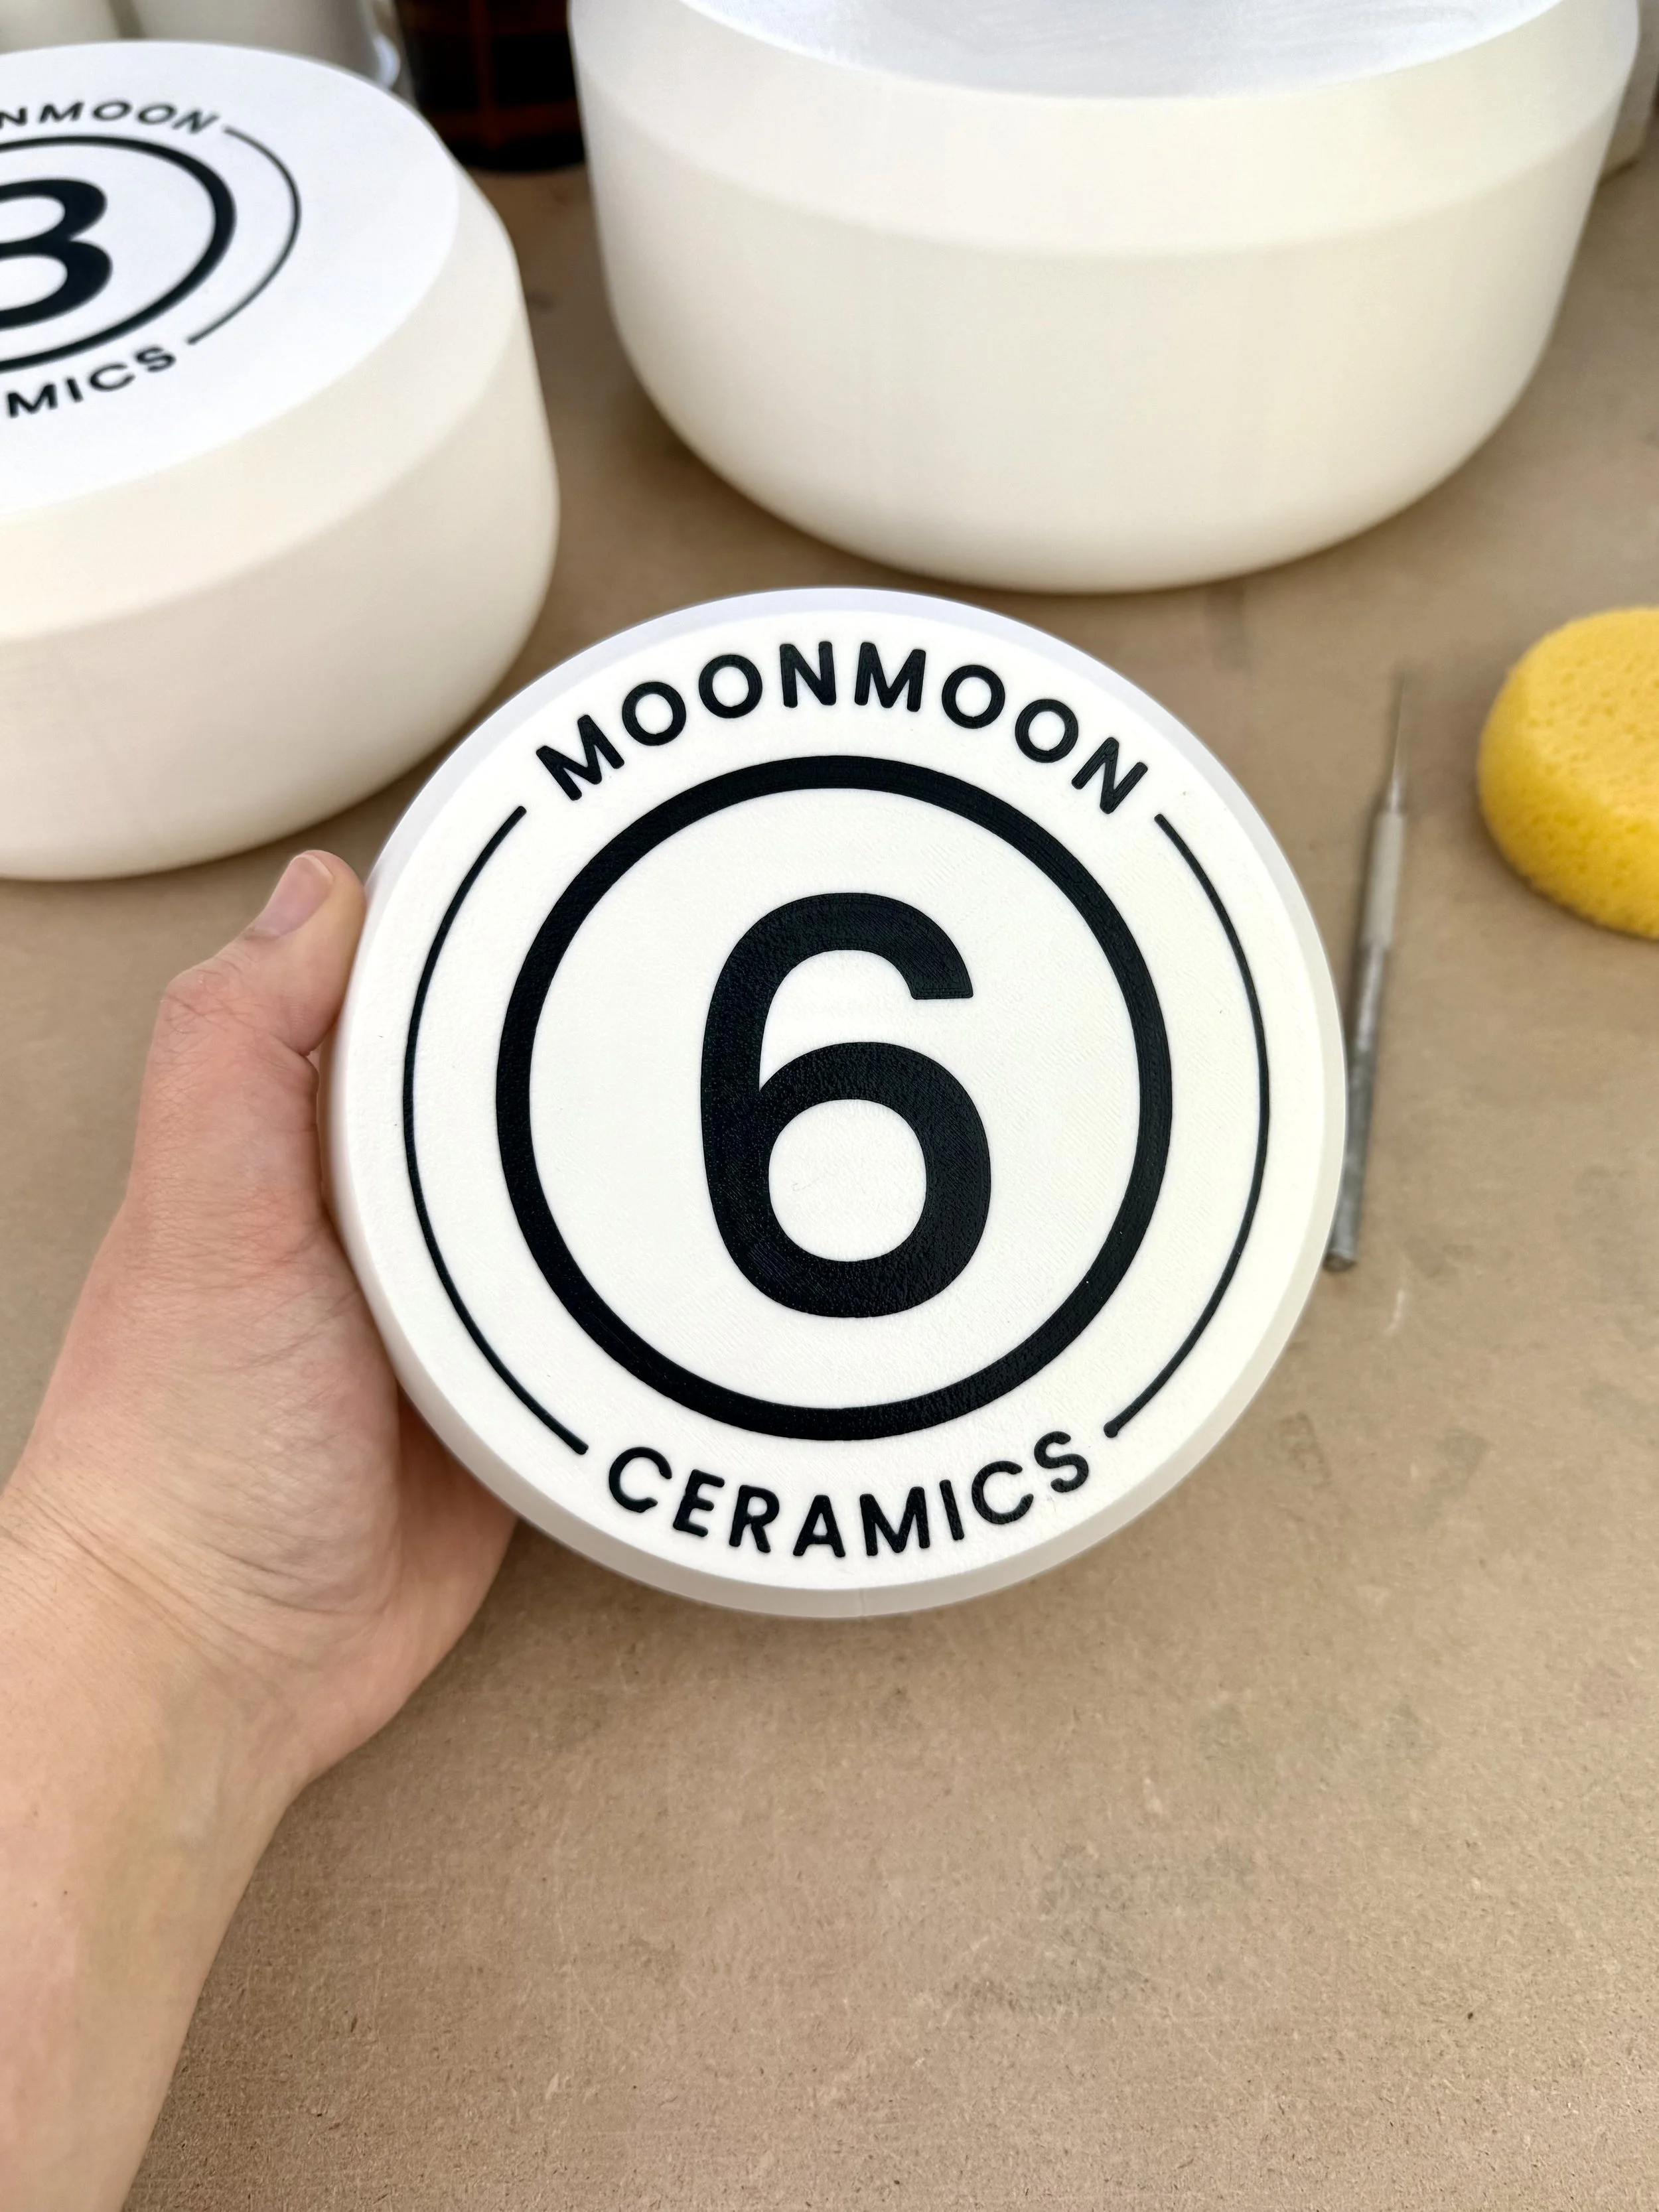
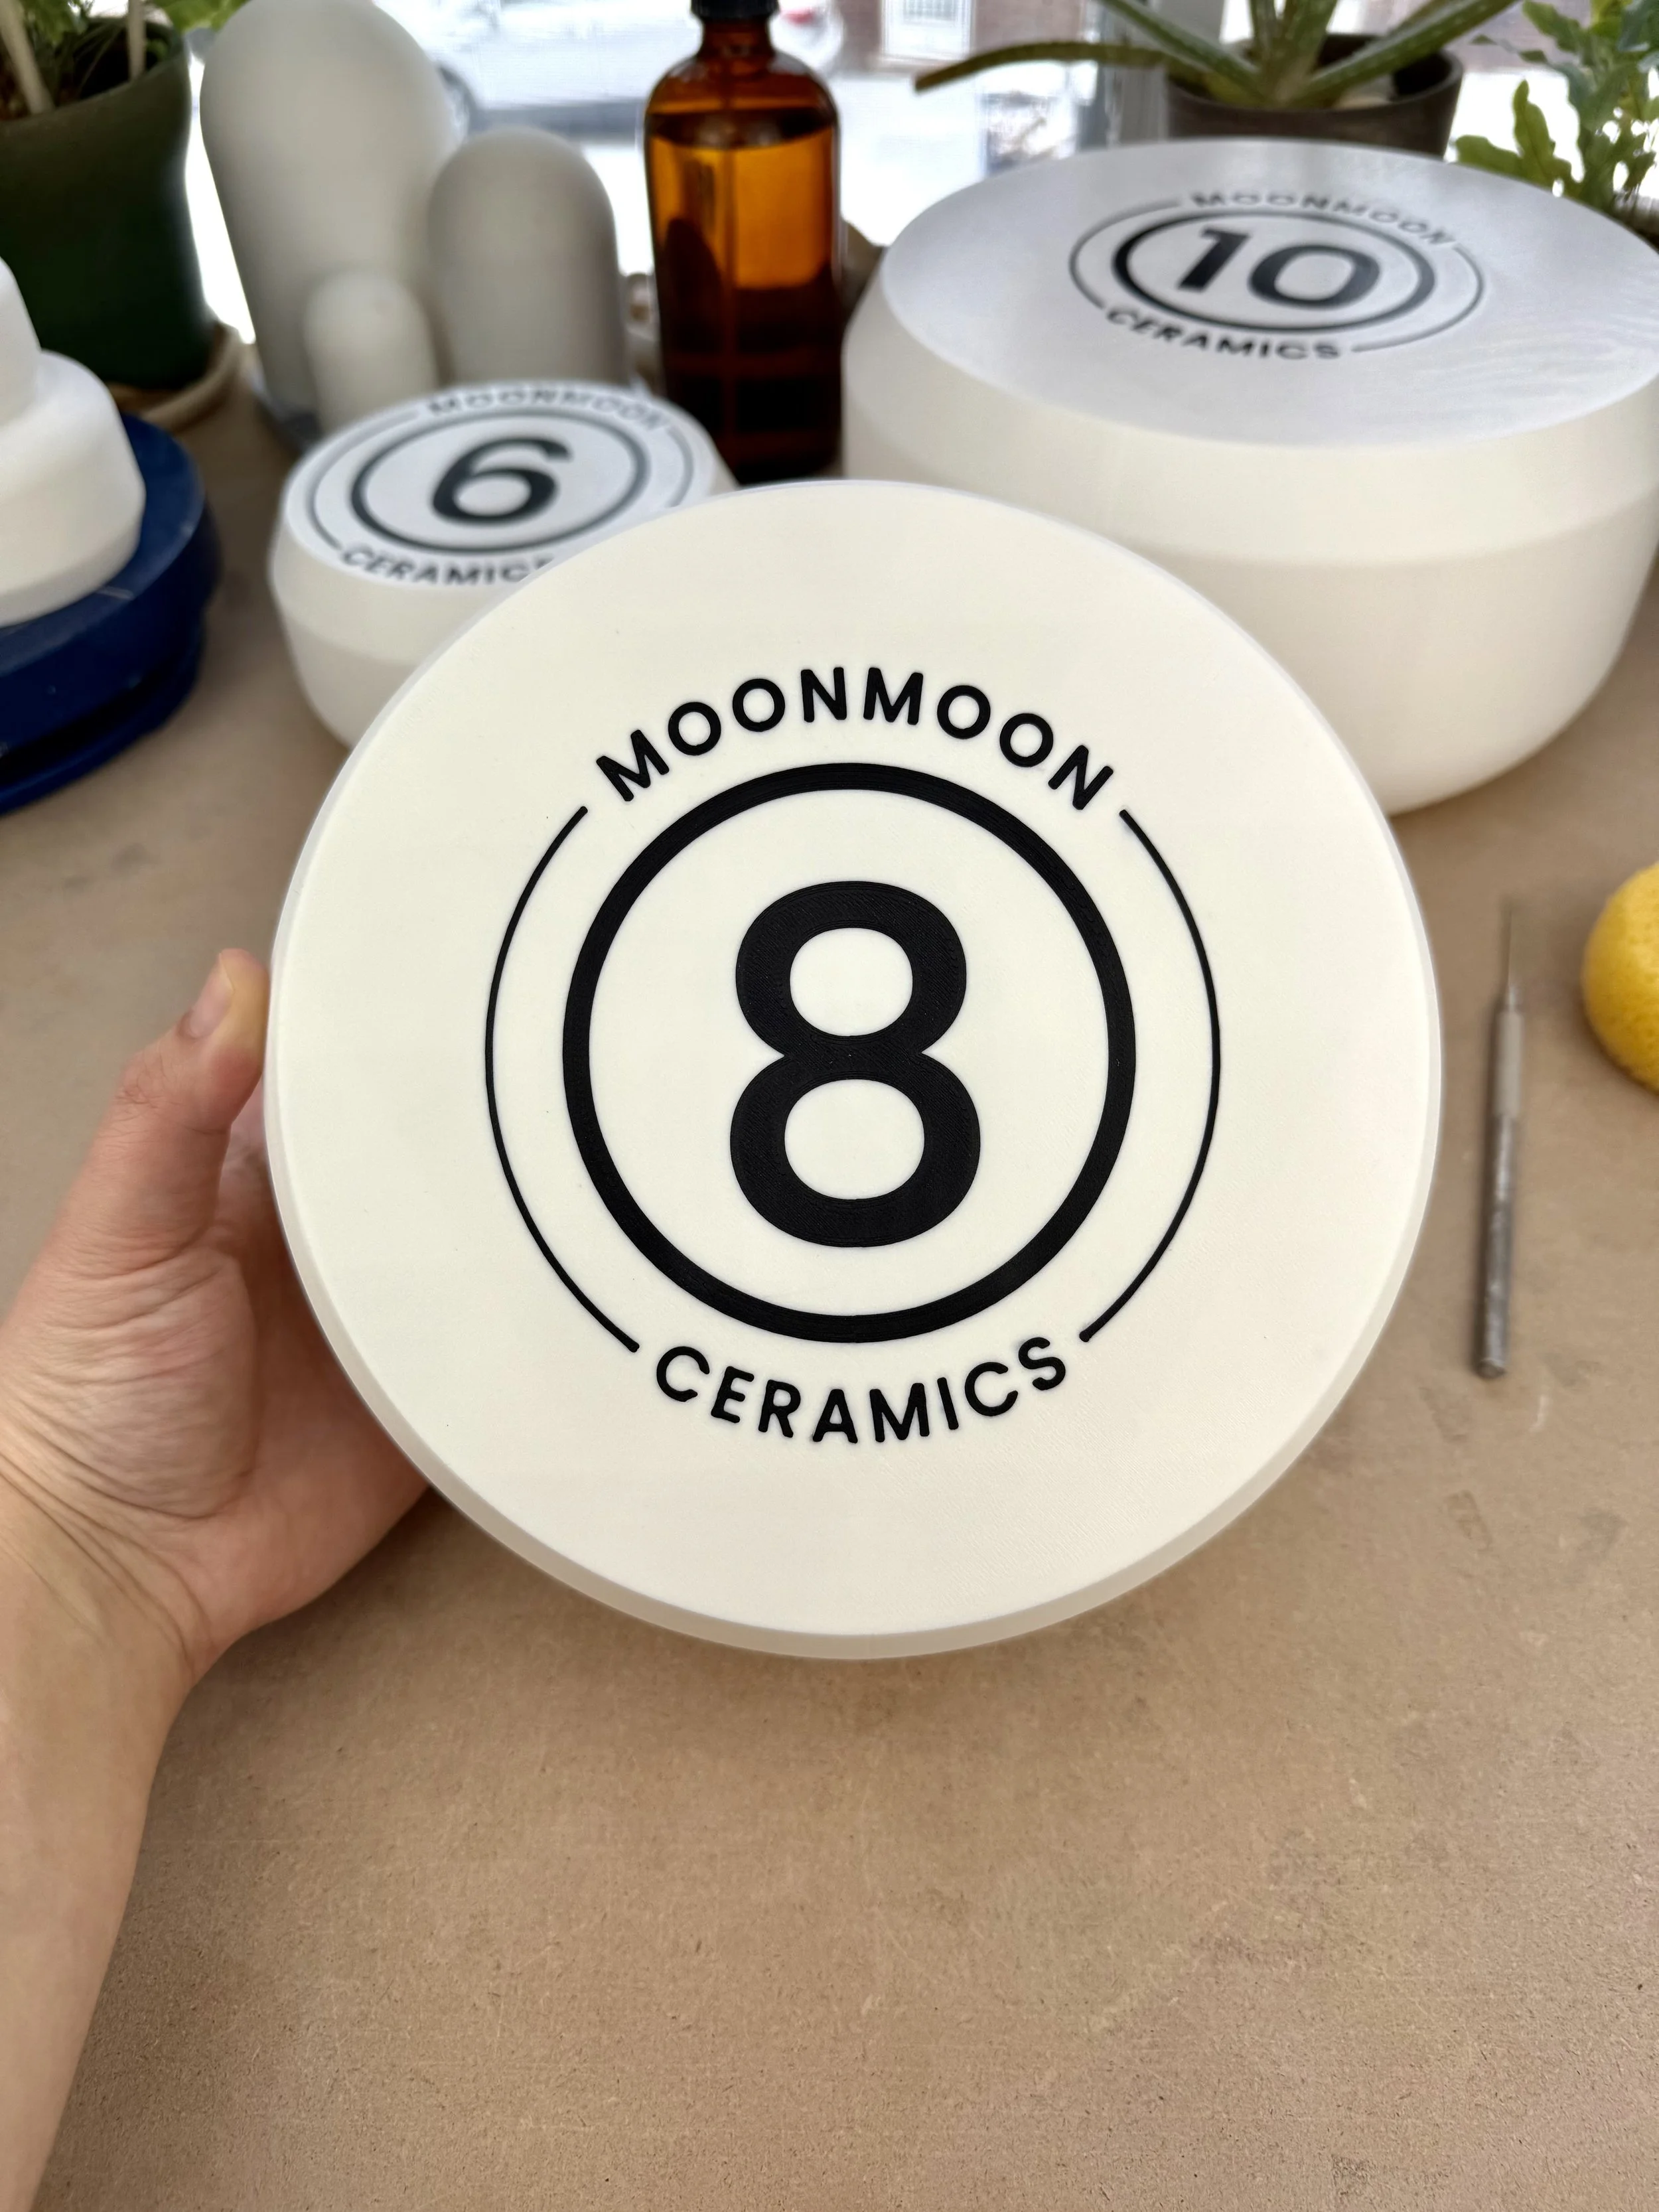
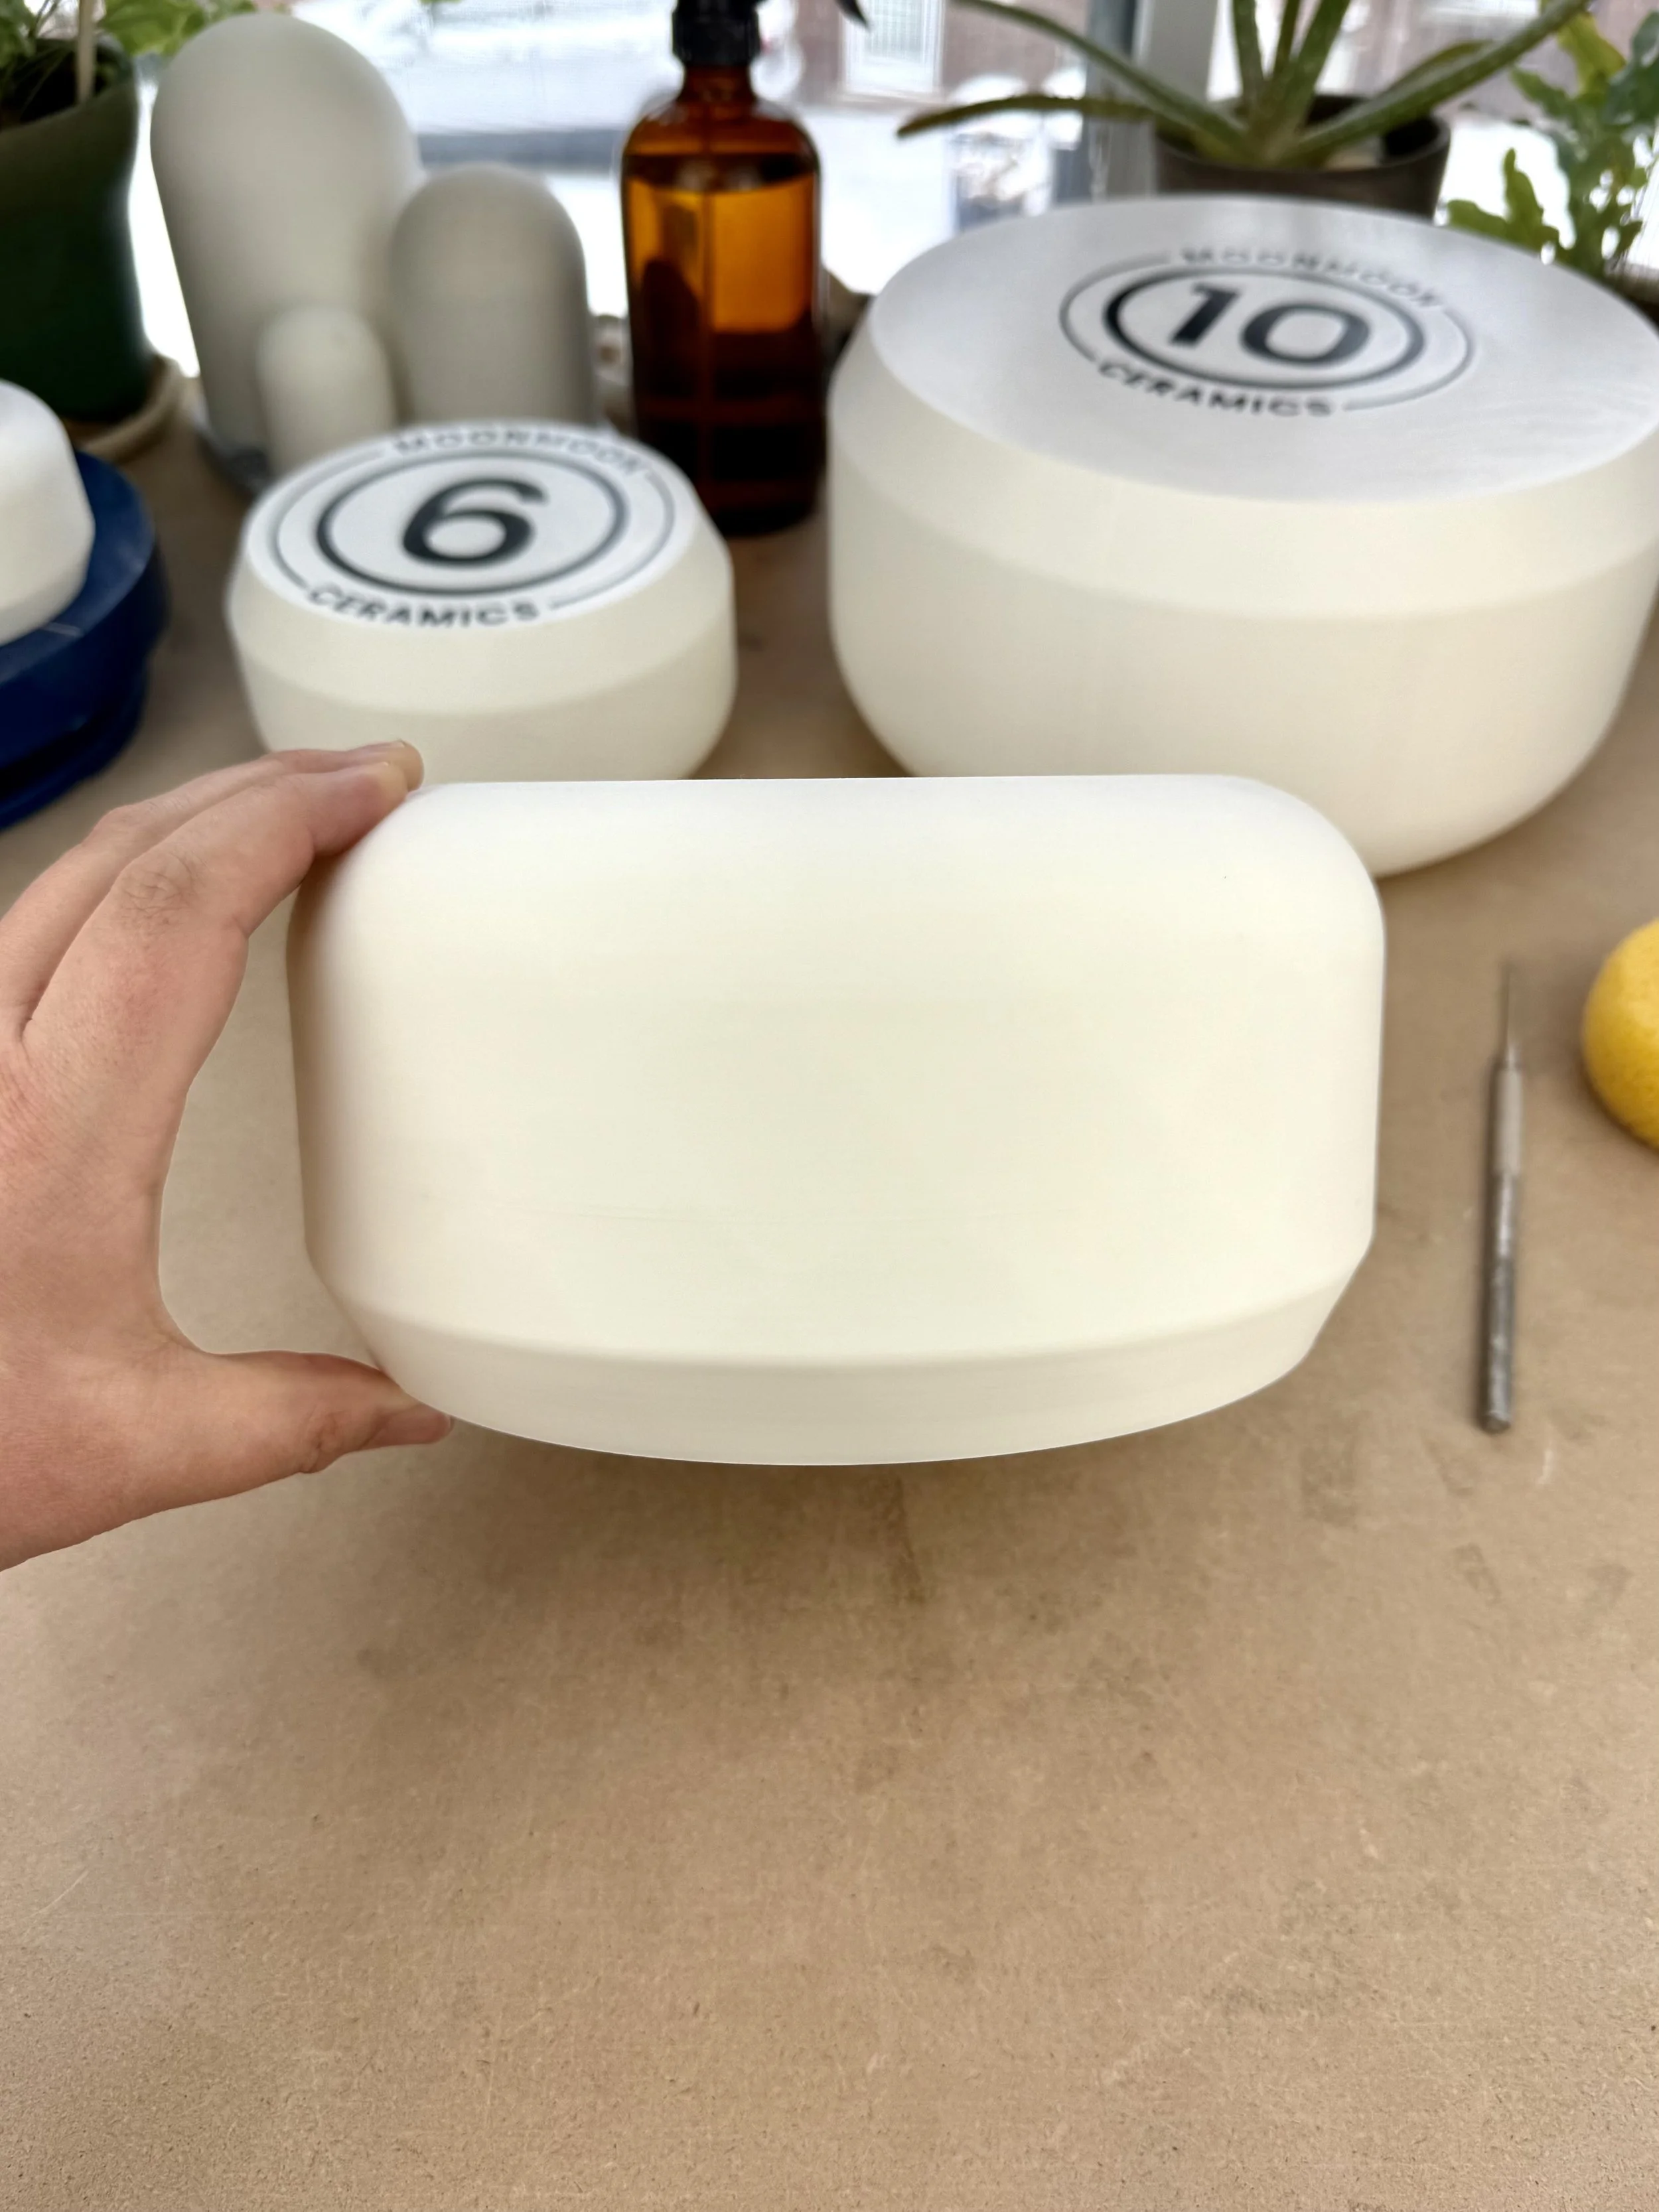
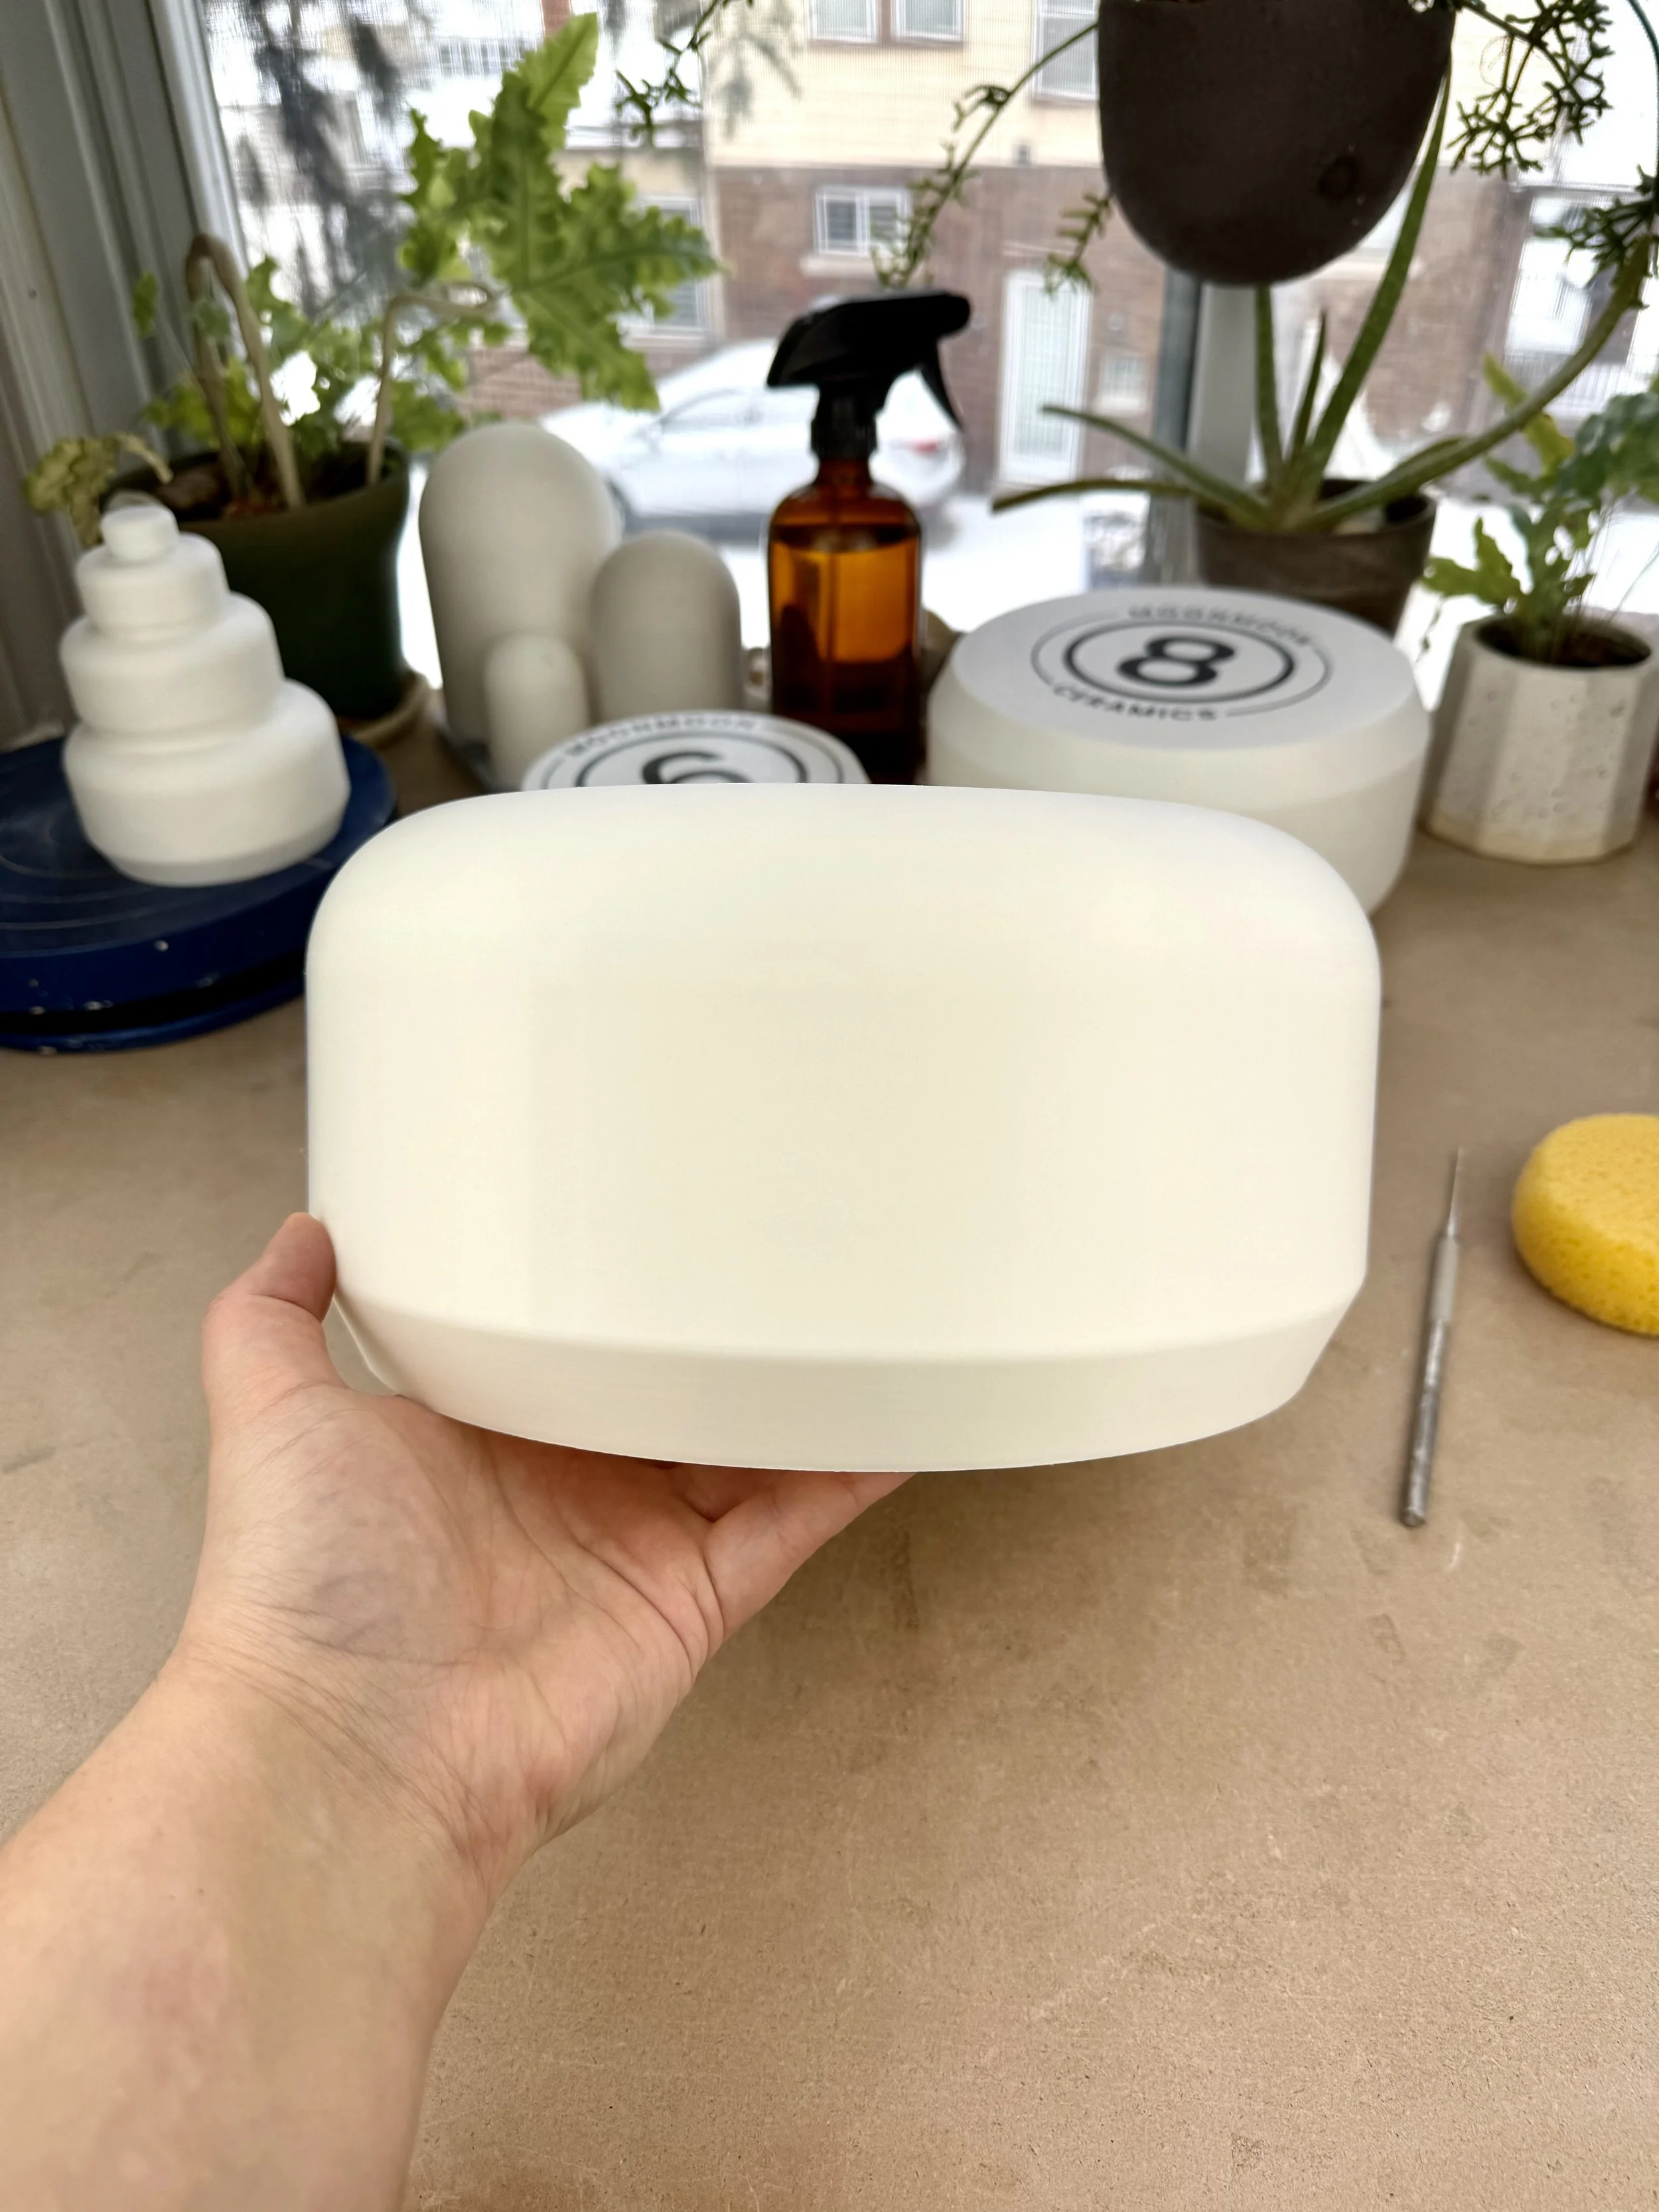
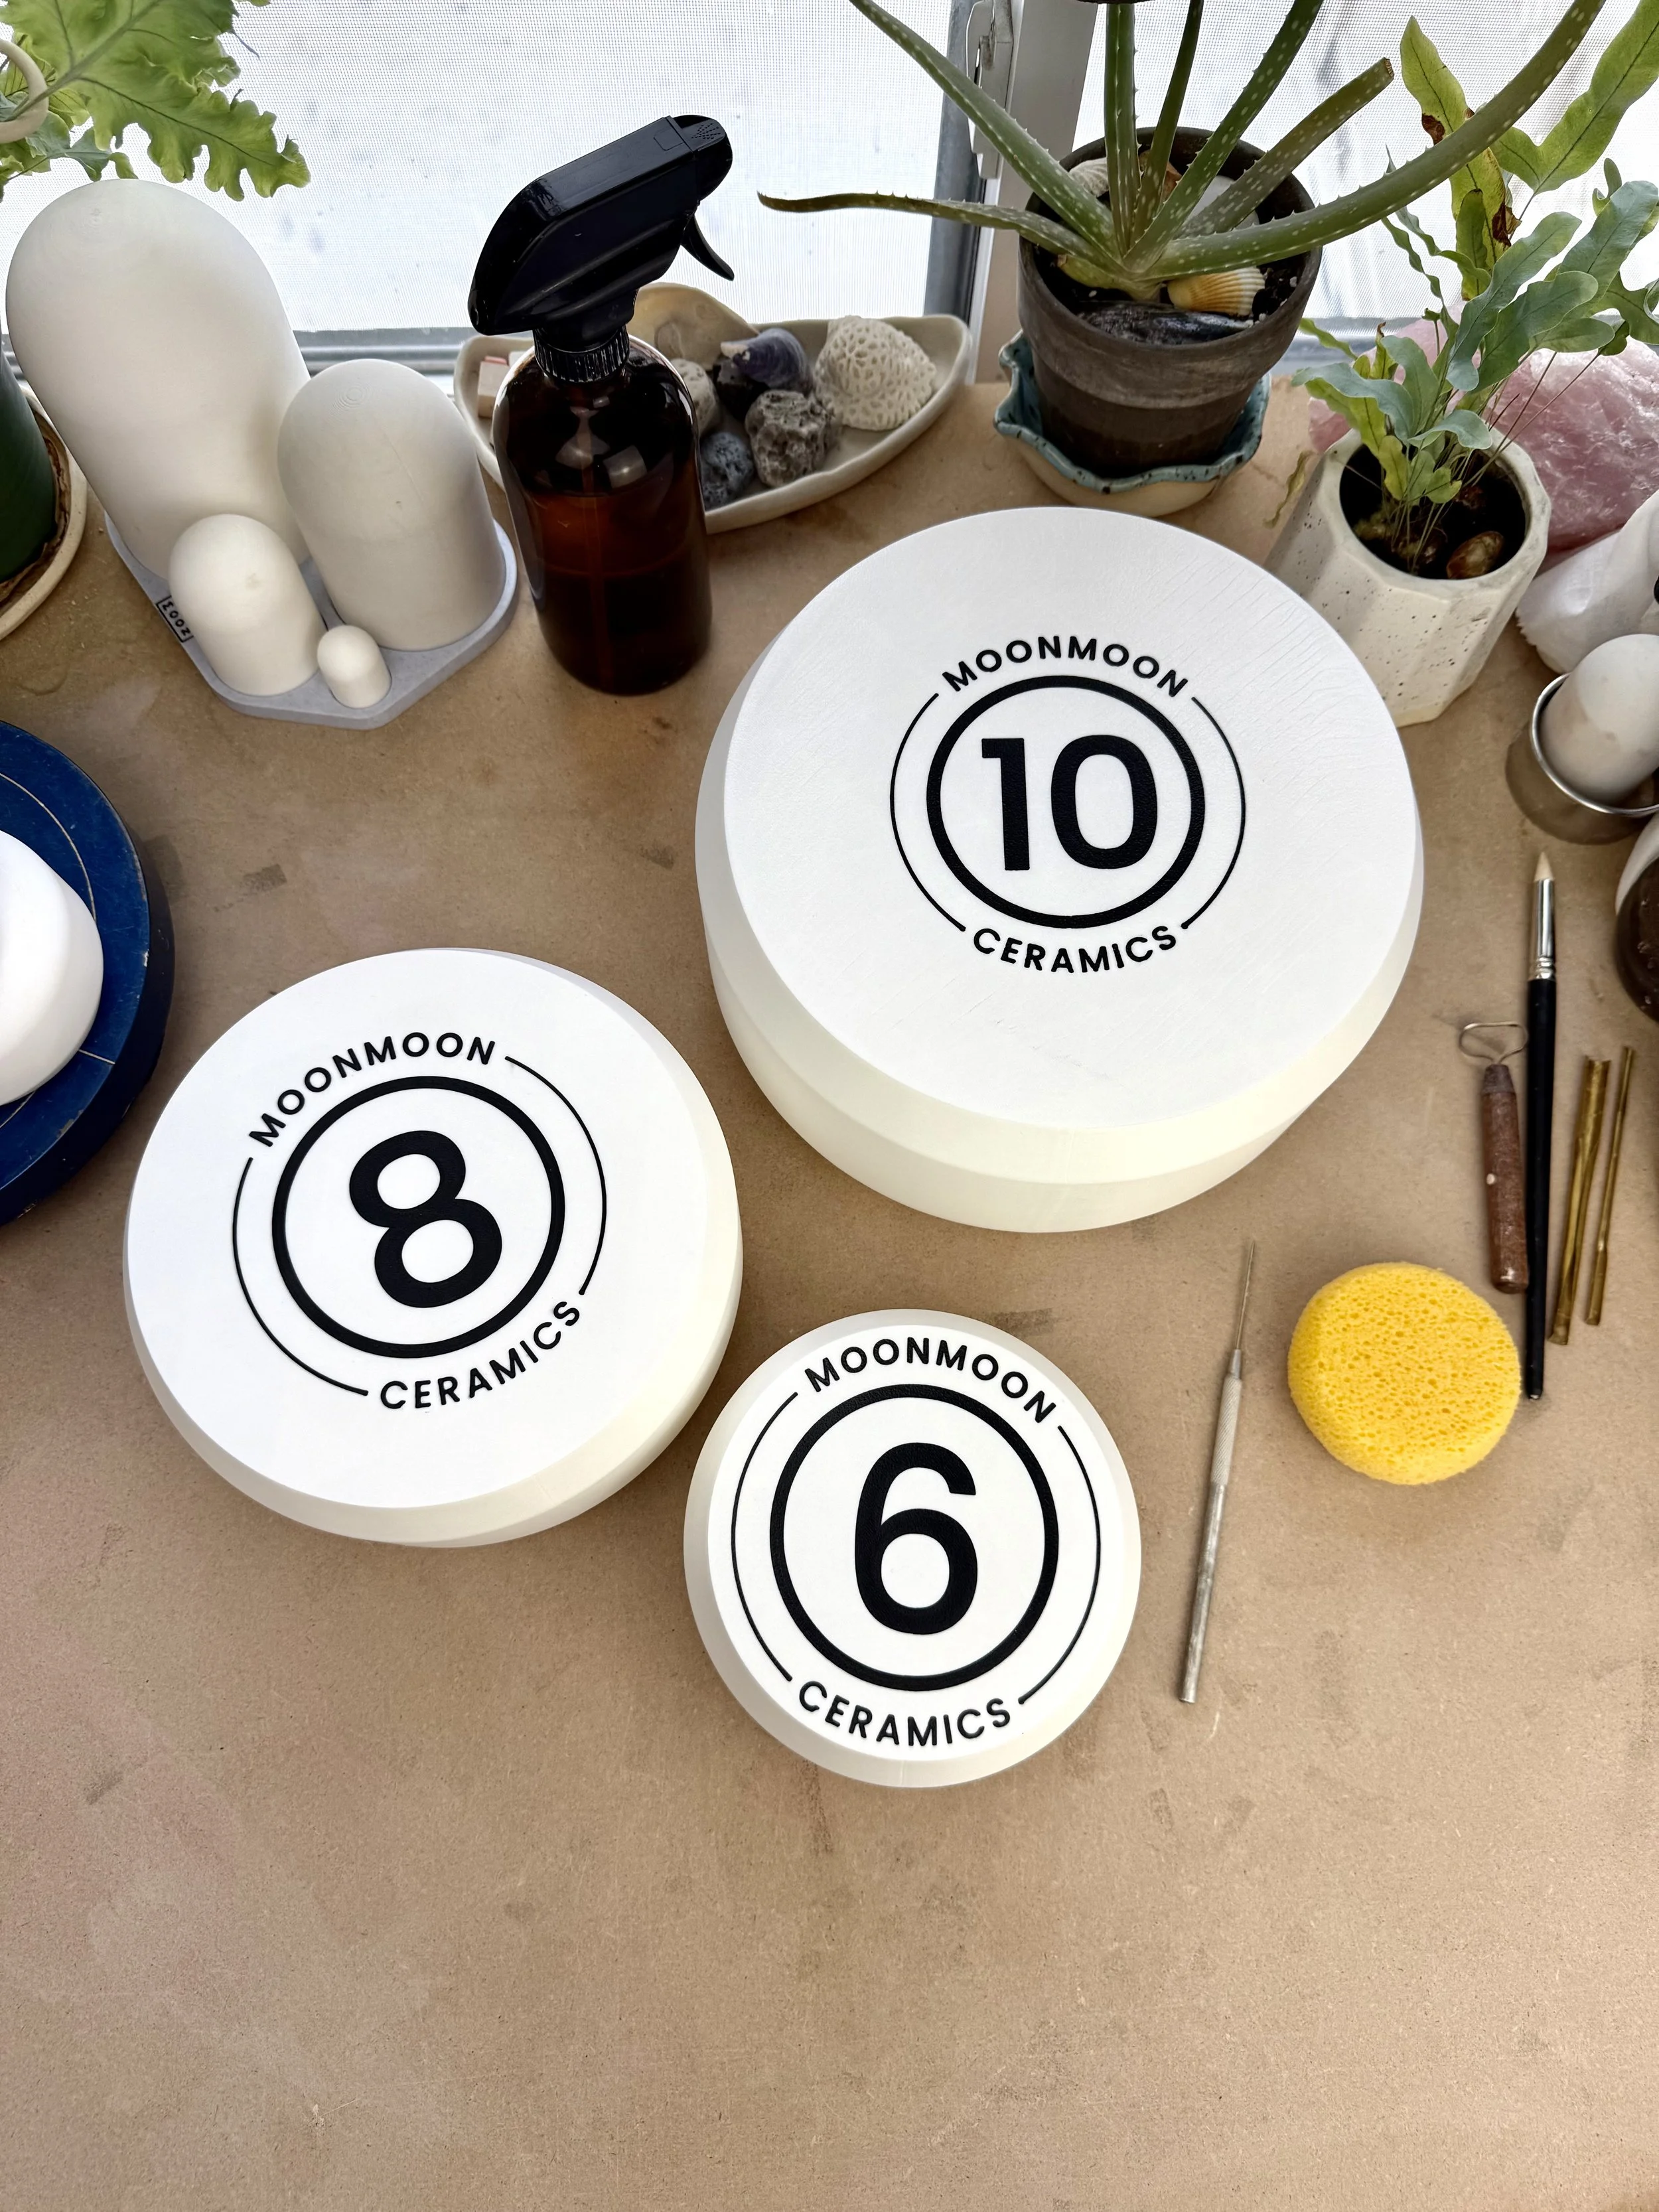
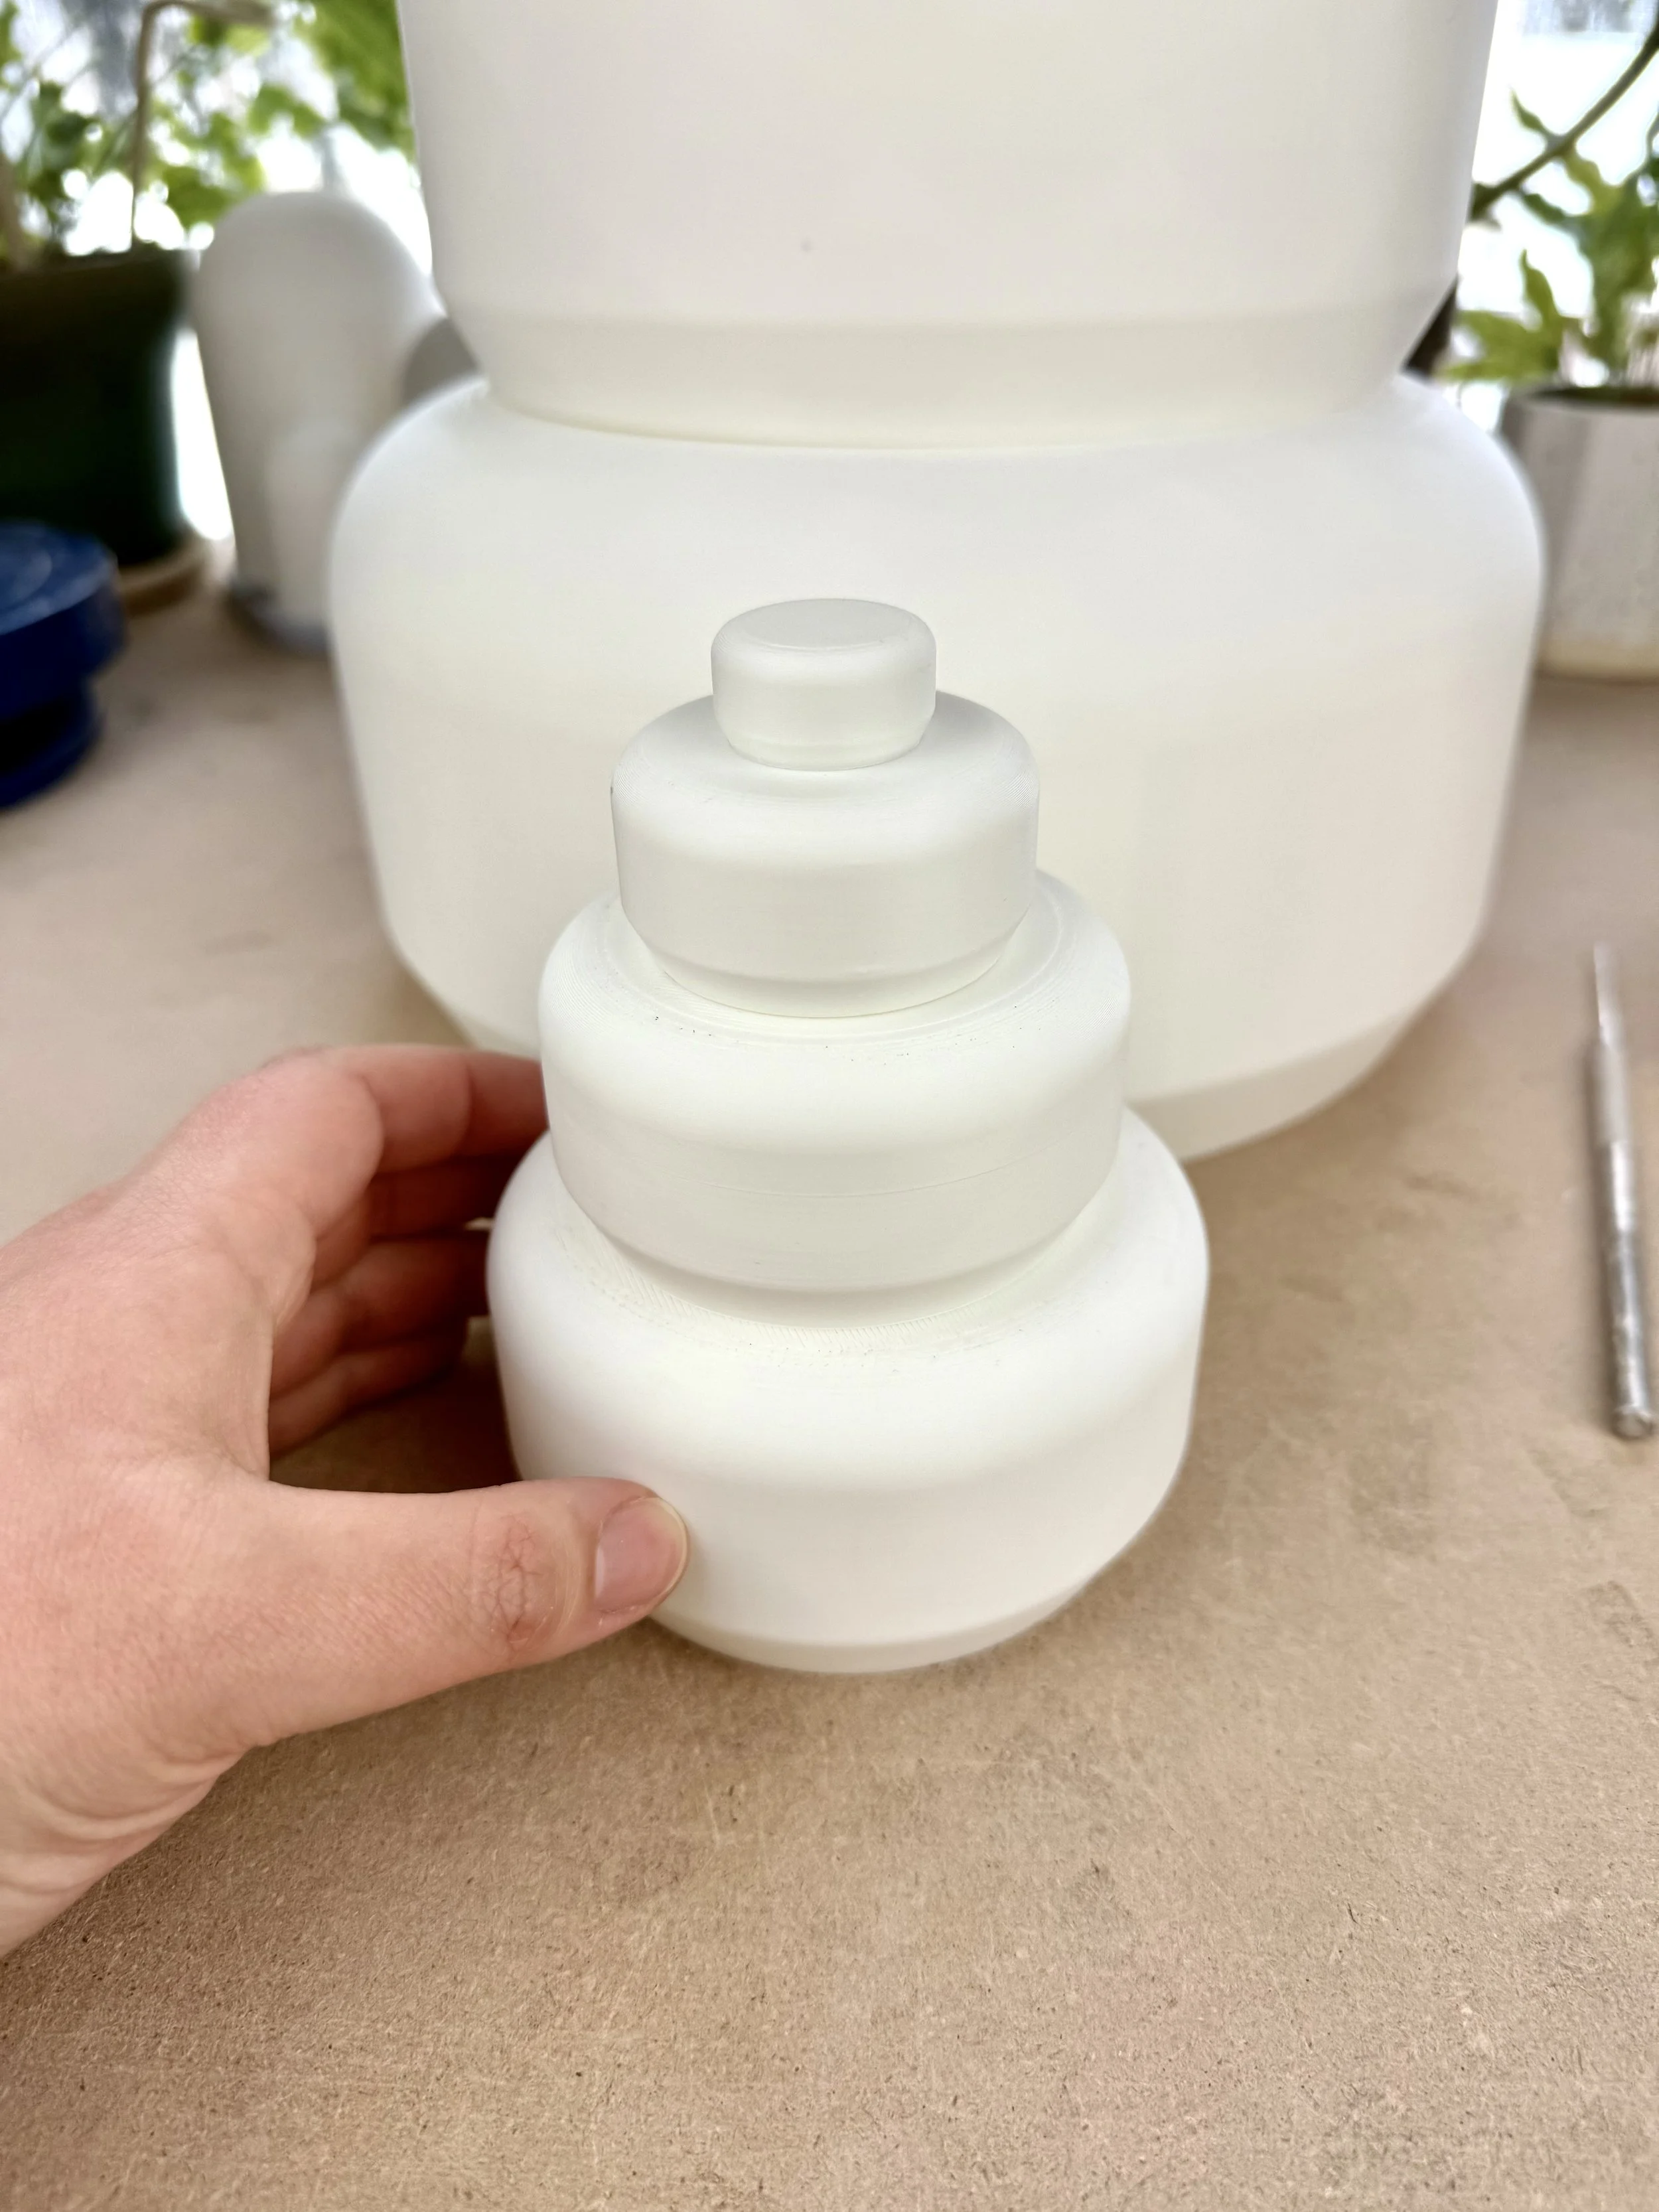
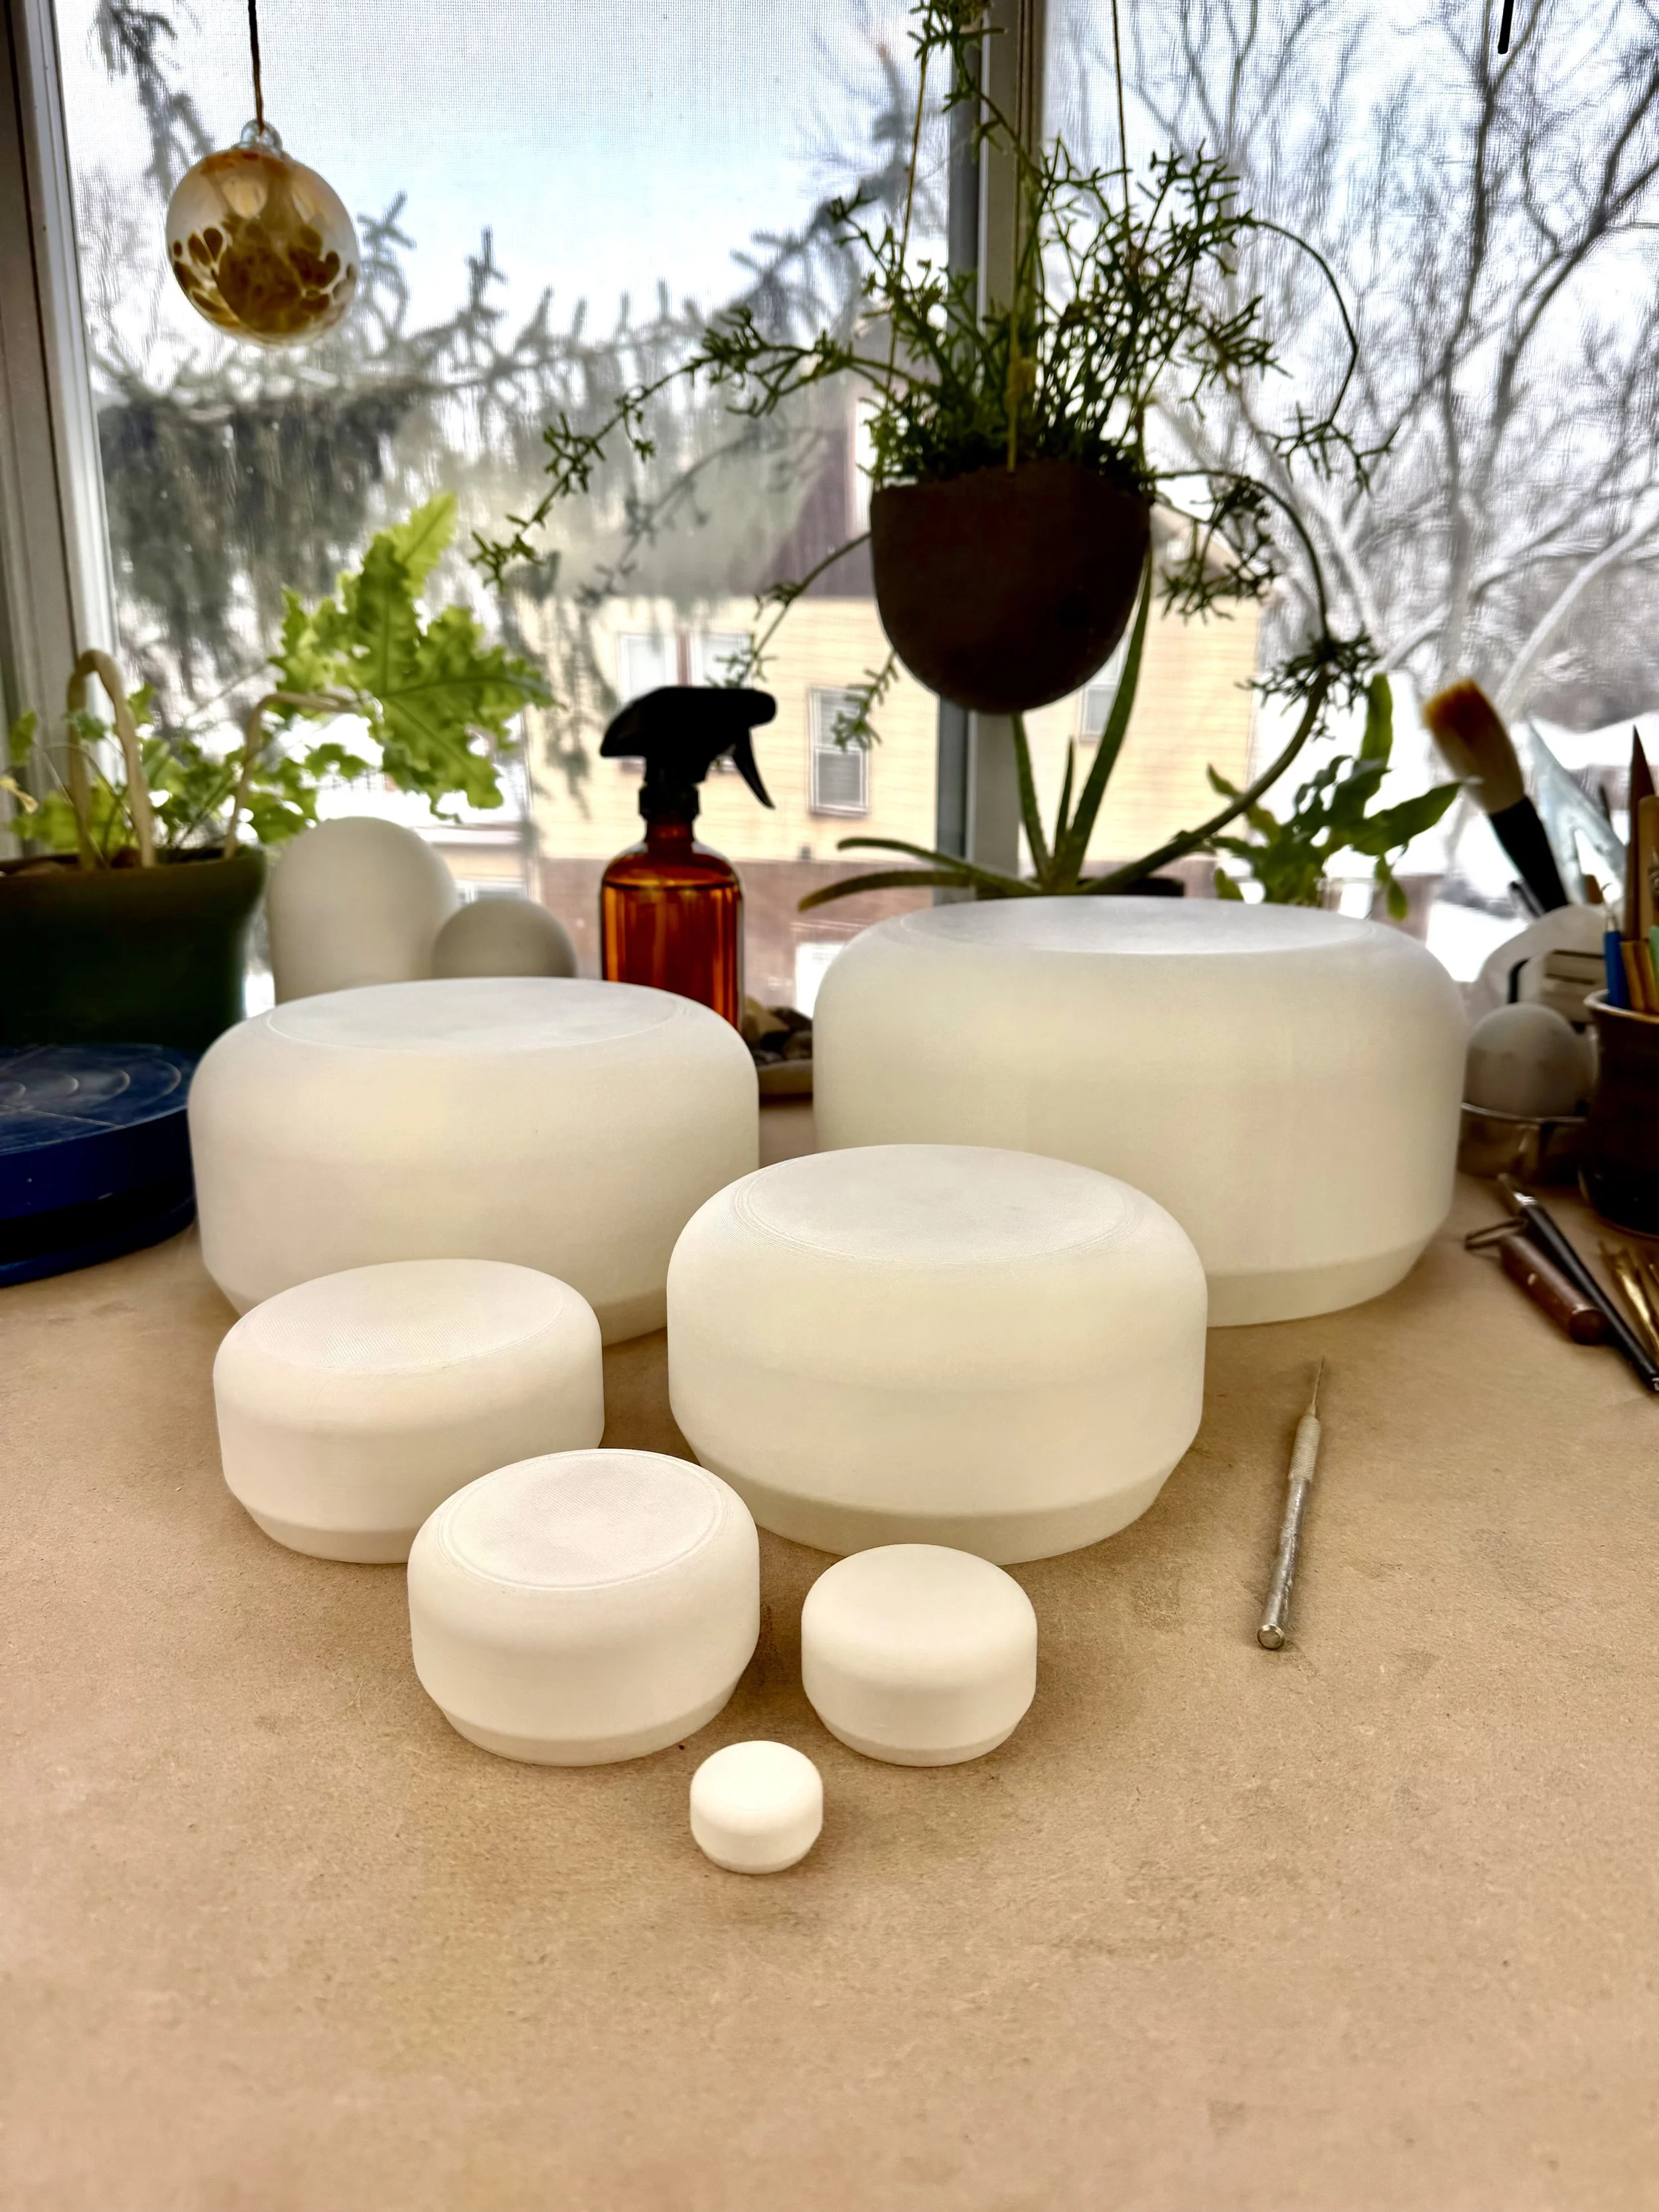
These fun mug drape forms are a 6” taller version of our doubled sided pottery pucks. Designed for making mugs, cups, bowls and small planters. These 3D printed forms help support of your mug from the inside. Allowing you to work on the surface of the clay while supporting the rim. Each form is 6” tall giving you extra height to be able to pull the form out but still have enough room to make a taller mug. I also find these forms very helpful and supportive when attaching my mug handles.
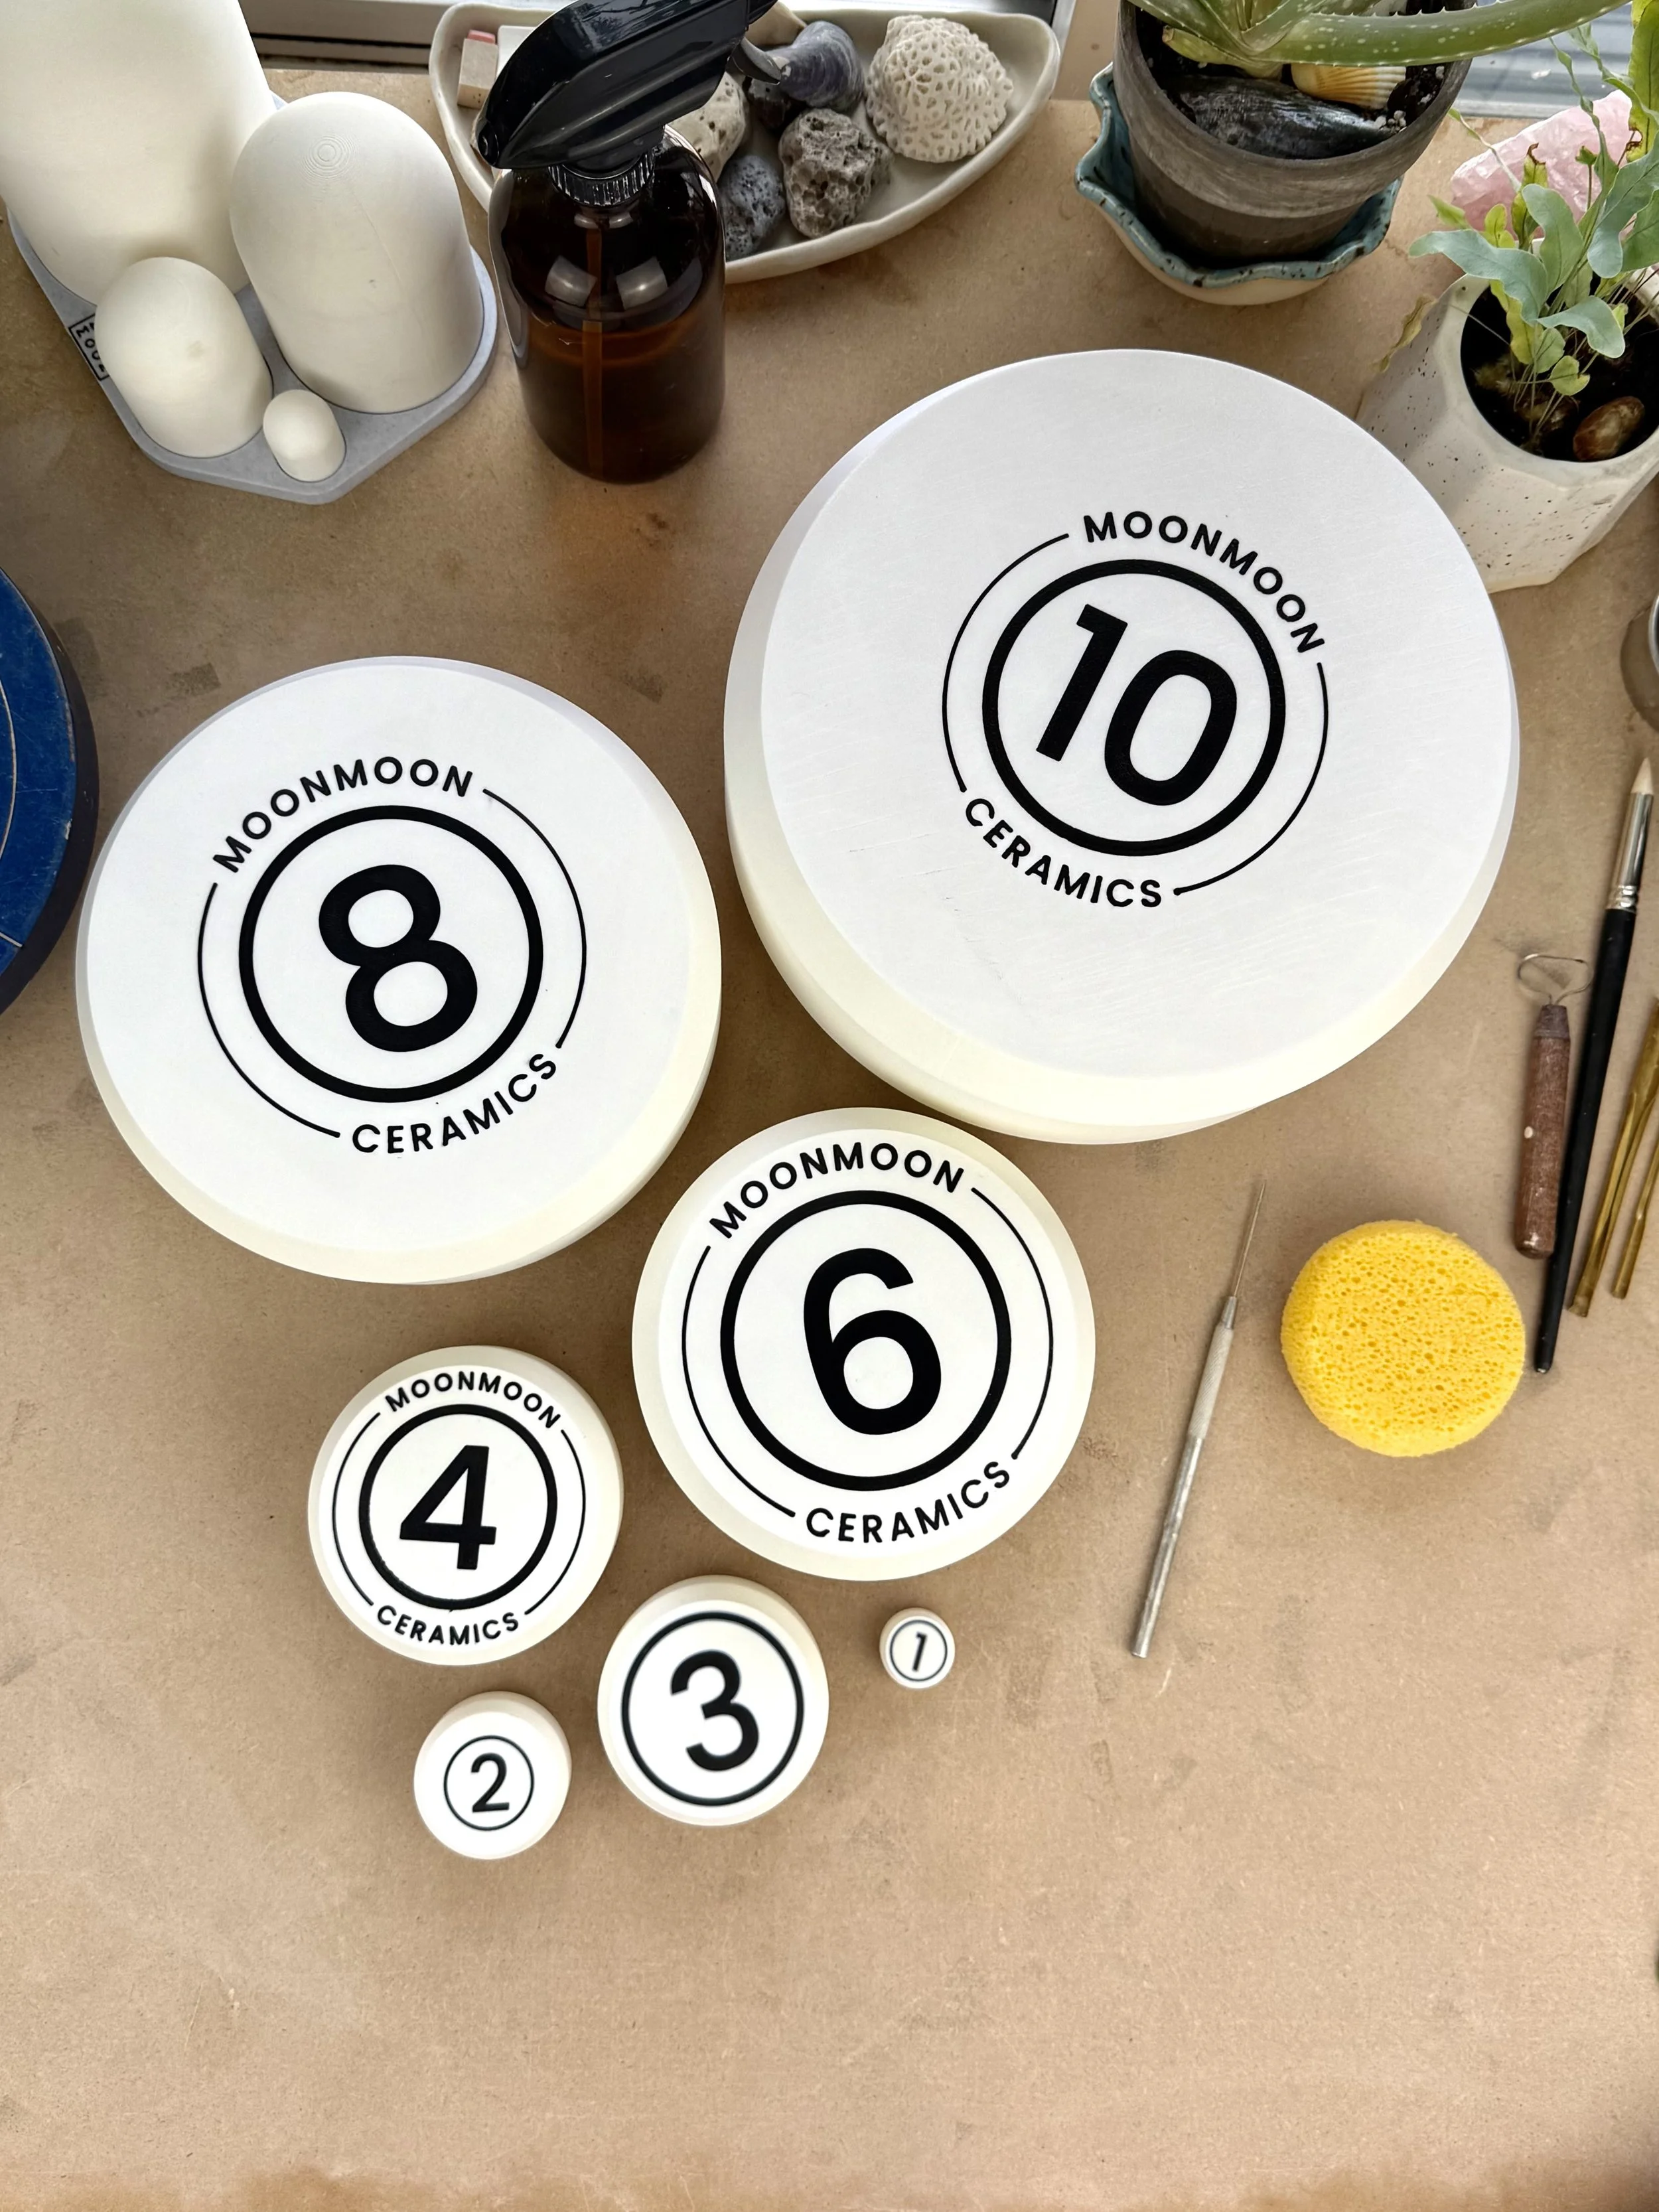
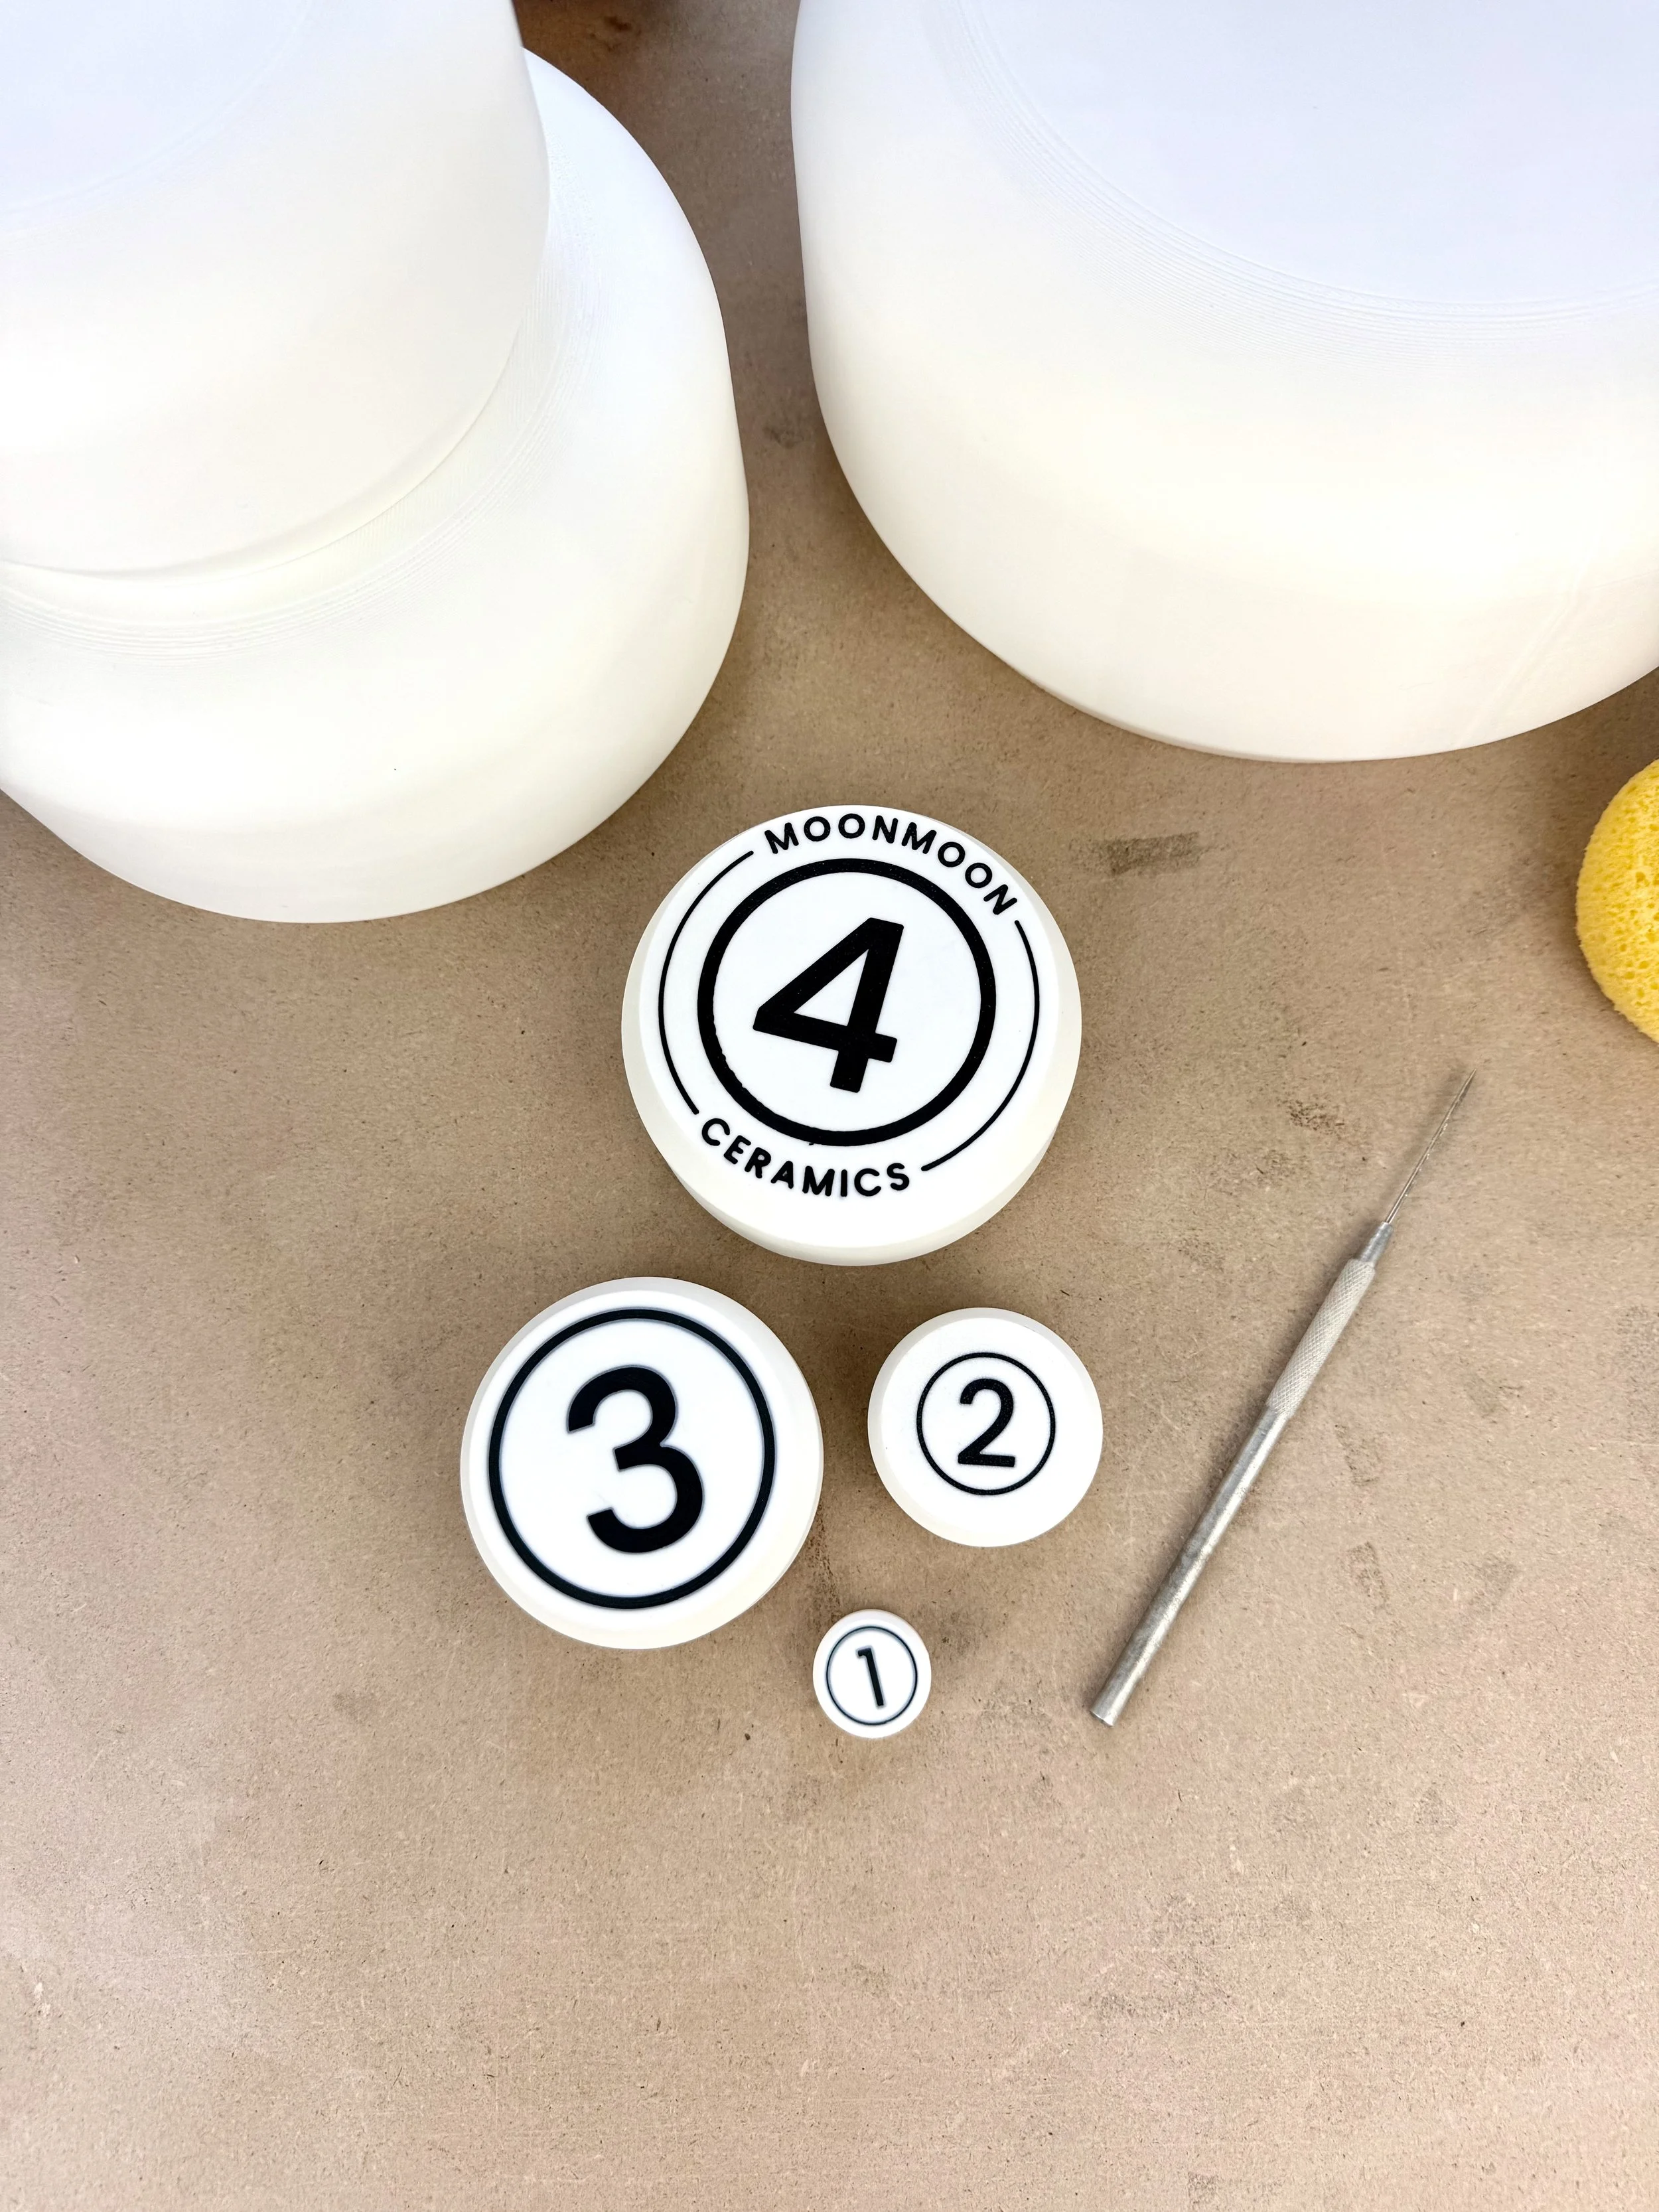
Sizes -diameter x height
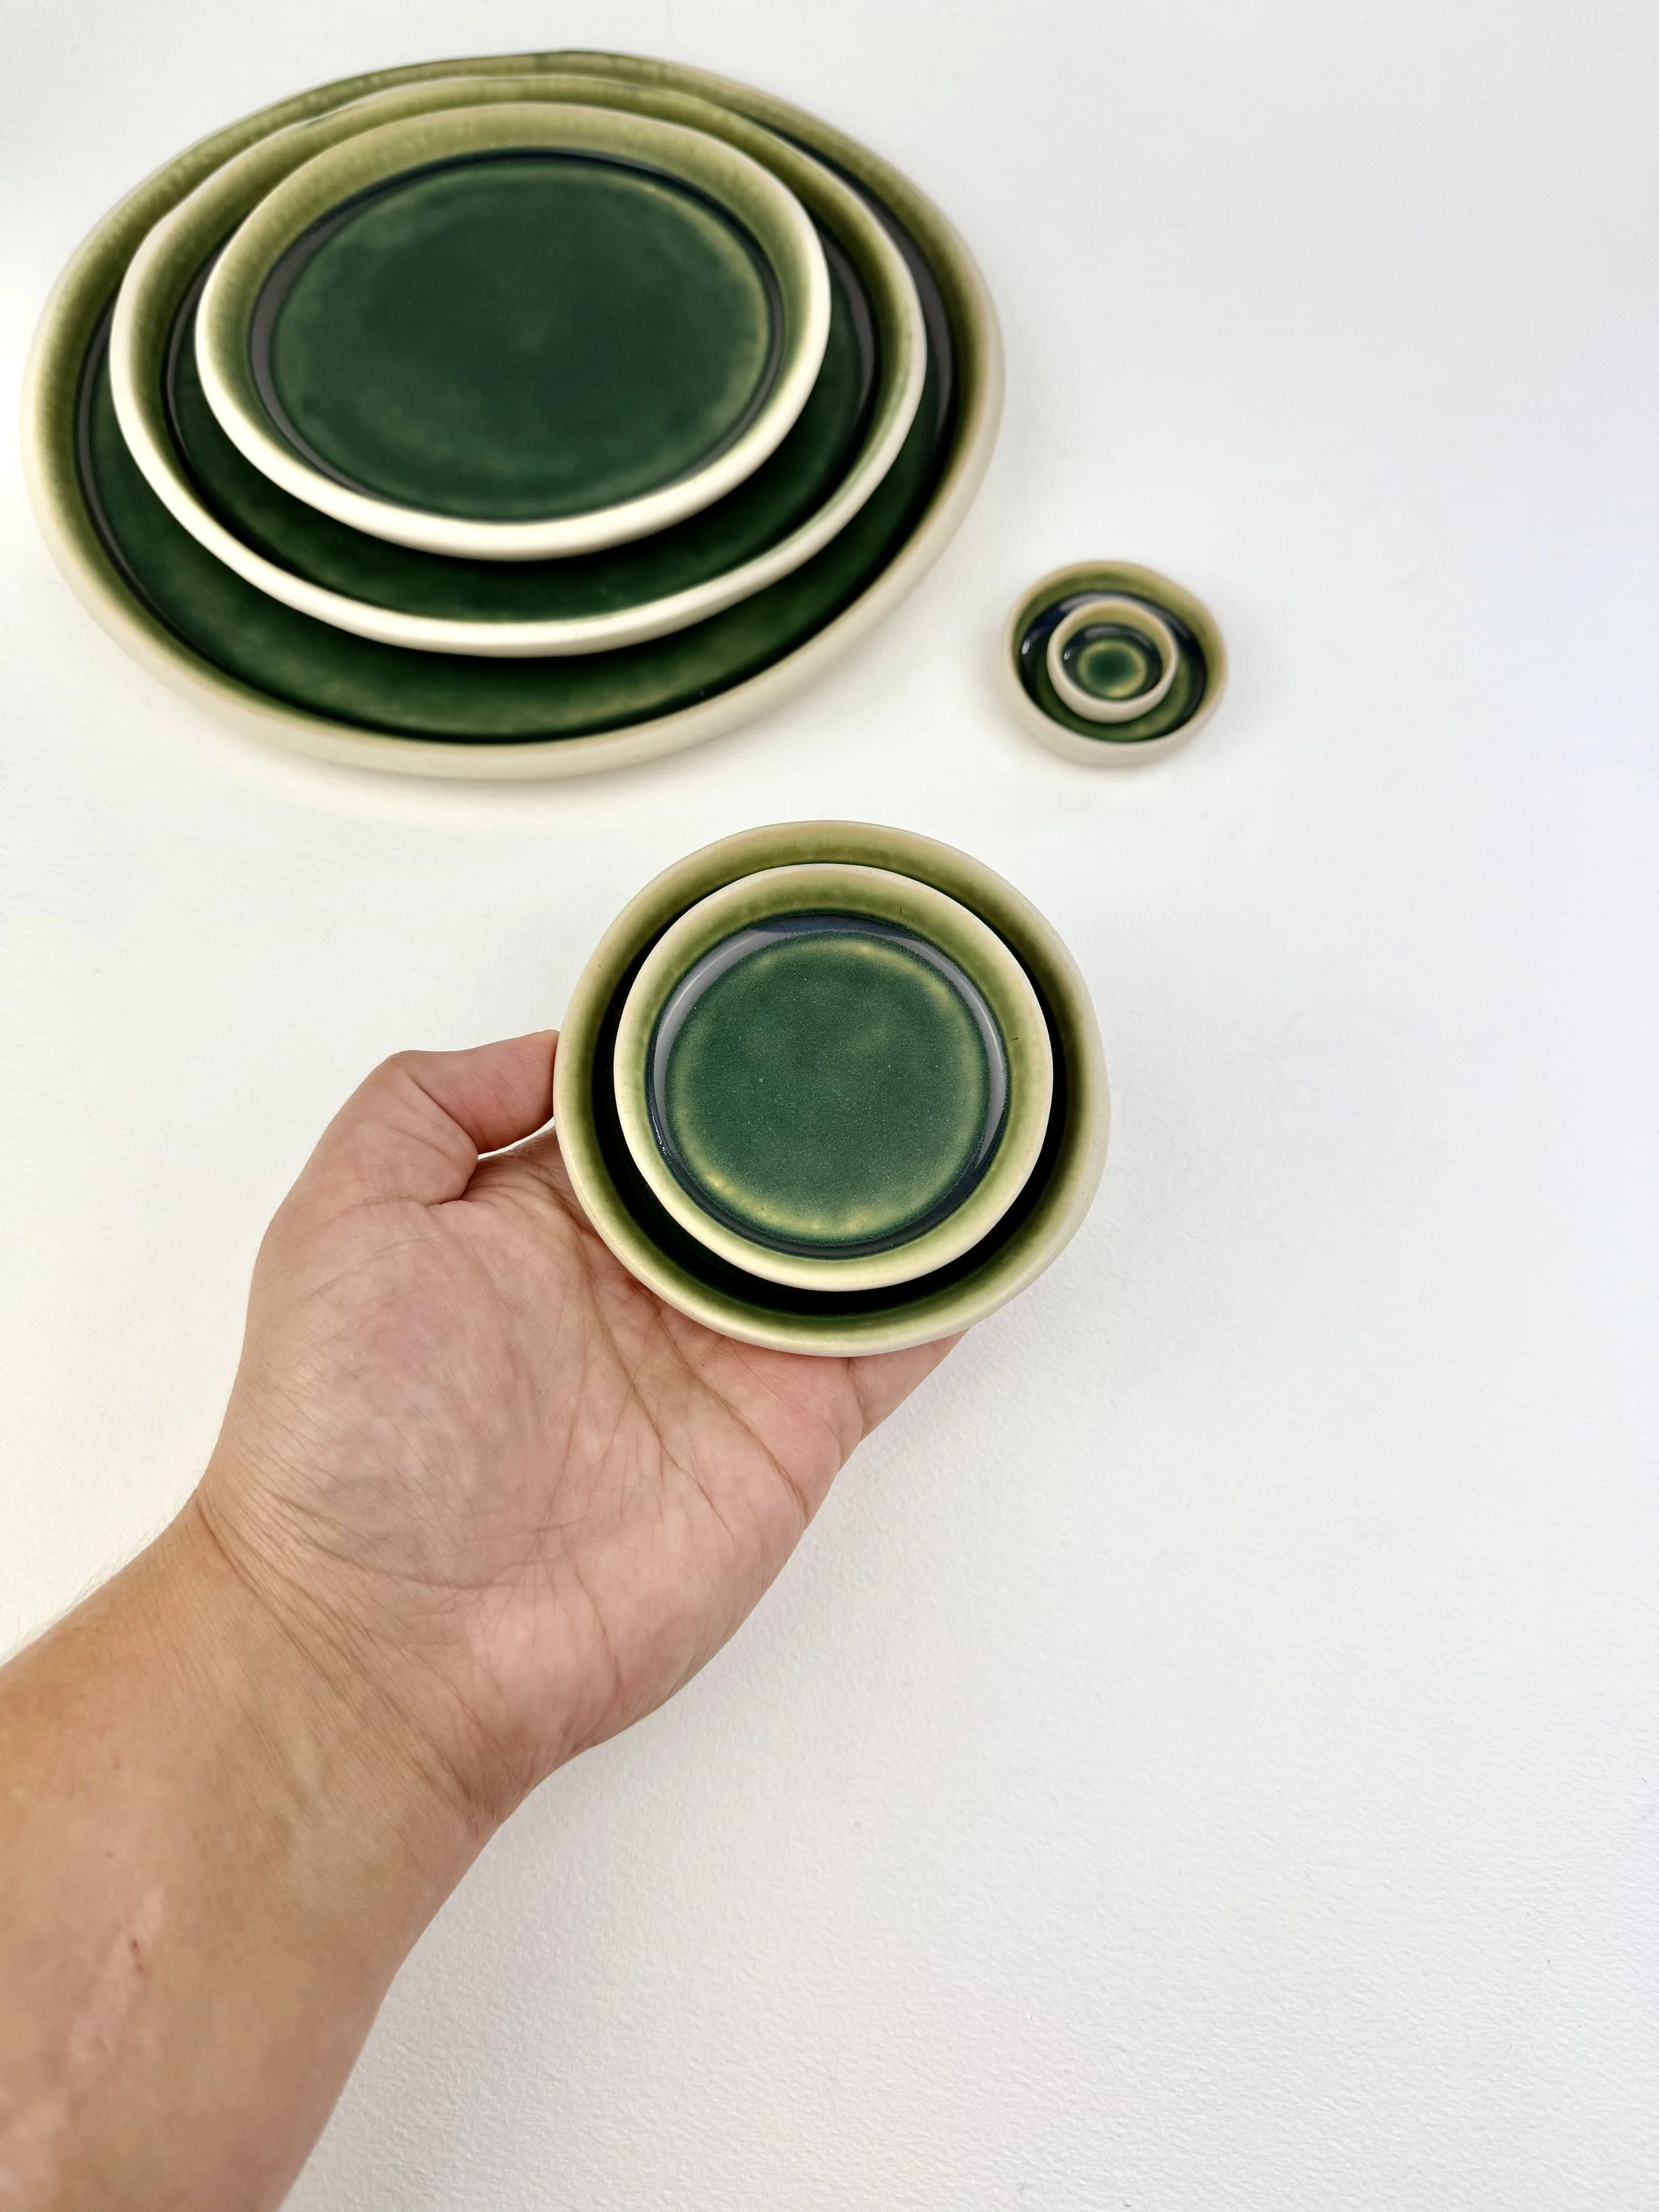
Classic 4'“ x 6”
Nest 4” x 6” ( 3” top diameter)
Krispy 4” x 6”
Set of All includes all 3
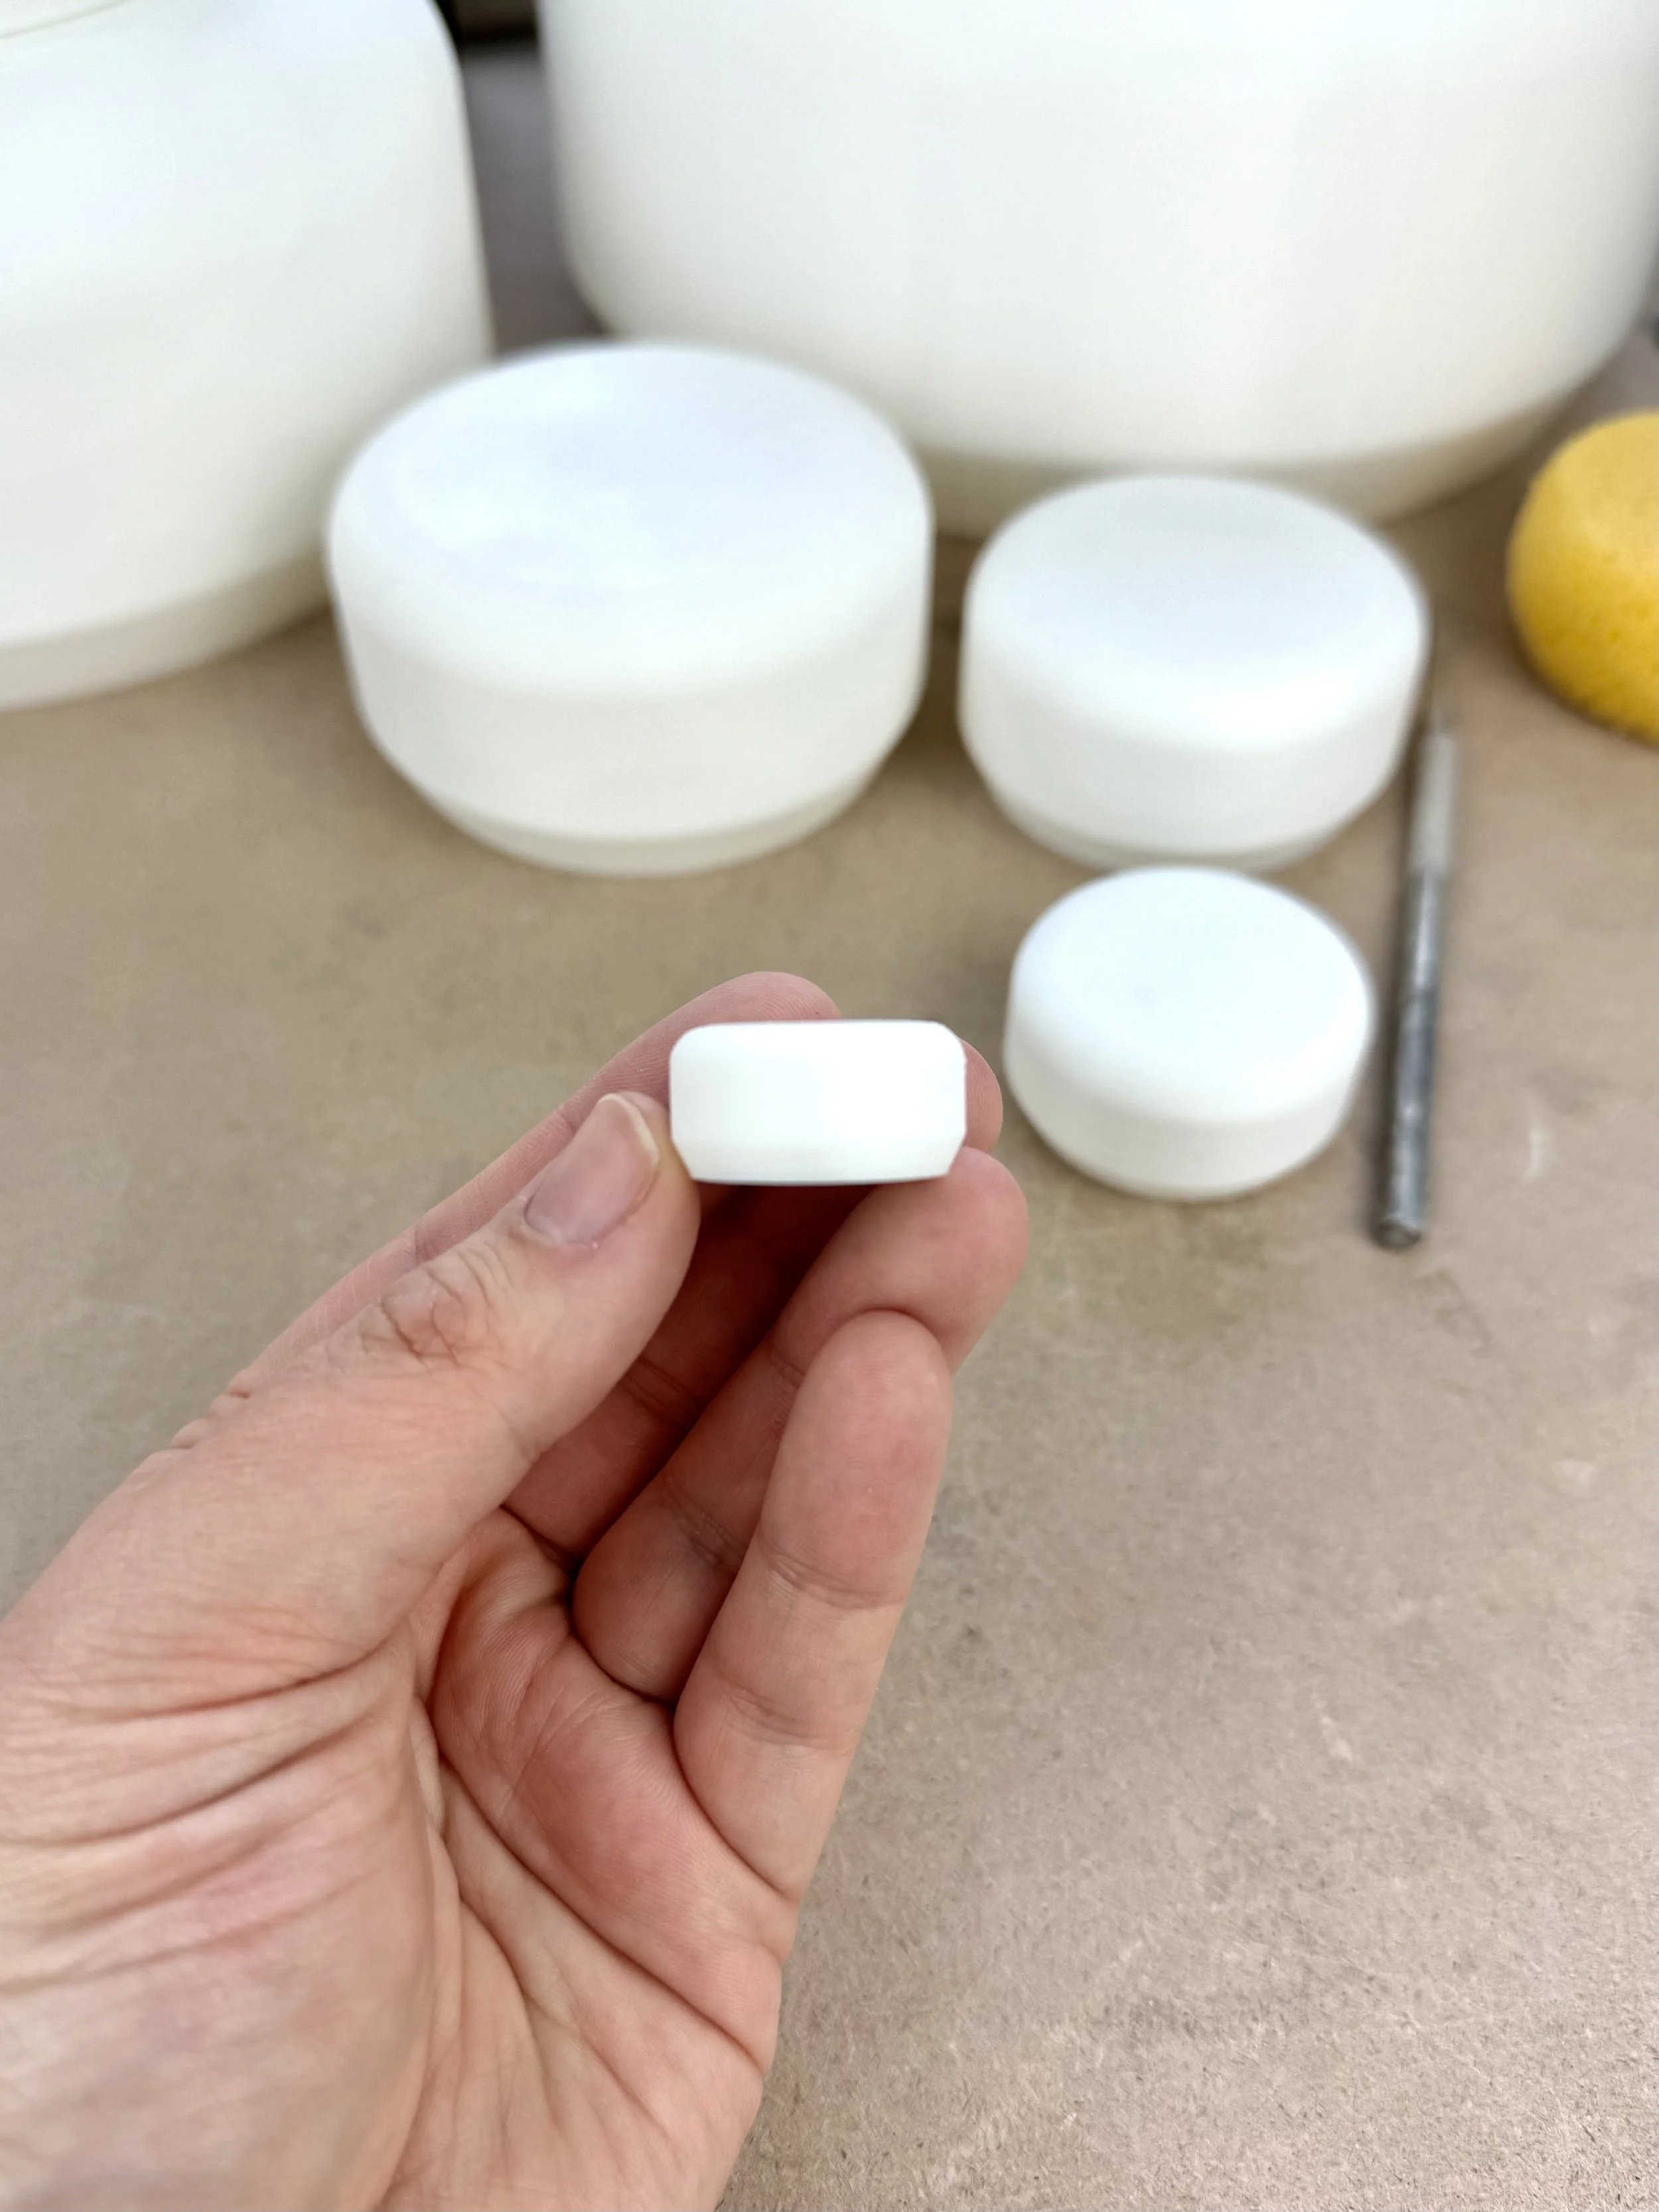
Materials - 3D printed in PLA+ plastic. These forms are hand sanded but will still have a light layer line 3D printed texture on the surface that may leave a slight texture on your clay. It can easily be smoothed out with a damp sponge or soft rib. If your form is damaged with a scuffed or scratched from normal usage you can lightly wet sand the surface back to smooth starting with 80 or 120 grit sand paper working your way to finer 400-600 girt for a super smooth finish.
Clay Tips - For quick release of your clay from your drape form I recommend you use a barrier in-between your clay and pottery from. Such as doubled up plastic, thin cotton fabric, nylon tights, or corn starch. If using corn starch as a release agent make sure to wash your bisque ware before glazing. *Pro Tip- I like to put painters tape tabs on all of my forms creating little pull tabs so I can easily remove the from from my clay sculpted pieces.
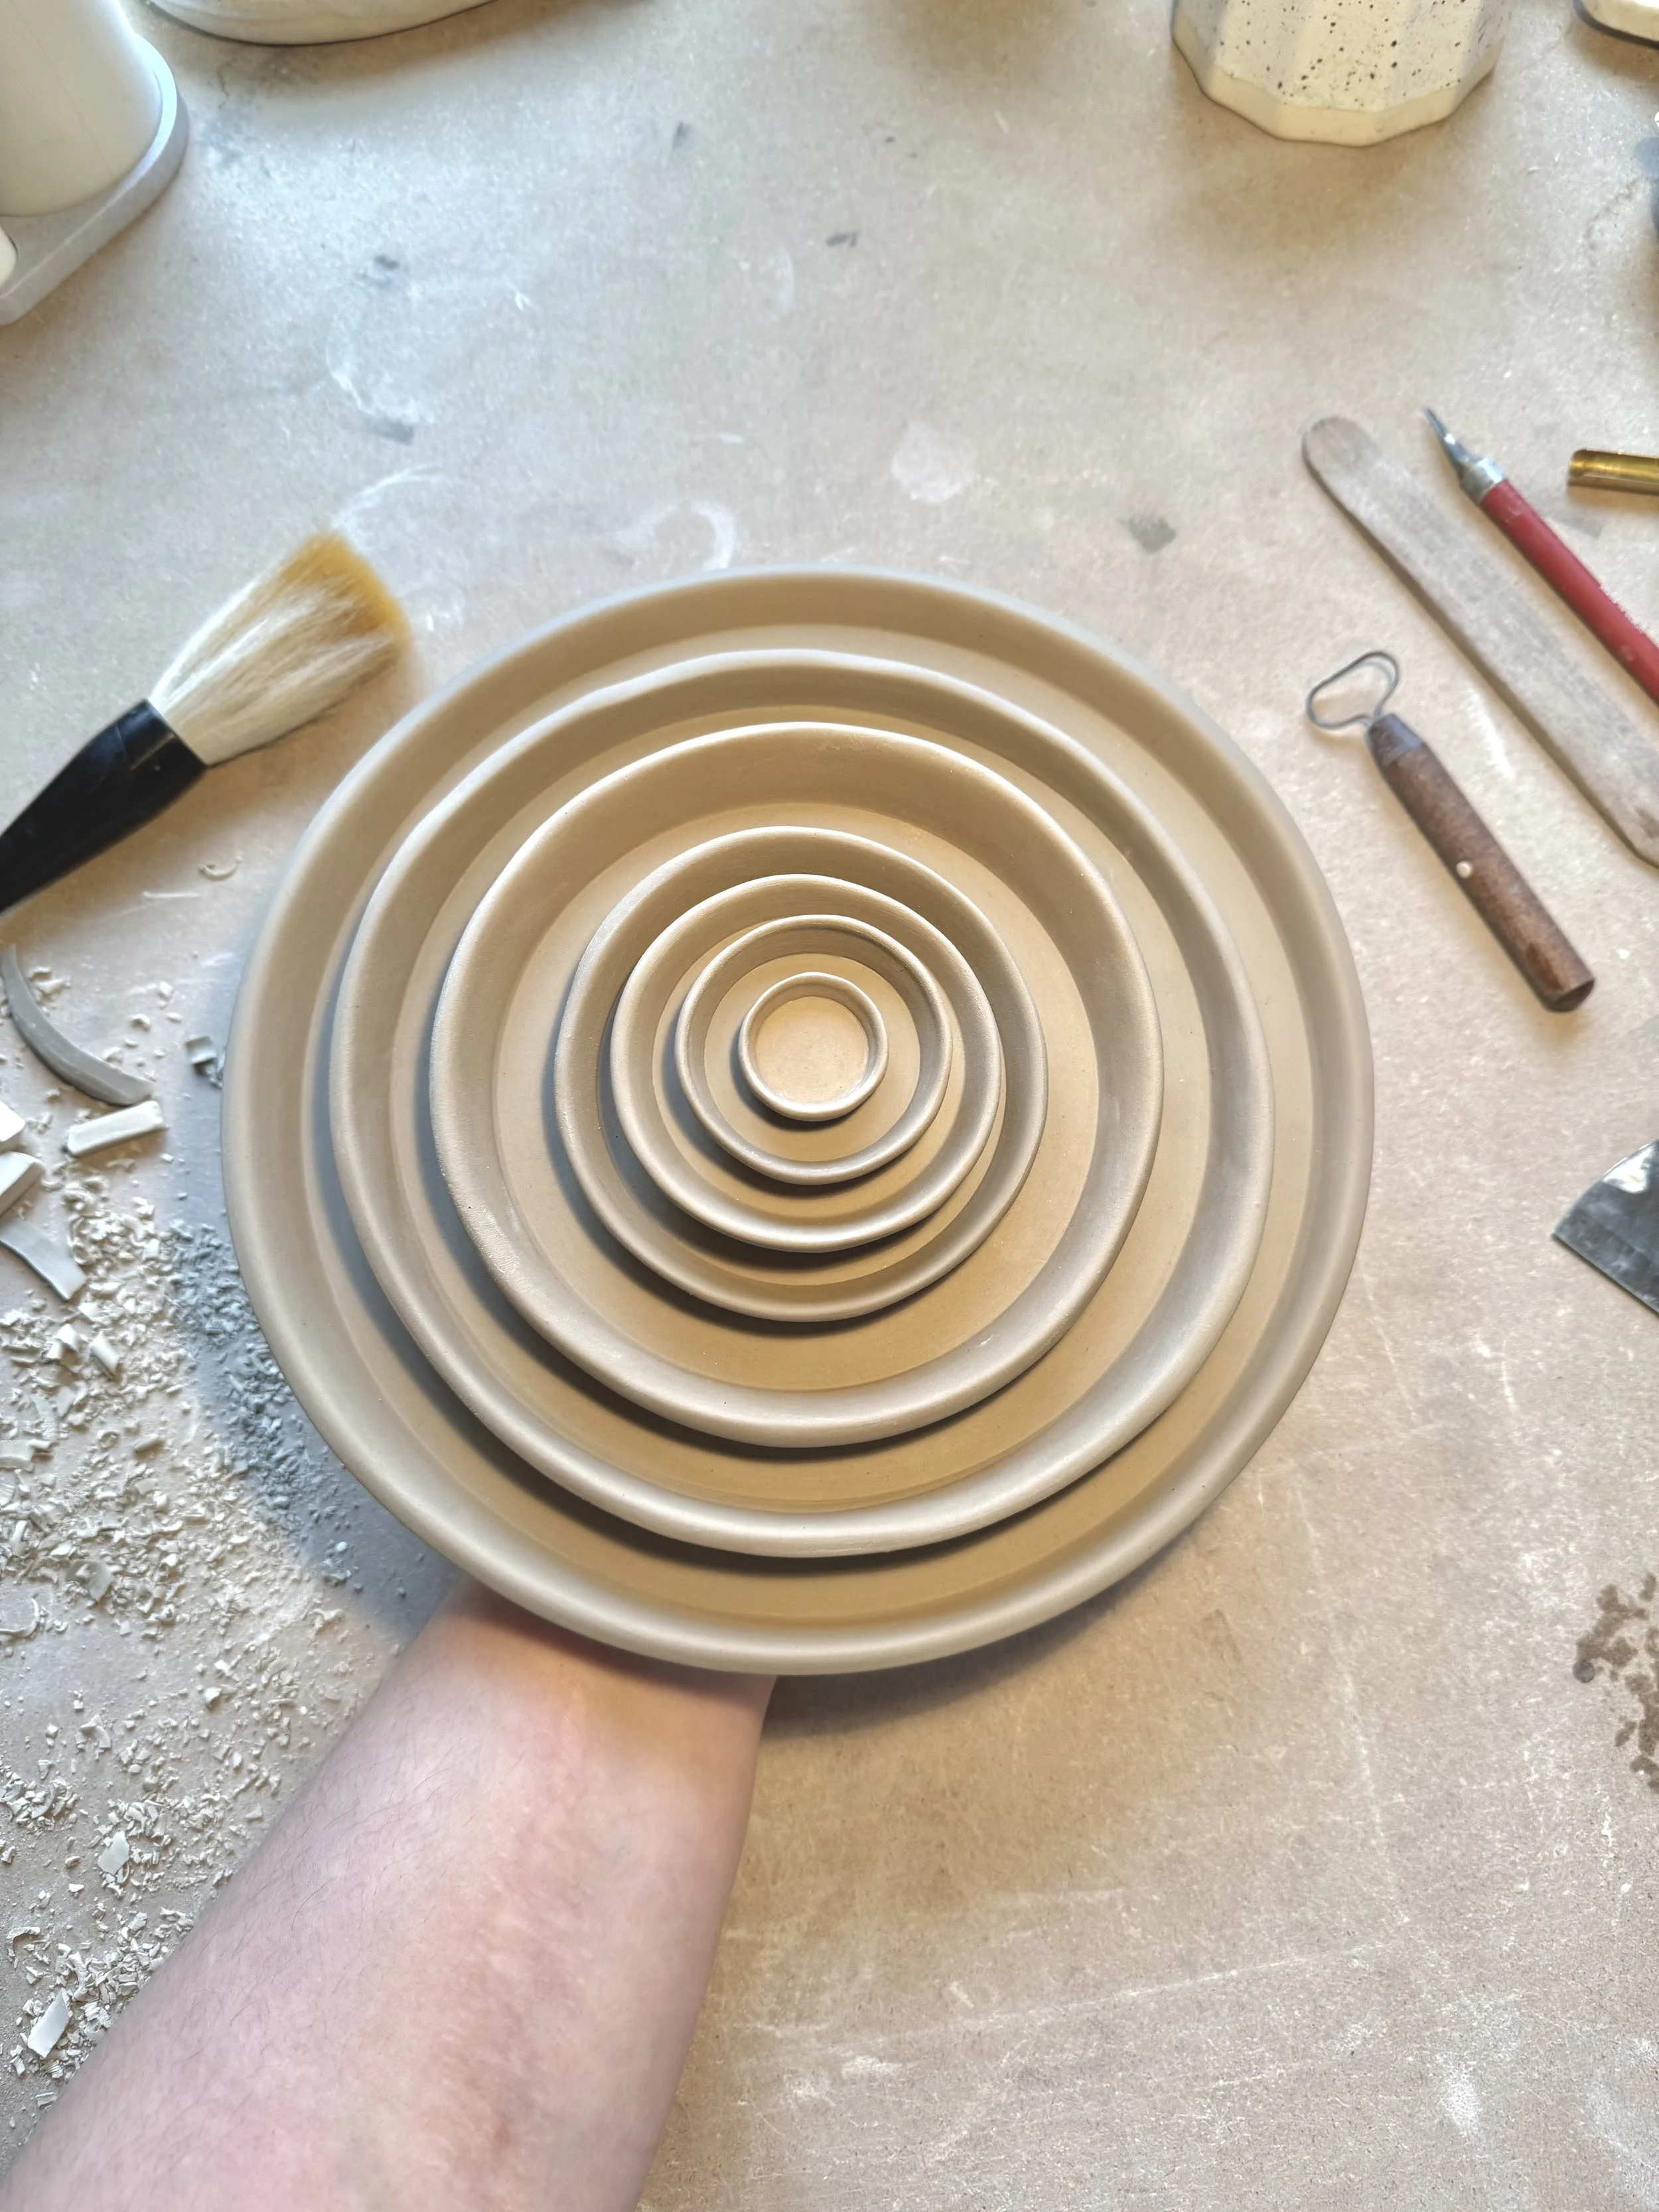
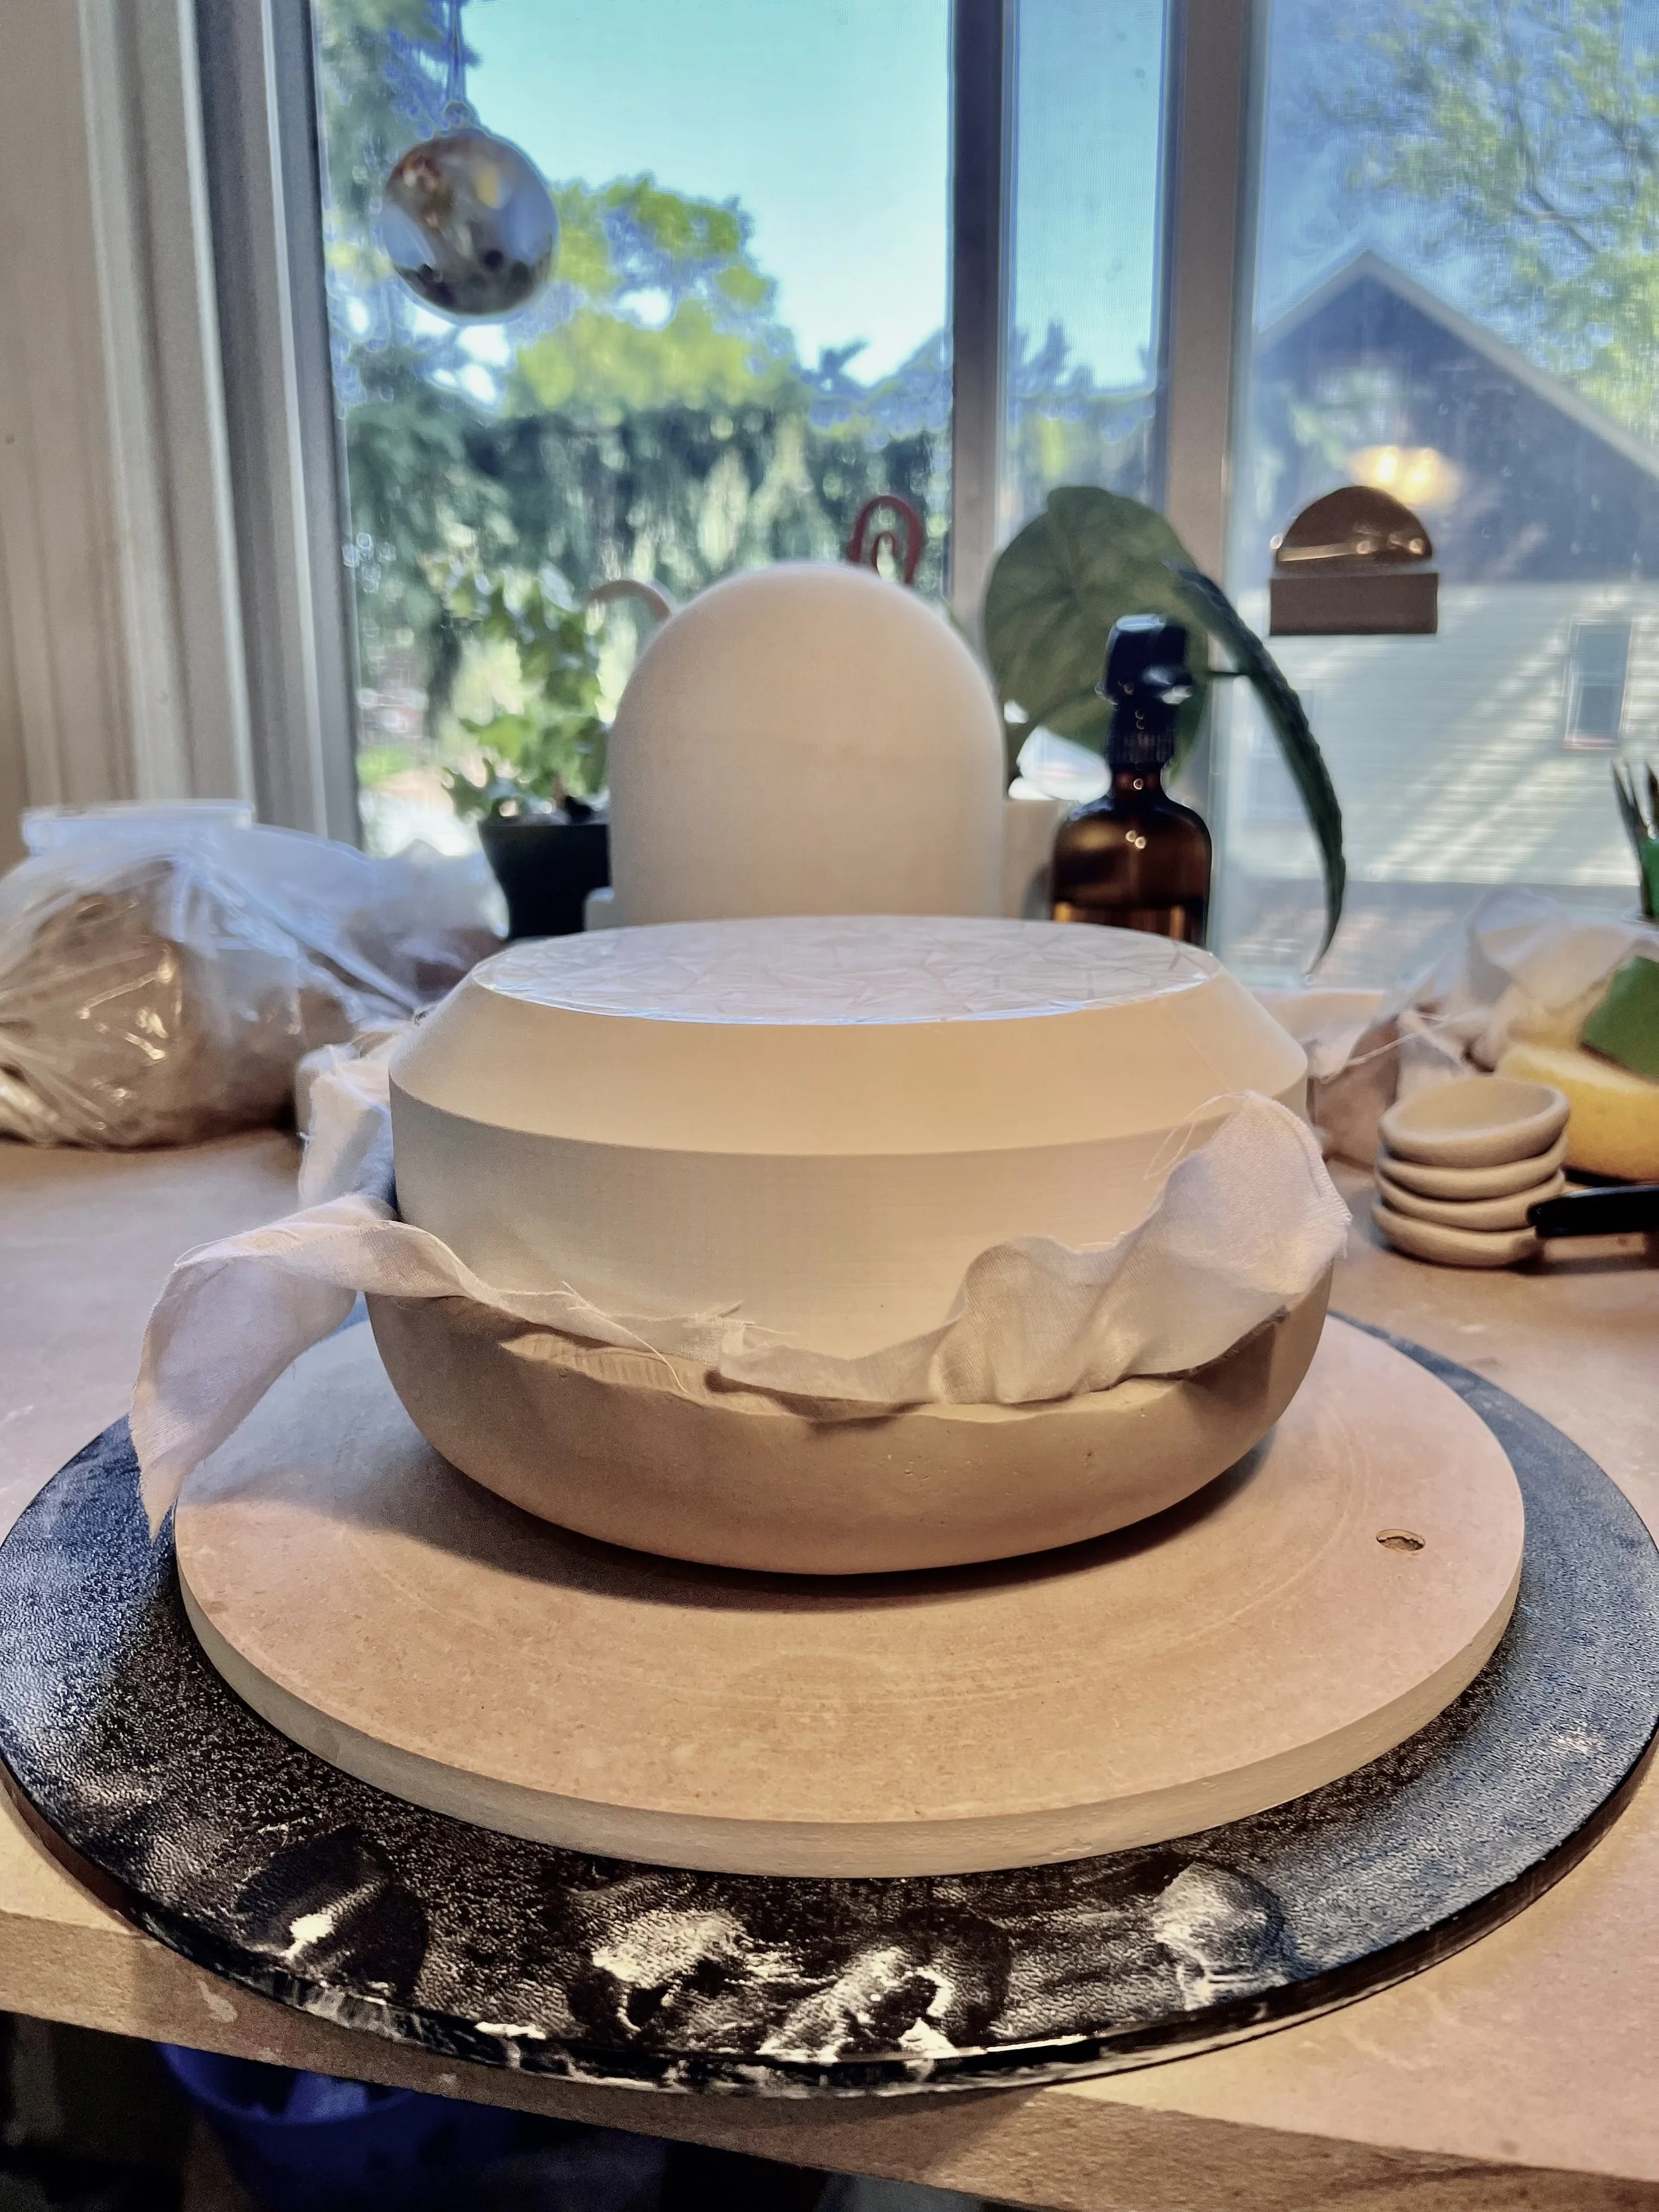
Directions - I have been using and perfecting my pottery forms for 5 years. This is my method I have found to be successful. I like to roll out my clay to desired slab thickness, smooth and cut out to the size I want, then I drape thin plastic on my pottery form. Next I drape my clay onto my pottery form with the plastic on it. Starting from the center I then working the clay into the form using a red rib or damp sponge. Allow clay to stiffen up to desired dryness before flipping then remove drape form from clay. The peel off plastic, smooth with sponge or red/pink mud rib if desired then dry slowly under plastic. Do not let your clay dry completely on the form even over night, it will shrink and crack your piece.
Care Instructions- clean with wet sponge or wash directly in the sink, do not submerge in water. Dry before using to avoid your clay sticking.
Warning - HEAT SENSITIVE. **Do not leave in a hot car or hot pottery shed. Will melt under high temperatures. Not recommended to use with a heat gun.
Shipping is 1-2 weeks. All pottery tools are made to order to ensure we are providing premium quality tools. 3D Printing in small batches helps reduce waste, limits overstocking and frees up space in our small home studio.
Style:
These fun mug drape forms are a 6” taller version of our doubled sided pottery pucks. Designed for making mugs, cups, bowls and small planters. These 3D printed forms help support of your mug from the inside. Allowing you to work on the surface of the clay while supporting the rim. Each form is 6” tall giving you extra height to be able to pull the form out but still have enough room to make a taller mug. I also find these forms very helpful and supportive when attaching my mug handles.
Sizes -diameter x height
Classic 4'“ x 6”
Nest 4” x 6” ( 3” top diameter)
Krispy 4” x 6”
Set of All includes all 3
Materials - 3D printed in PLA+ plastic. These forms are hand sanded but will still have a light layer line 3D printed texture on the surface that may leave a slight texture on your clay. It can easily be smoothed out with a damp sponge or soft rib. If your form is damaged with a scuffed or scratched from normal usage you can lightly wet sand the surface back to smooth starting with 80 or 120 grit sand paper working your way to finer 400-600 girt for a super smooth finish.
Clay Tips - For quick release of your clay from your drape form I recommend you use a barrier in-between your clay and pottery from. Such as doubled up plastic, thin cotton fabric, nylon tights, or corn starch. If using corn starch as a release agent make sure to wash your bisque ware before glazing. *Pro Tip- I like to put painters tape tabs on all of my forms creating little pull tabs so I can easily remove the from from my clay sculpted pieces.
Directions - I have been using and perfecting my pottery forms for 5 years. This is my method I have found to be successful. I like to roll out my clay to desired slab thickness, smooth and cut out to the size I want, then I drape thin plastic on my pottery form. Next I drape my clay onto my pottery form with the plastic on it. Starting from the center I then working the clay into the form using a red rib or damp sponge. Allow clay to stiffen up to desired dryness before flipping then remove drape form from clay. The peel off plastic, smooth with sponge or red/pink mud rib if desired then dry slowly under plastic. Do not let your clay dry completely on the form even over night, it will shrink and crack your piece.
Care Instructions- clean with wet sponge or wash directly in the sink, do not submerge in water. Dry before using to avoid your clay sticking.
Warning - HEAT SENSITIVE. **Do not leave in a hot car or hot pottery shed. Will melt under high temperatures. Not recommended to use with a heat gun.
Shipping is 1-2 weeks. All pottery tools are made to order to ensure we are providing premium quality tools. 3D Printing in small batches helps reduce waste, limits overstocking and frees up space in our small home studio.

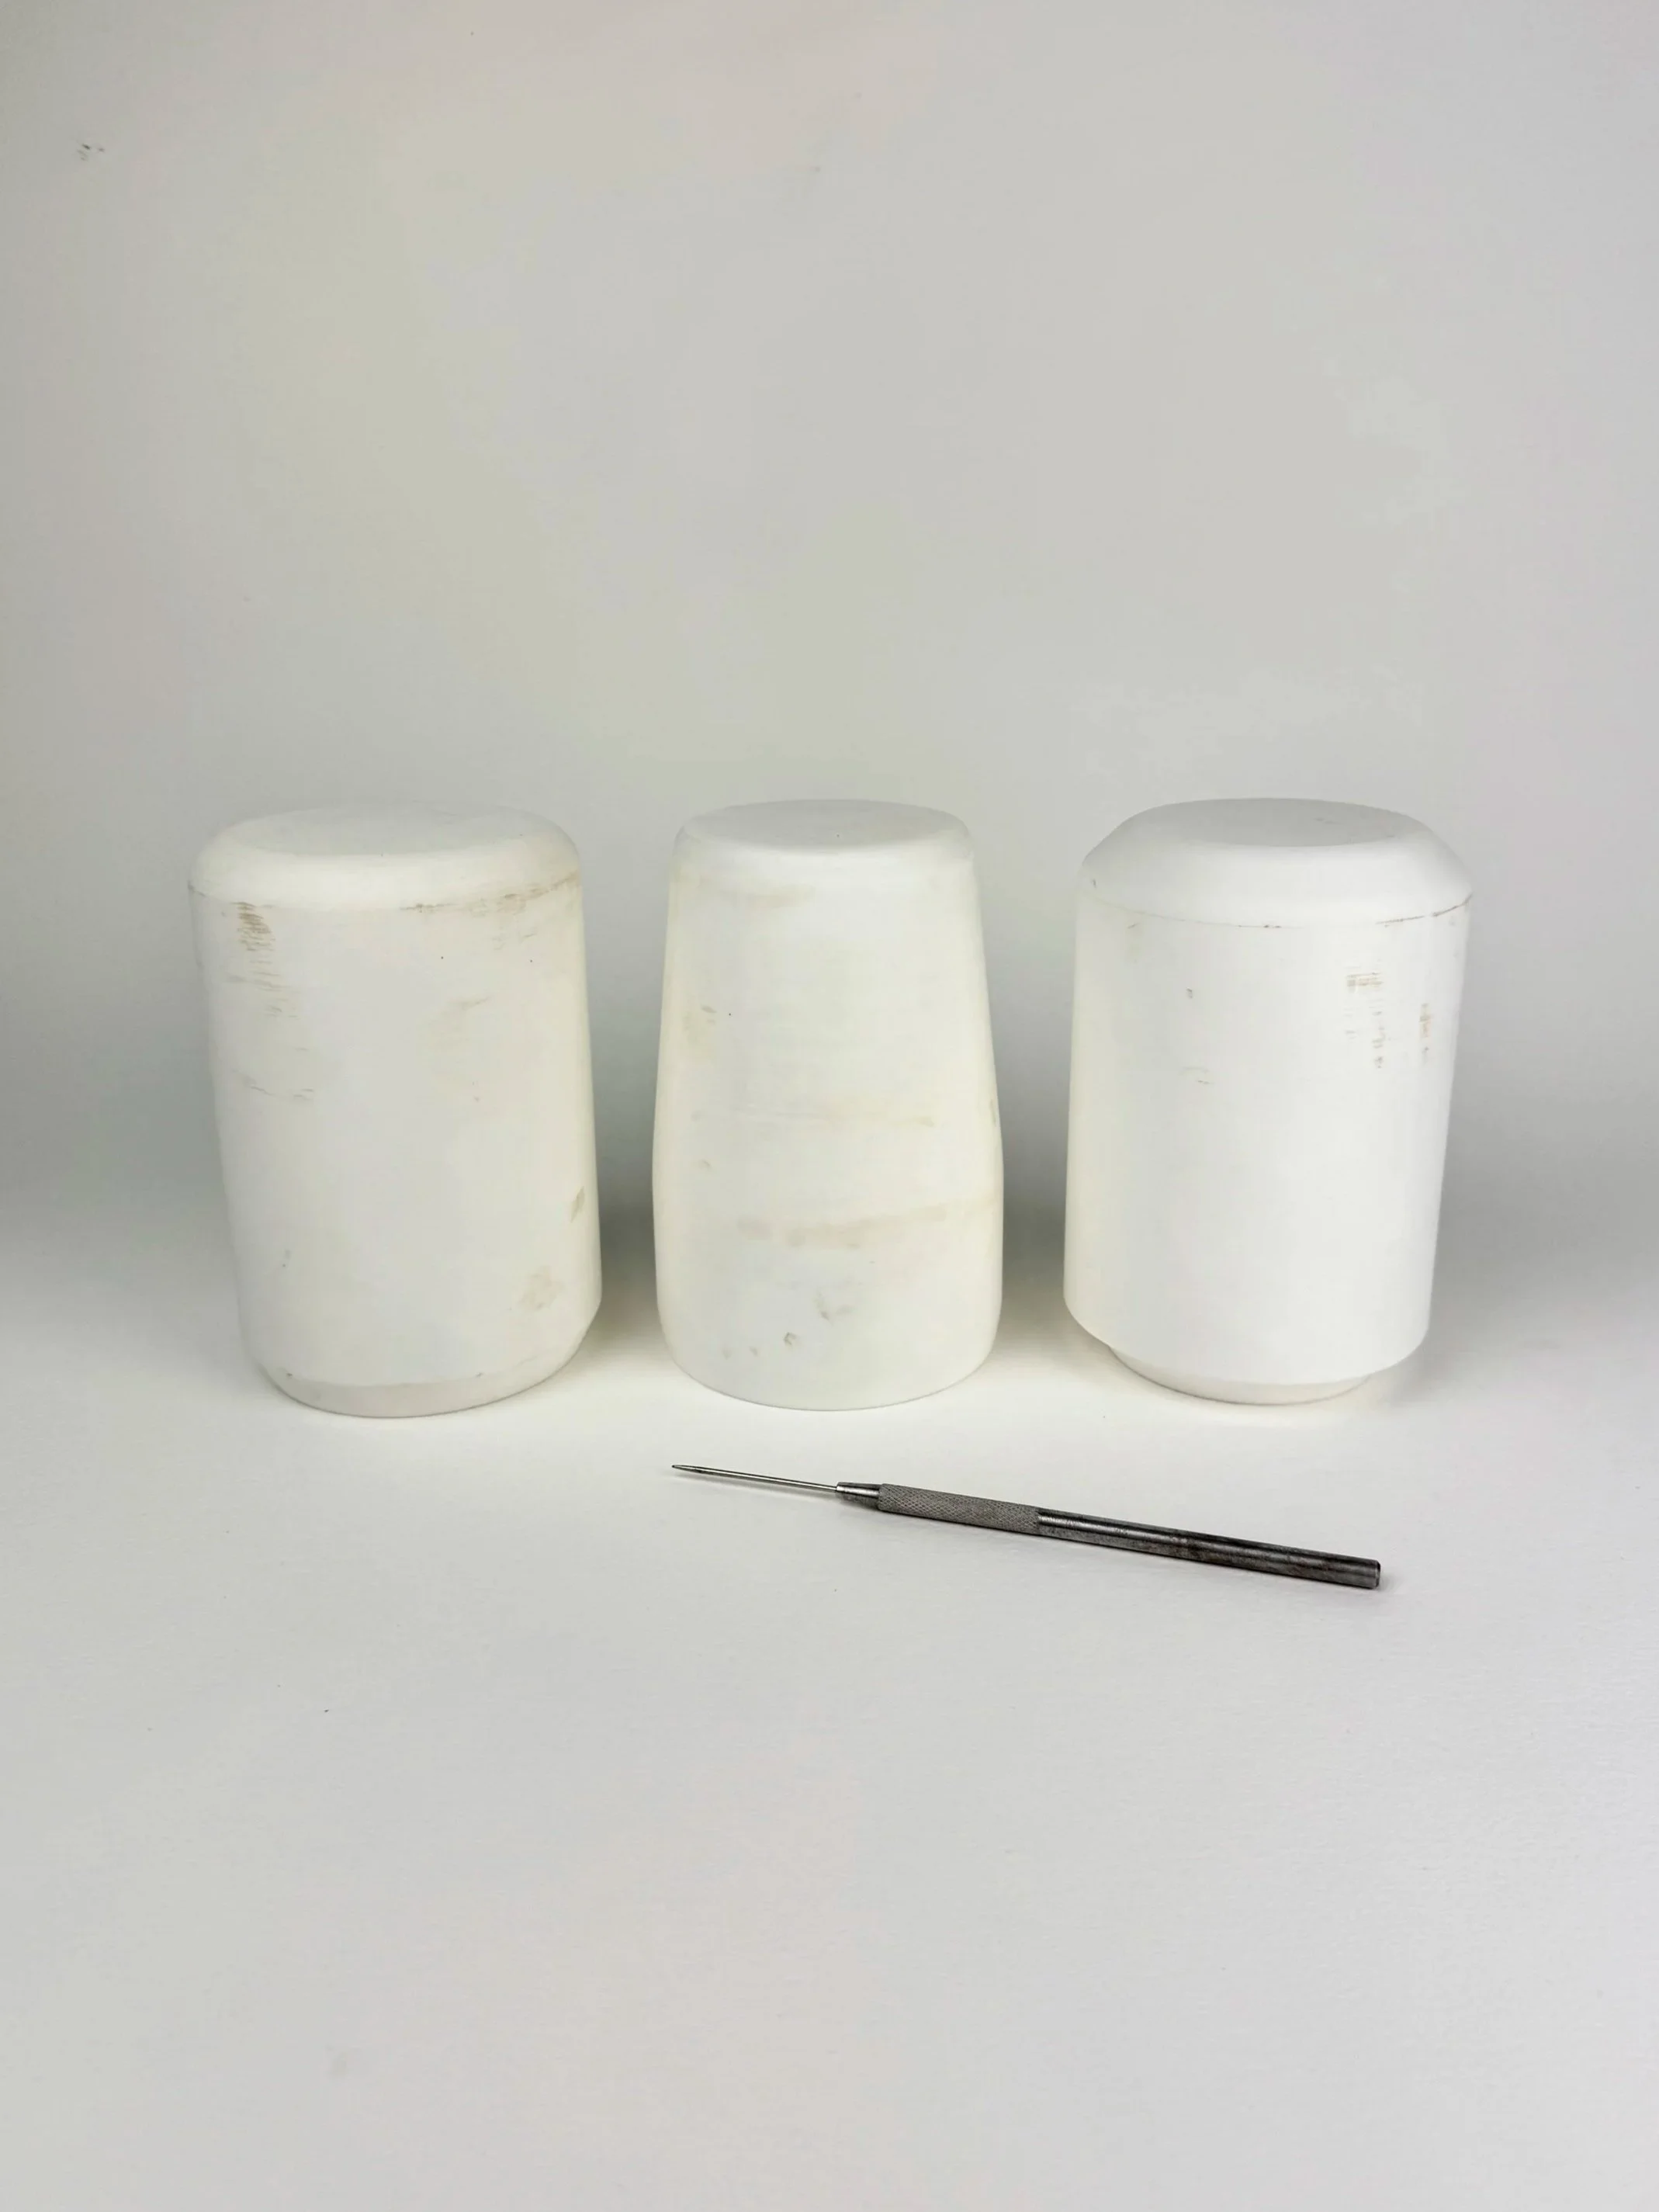 Image 1 of 28
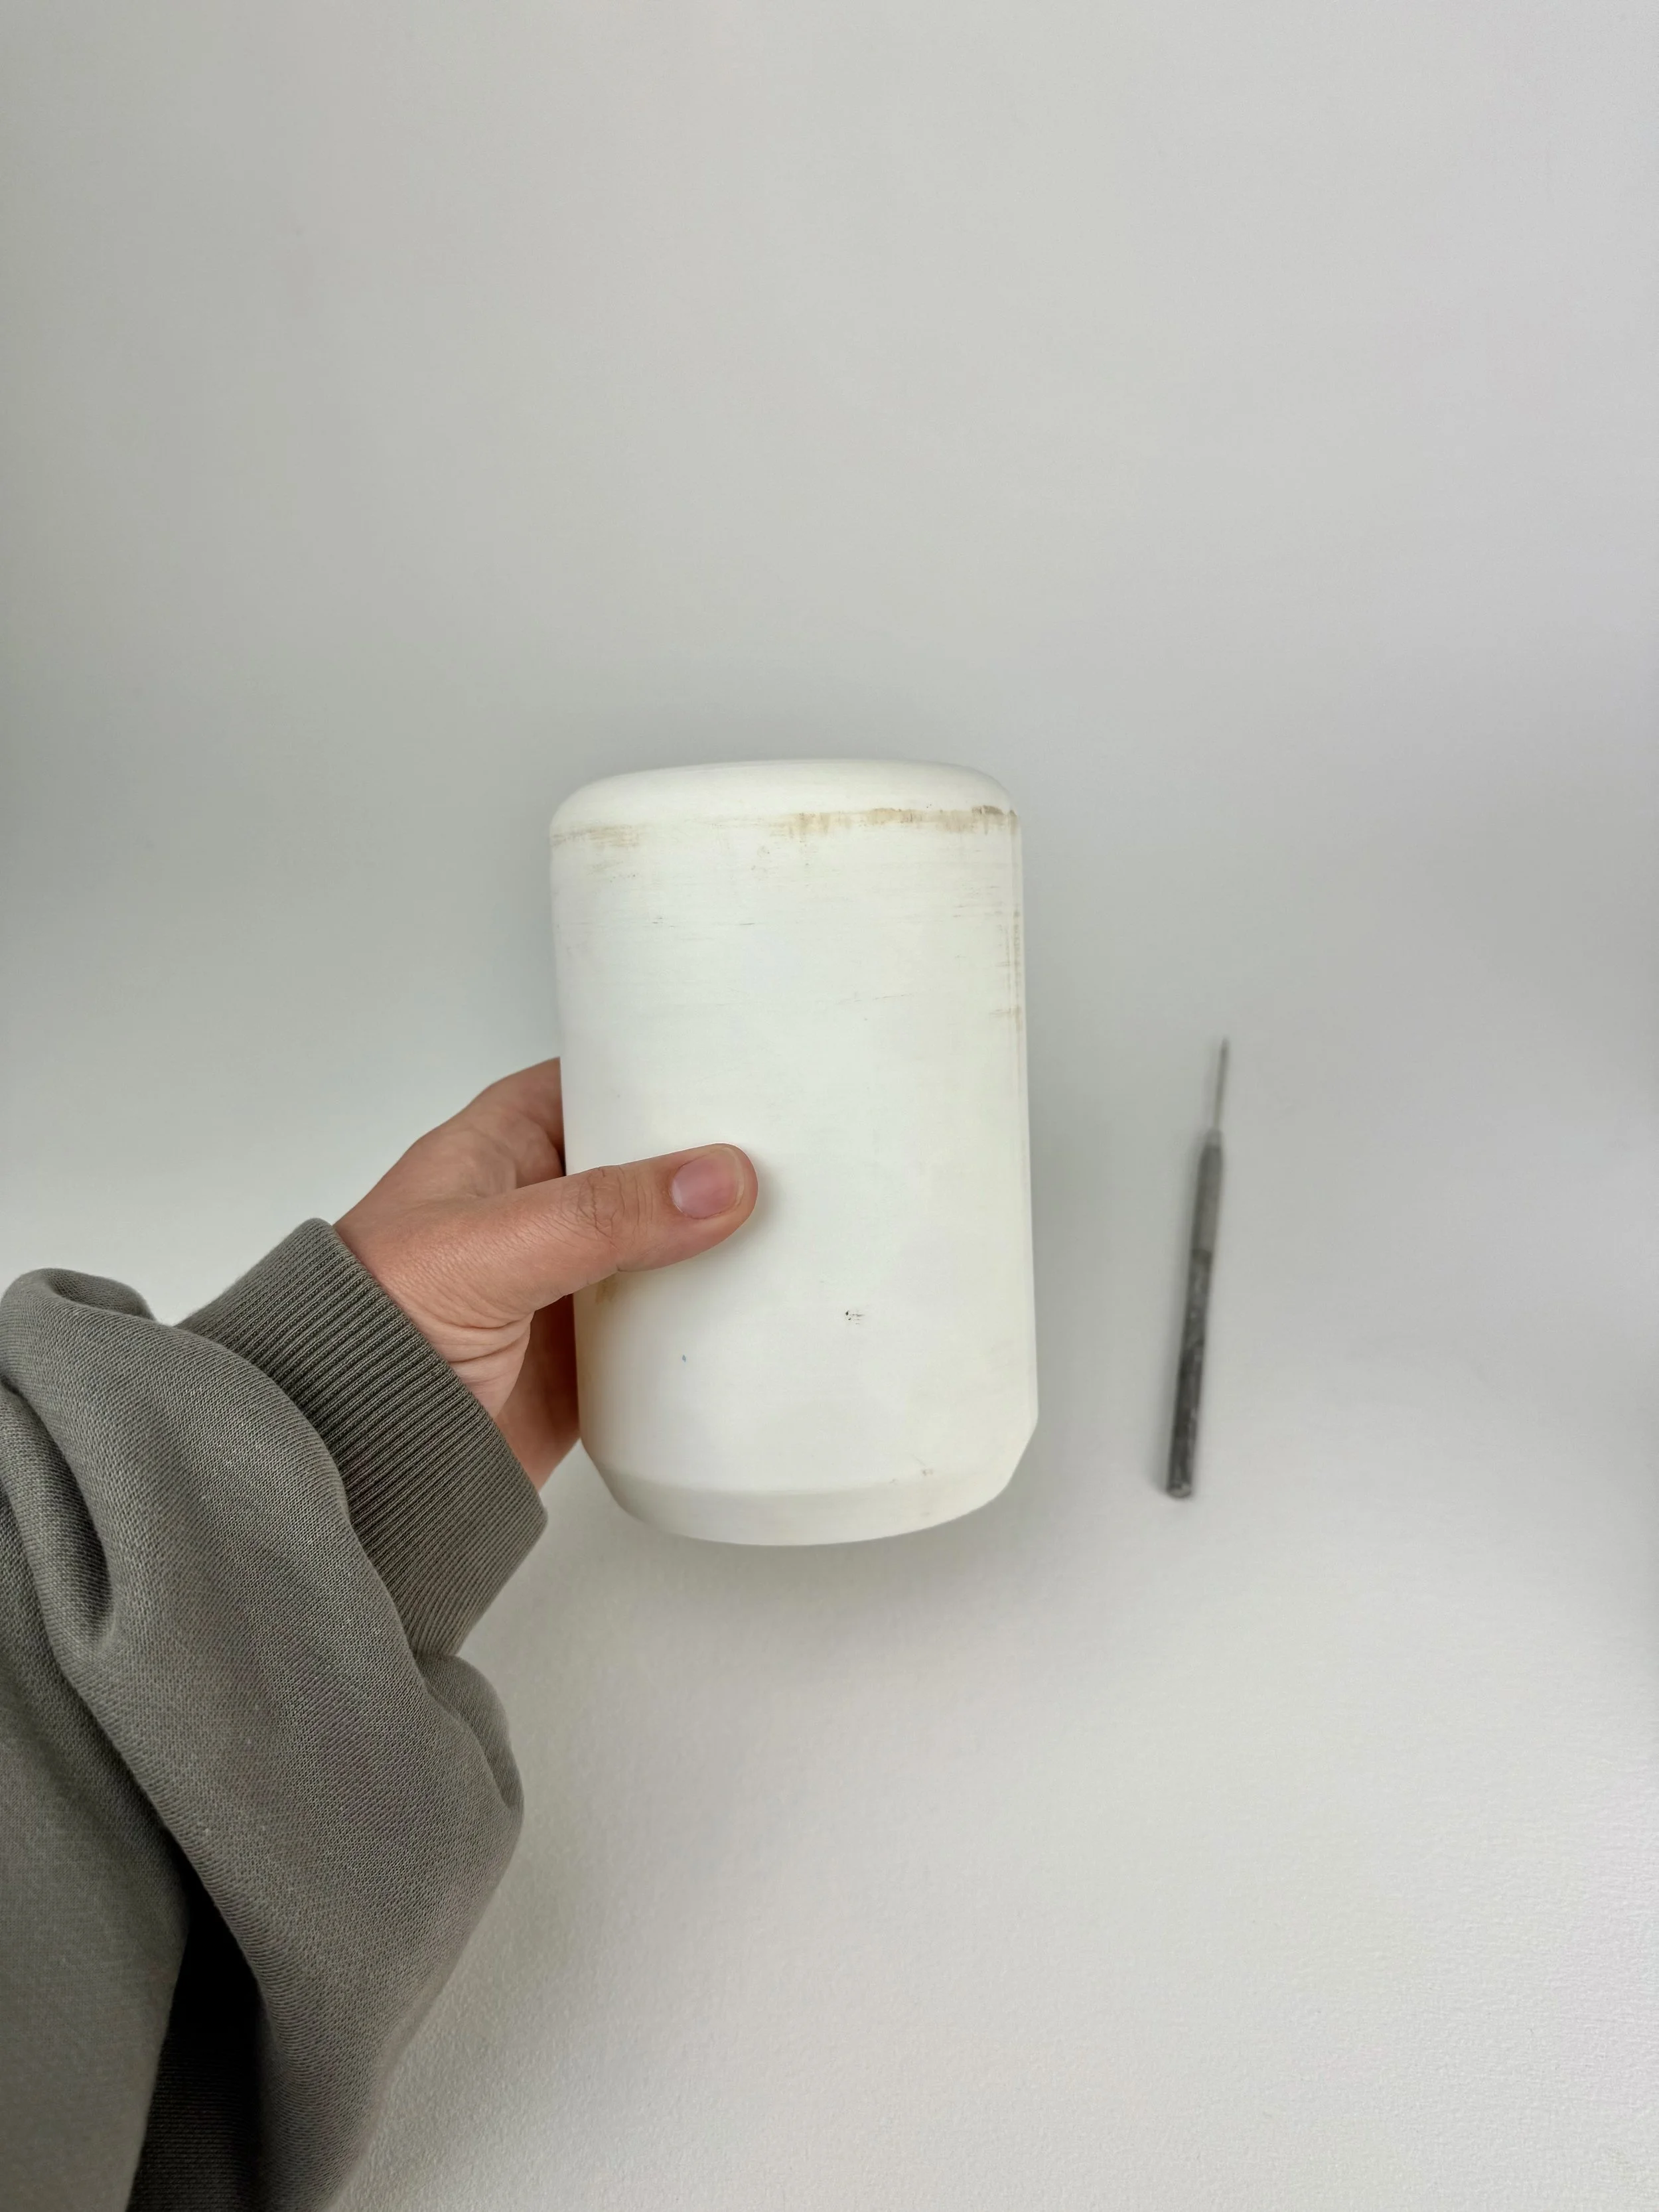 Image 2 of 28
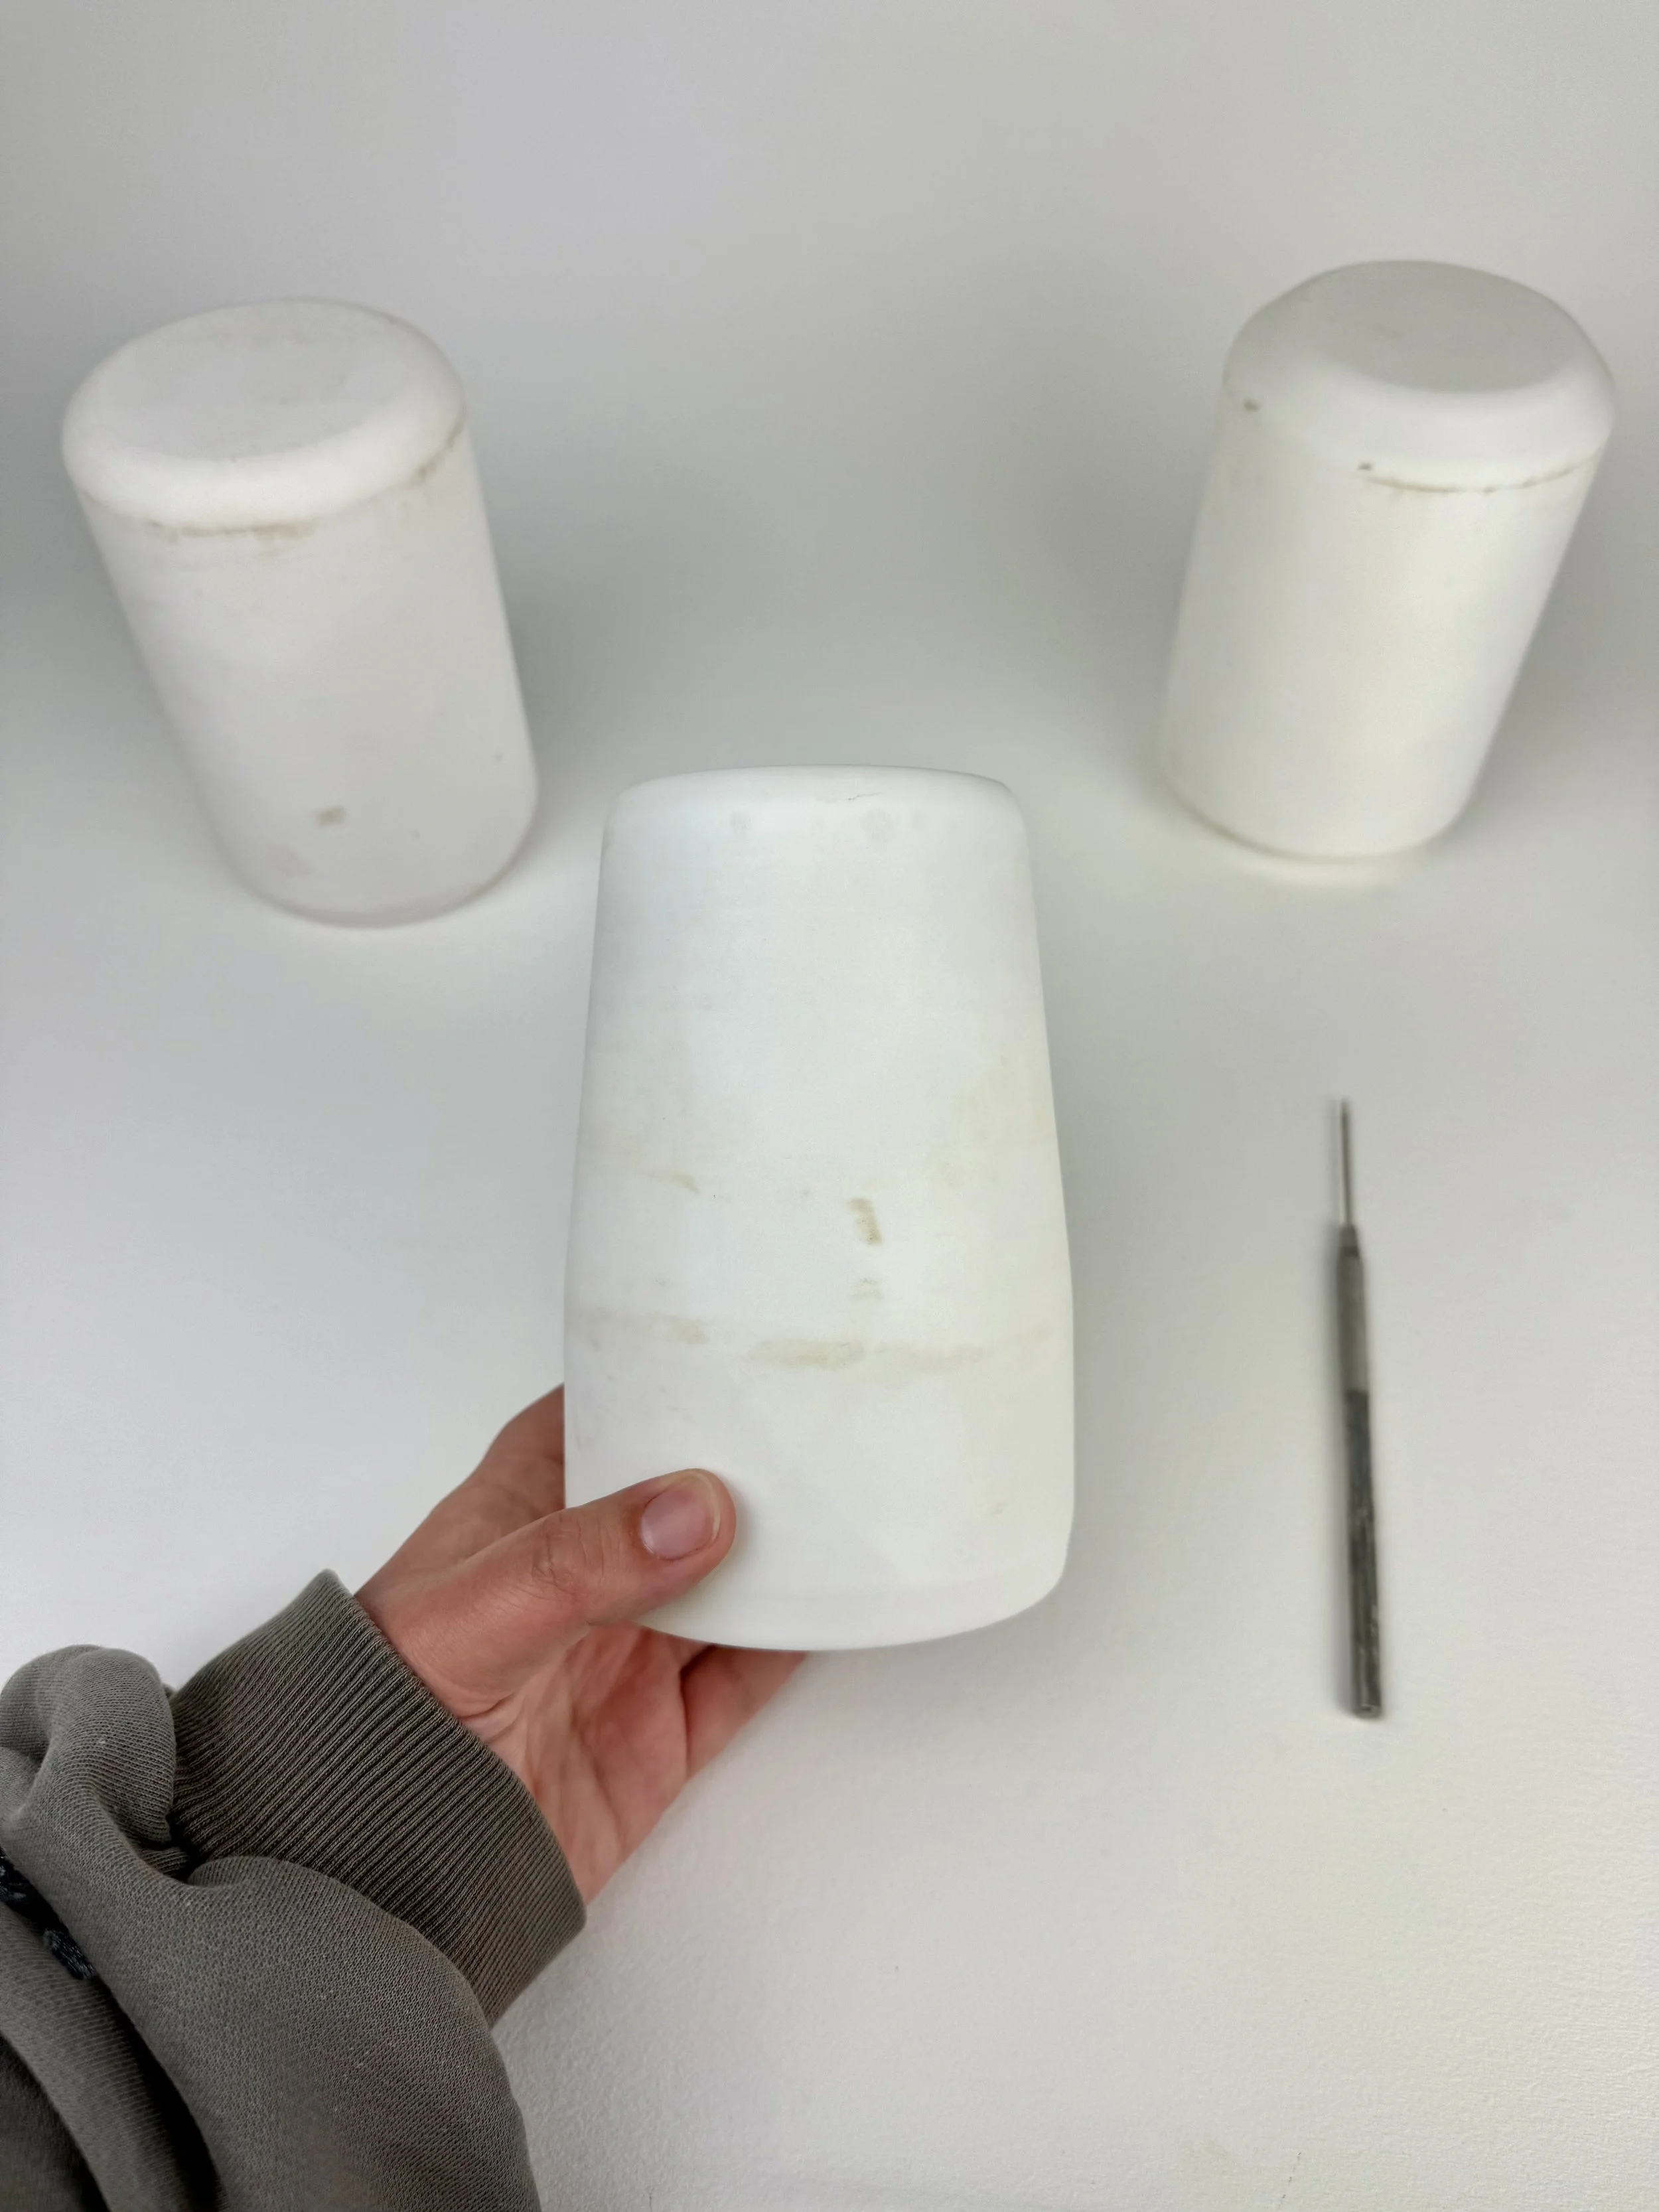 Image 3 of 28
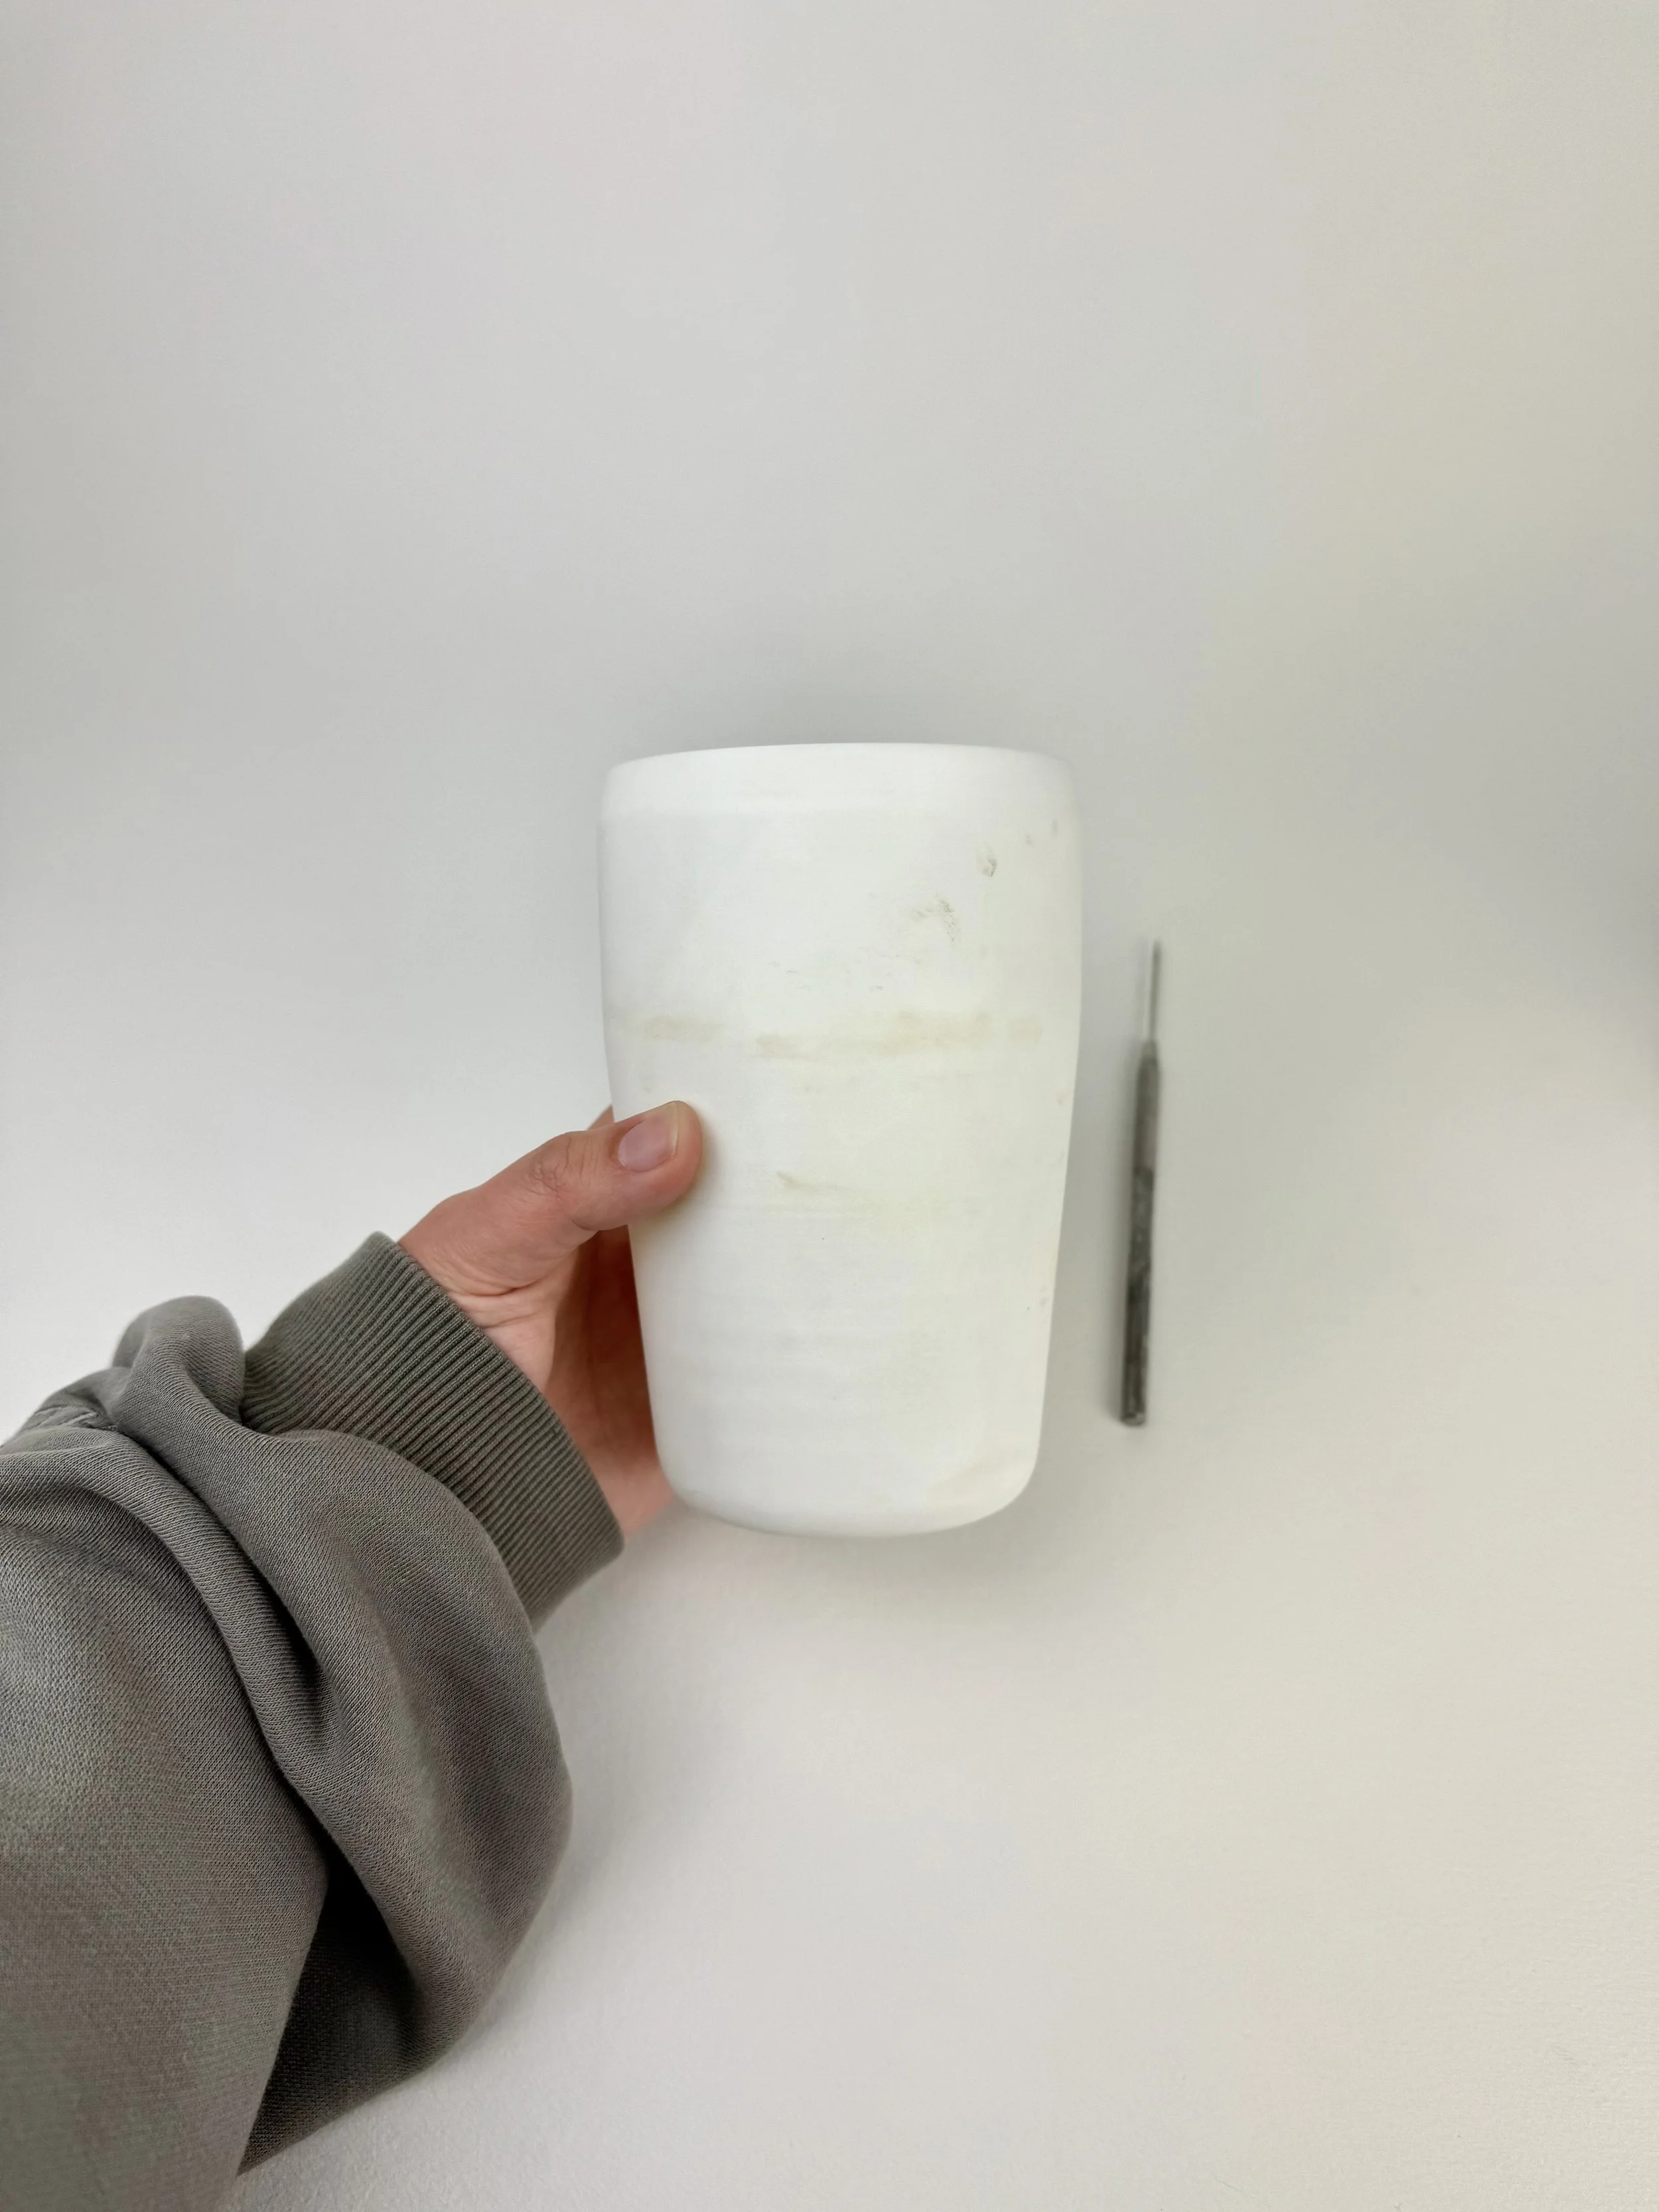 Image 4 of 28
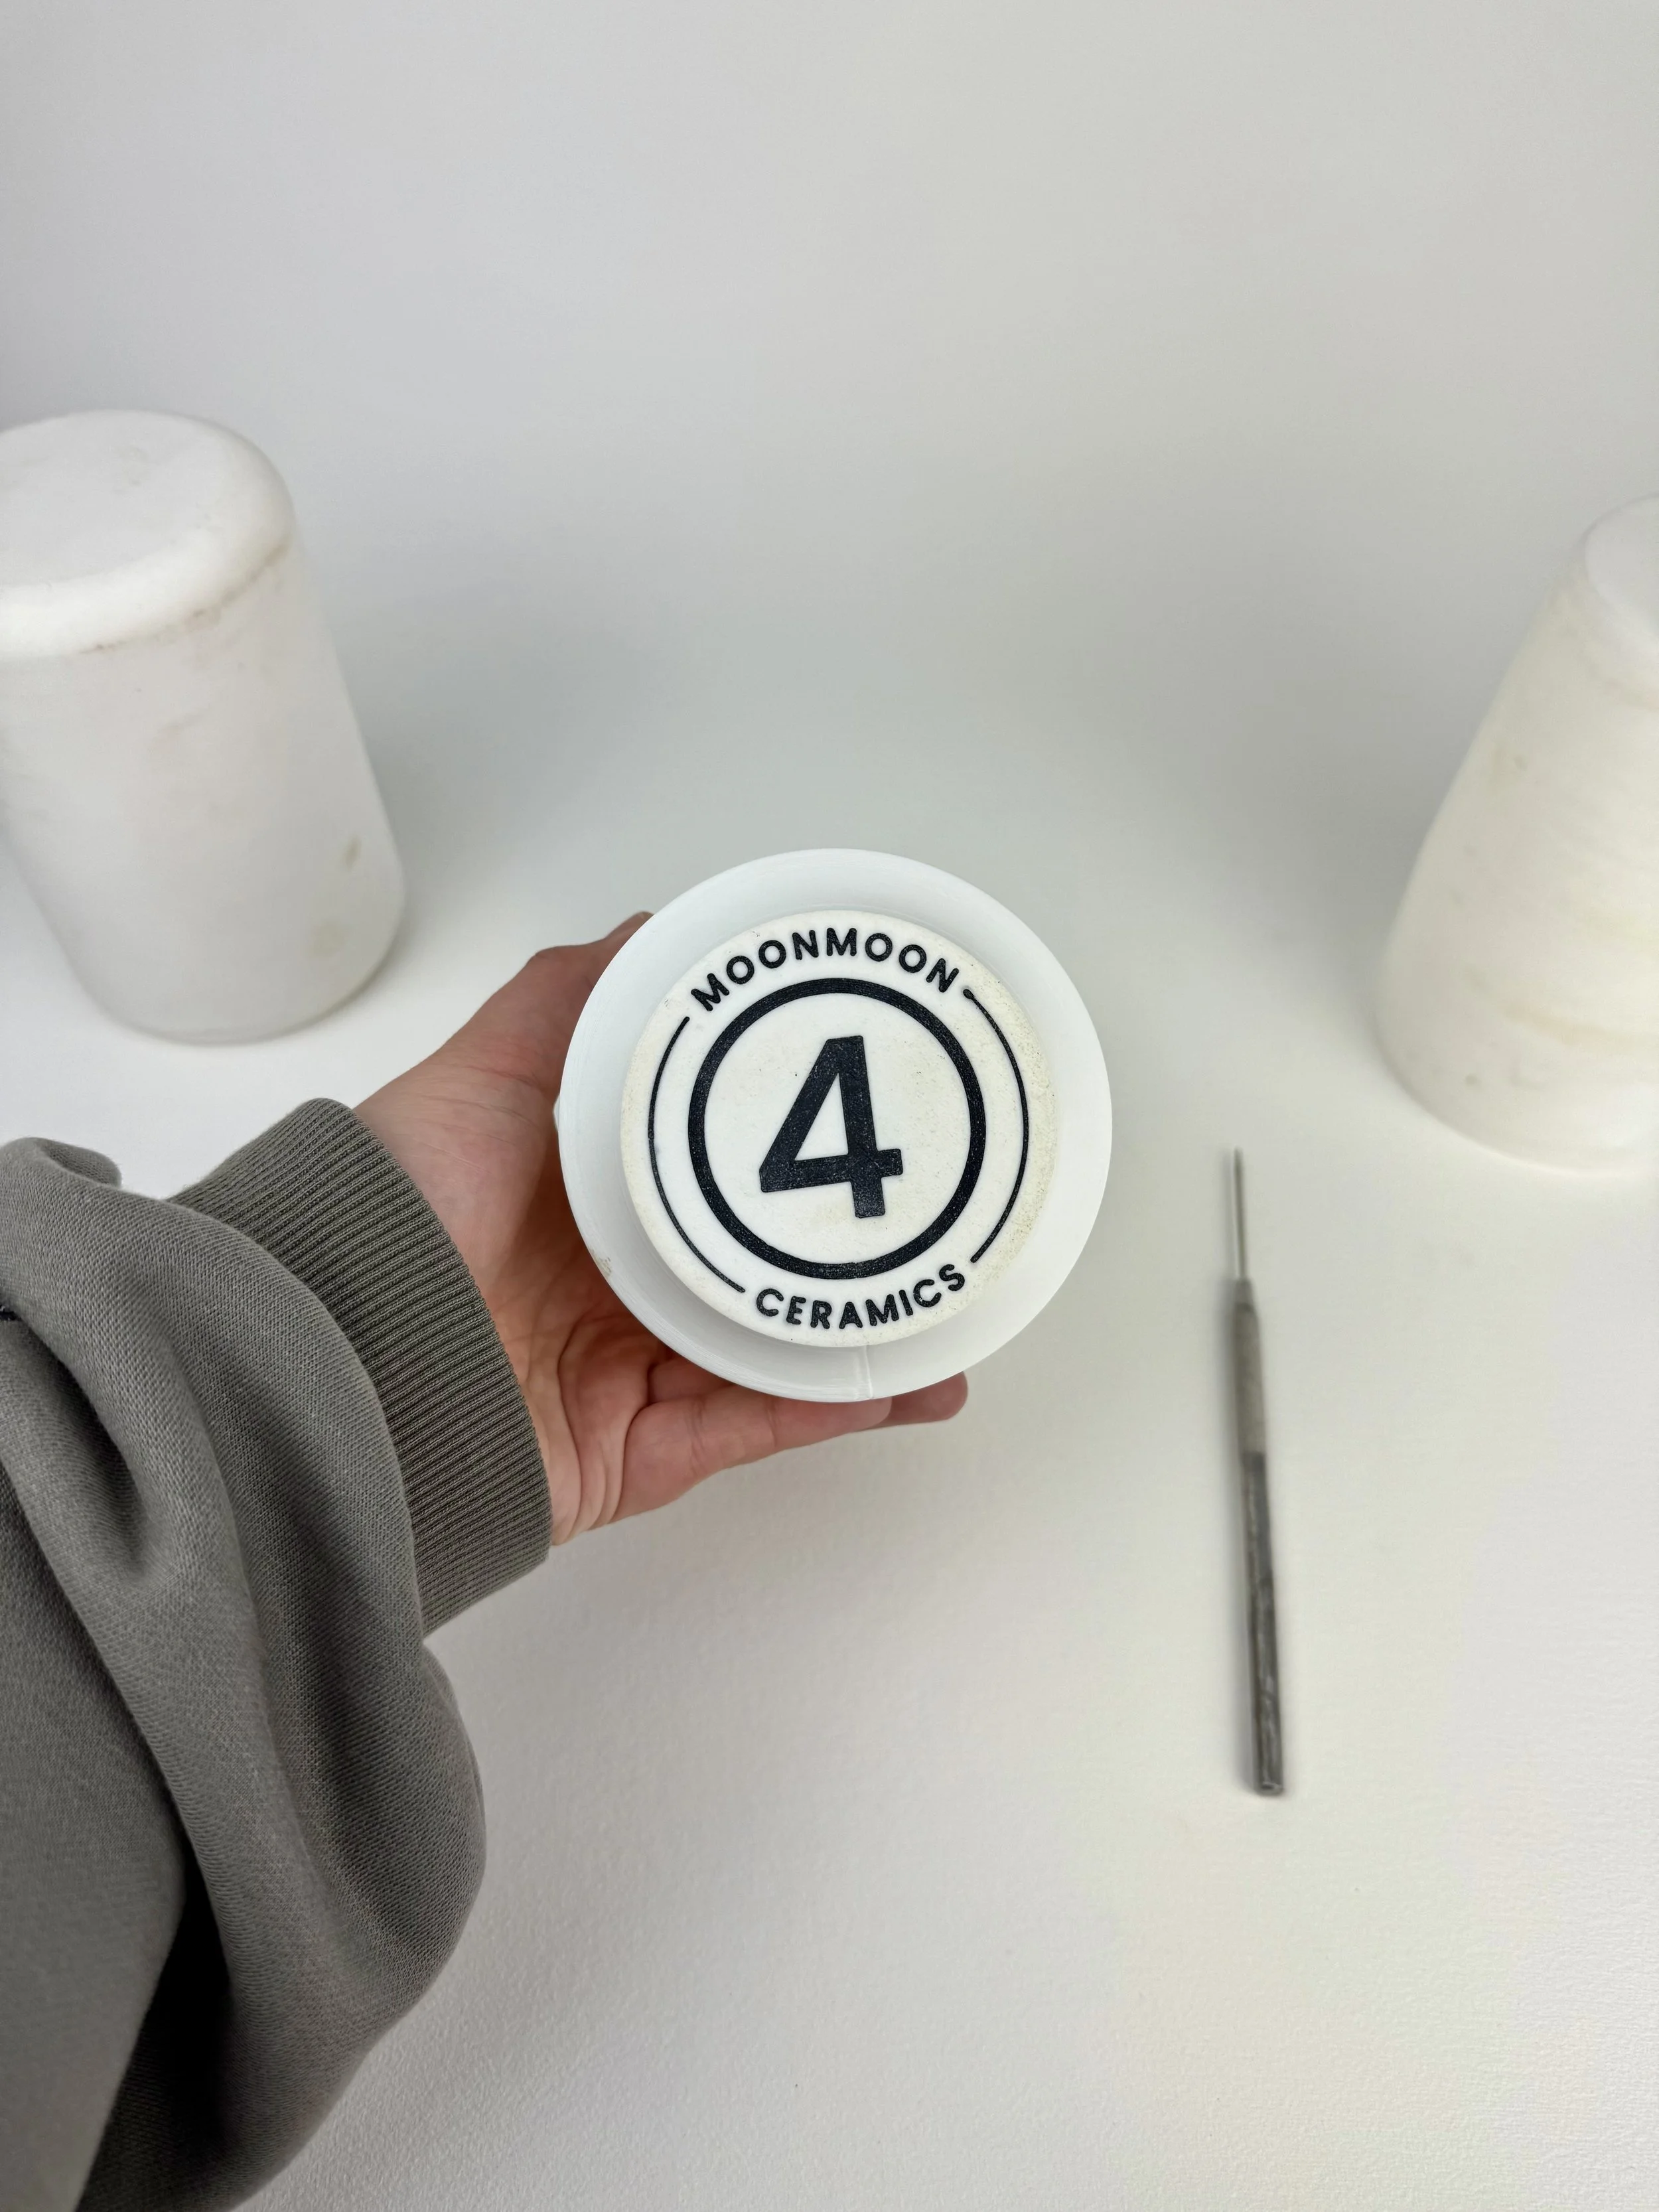 Image 5 of 28
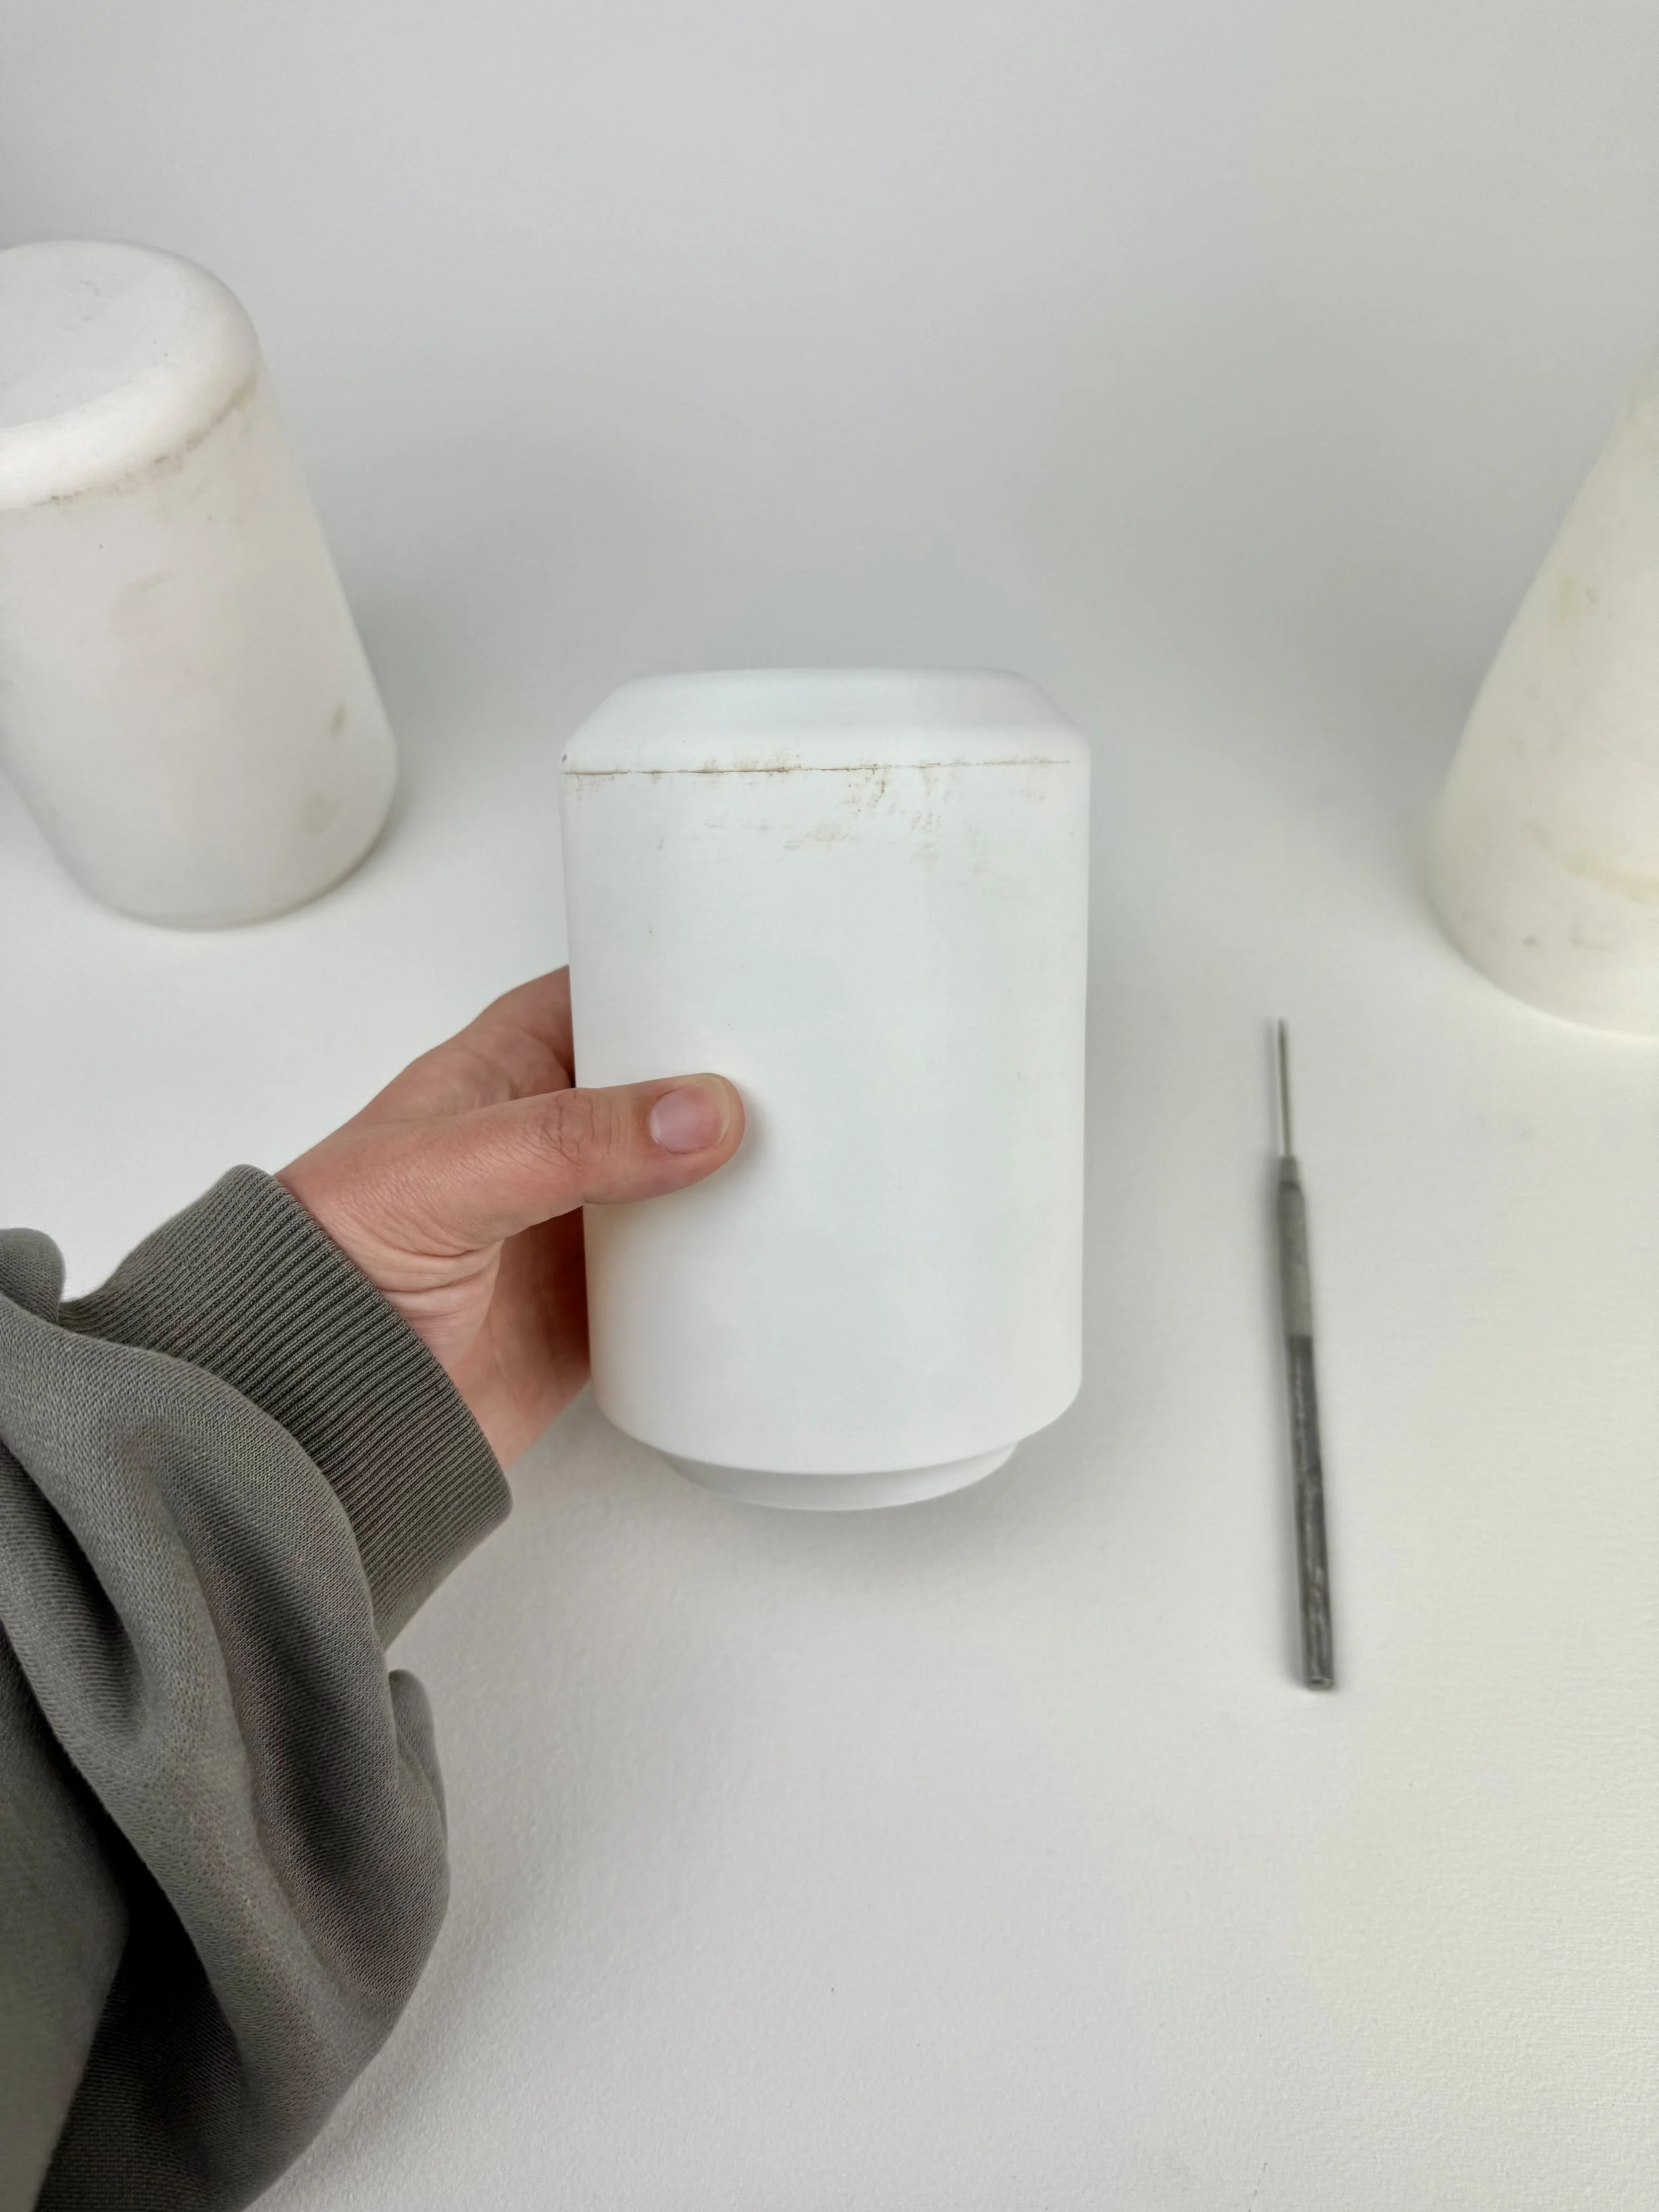 Image 6 of 28
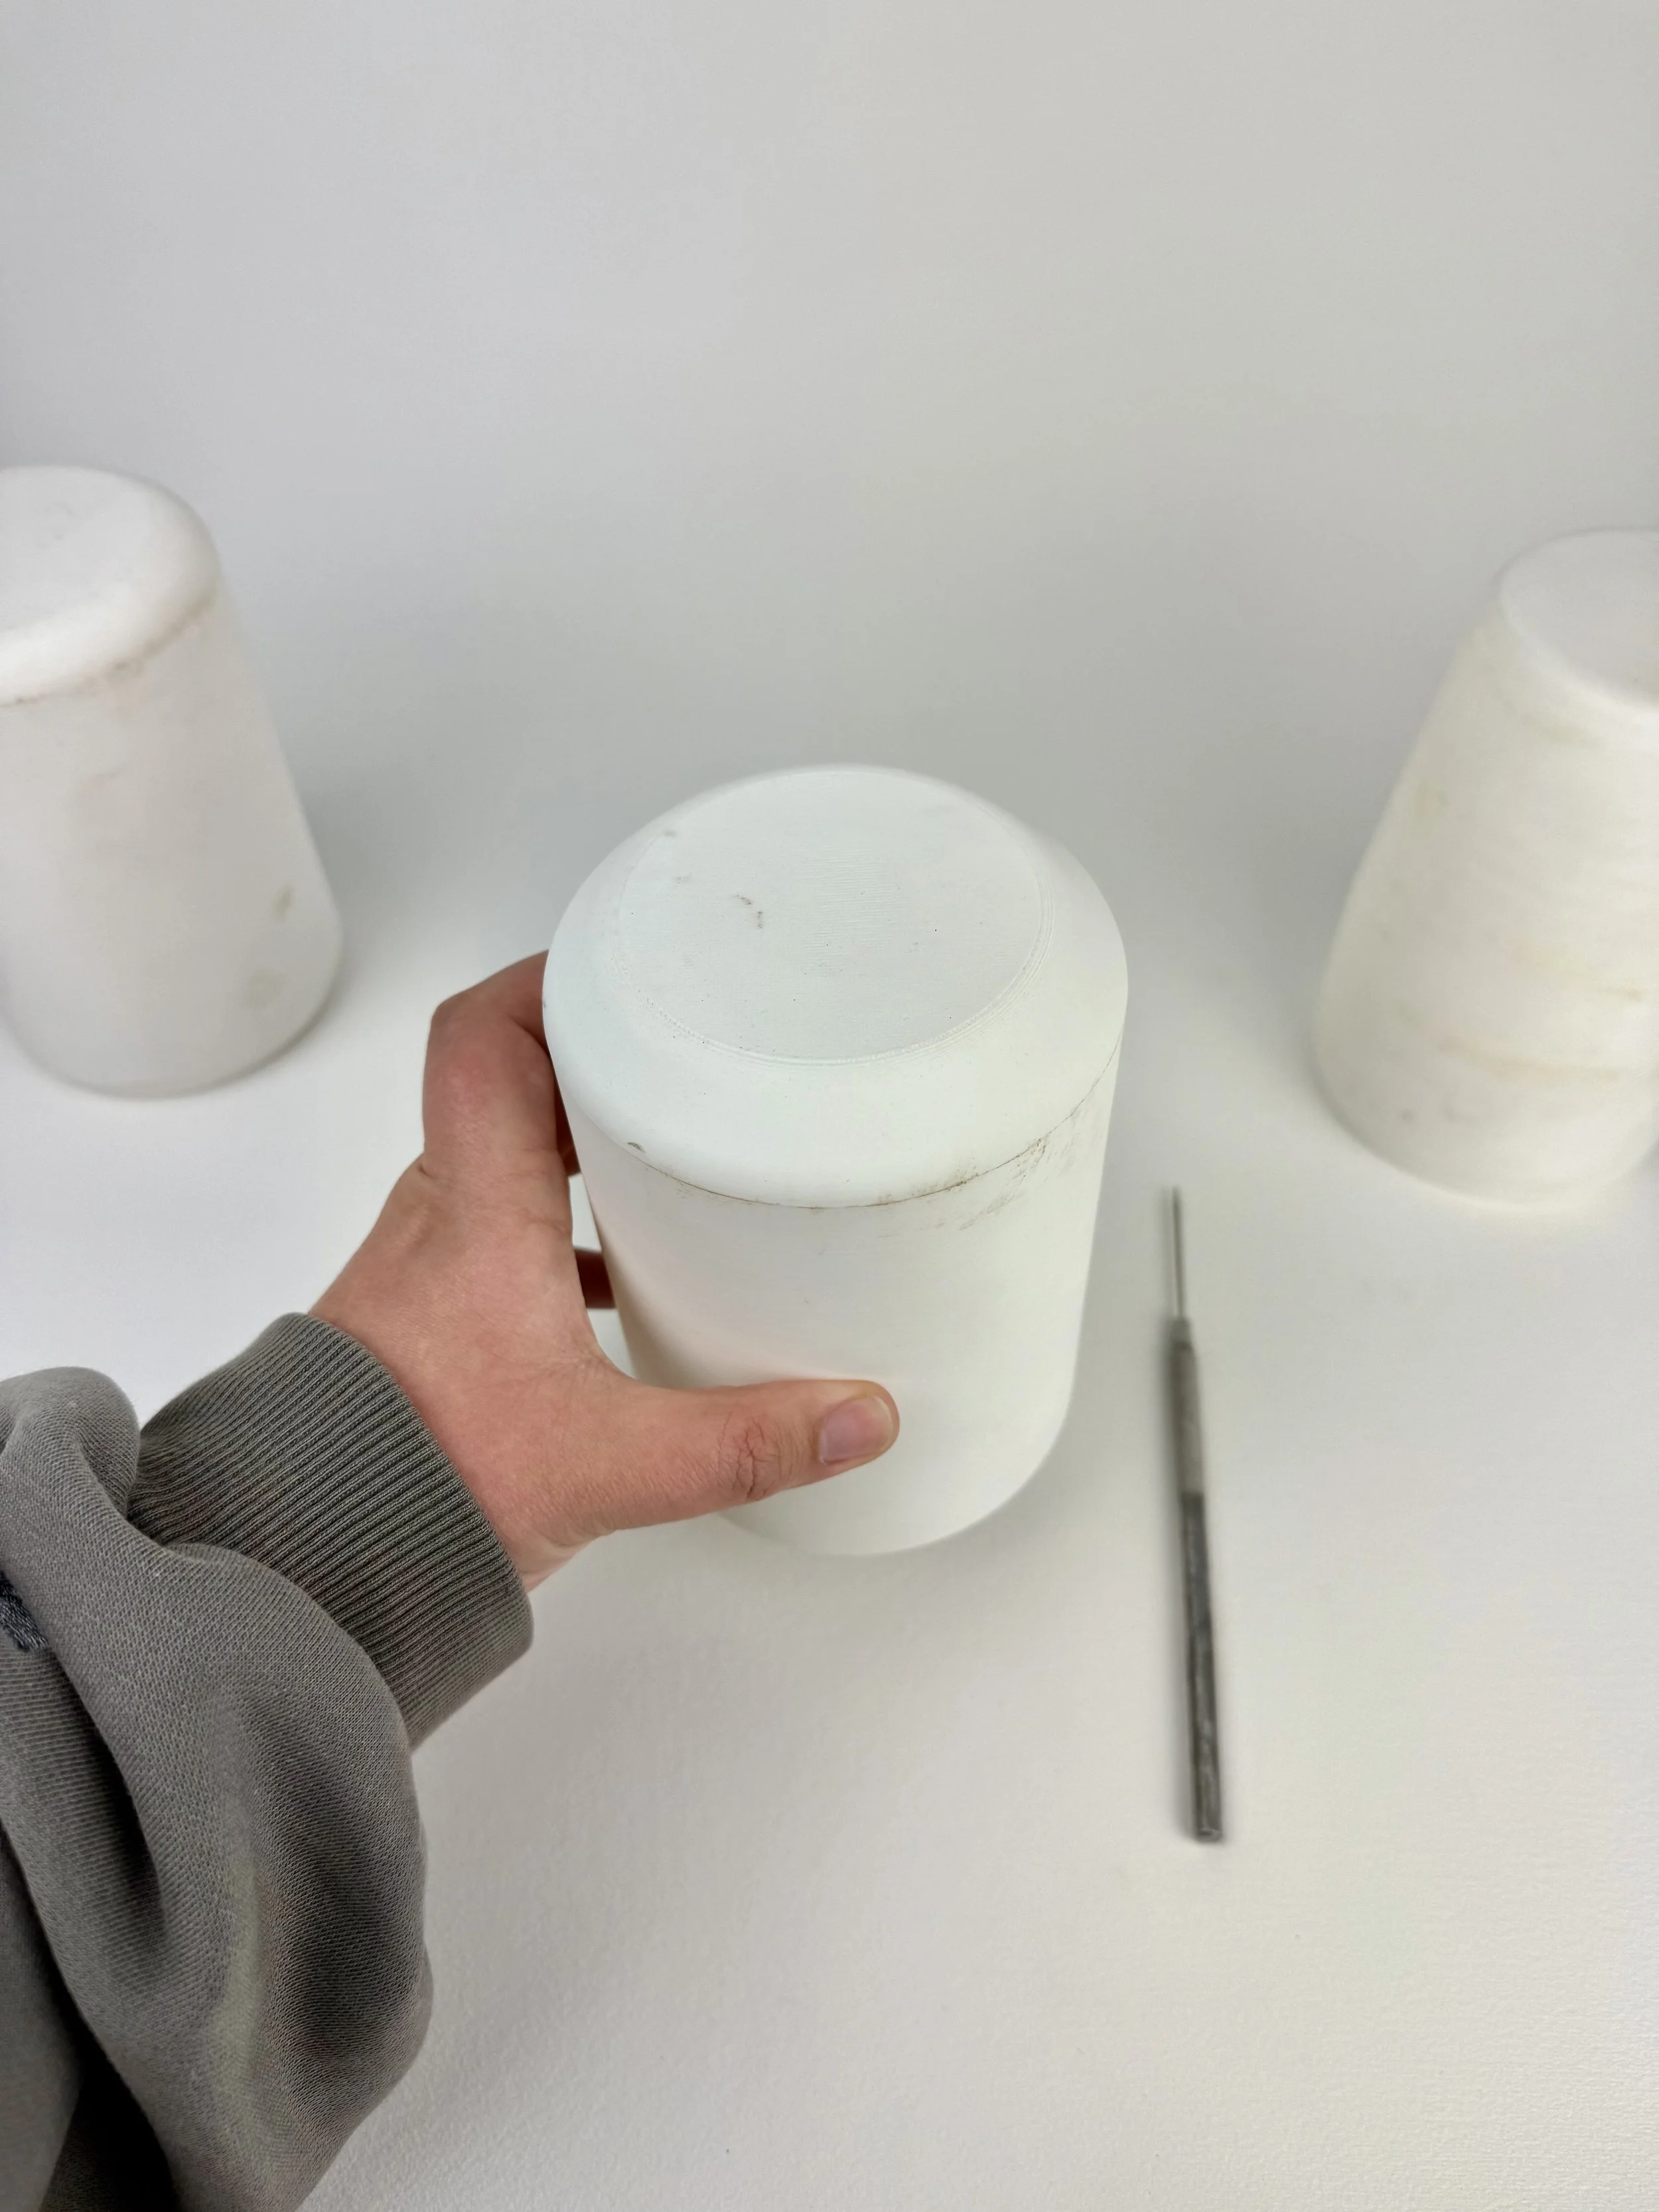 Image 7 of 28
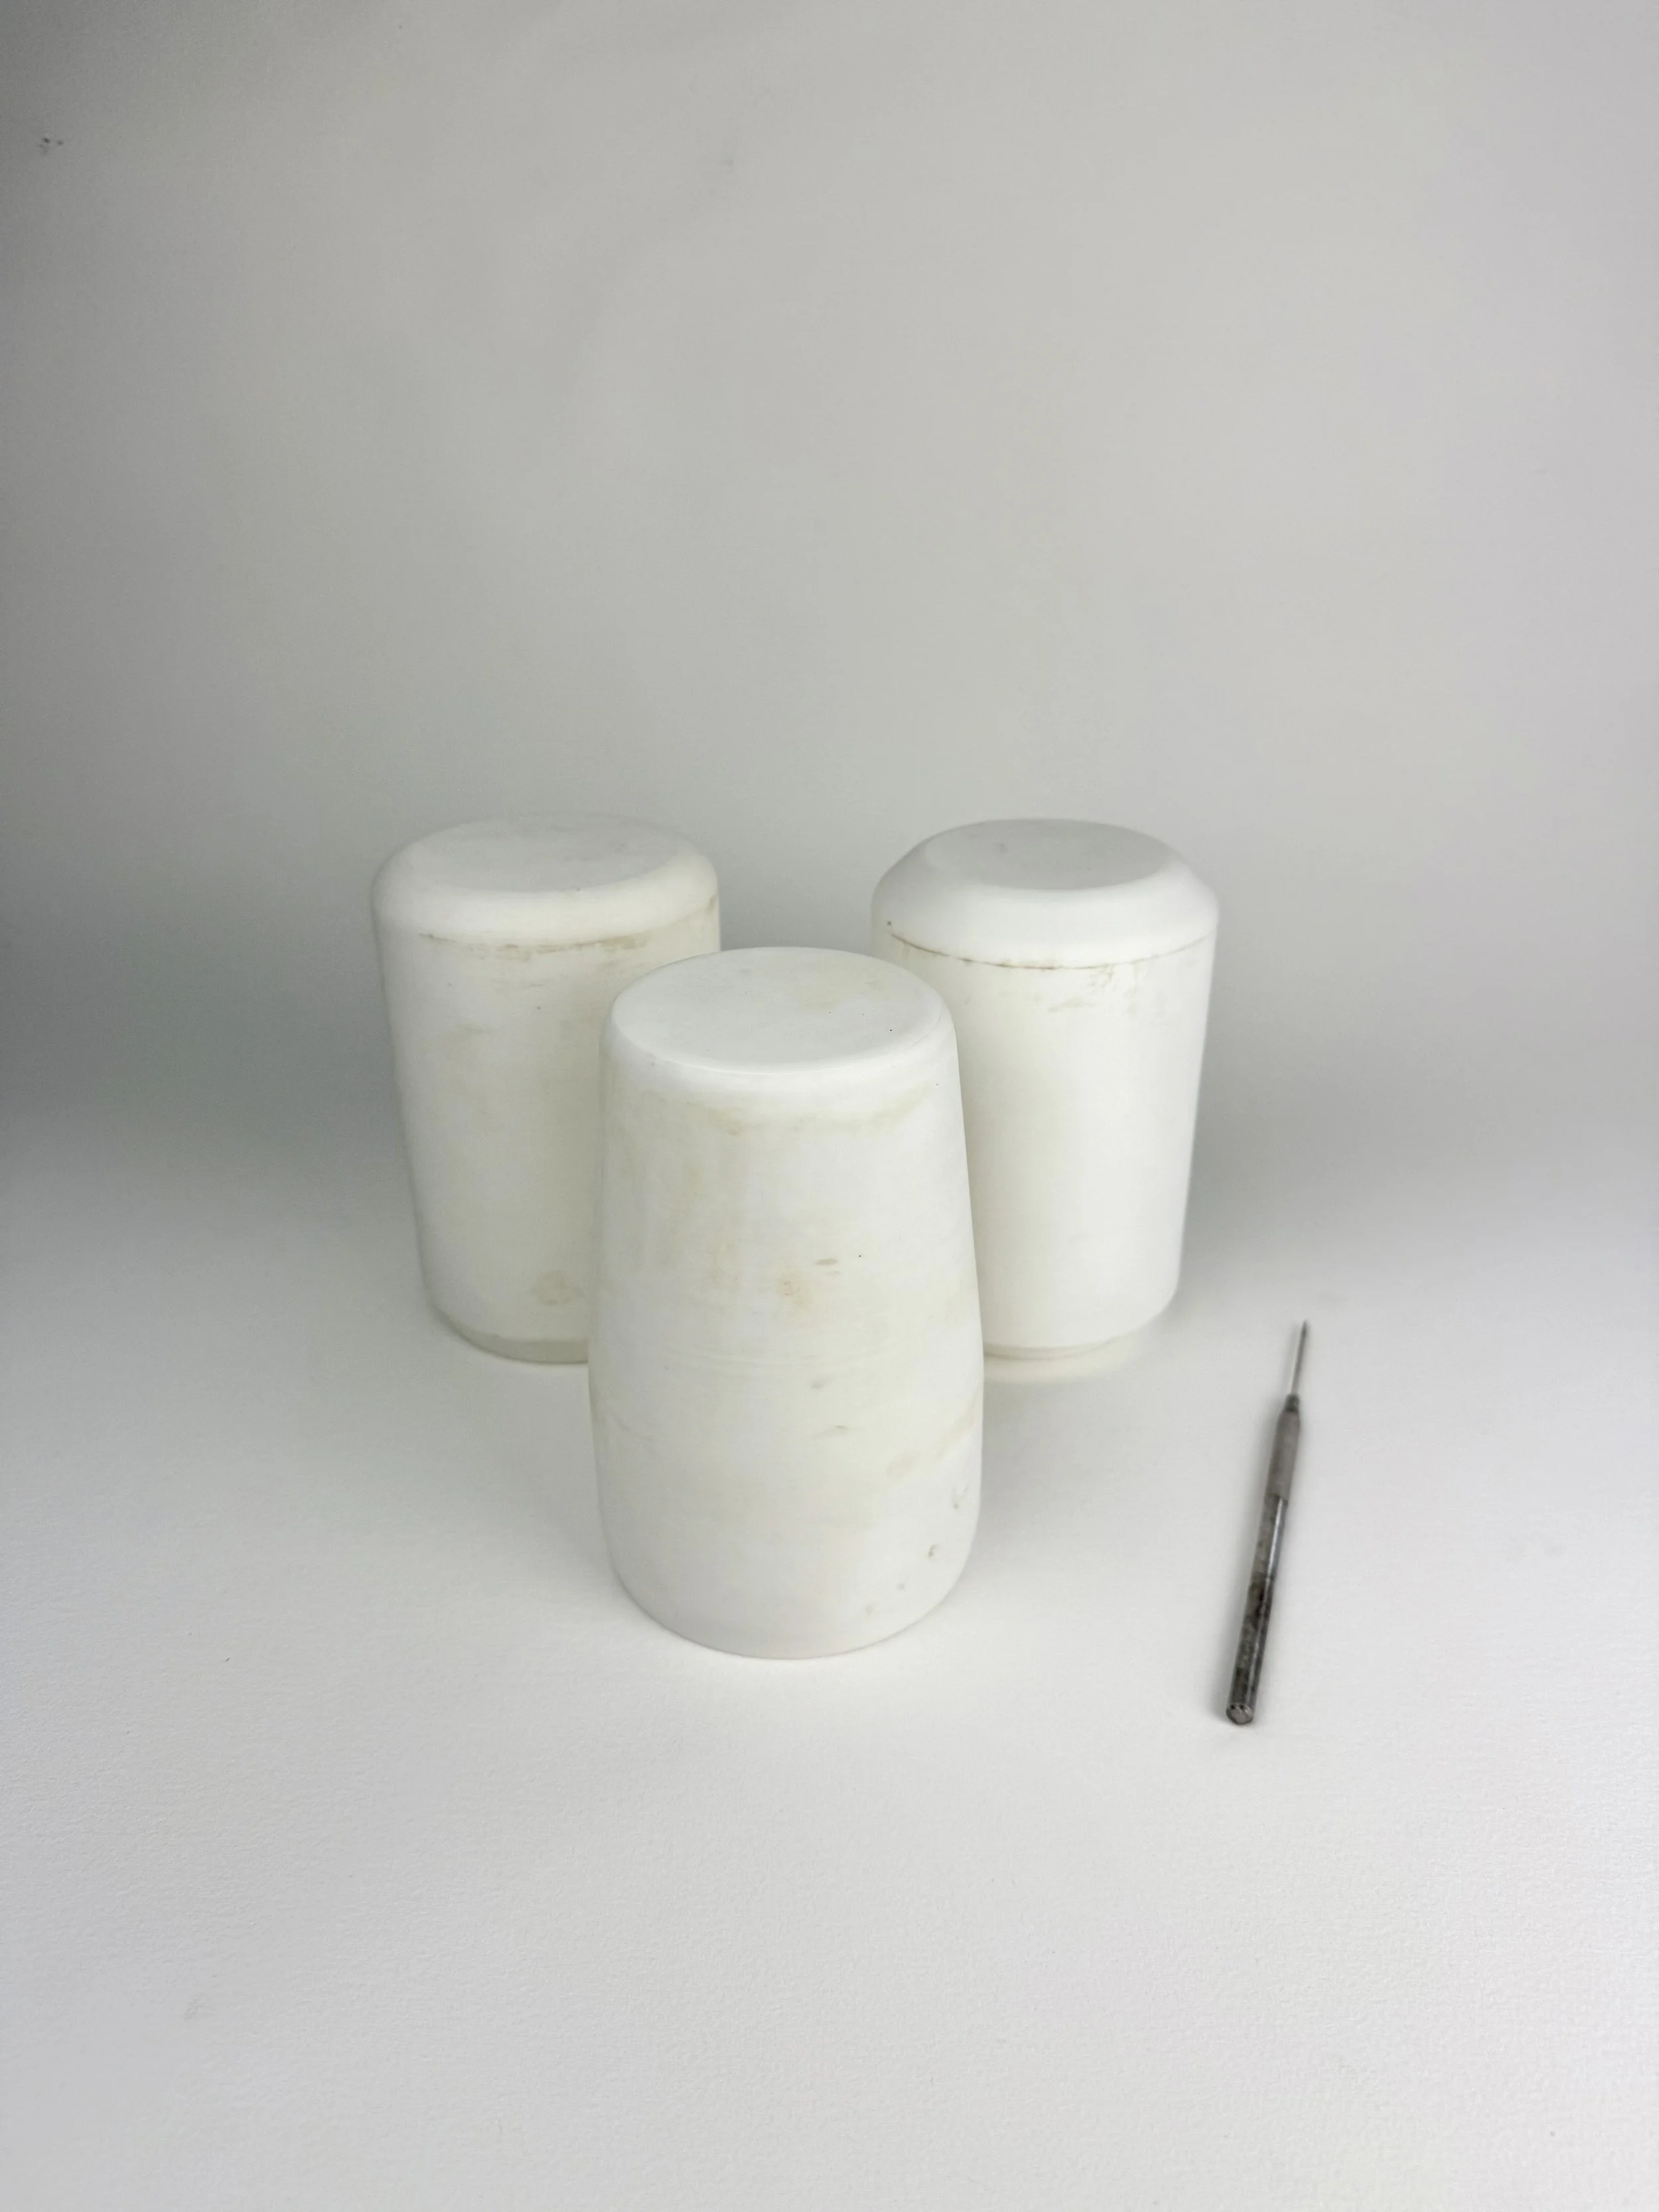 Image 8 of 28
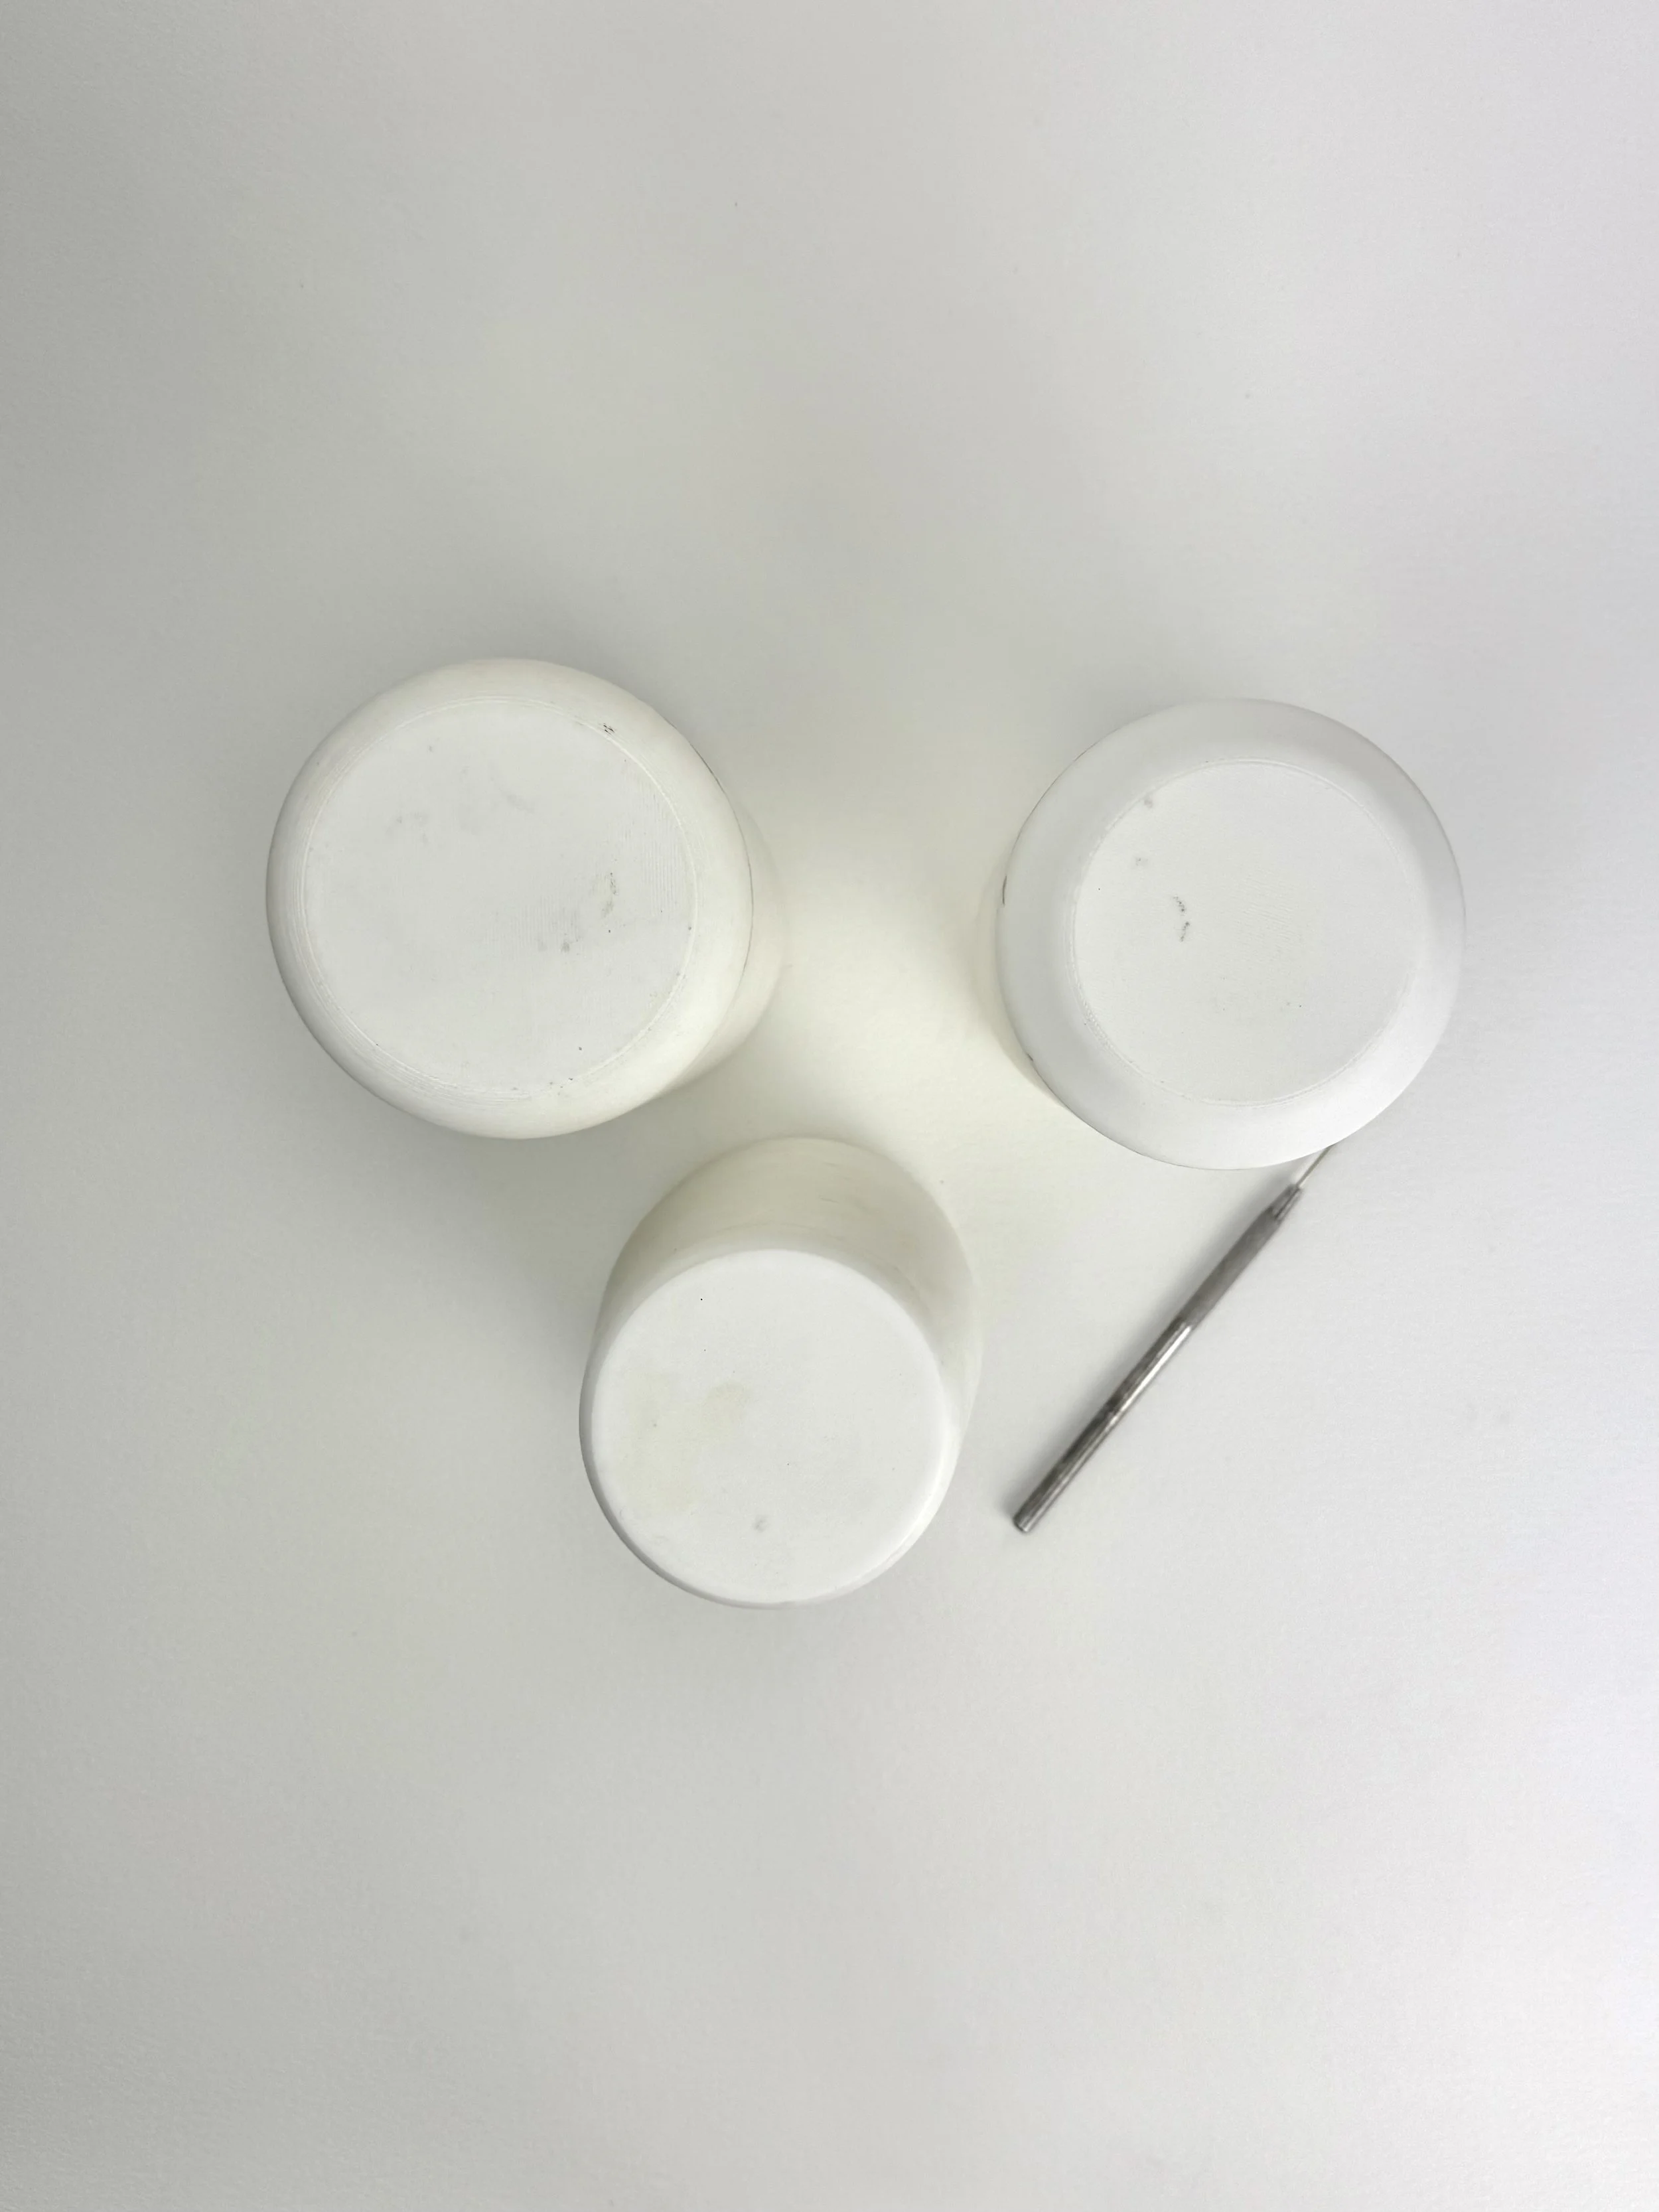 Image 9 of 28
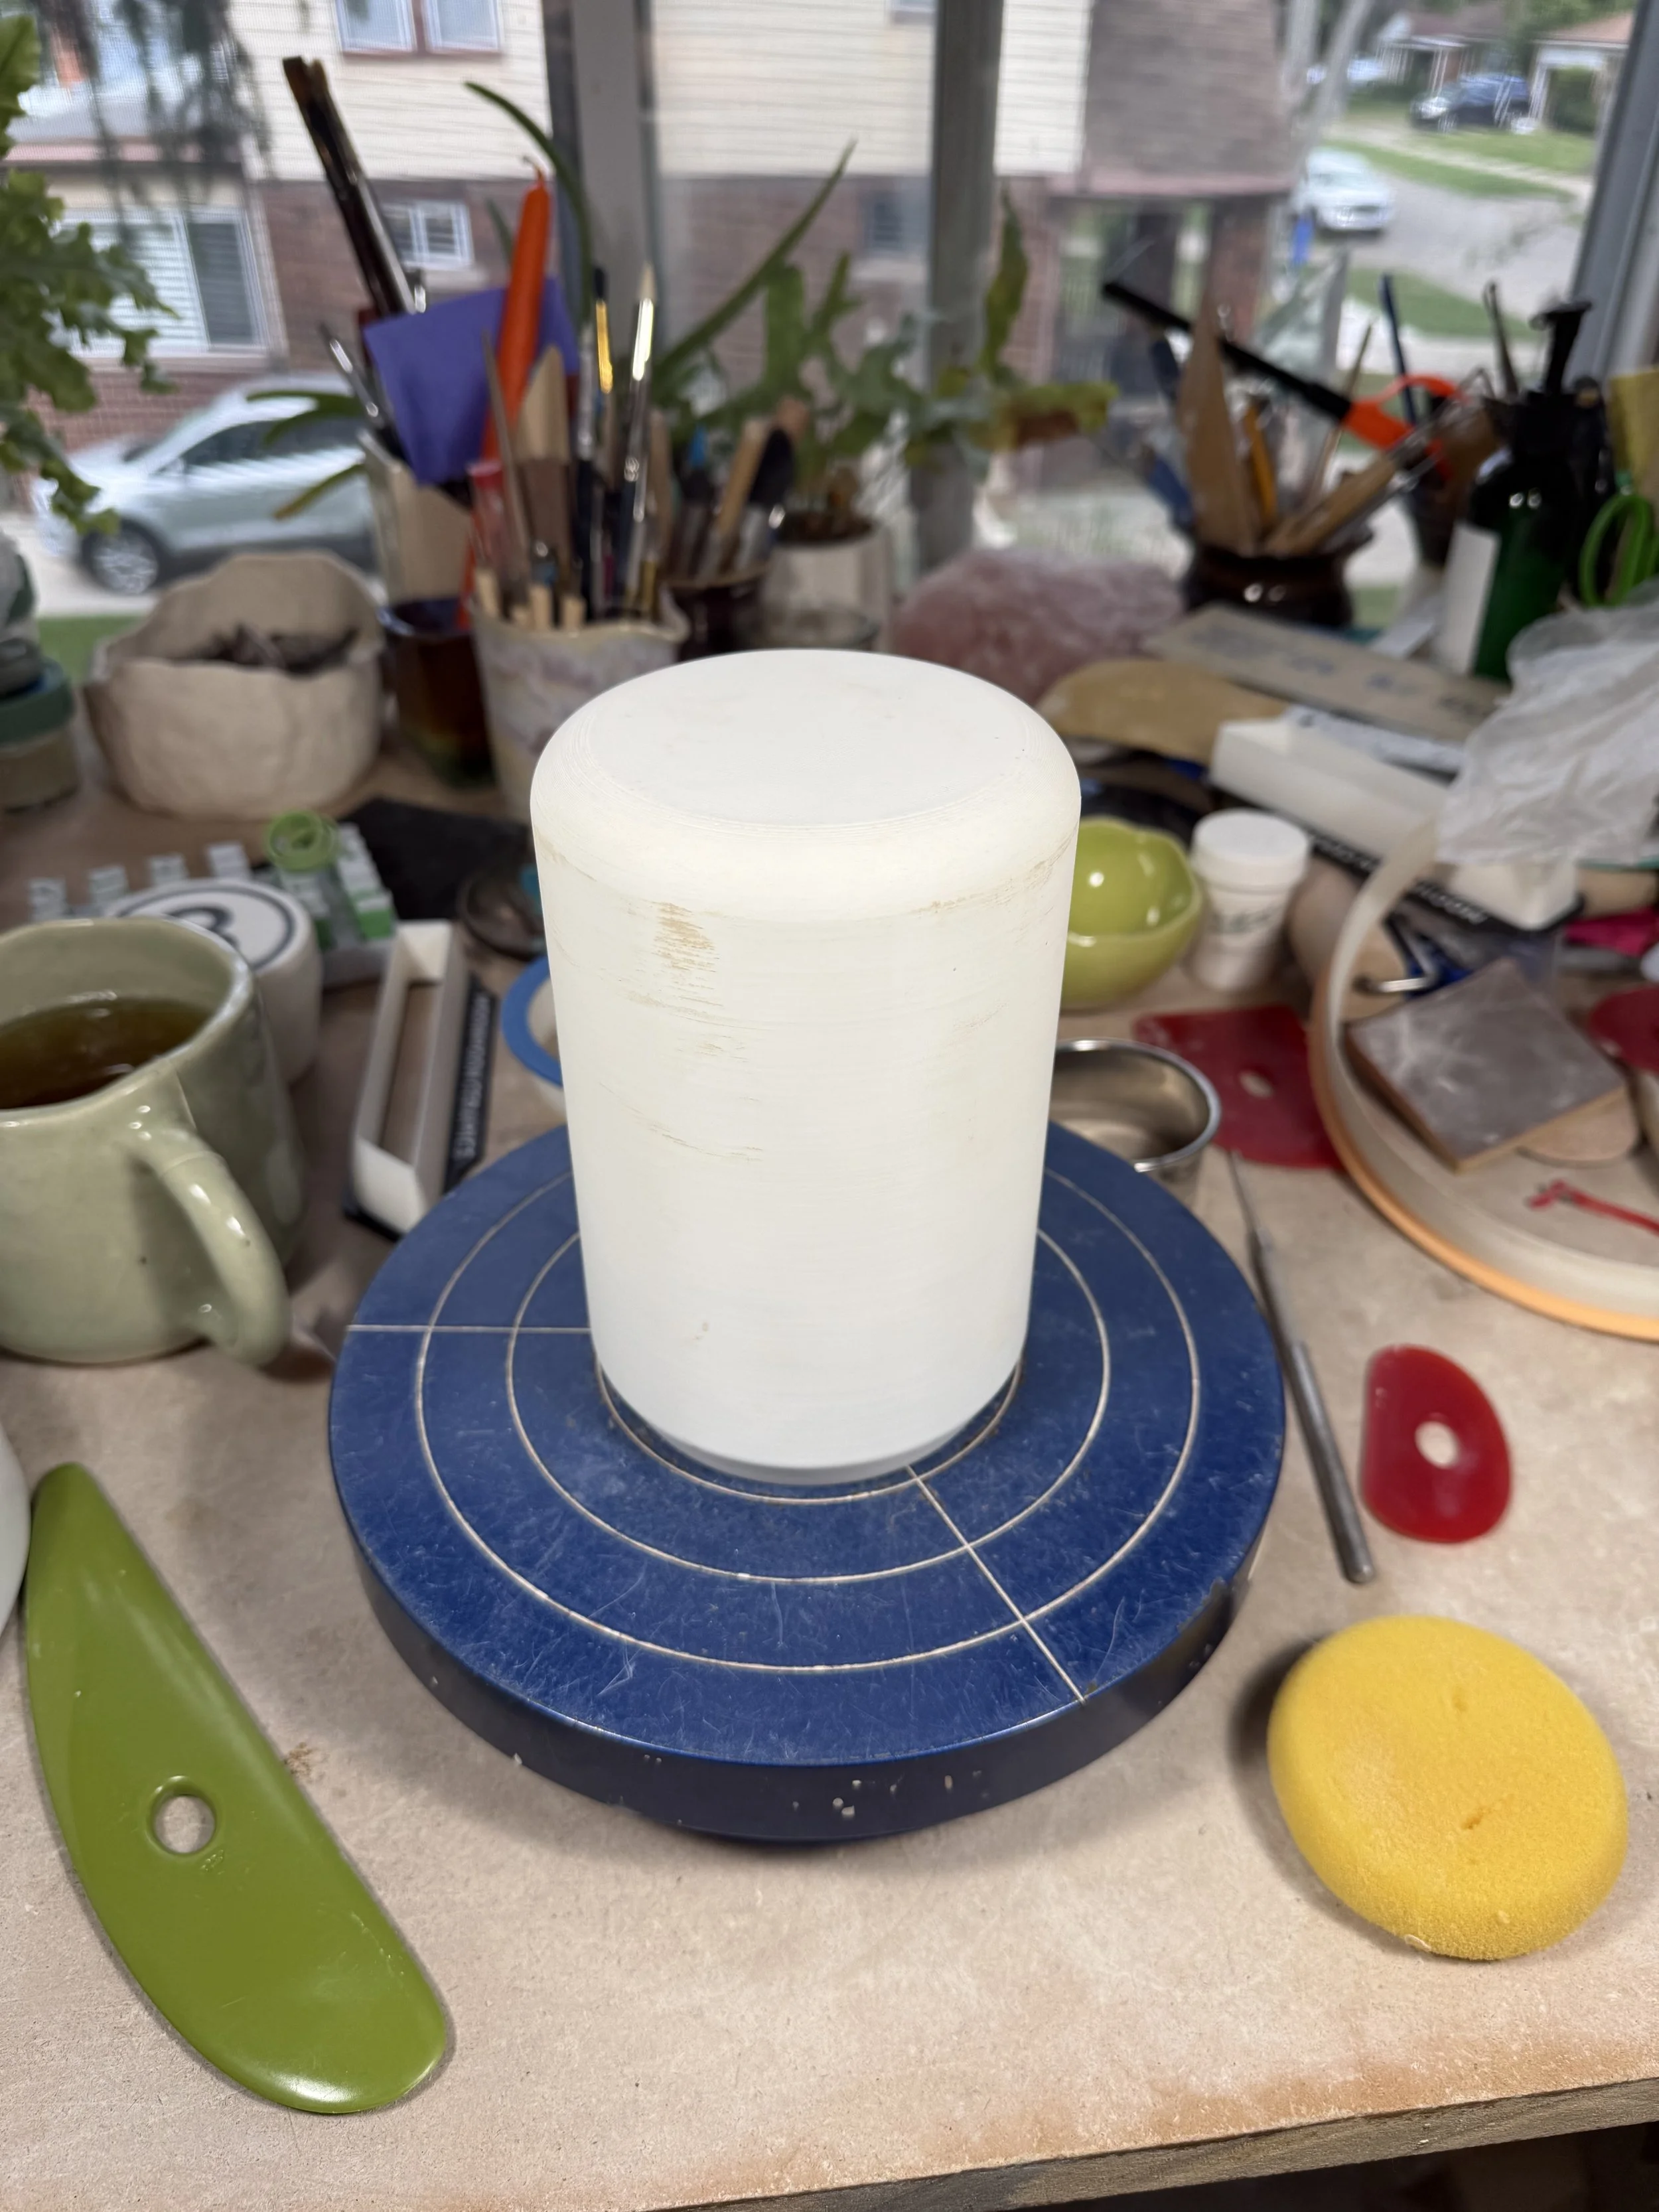 Image 10 of 28
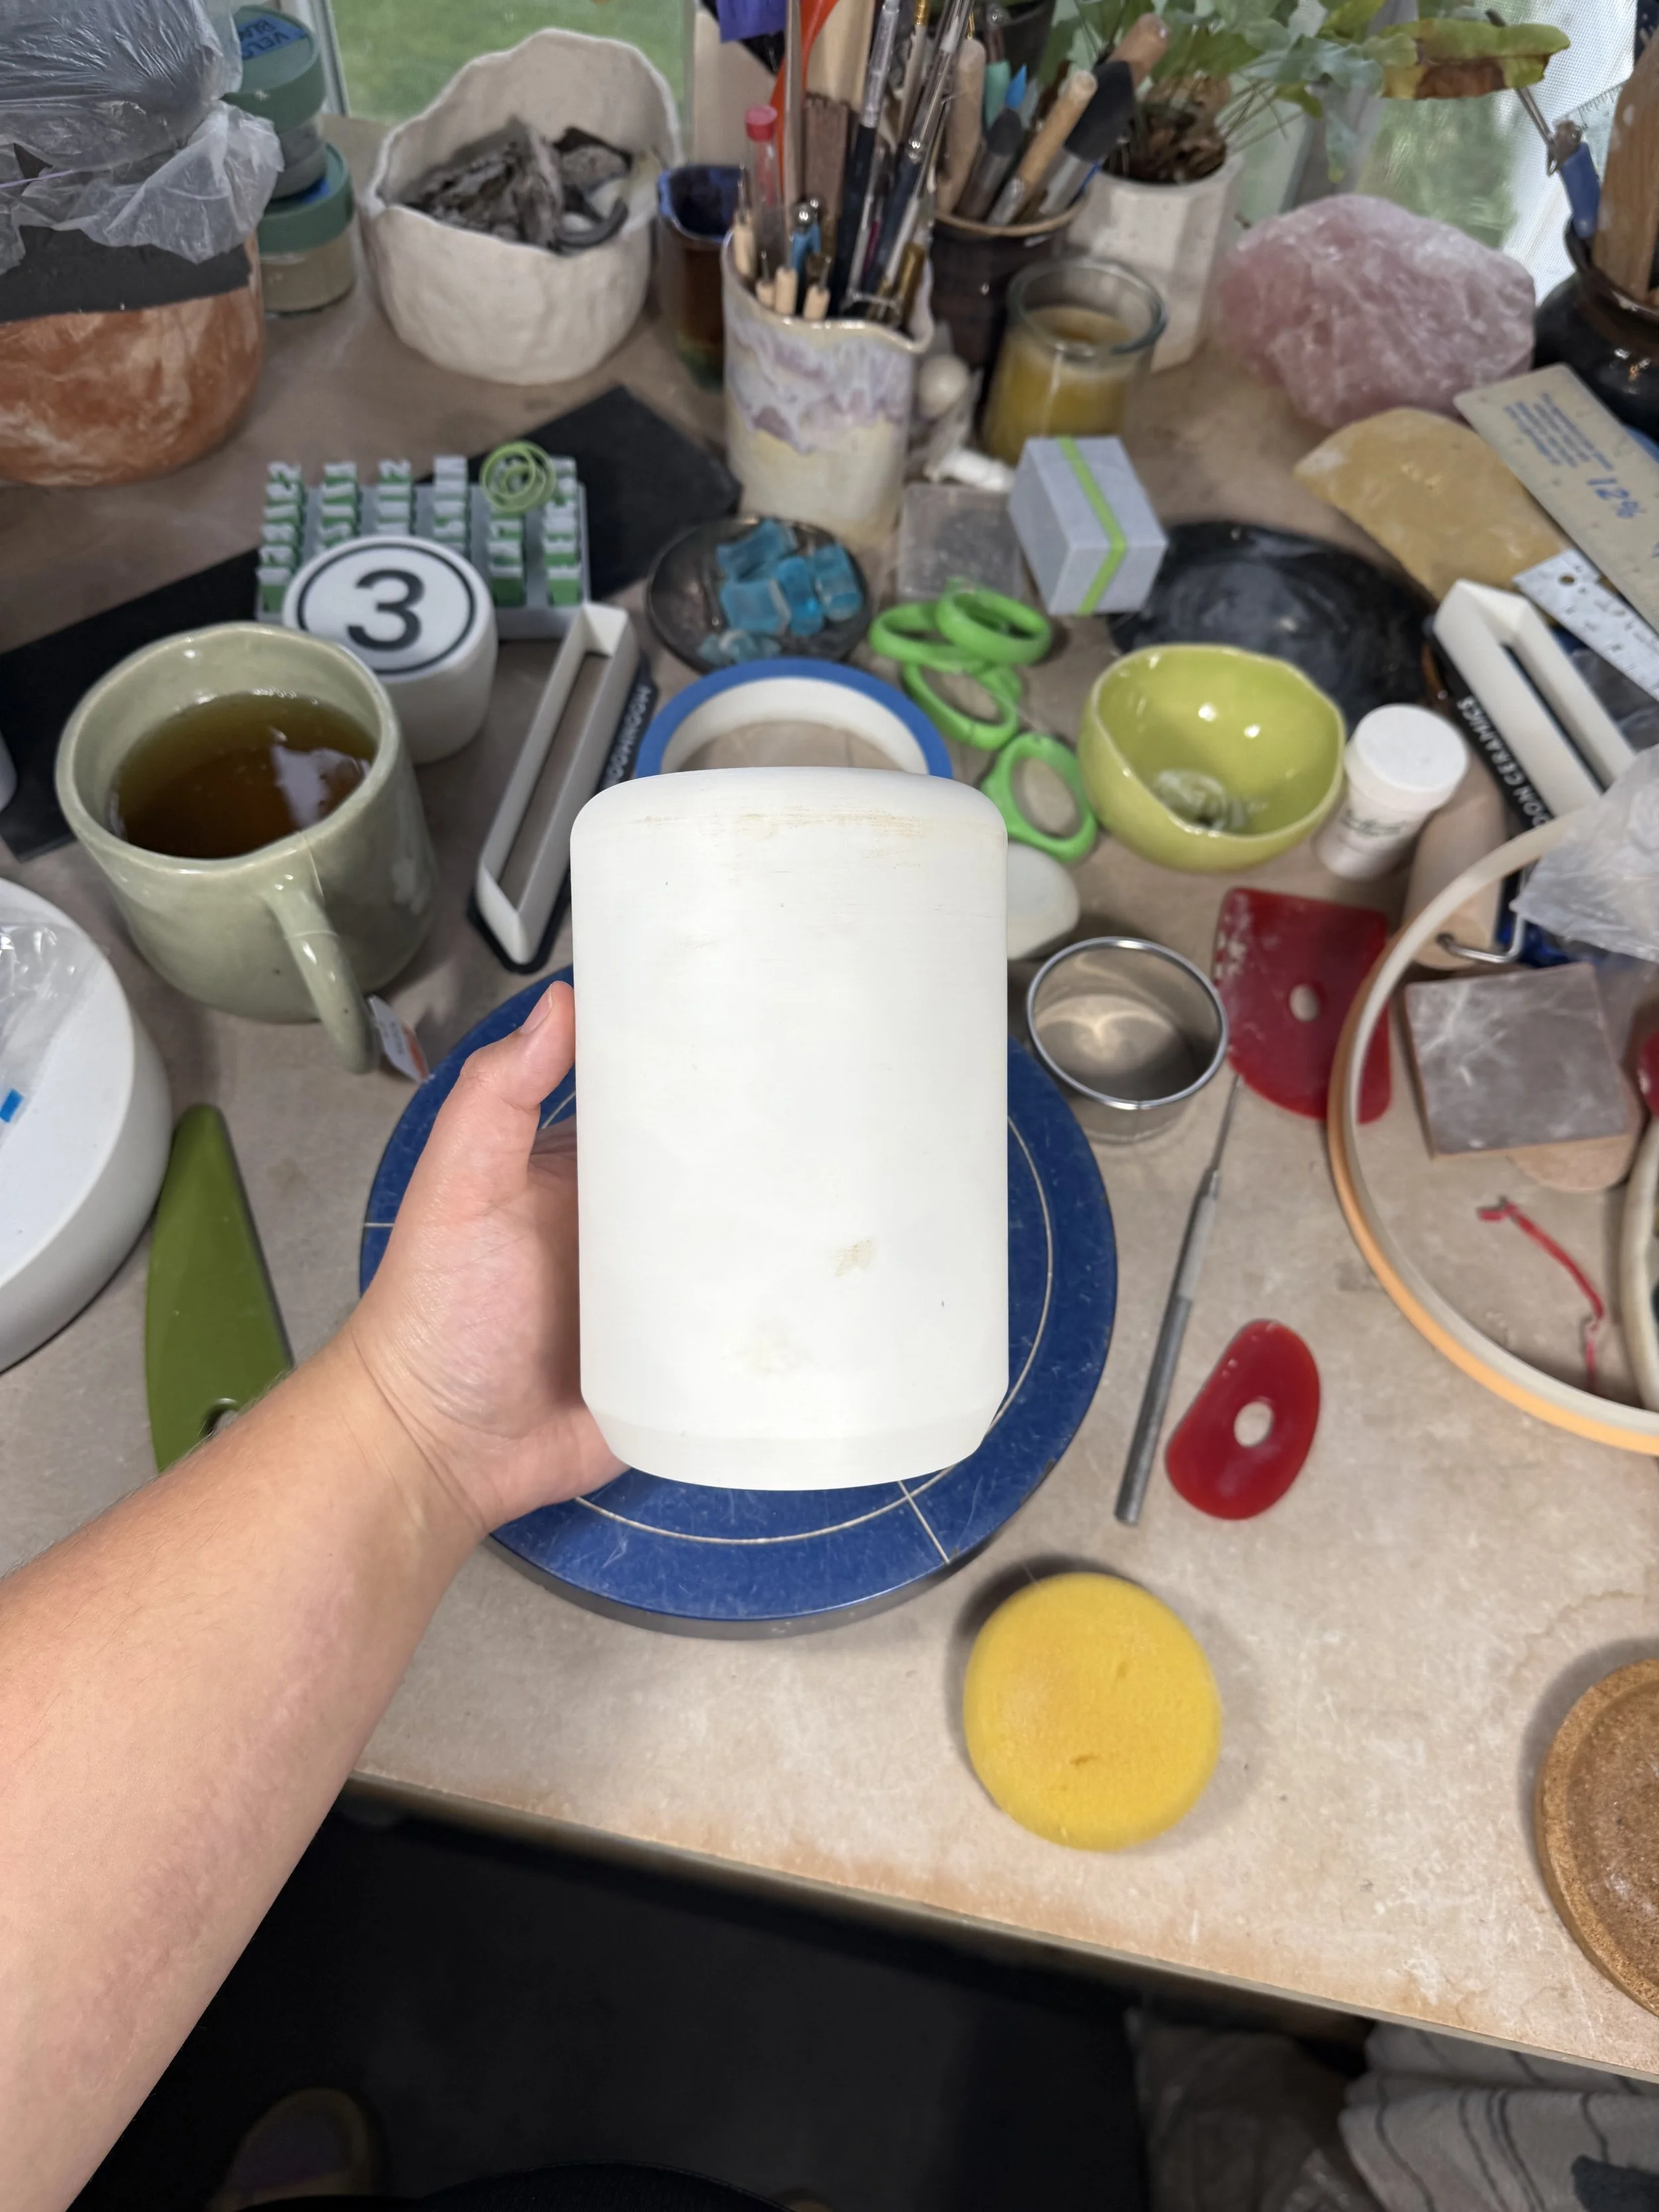 Image 11 of 28
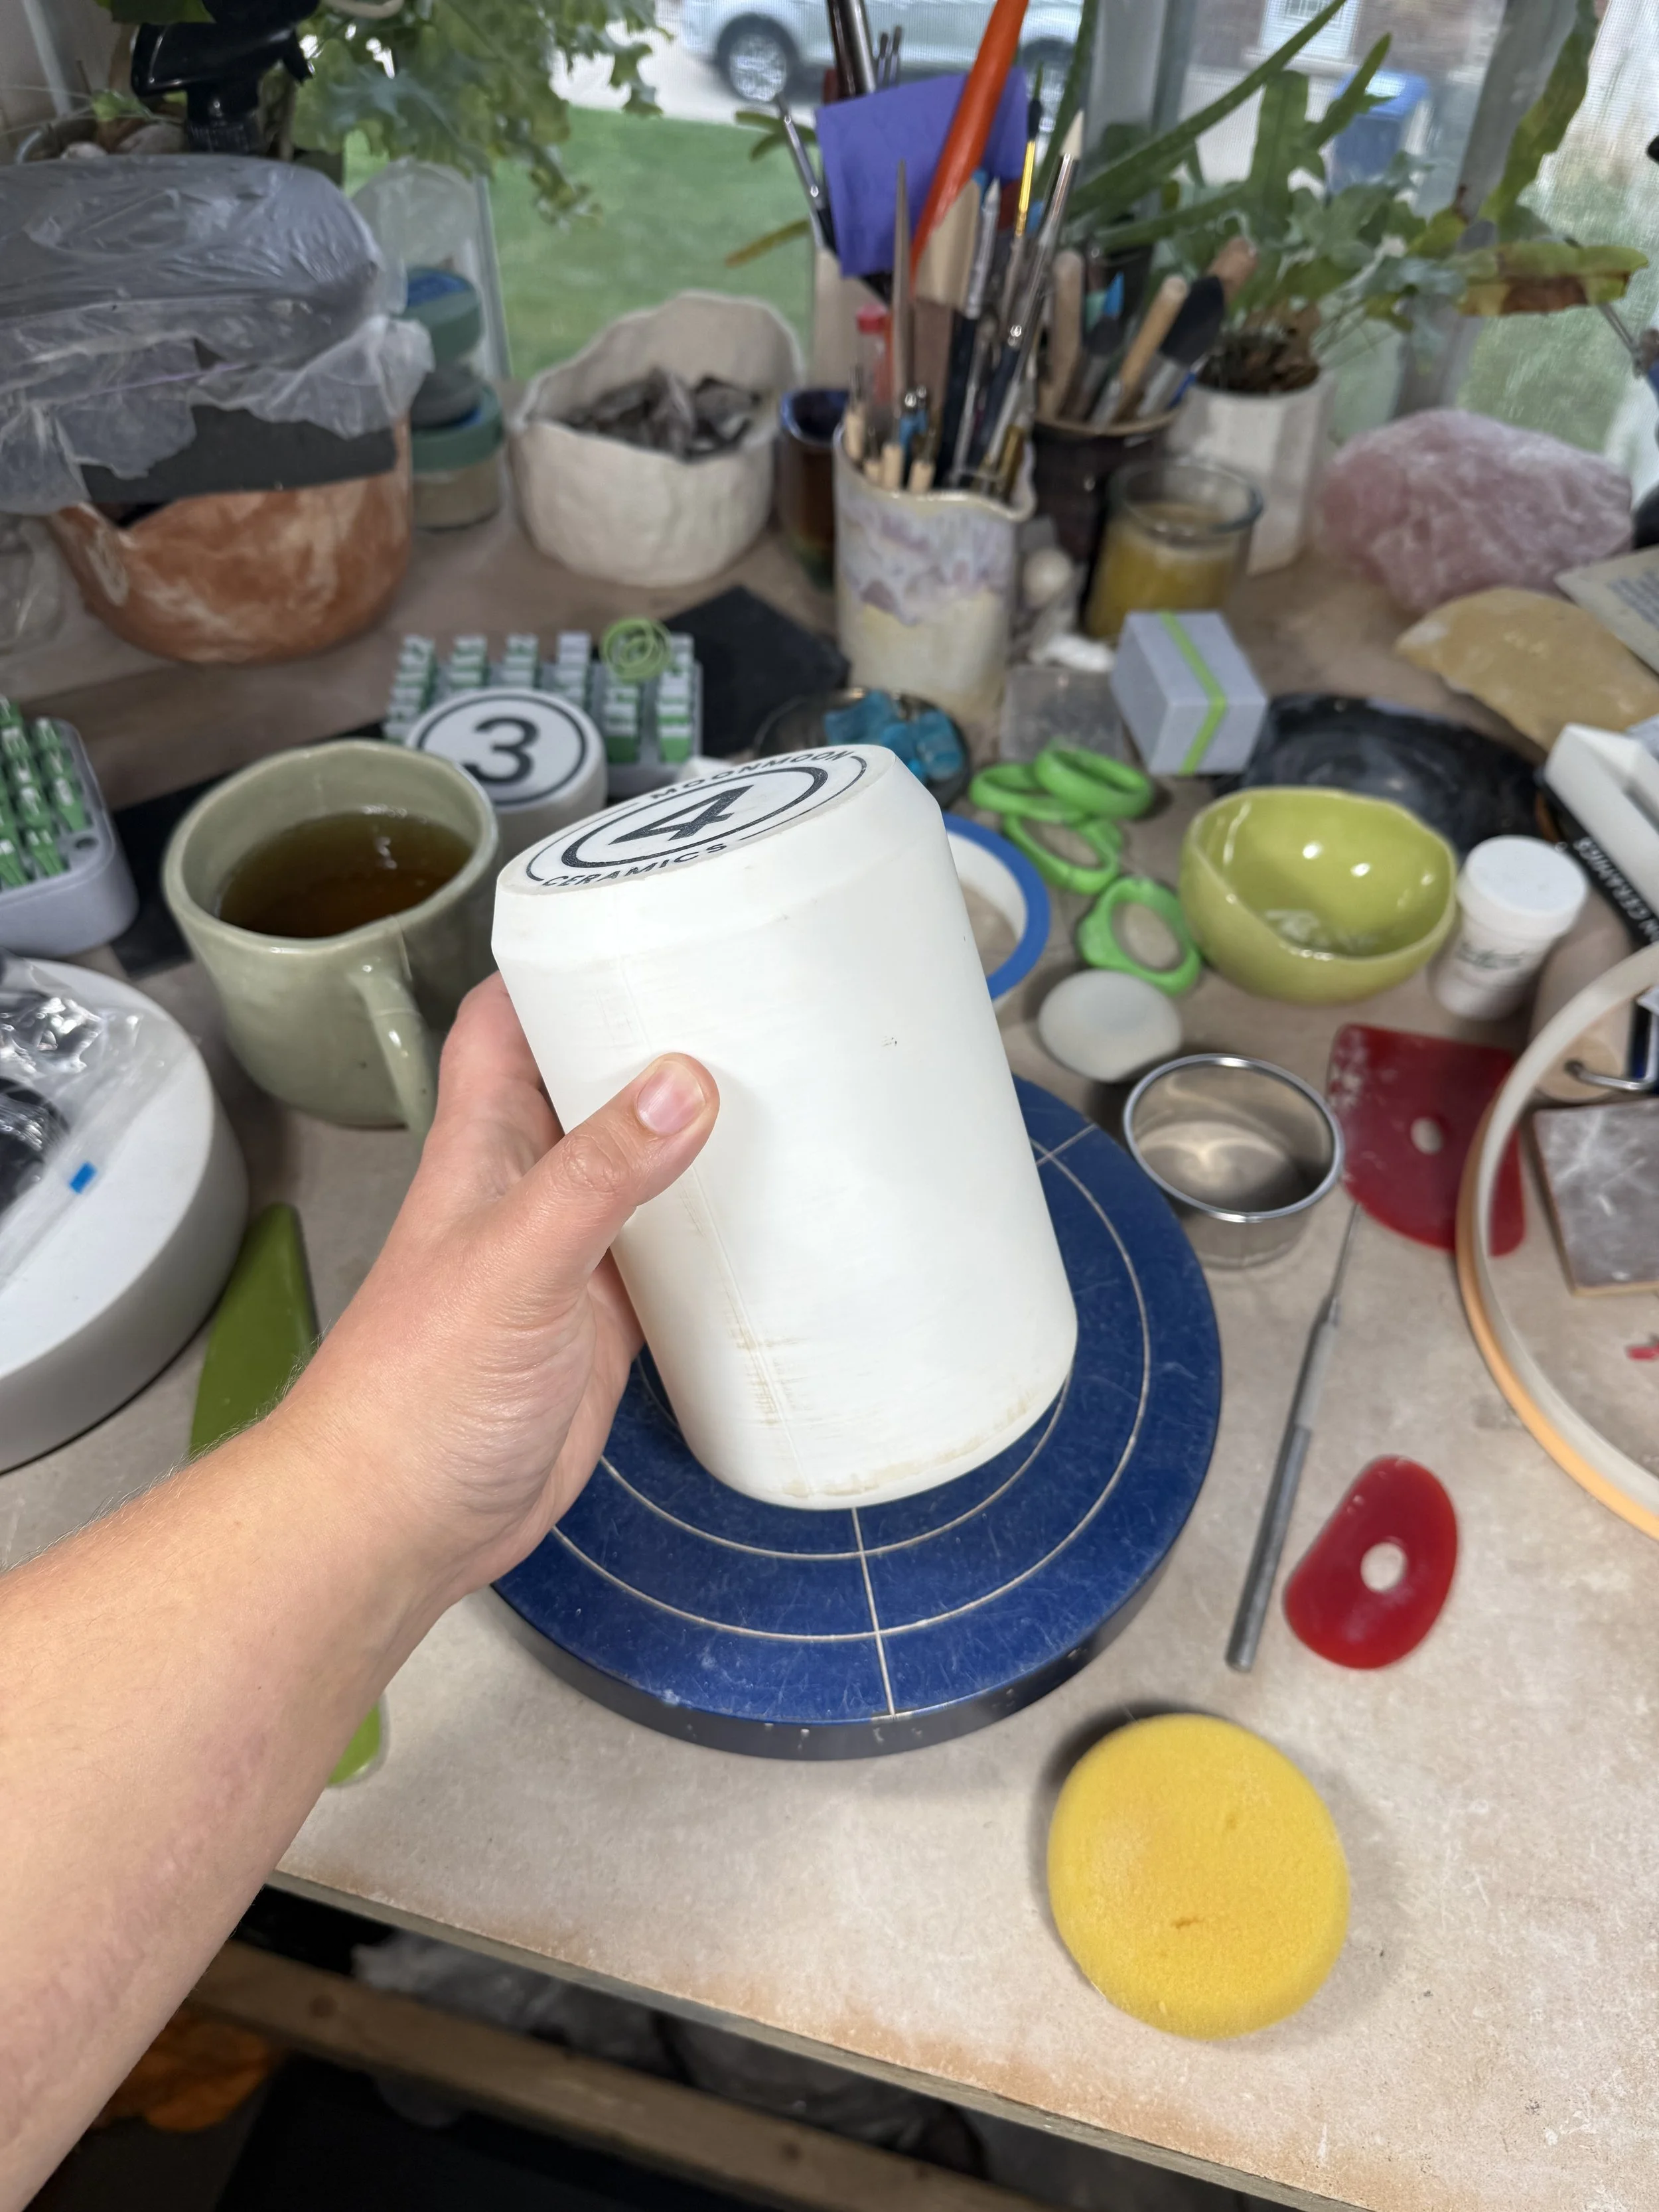 Image 12 of 28
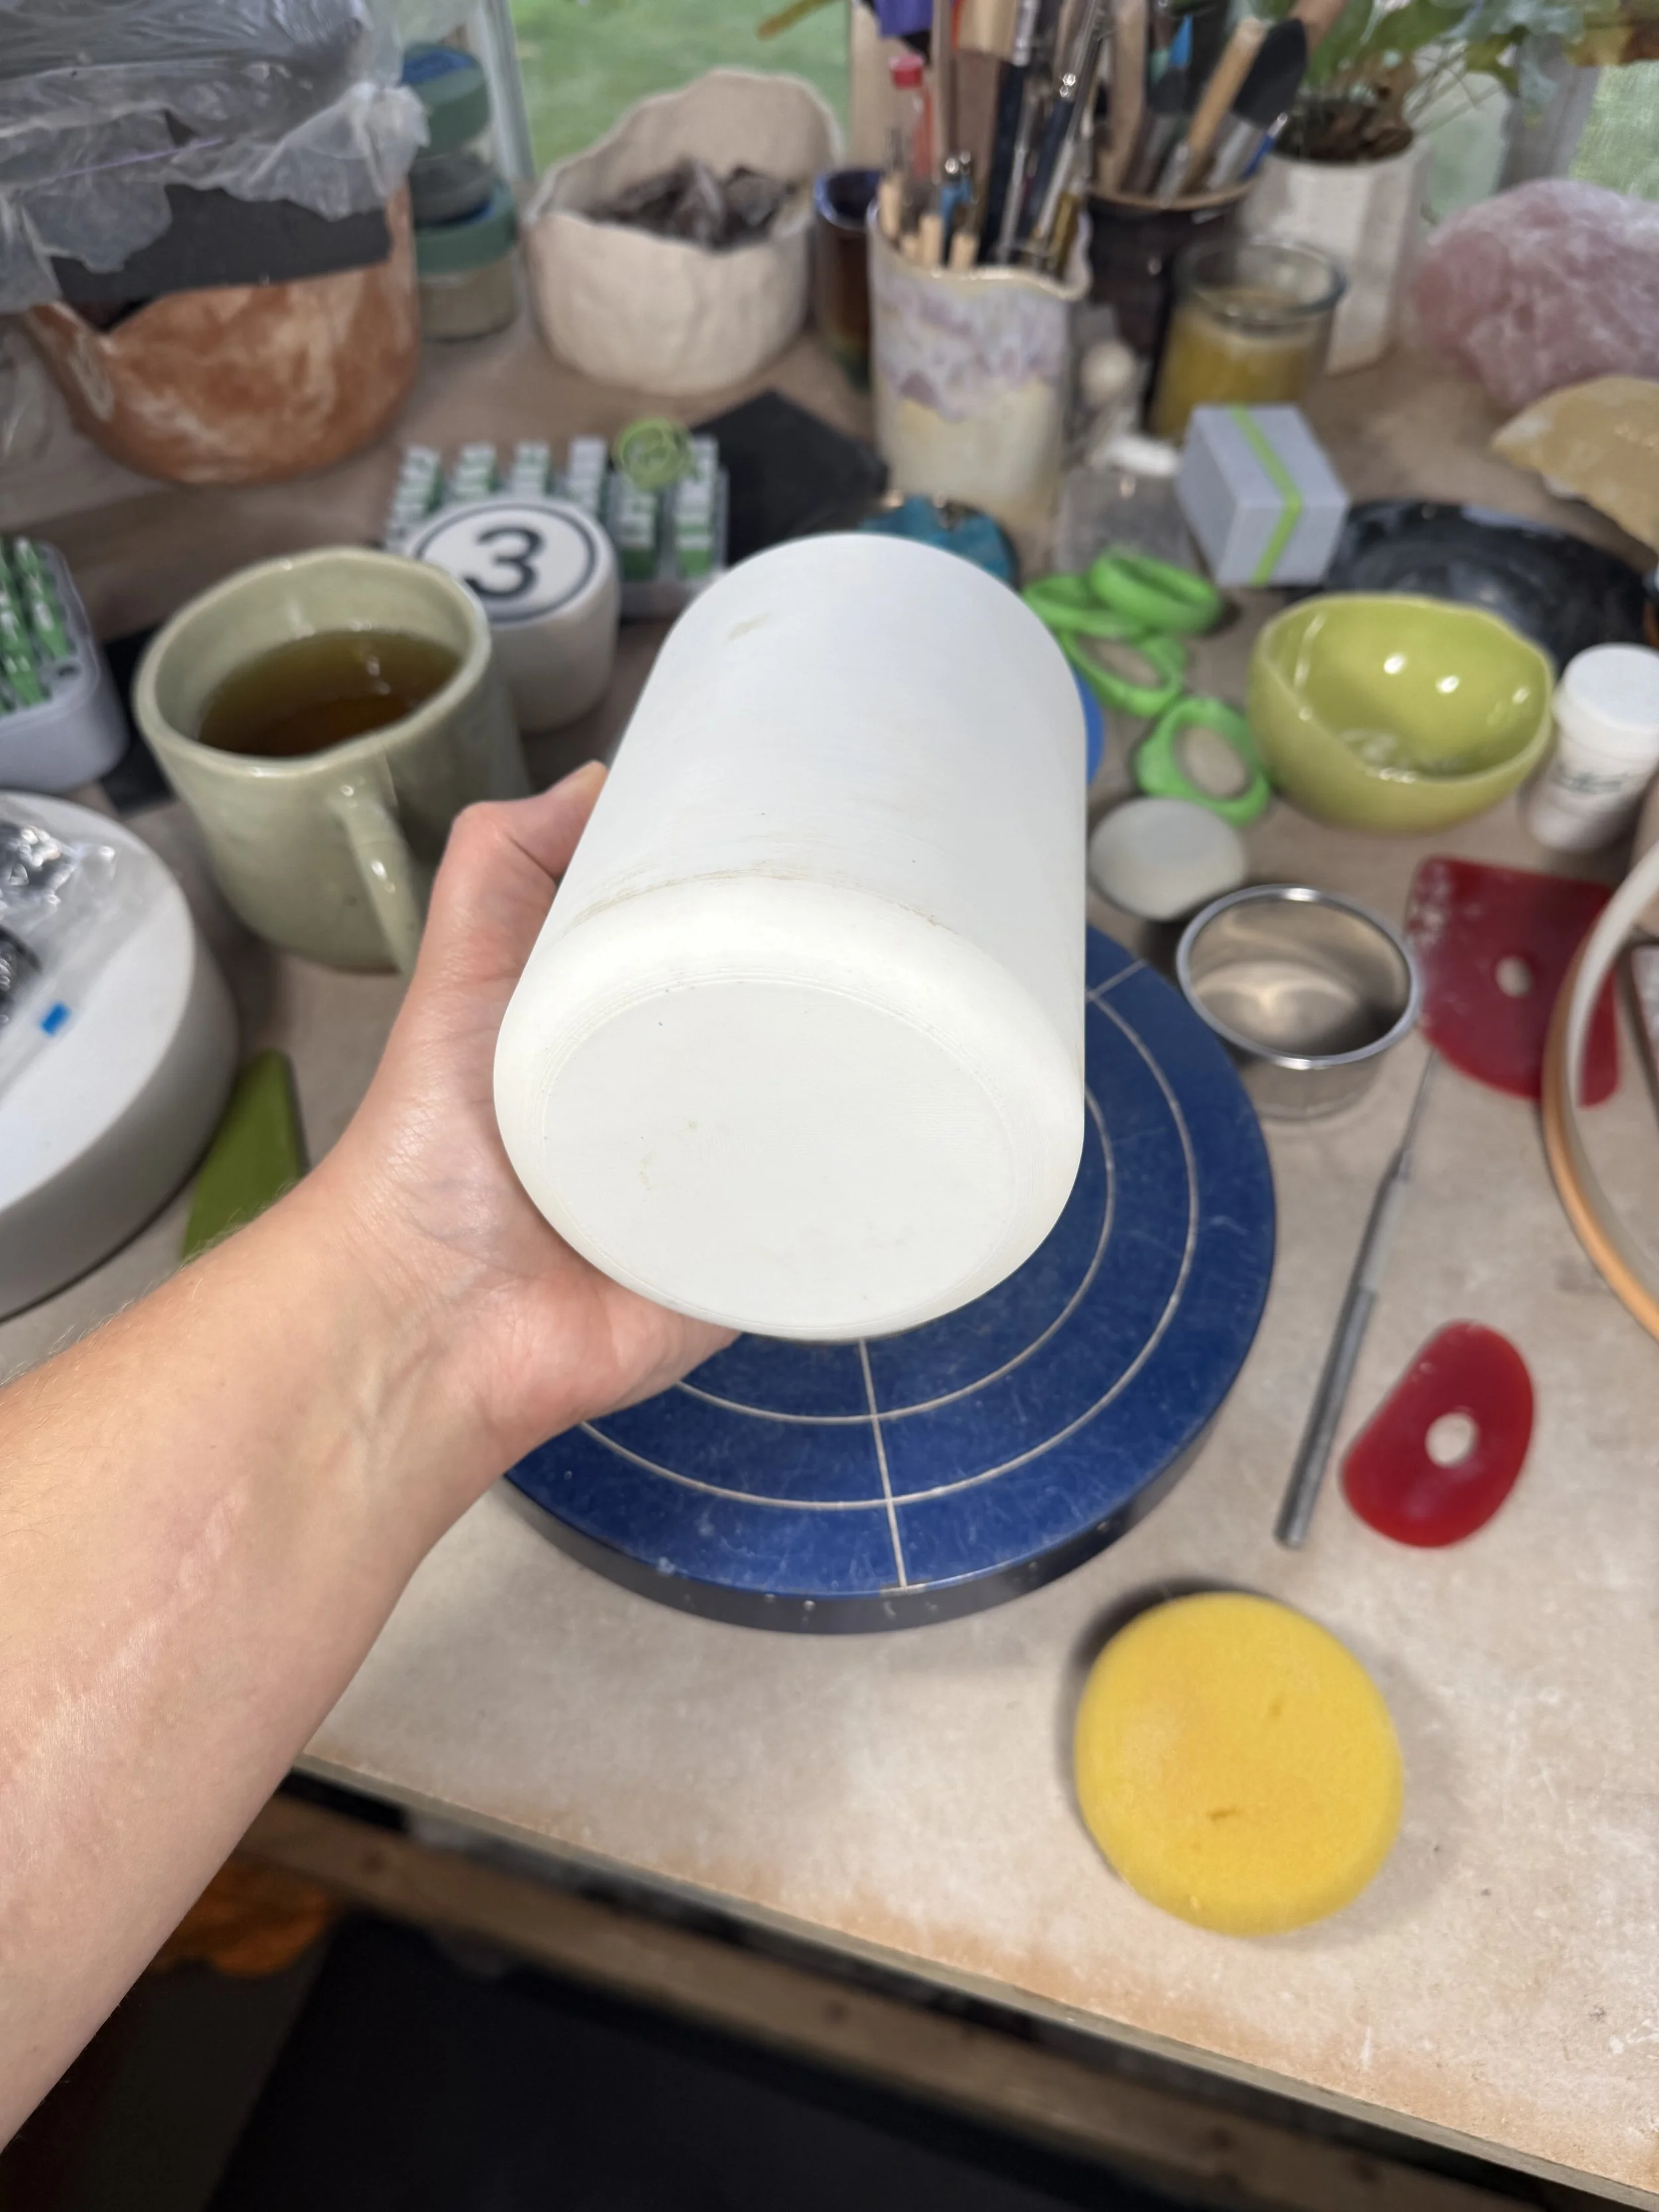 Image 13 of 28
 Image 14 of 28
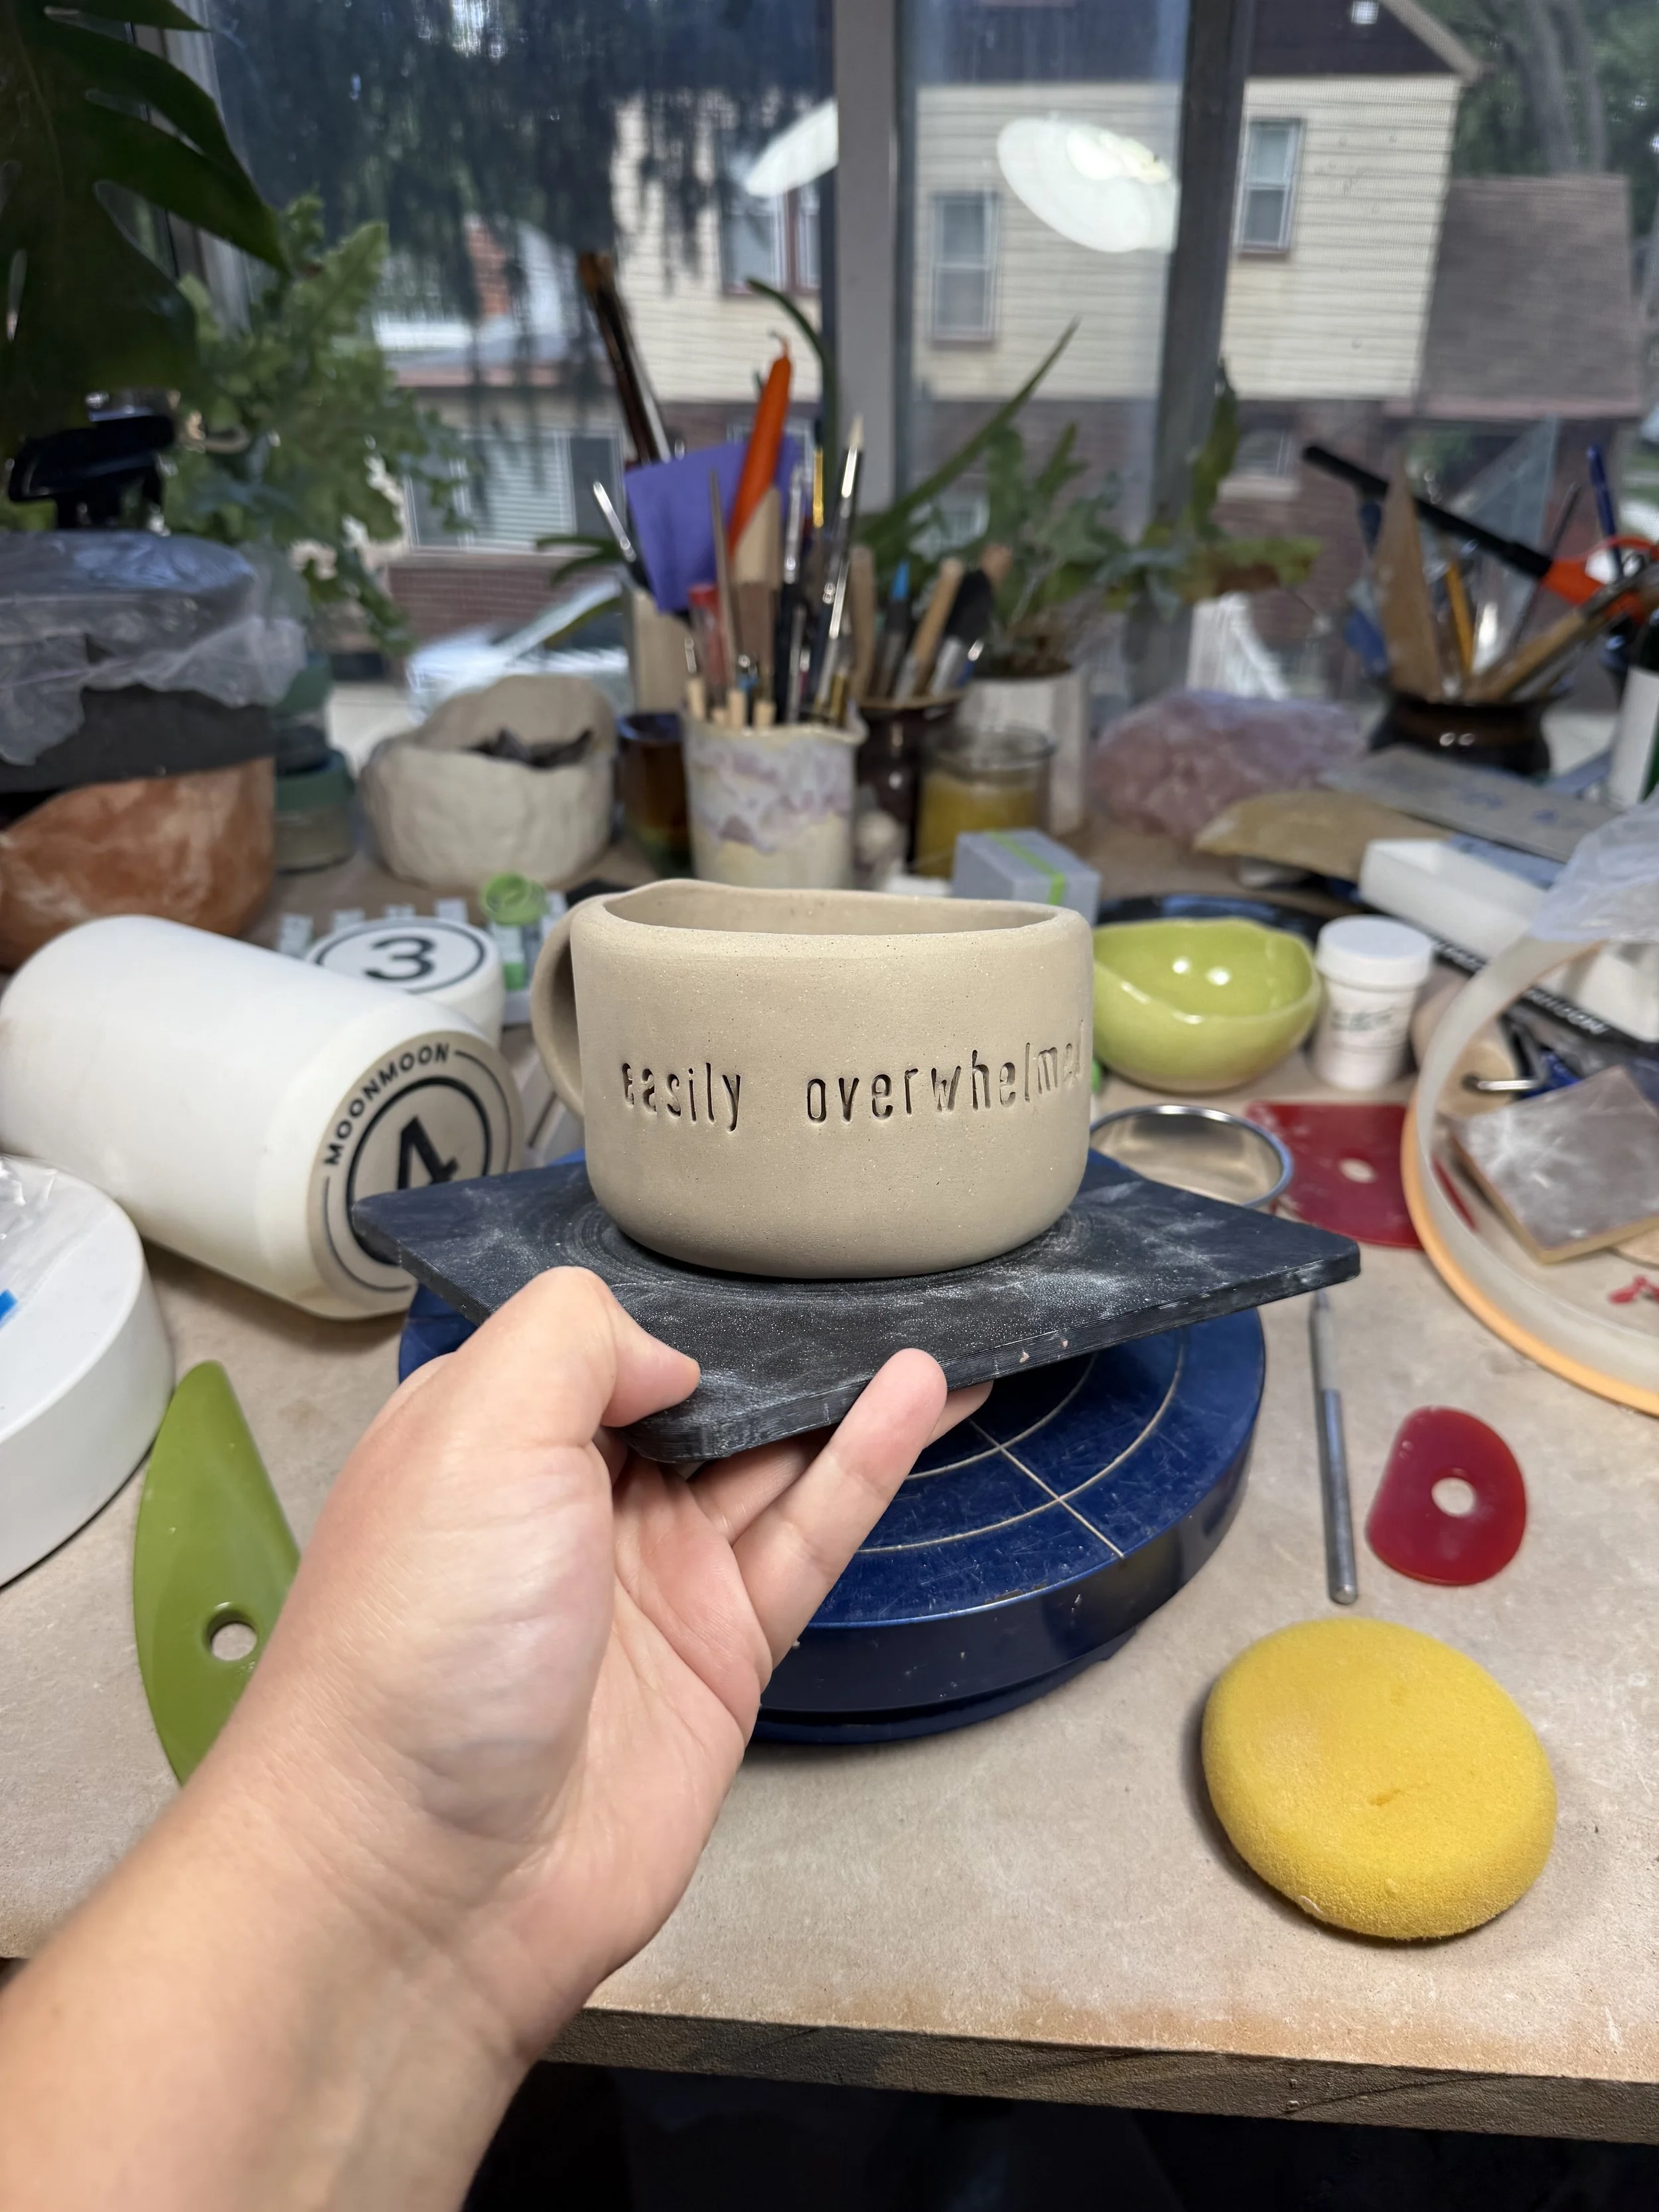 Image 15 of 28
 Image 16 of 28
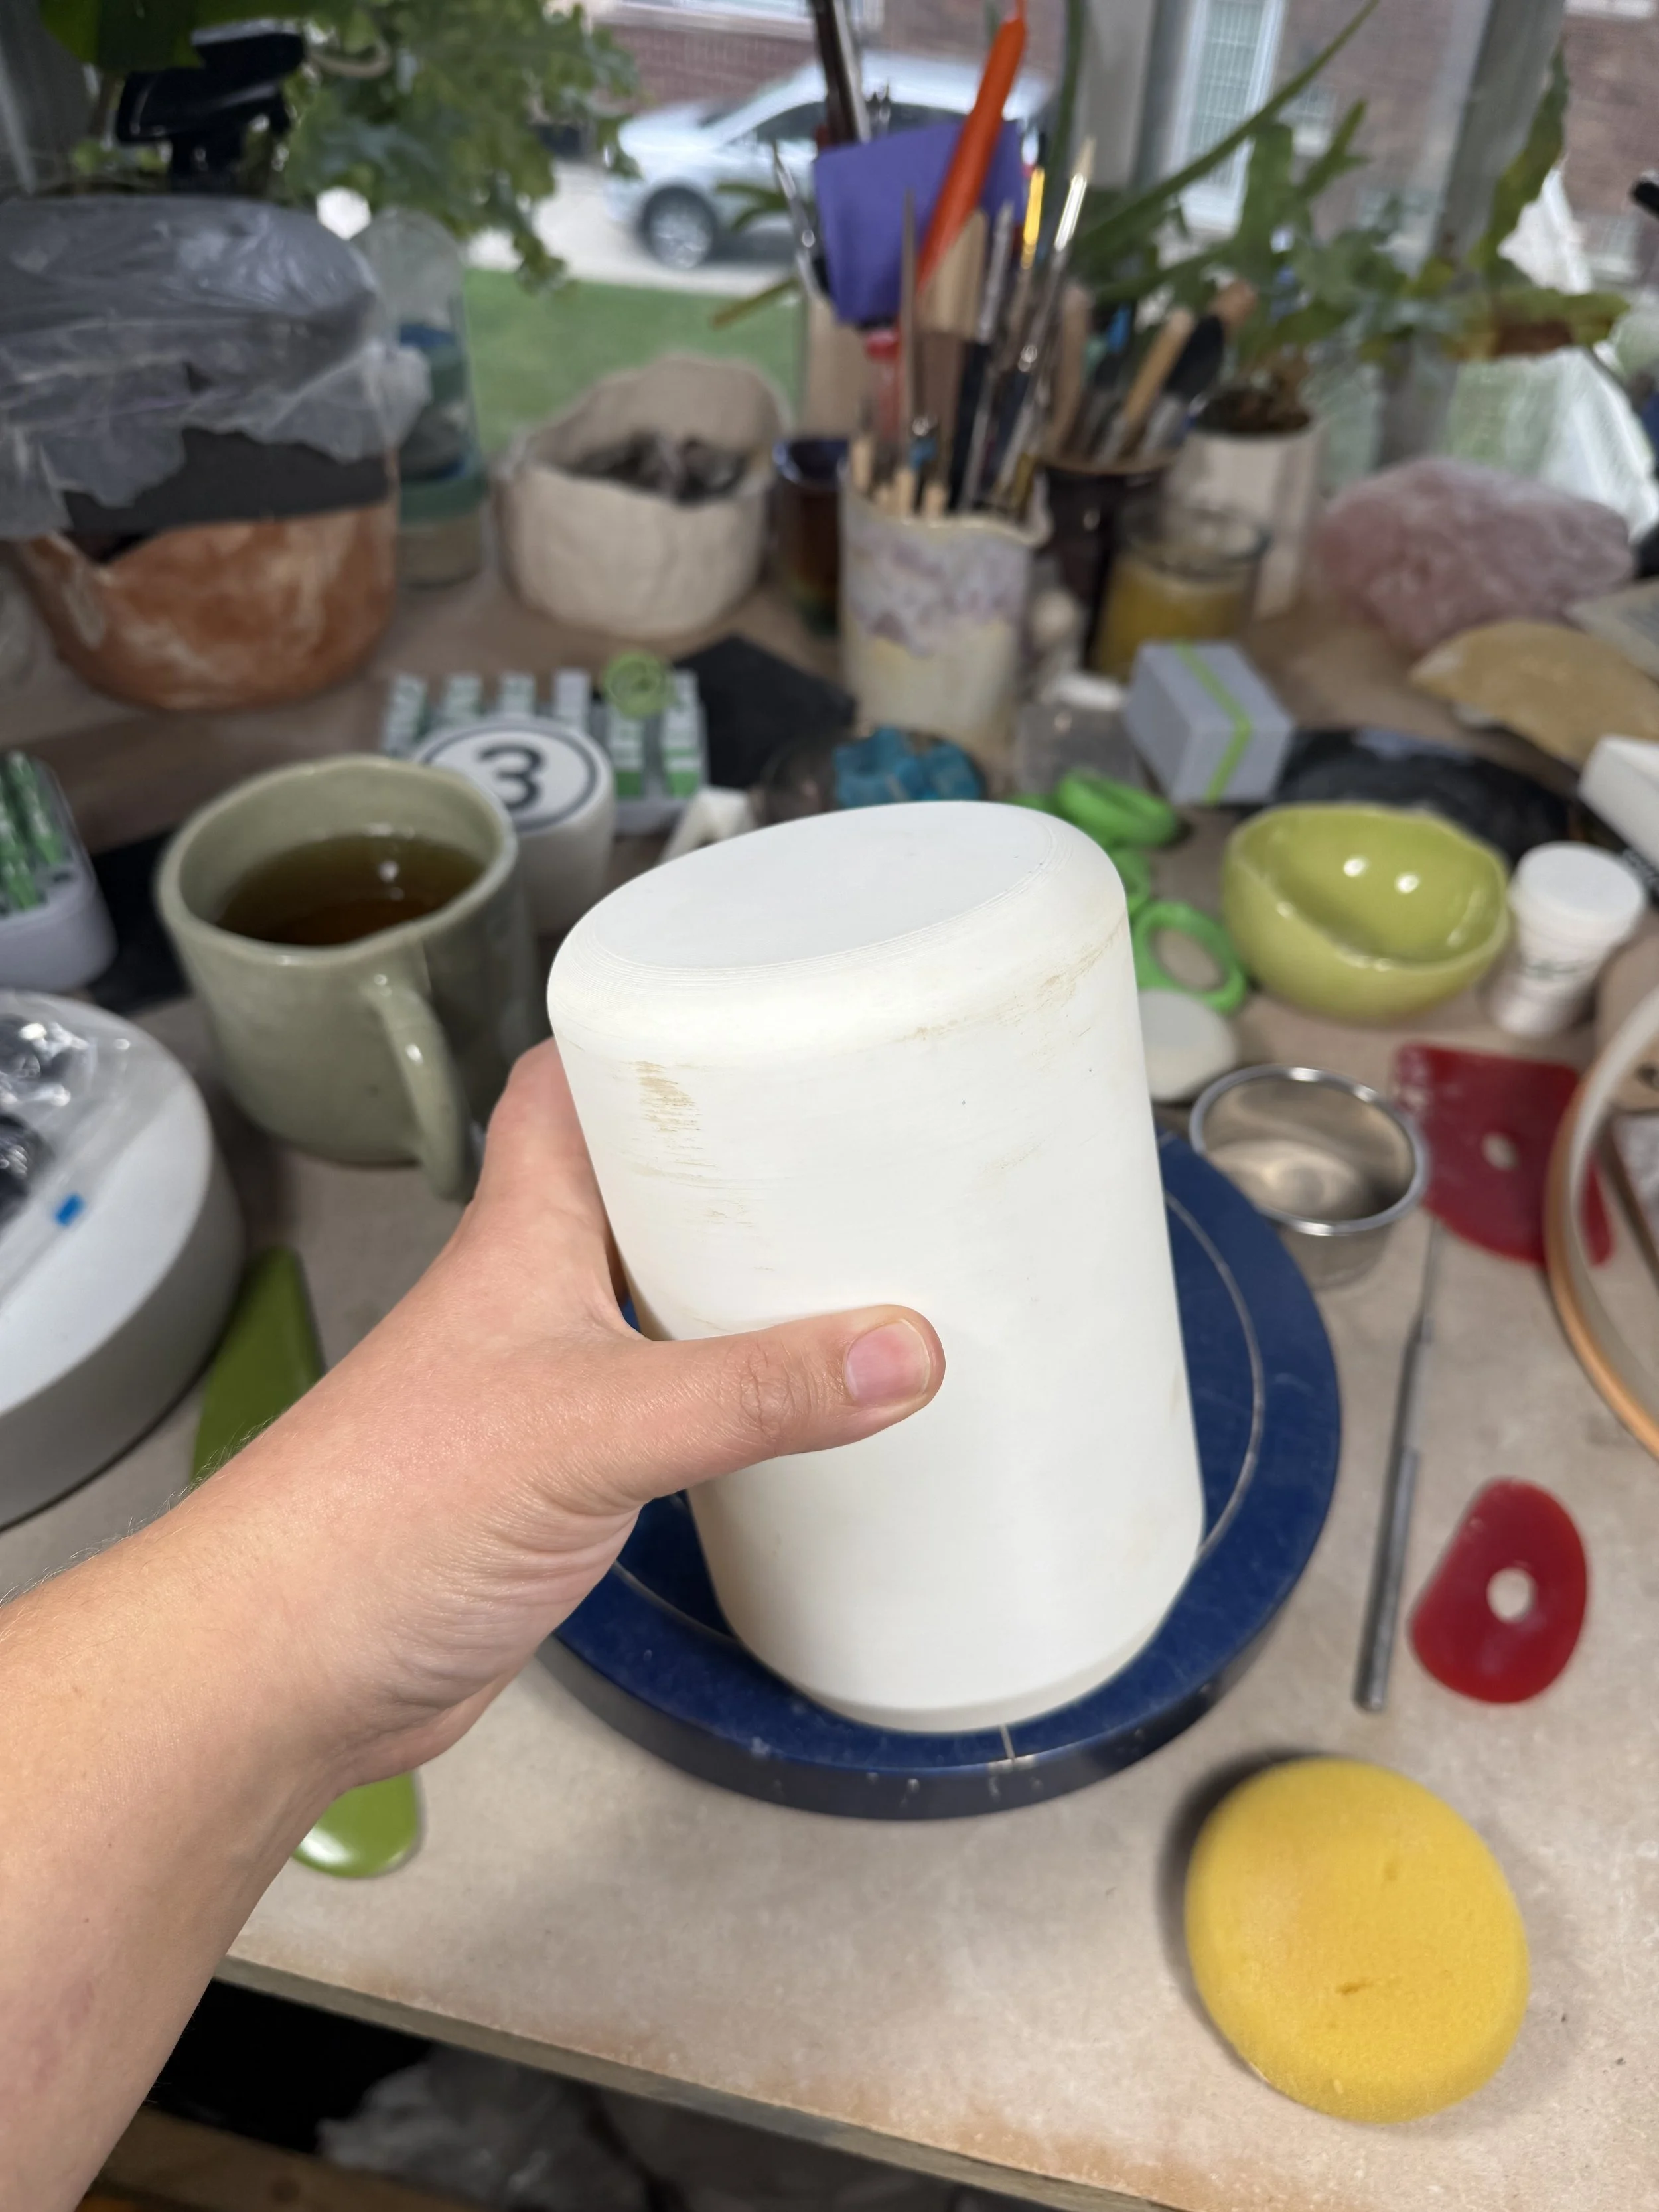 Image 17 of 28
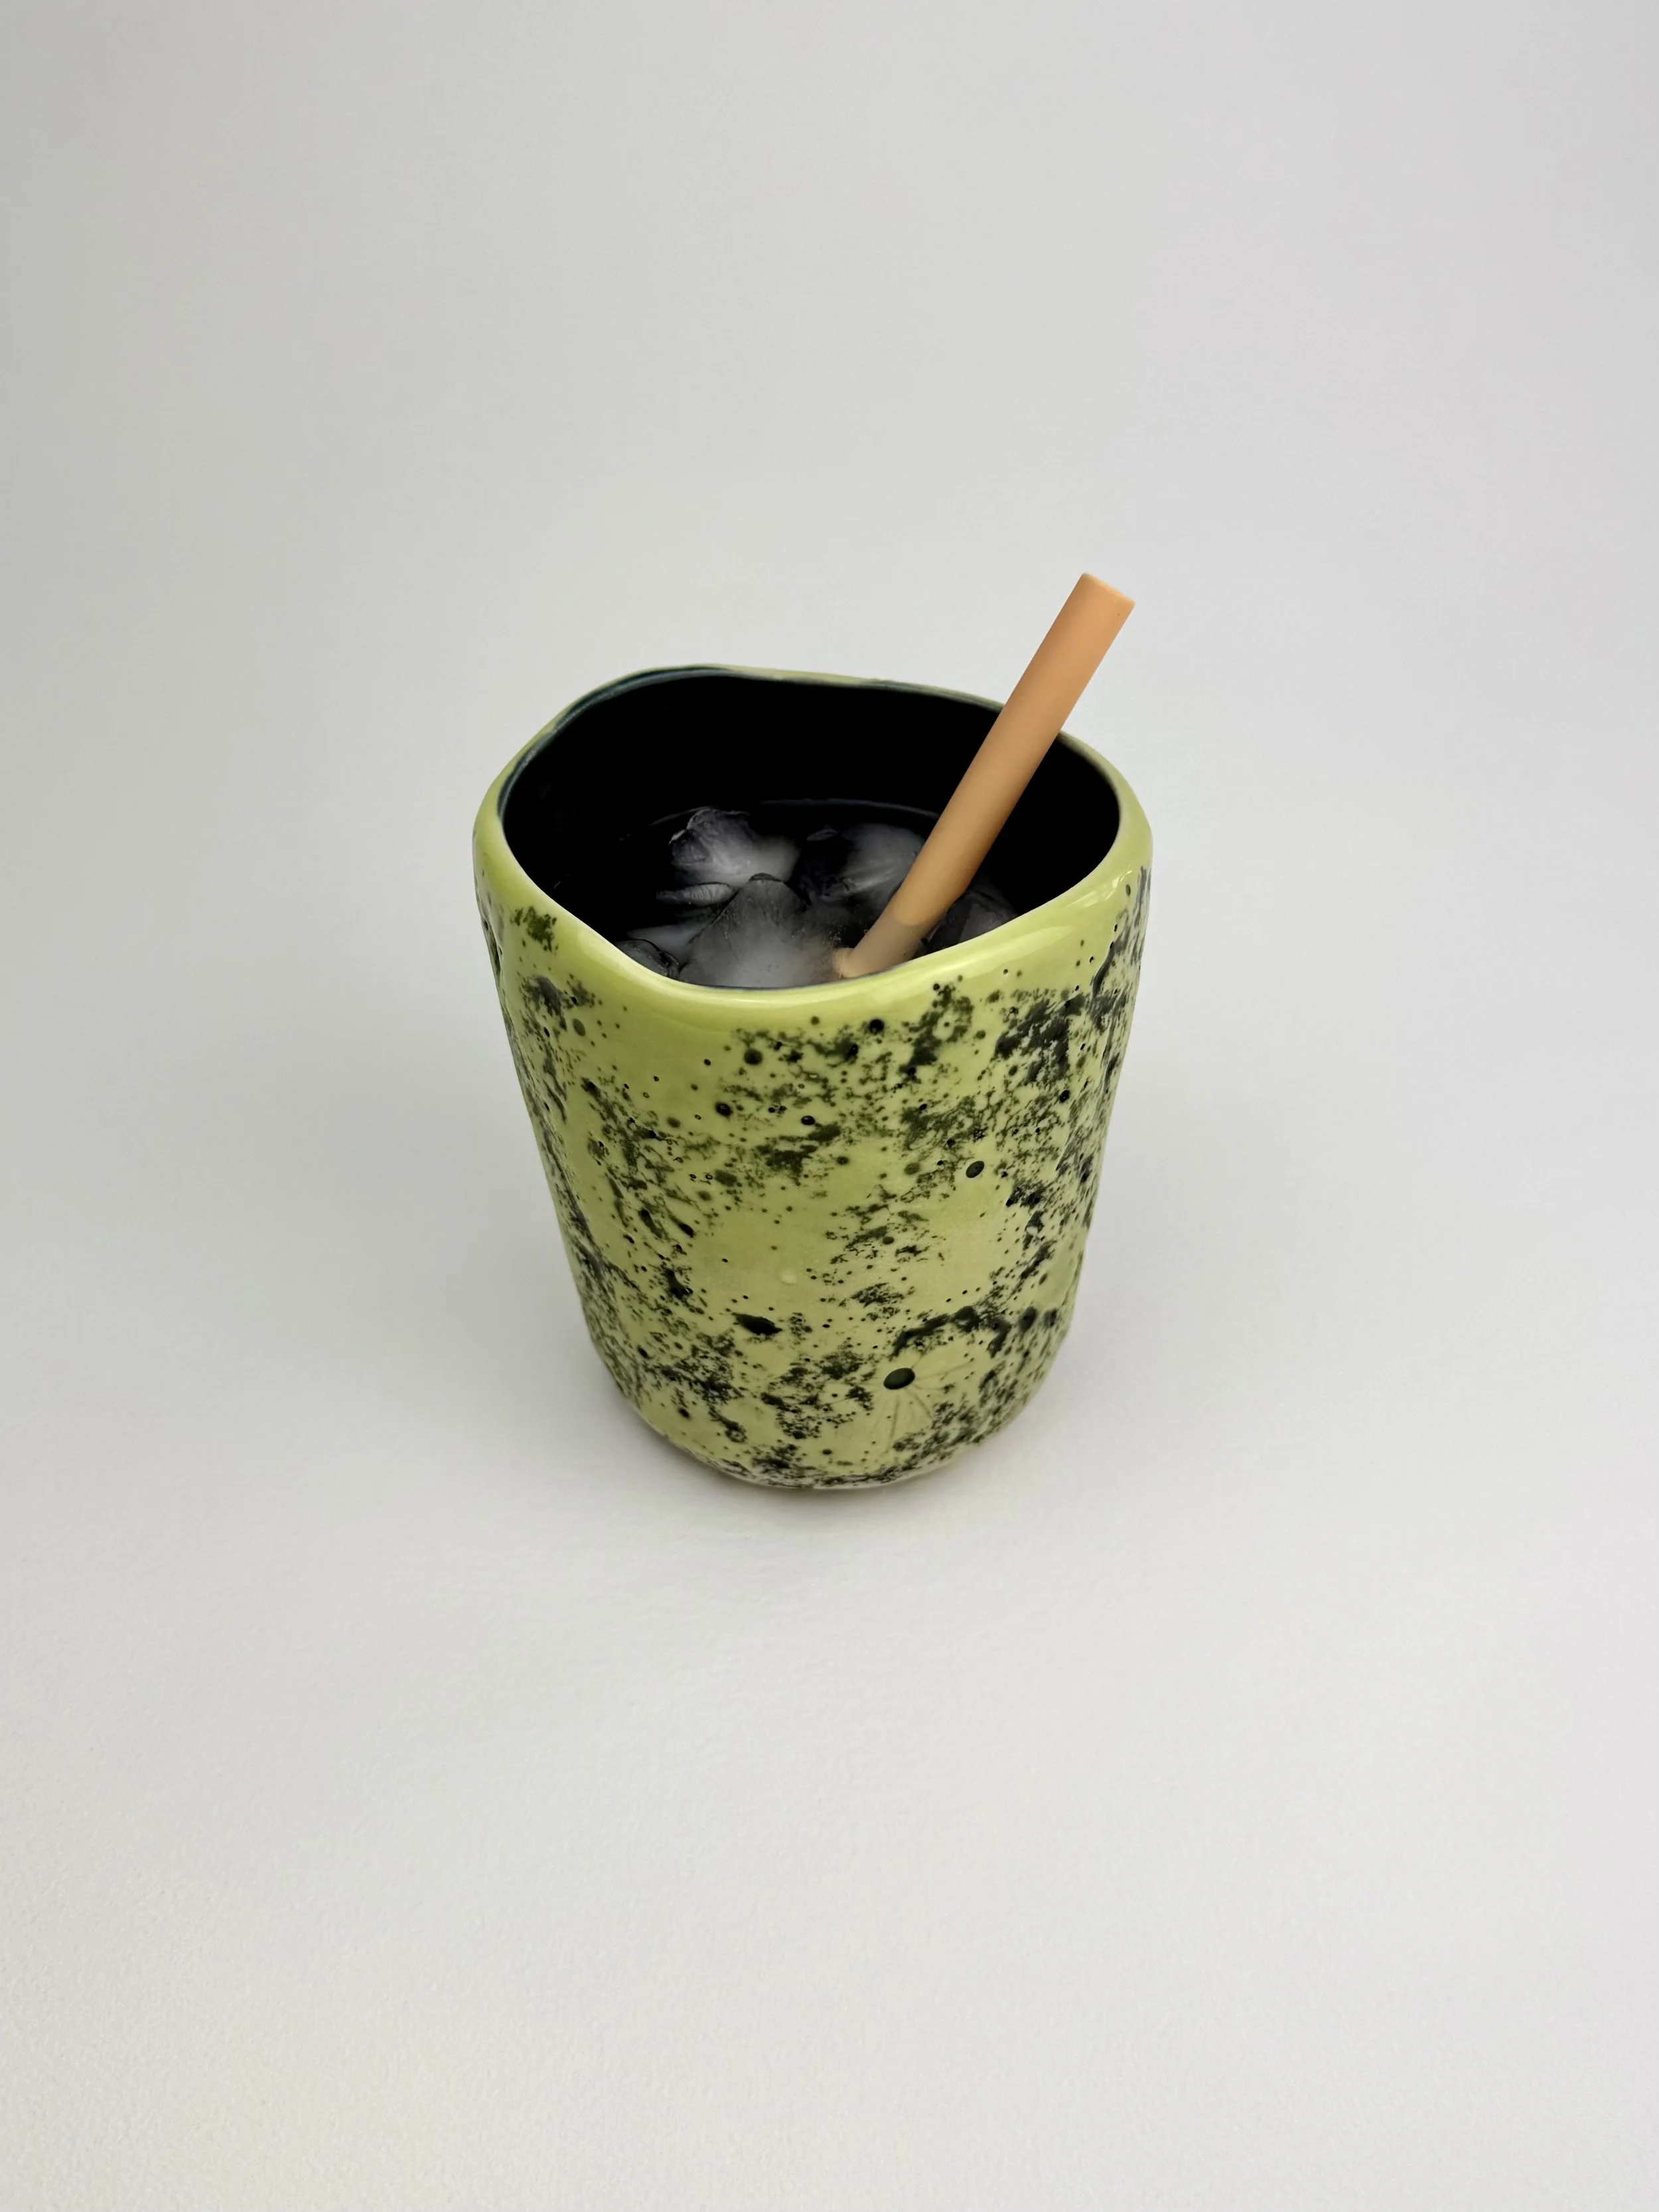 Image 18 of 28
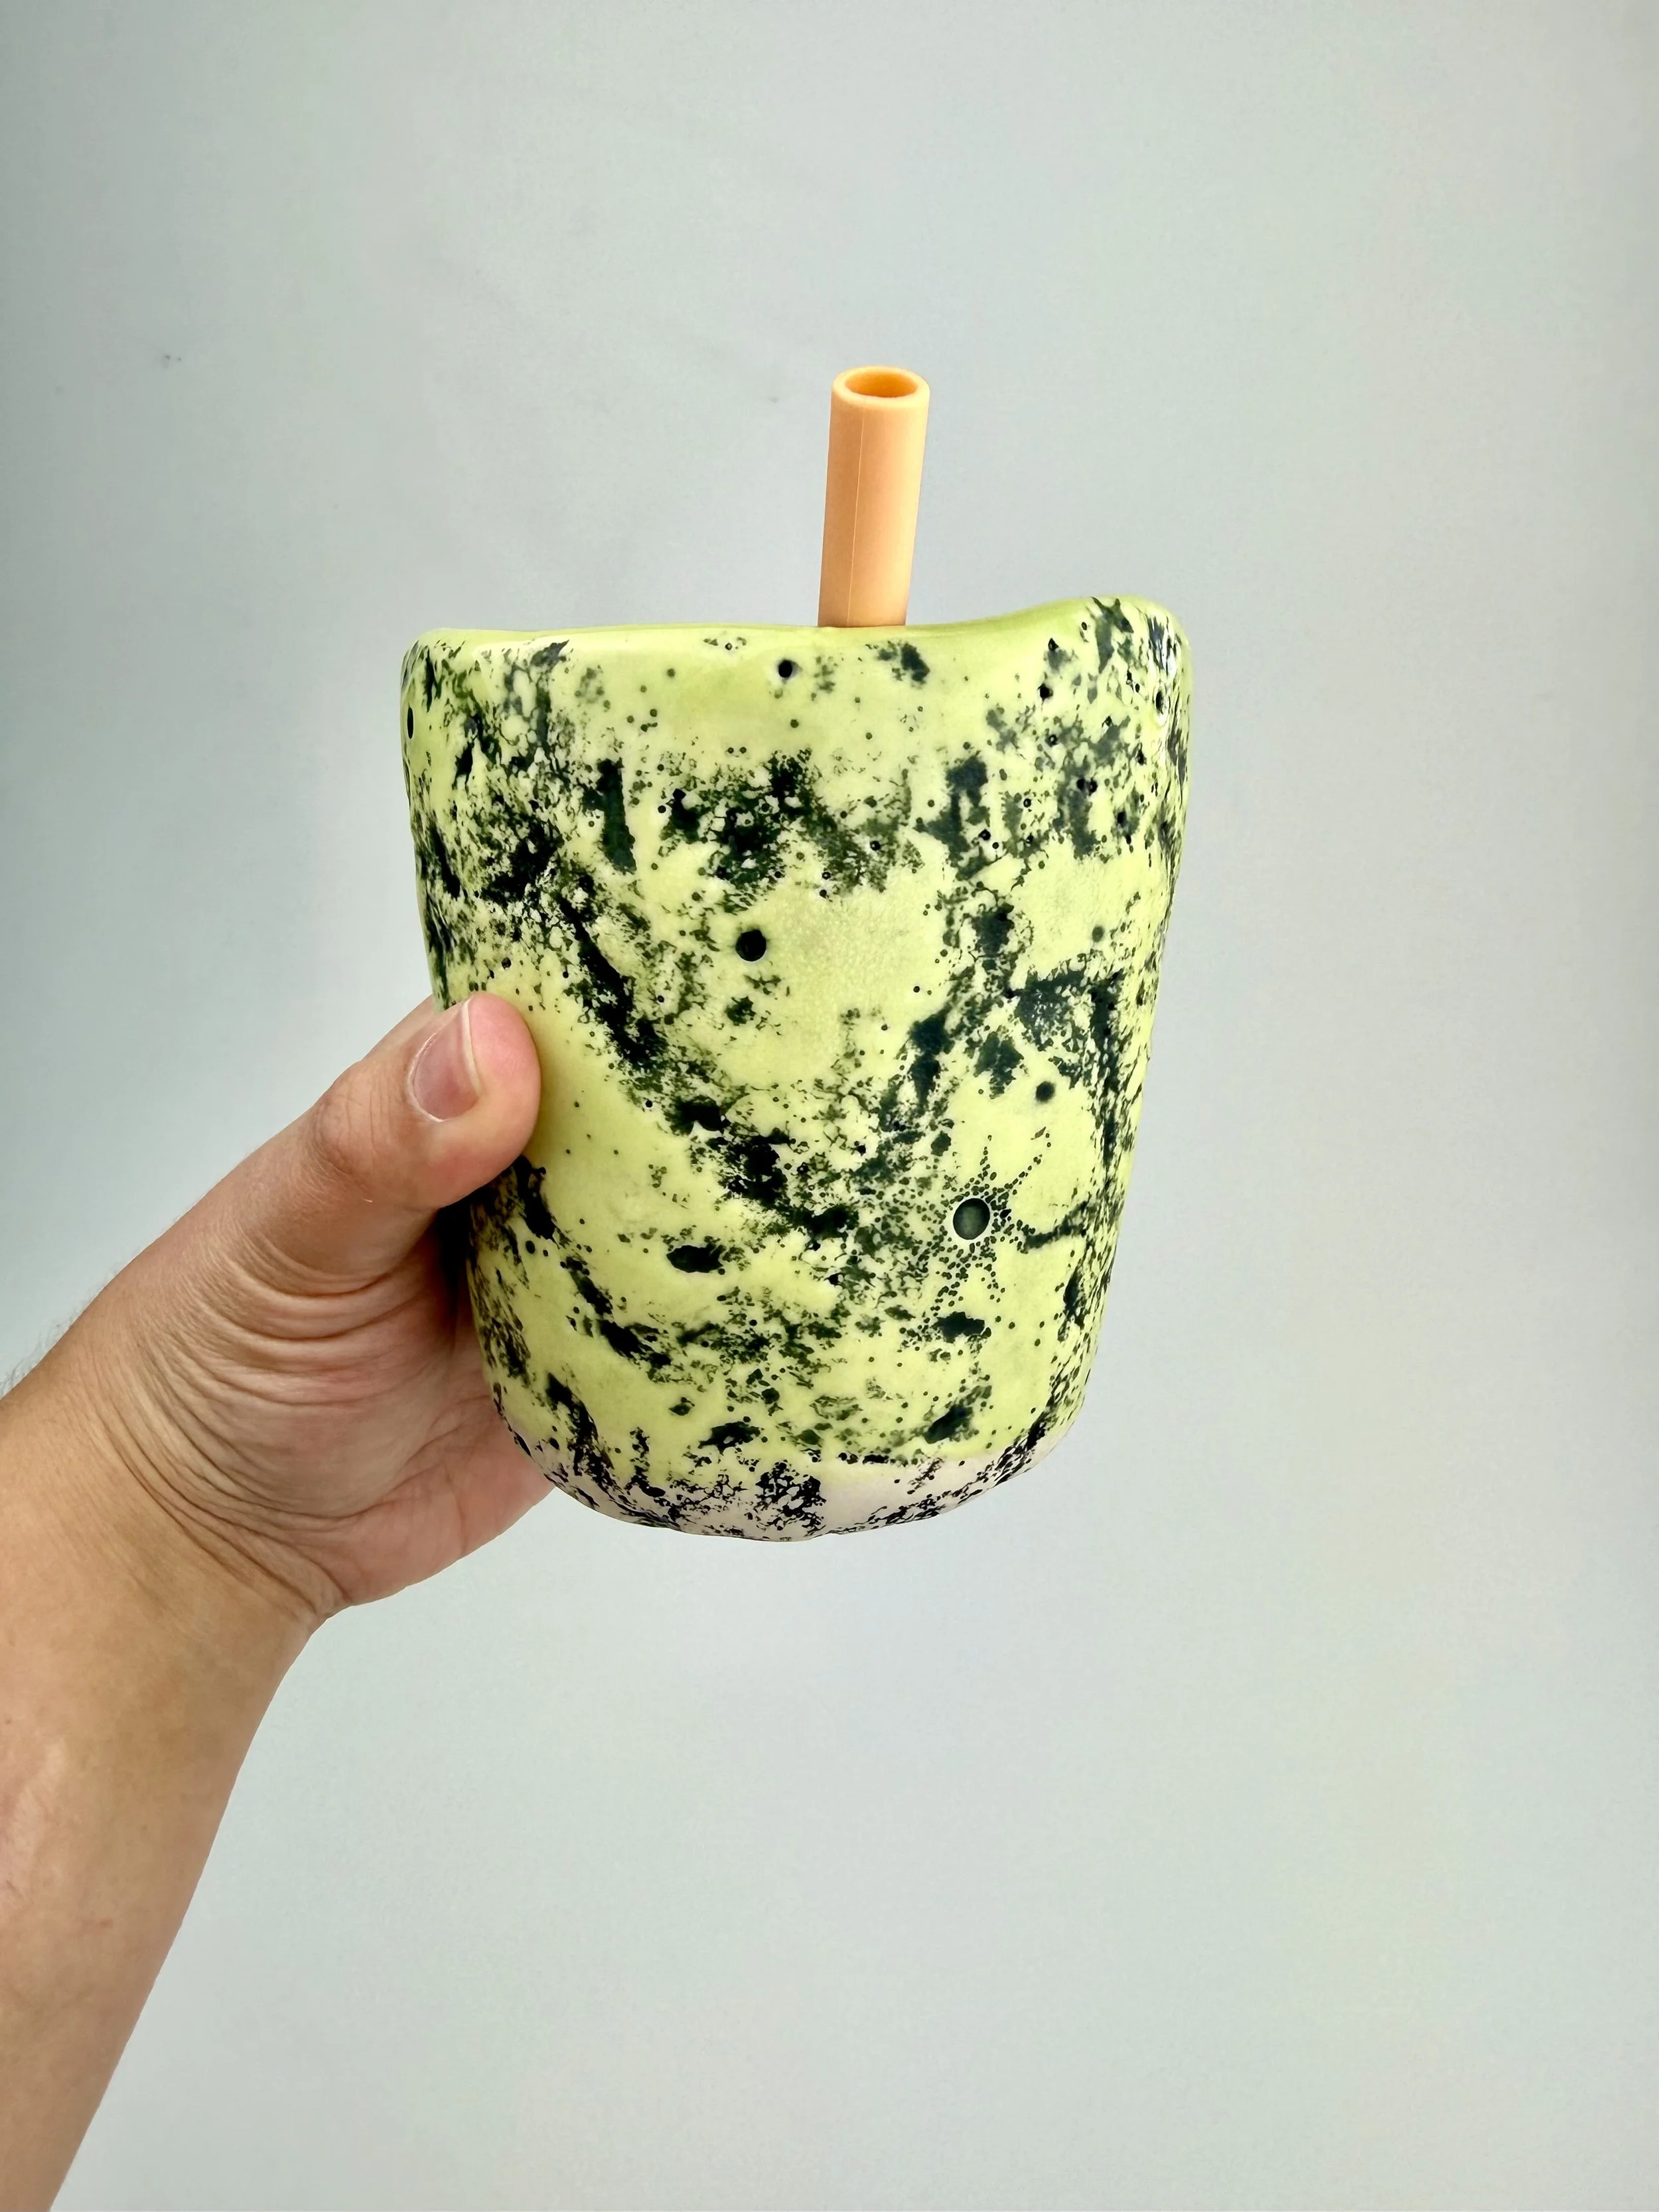 Image 19 of 28
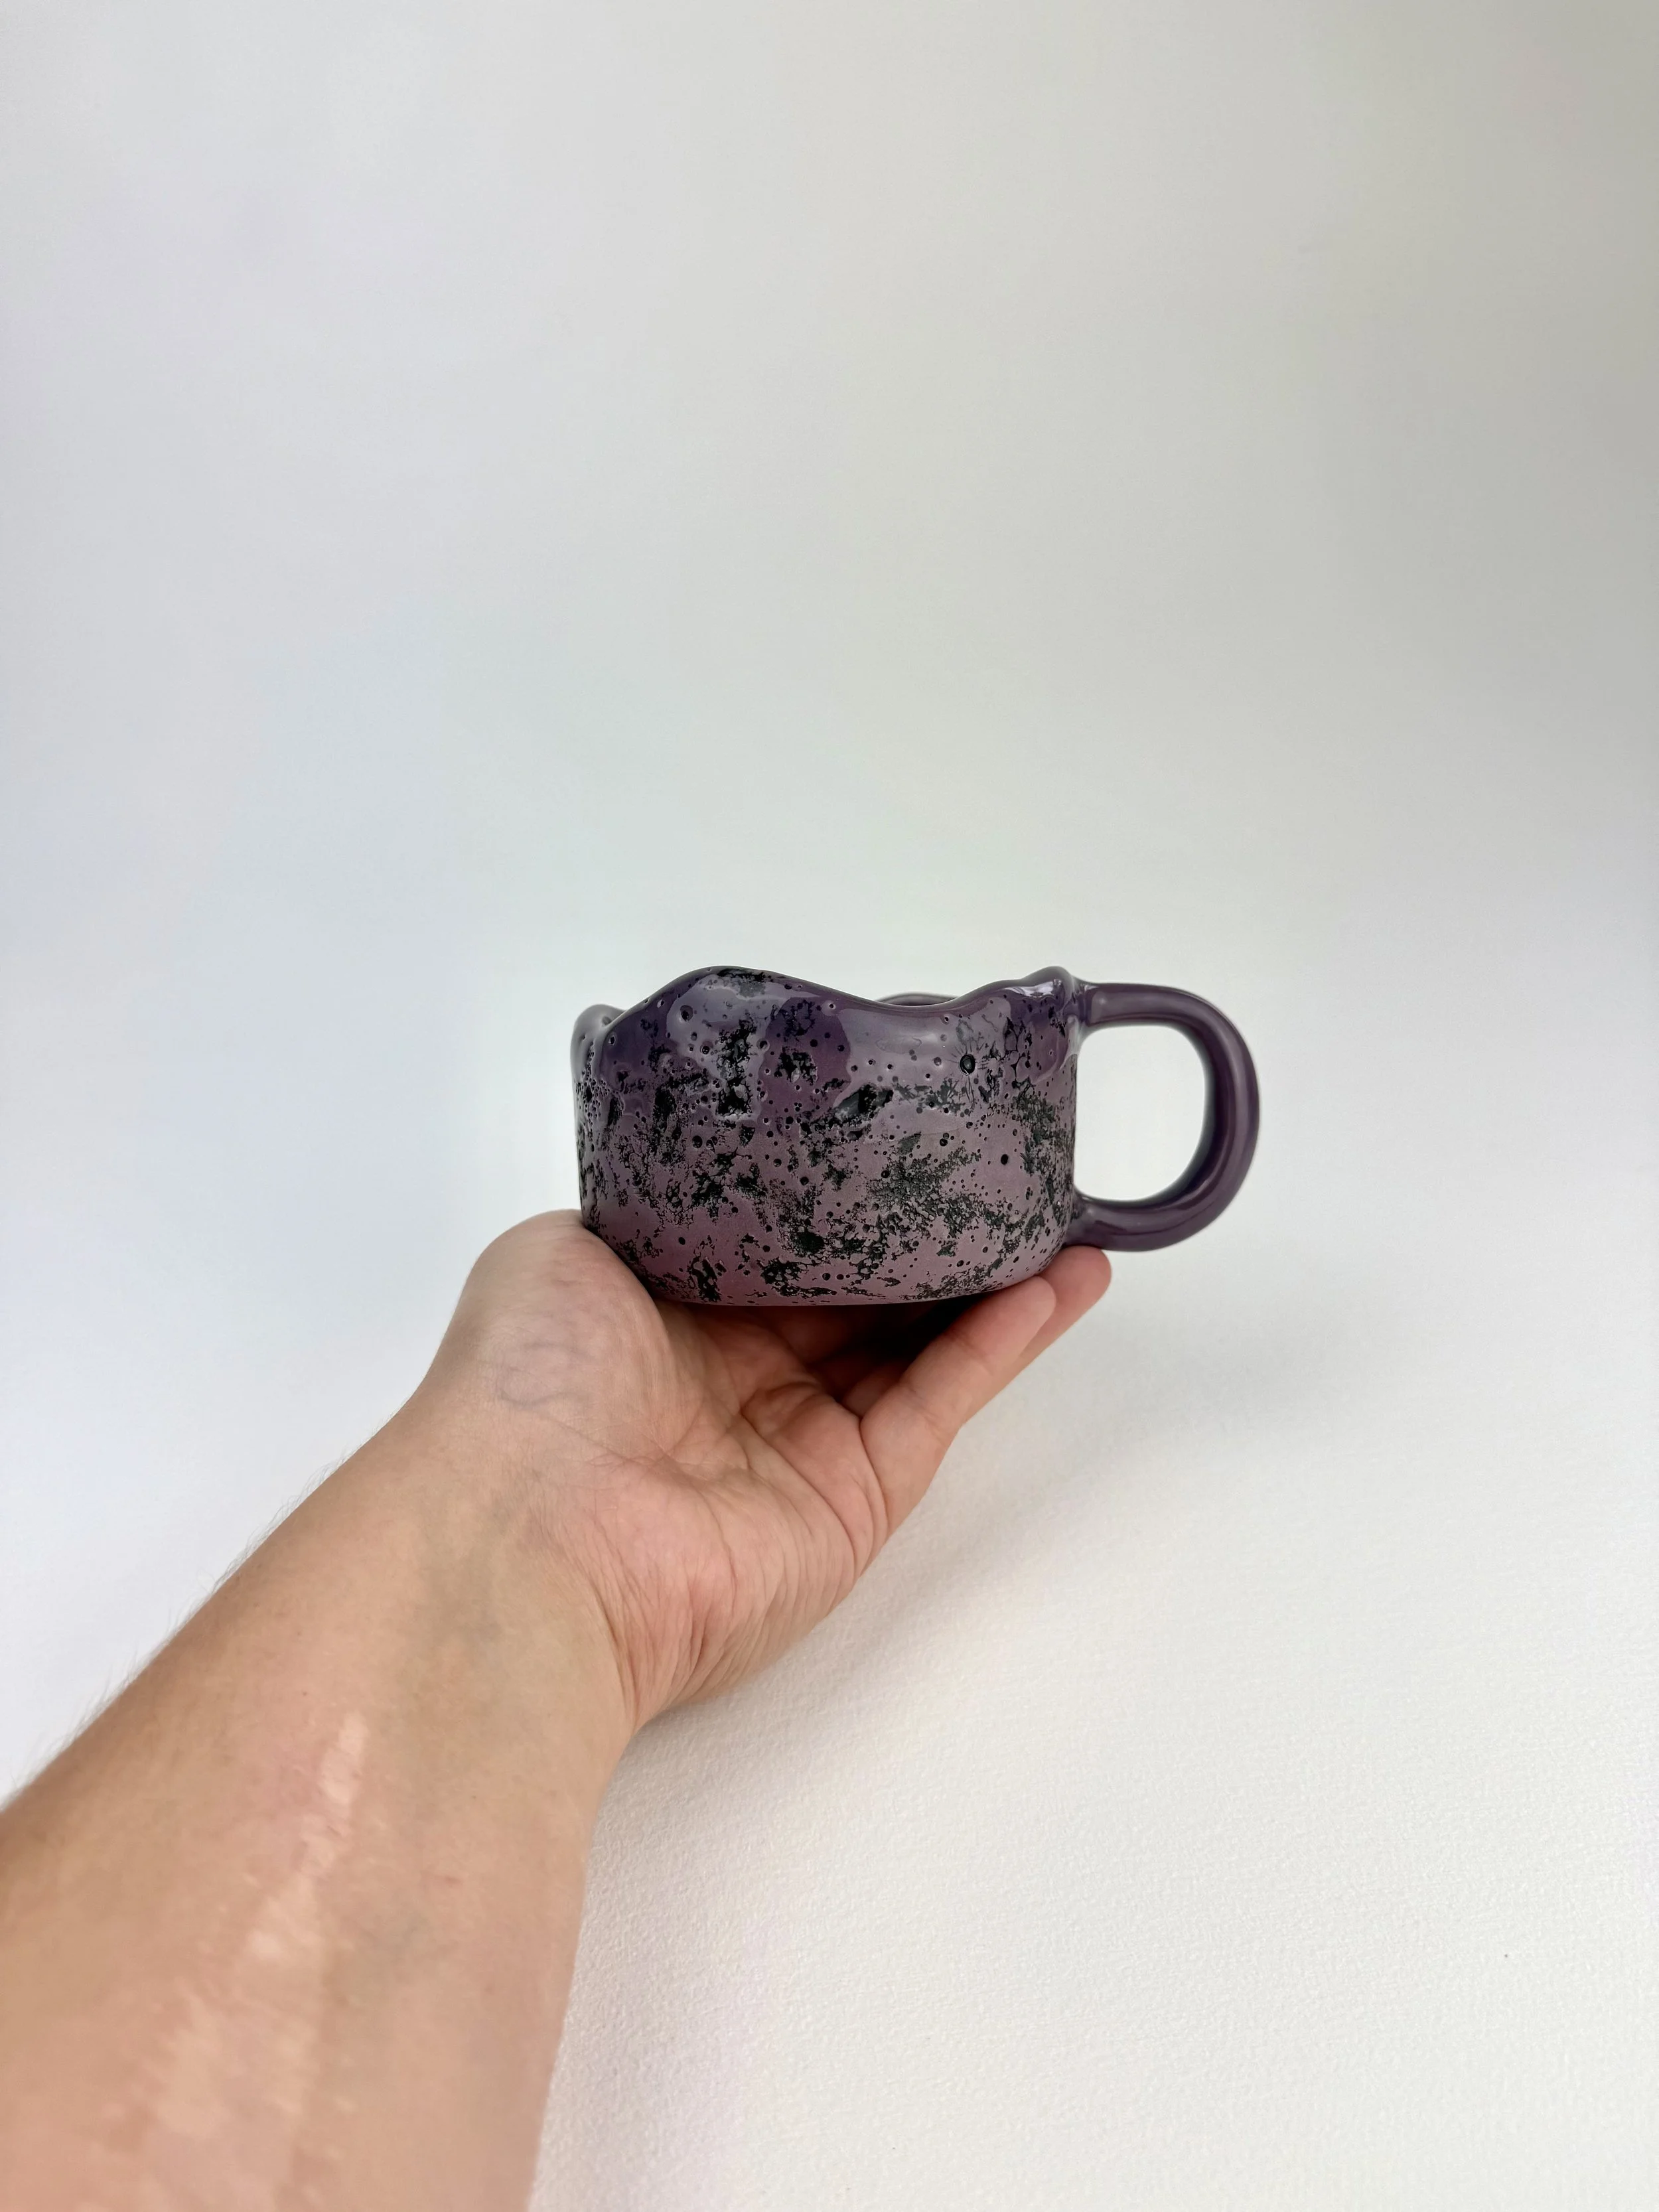 Image 20 of 28
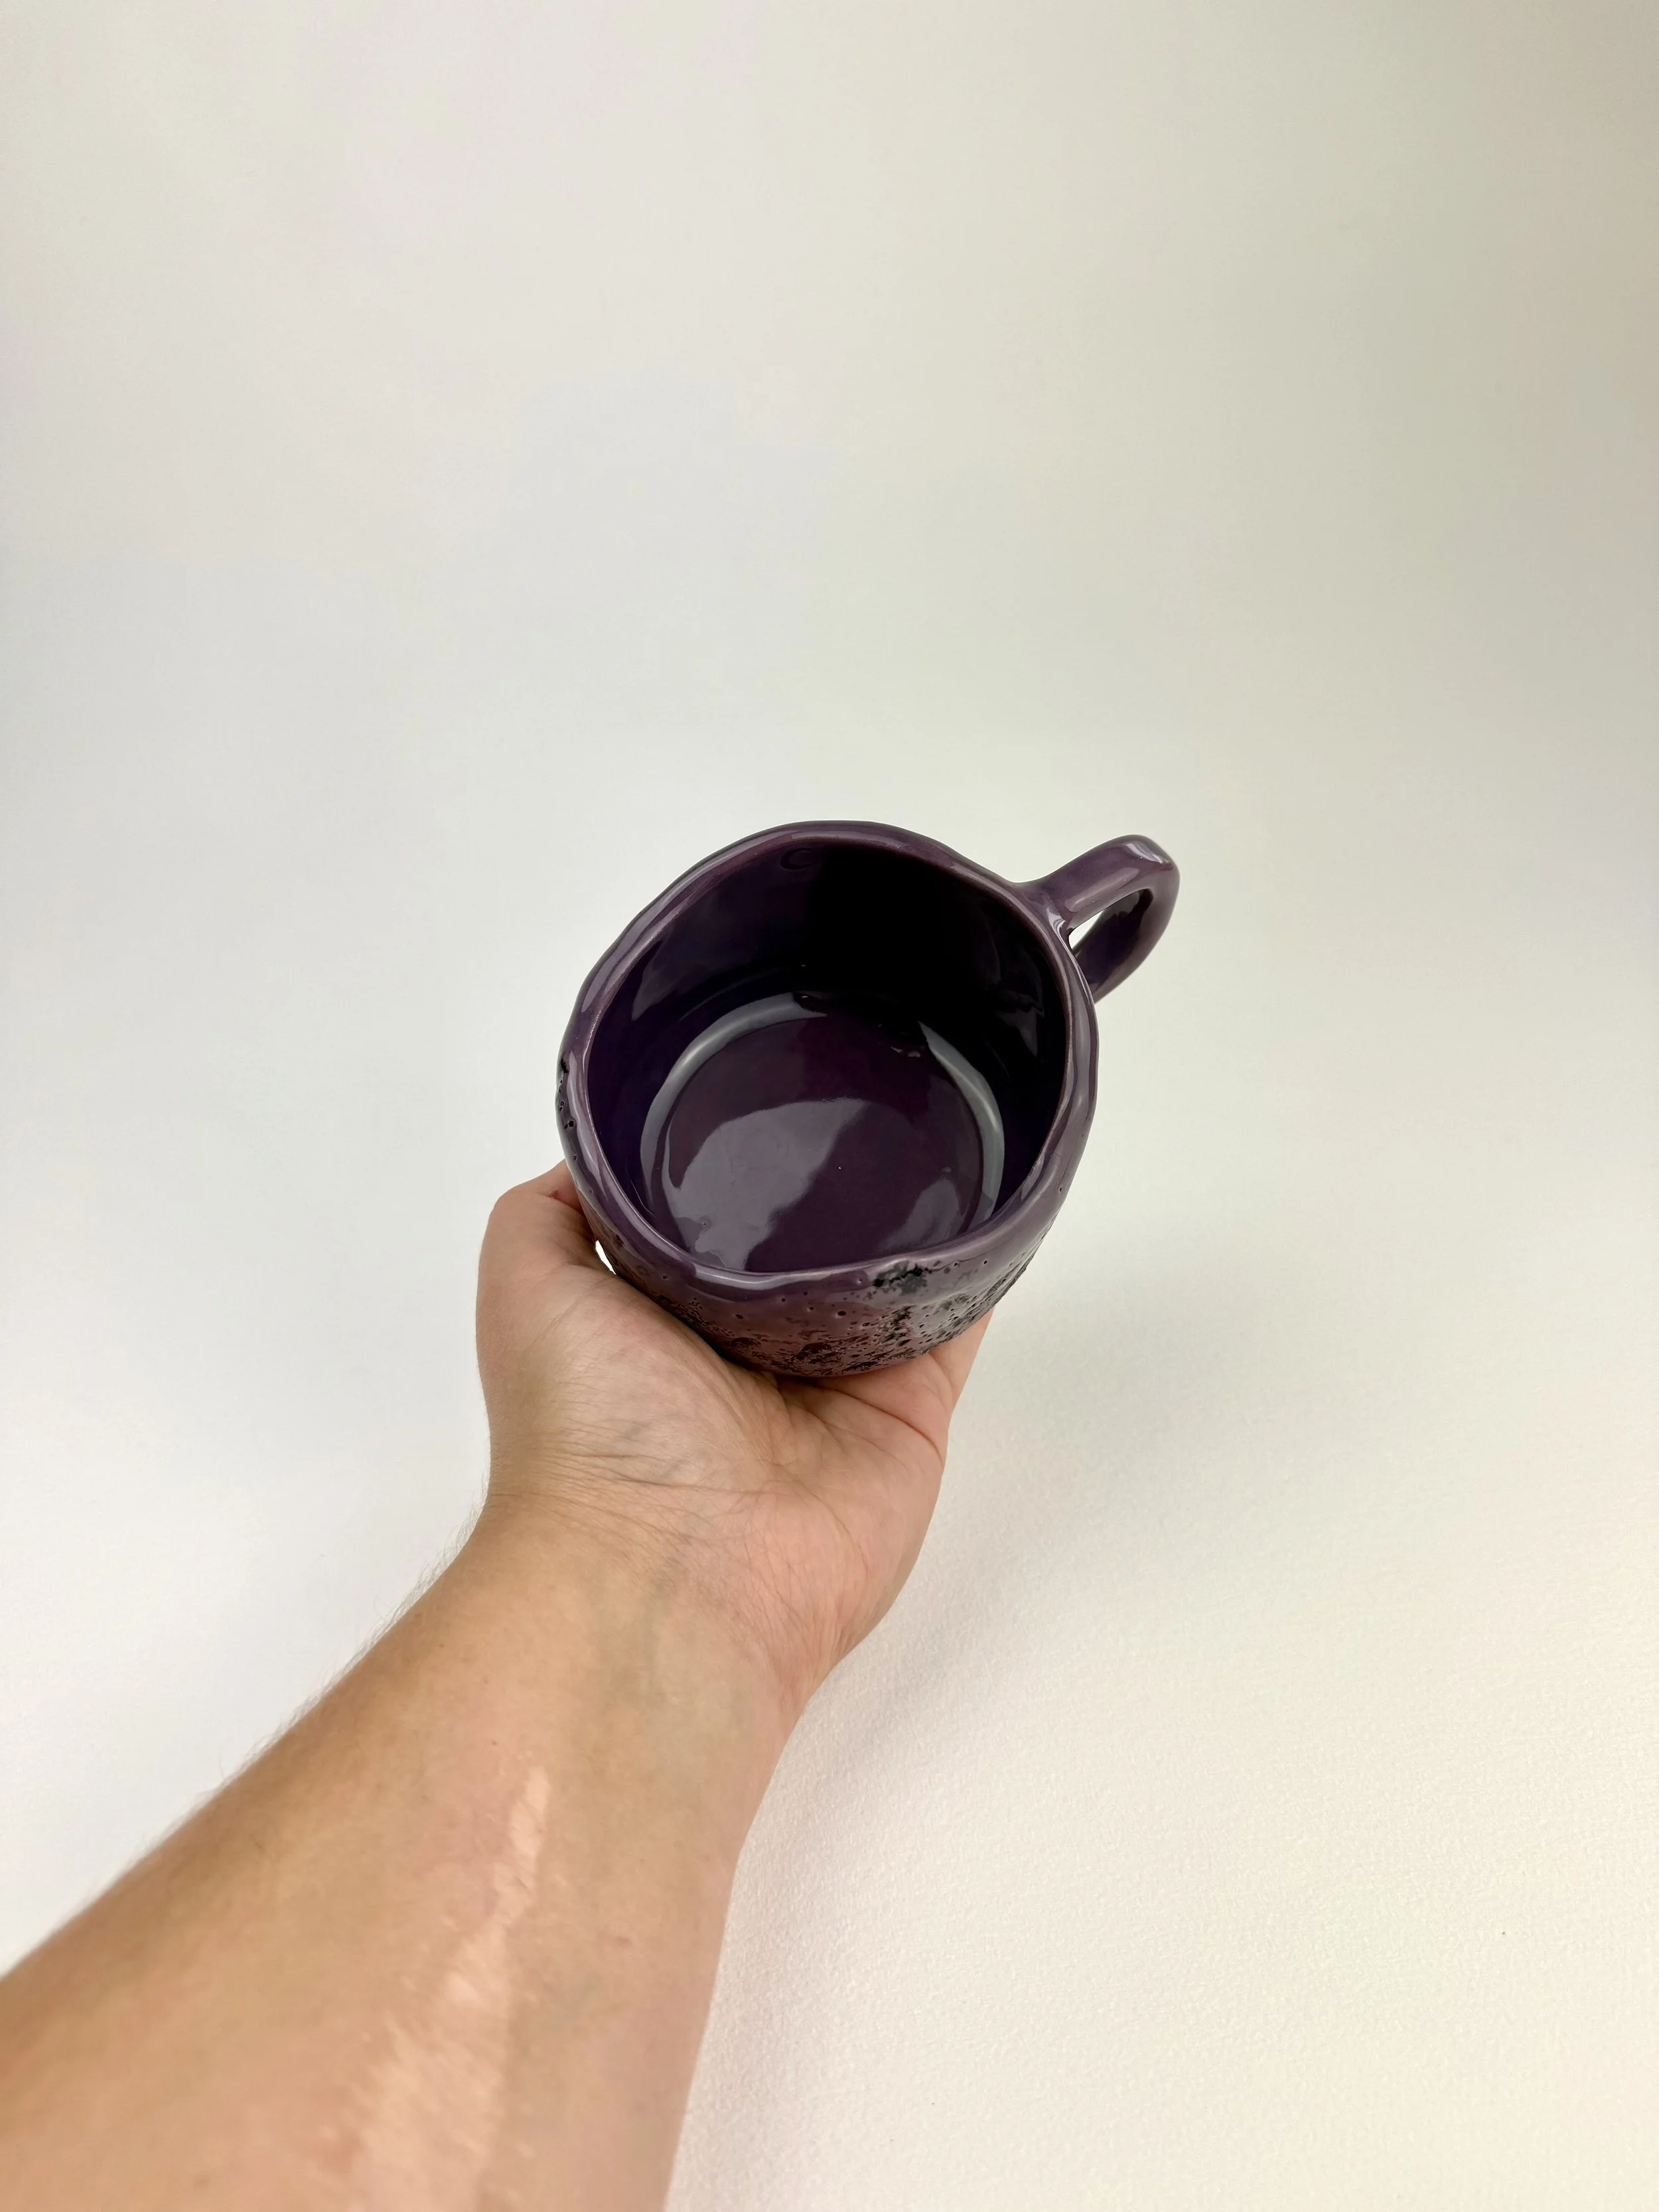 Image 21 of 28
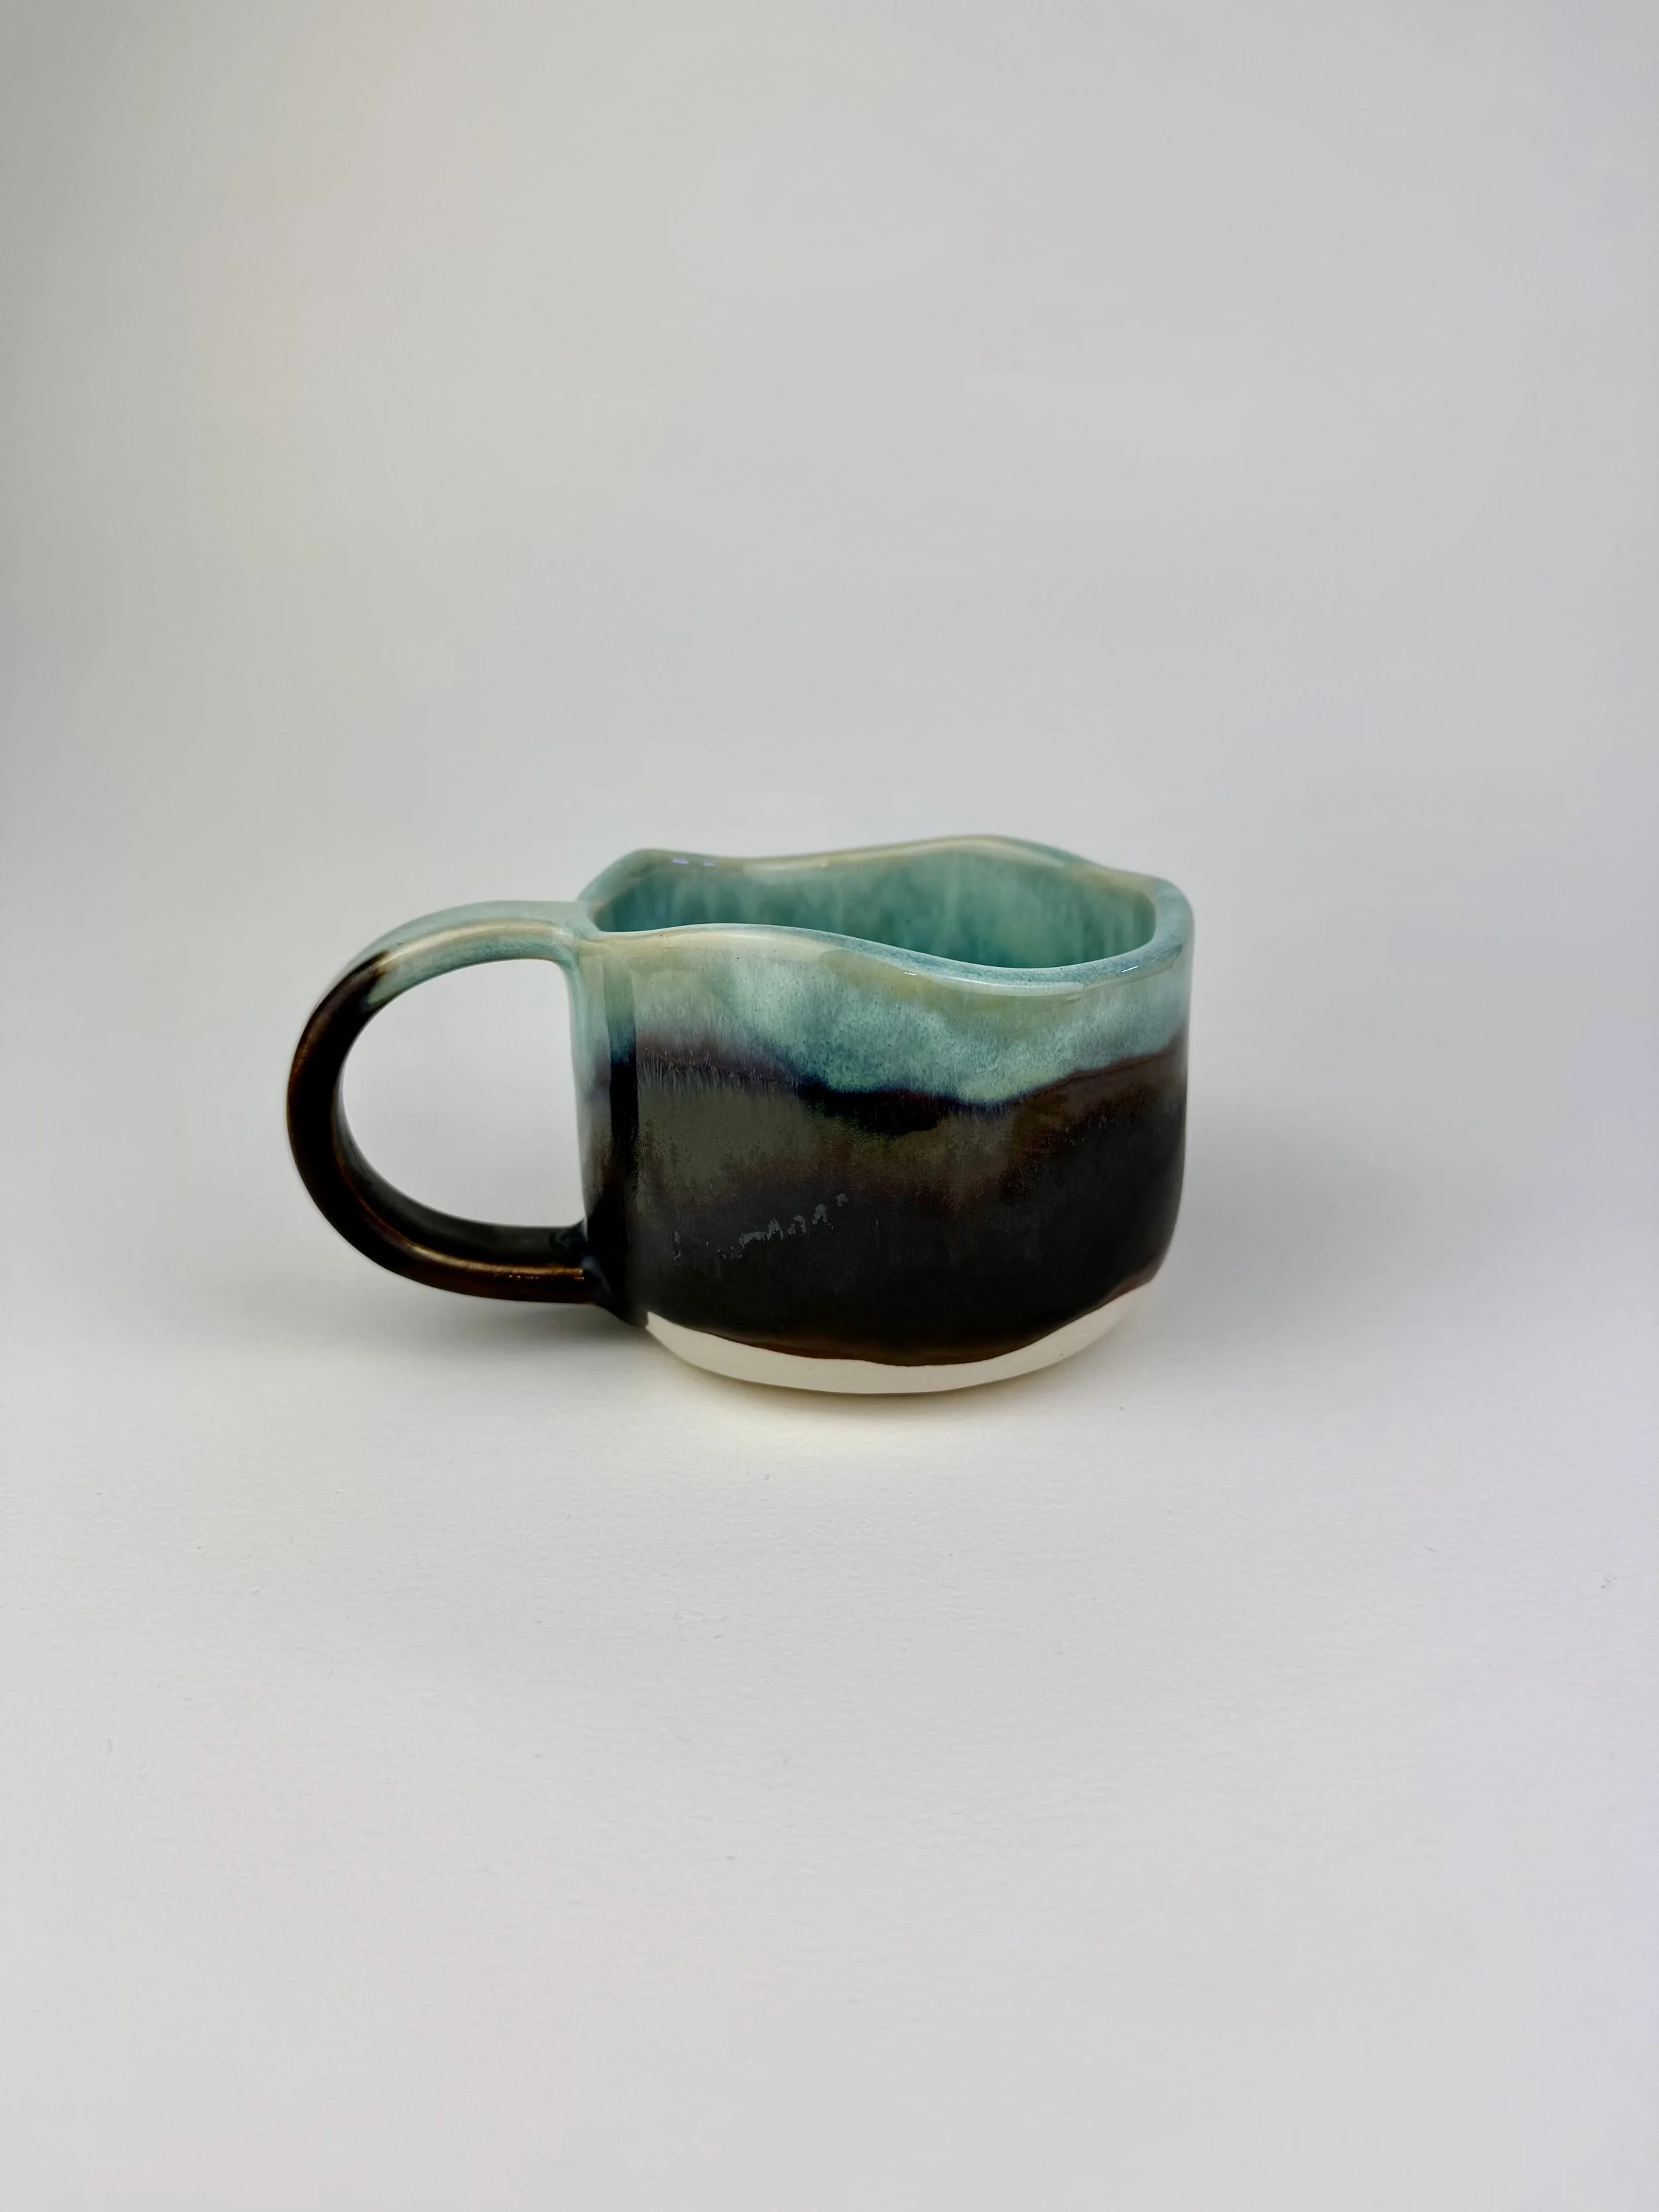 Image 22 of 28
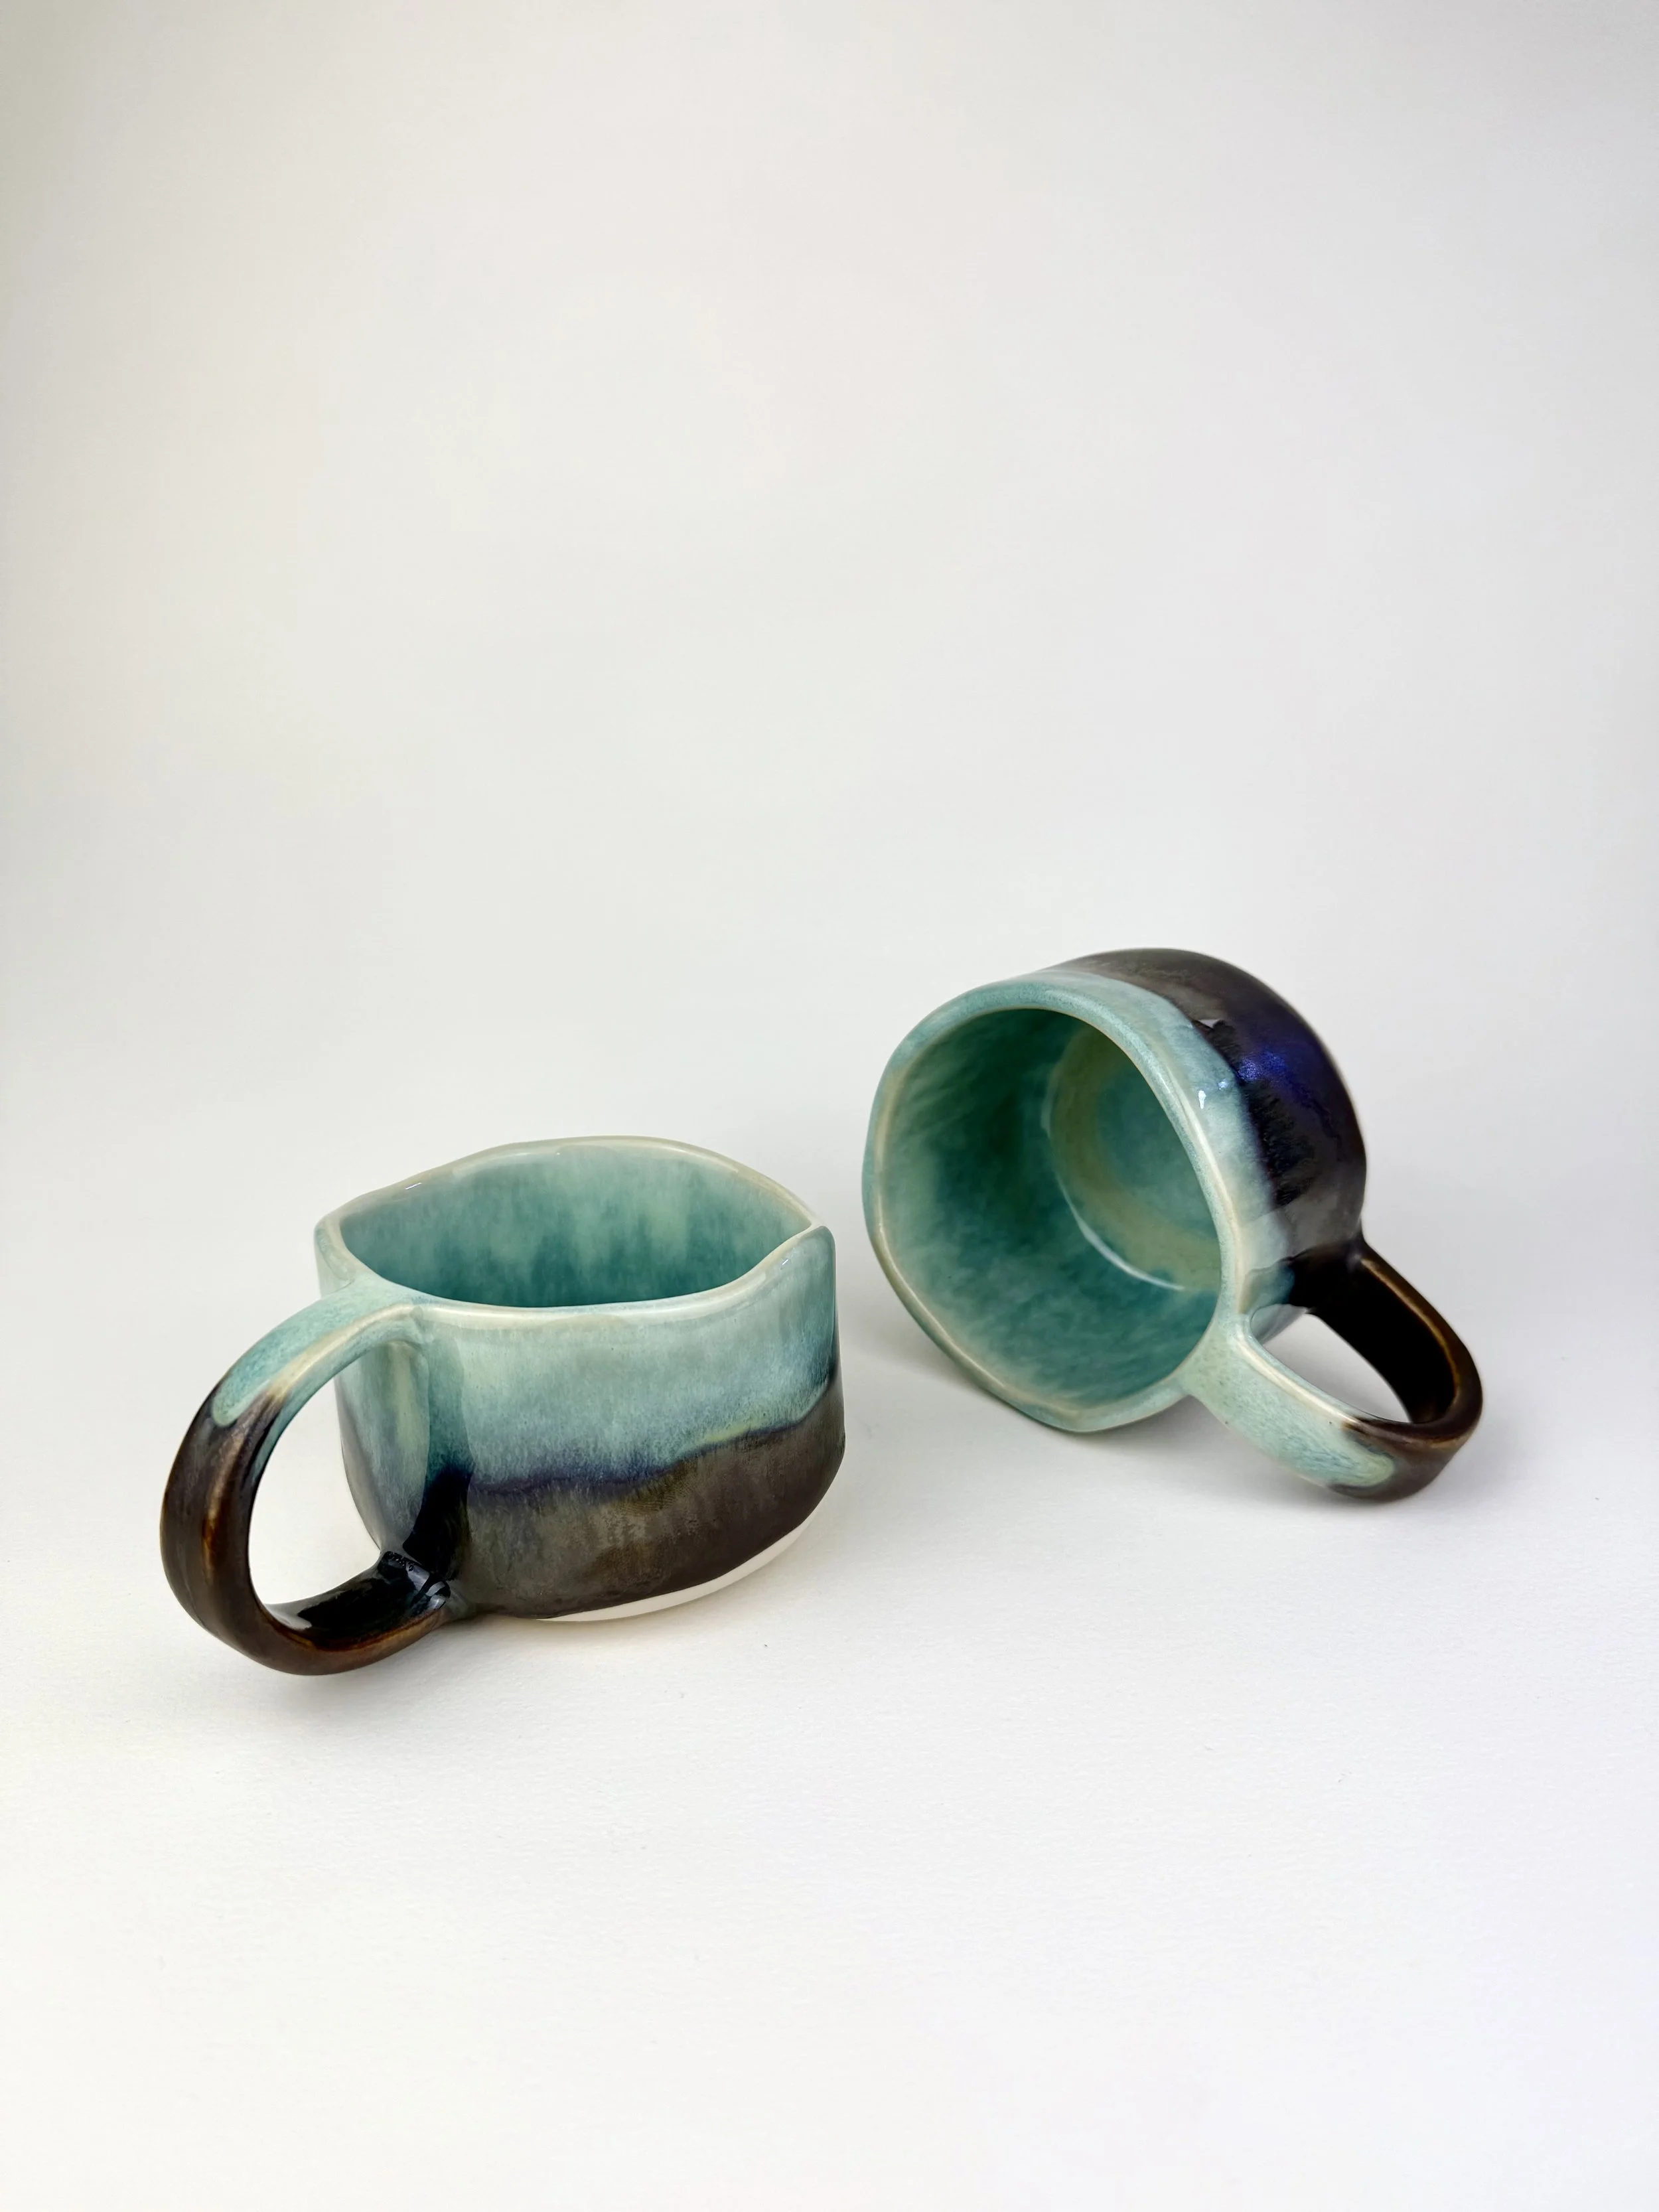 Image 23 of 28
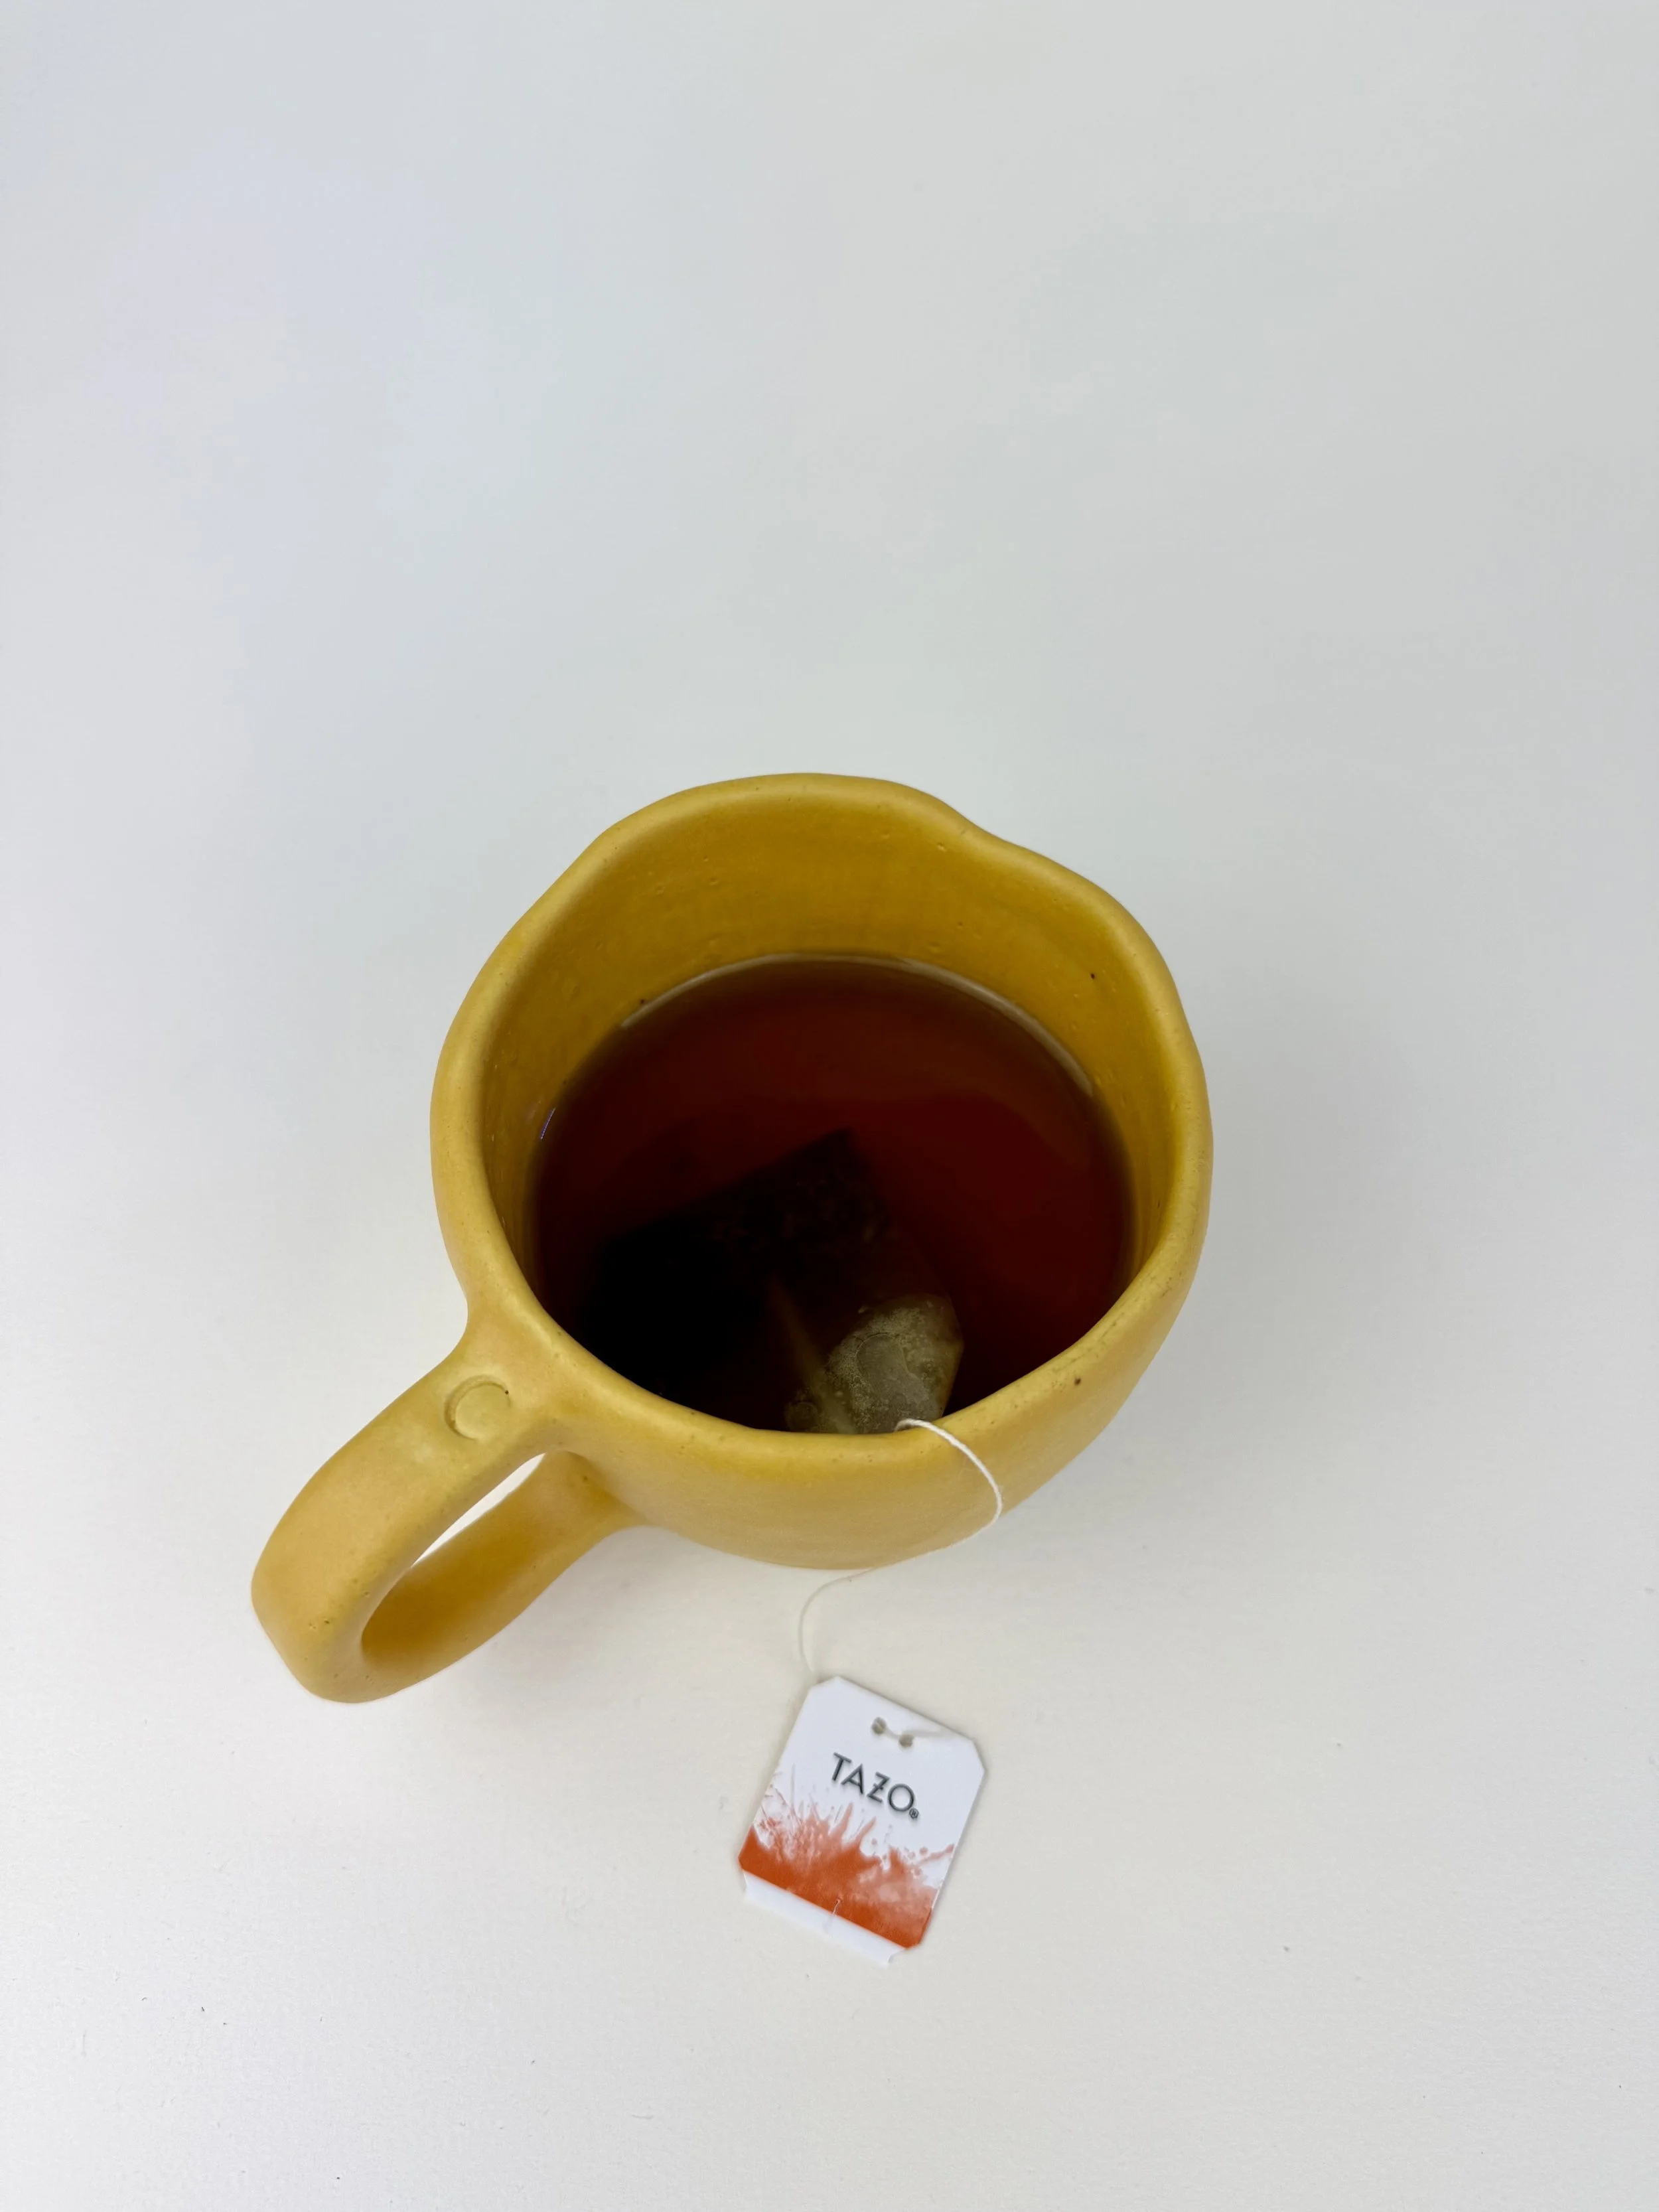 Image 24 of 28
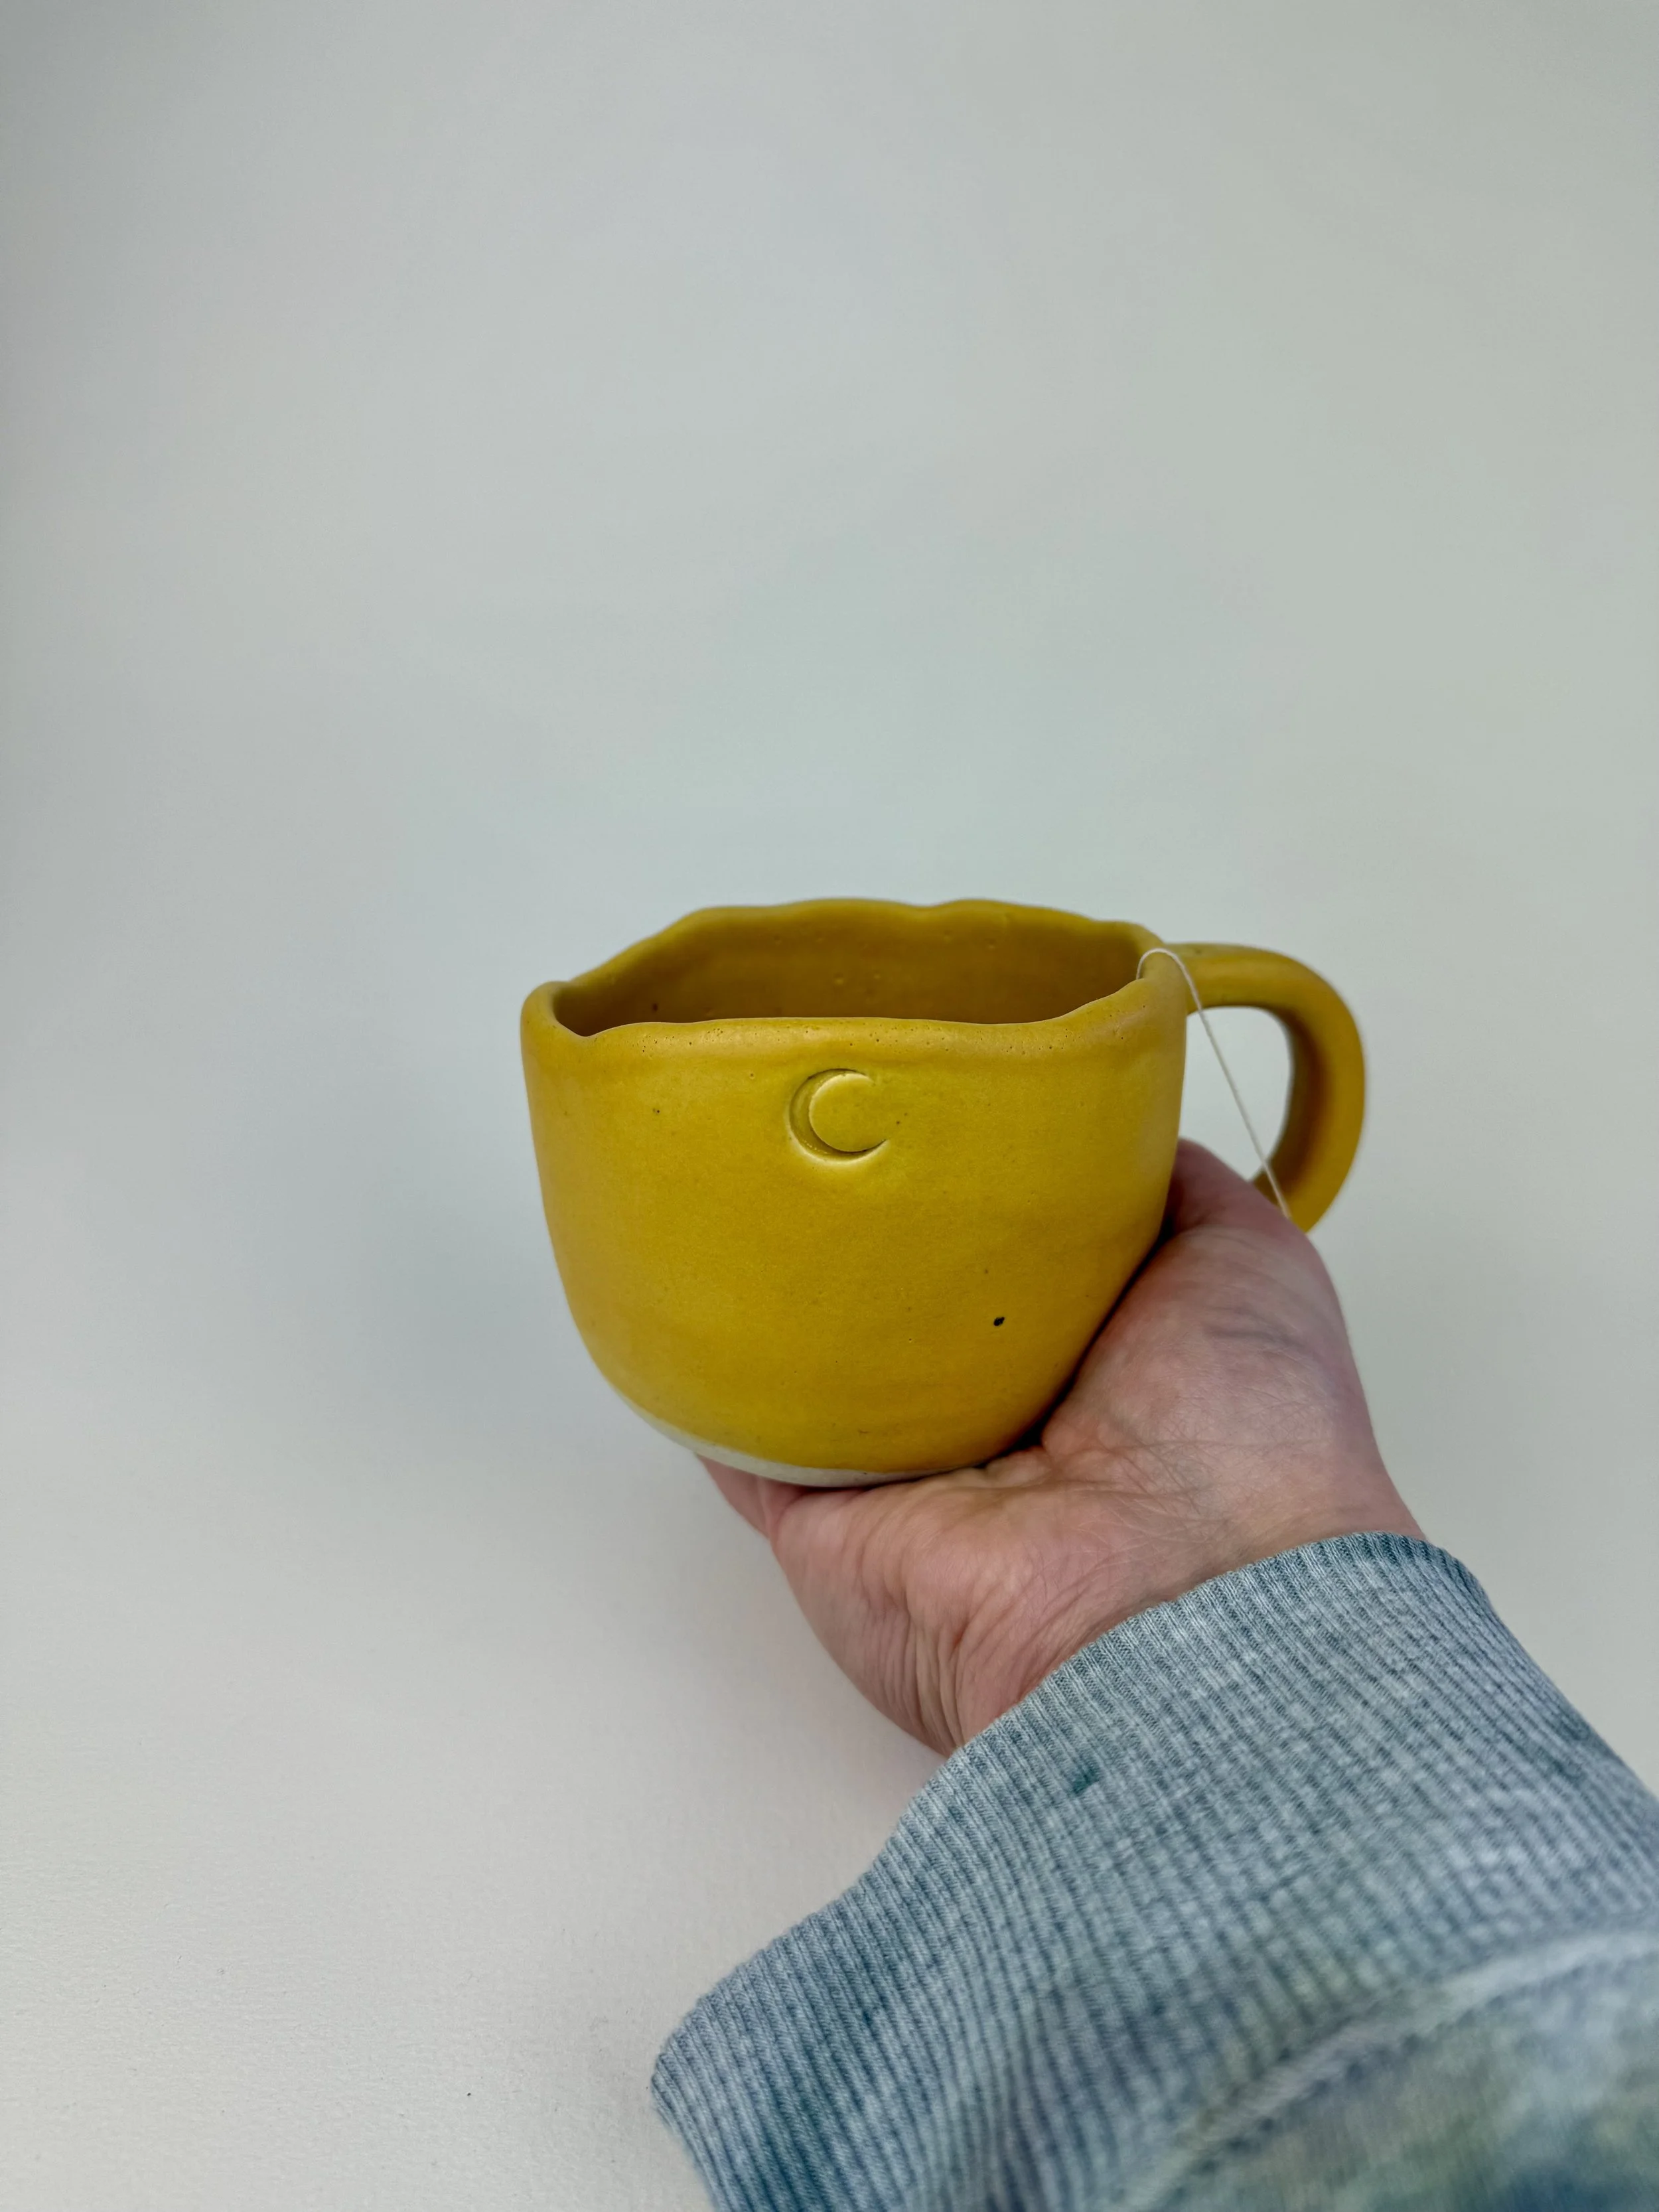 Image 25 of 28
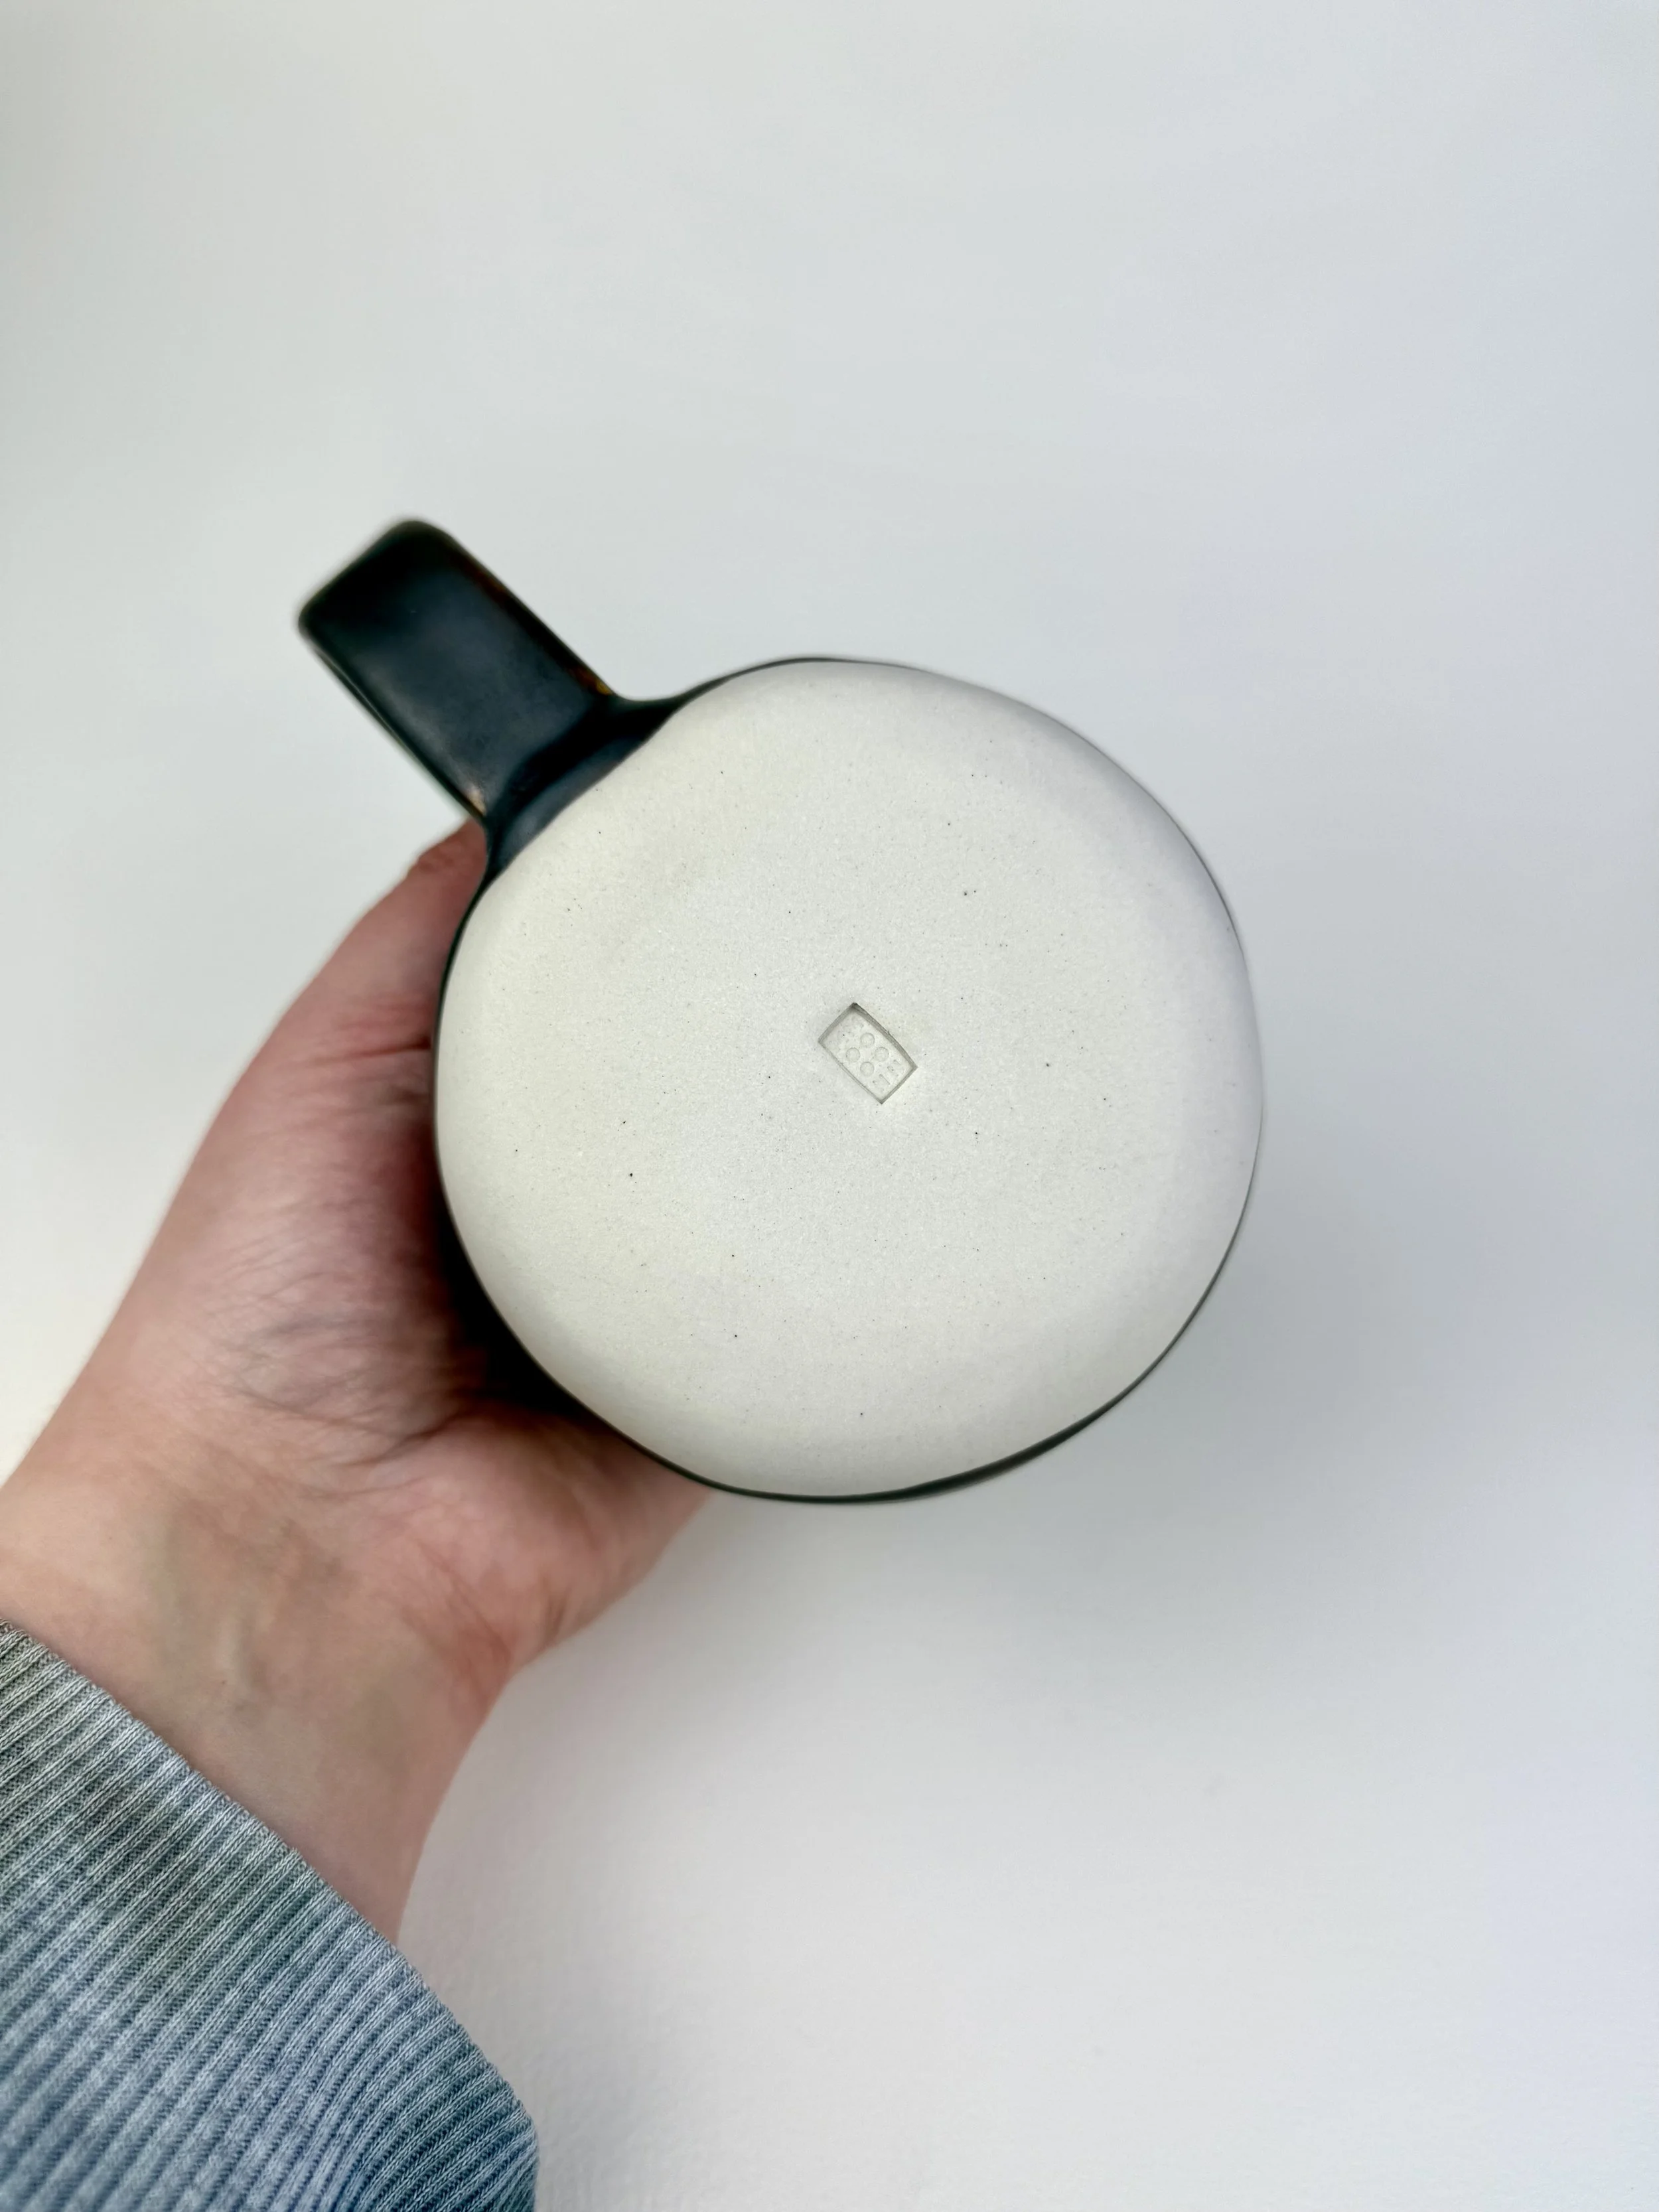 Image 26 of 28
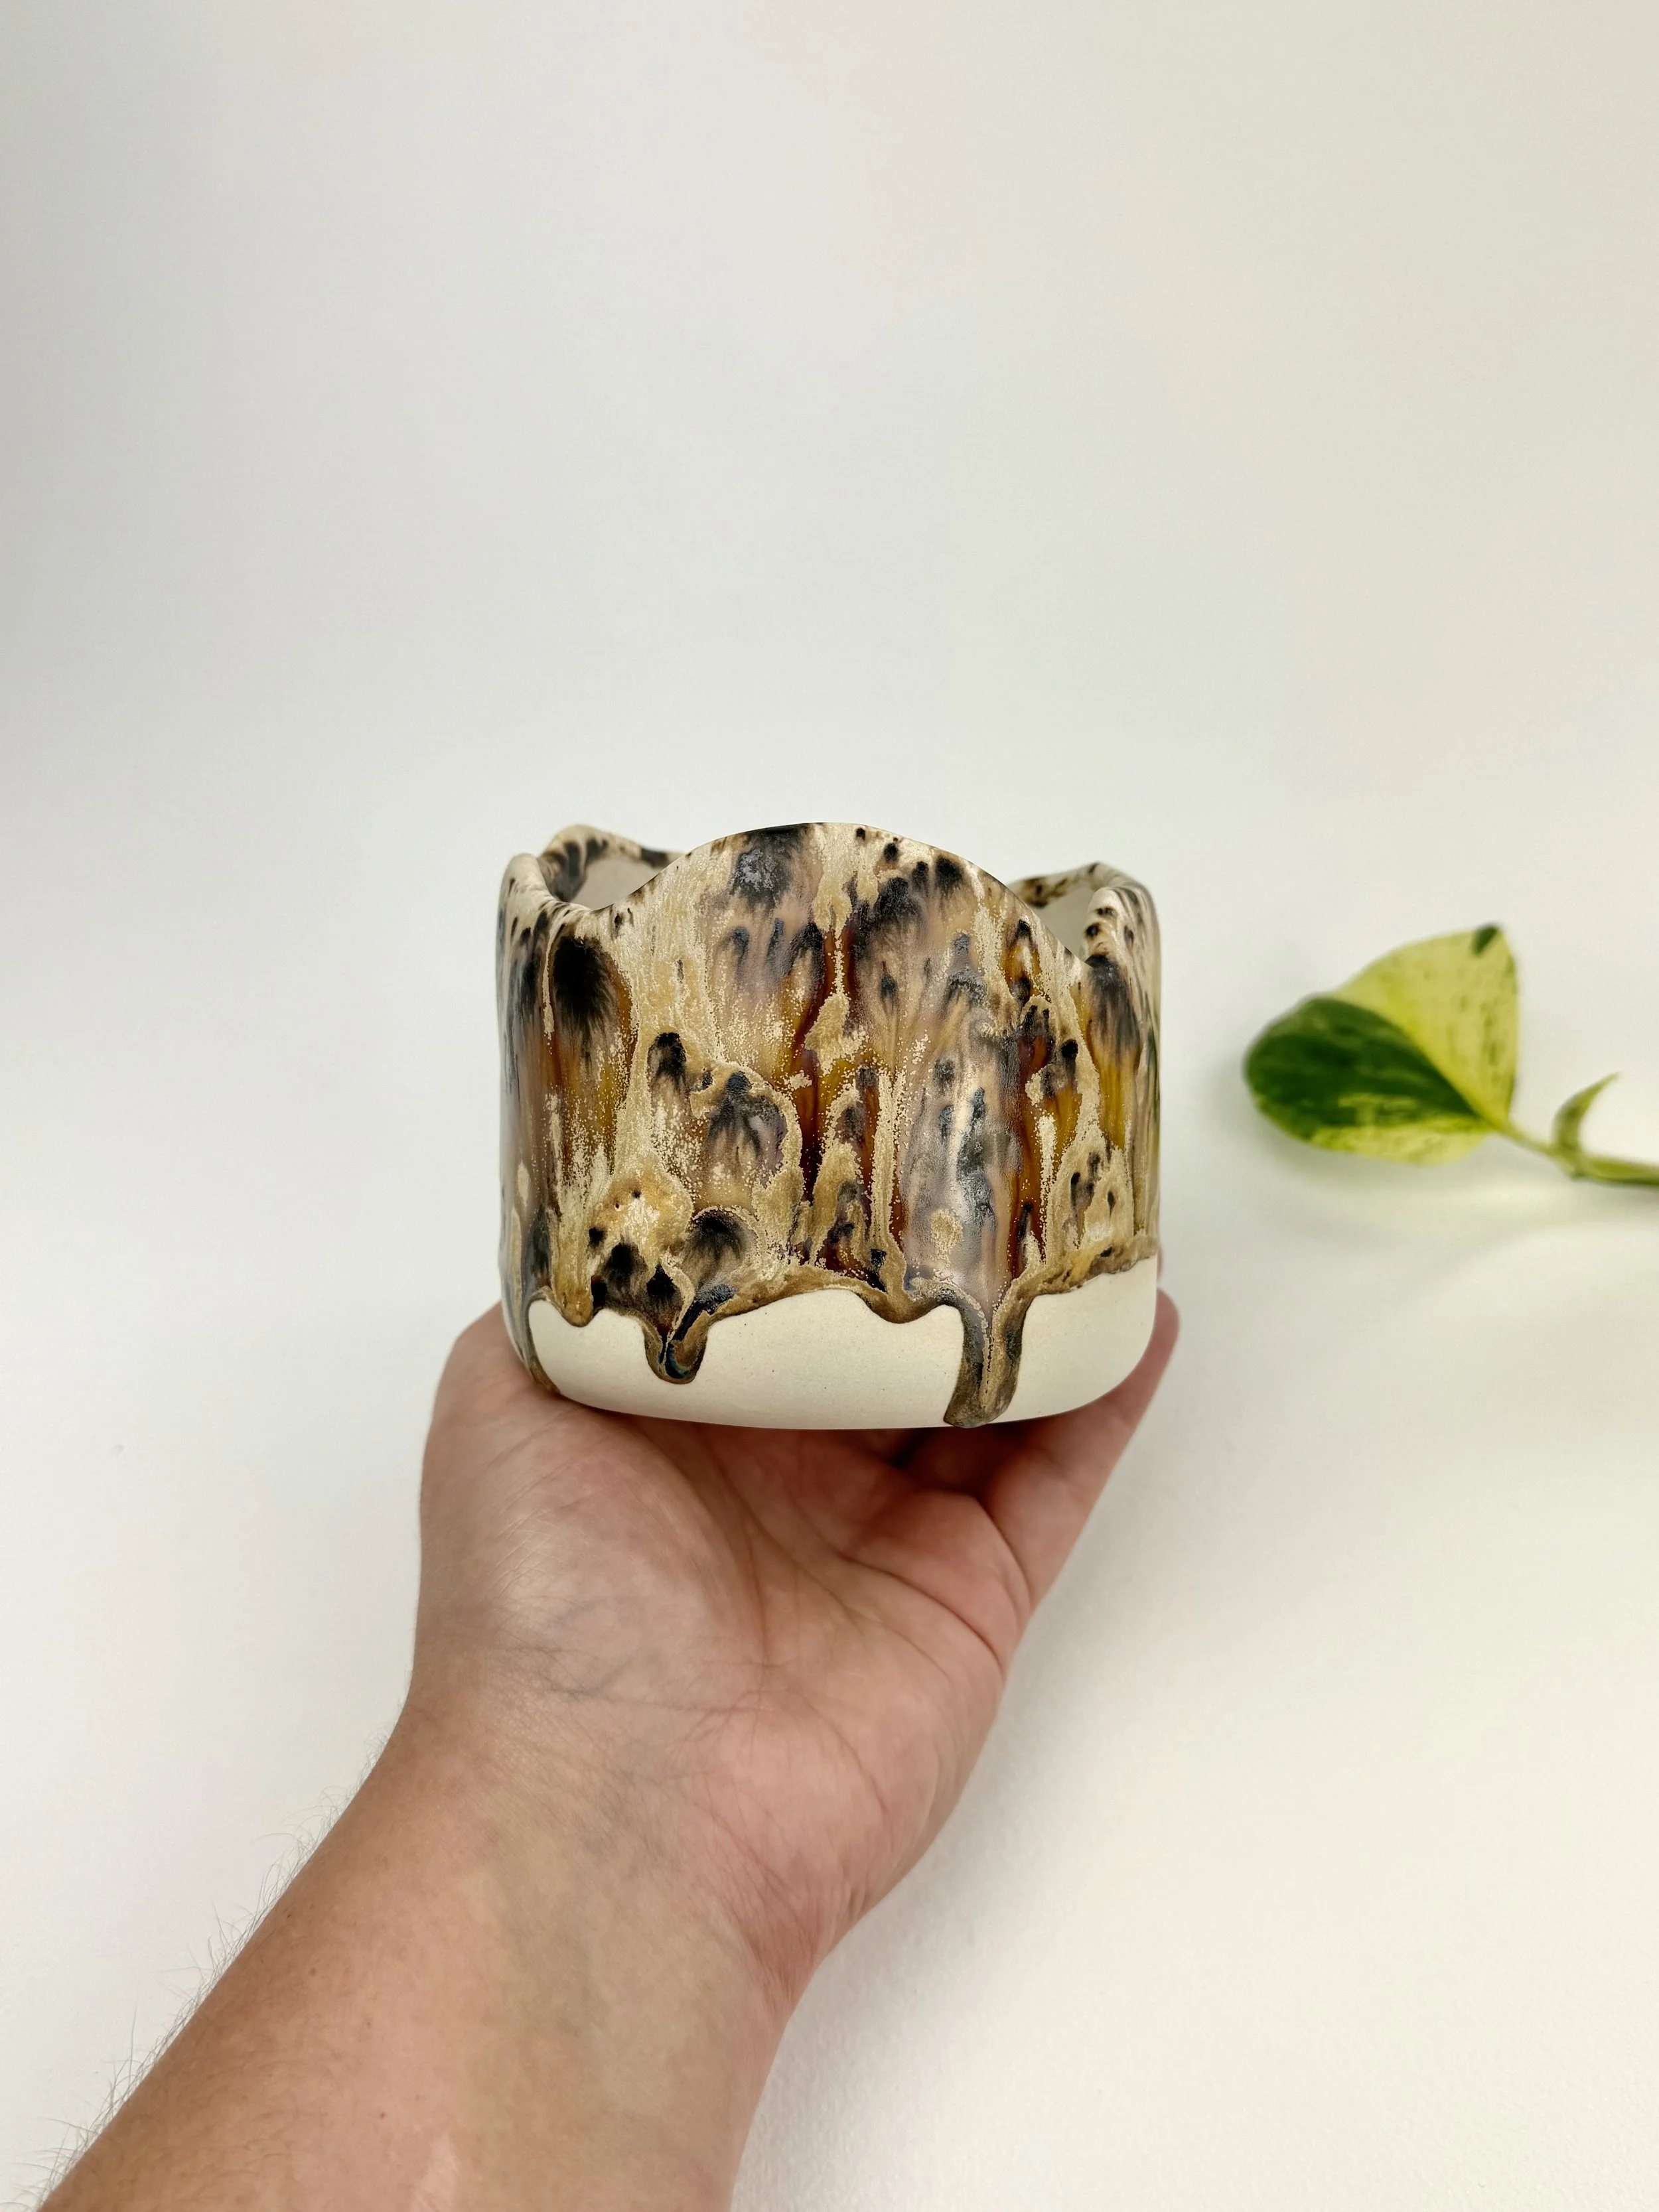 Image 27 of 28
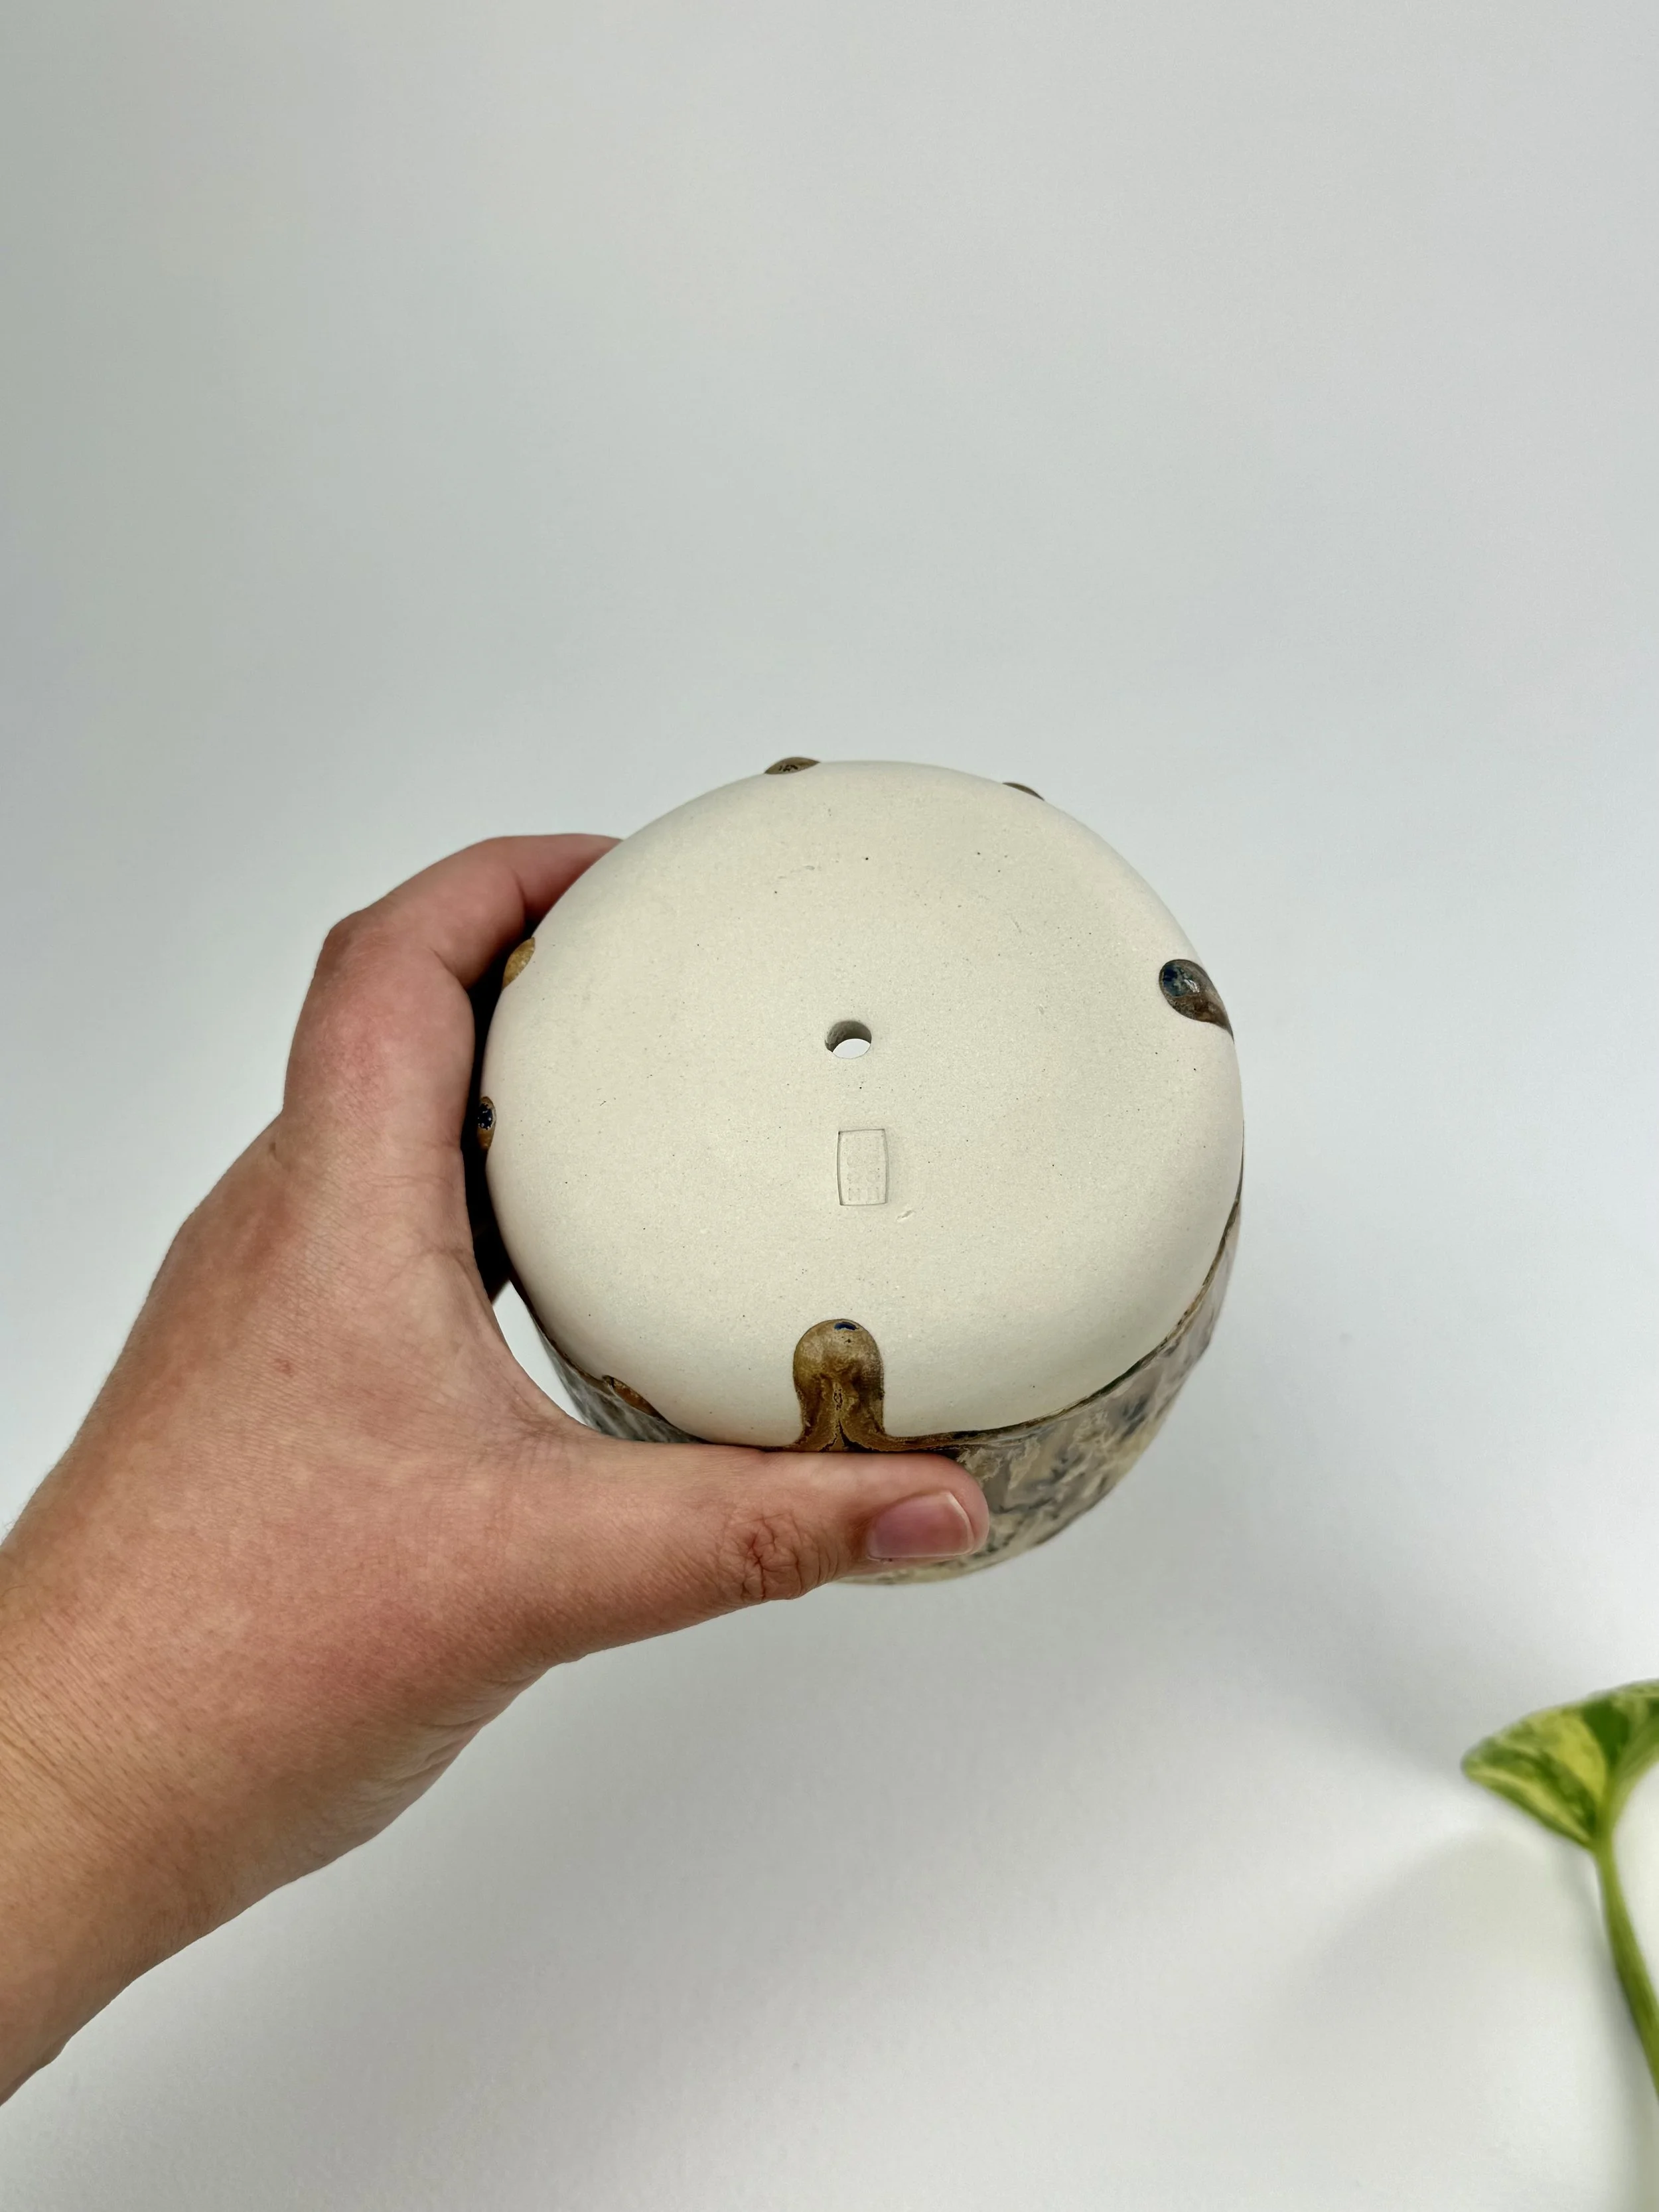 Image 28 of 28