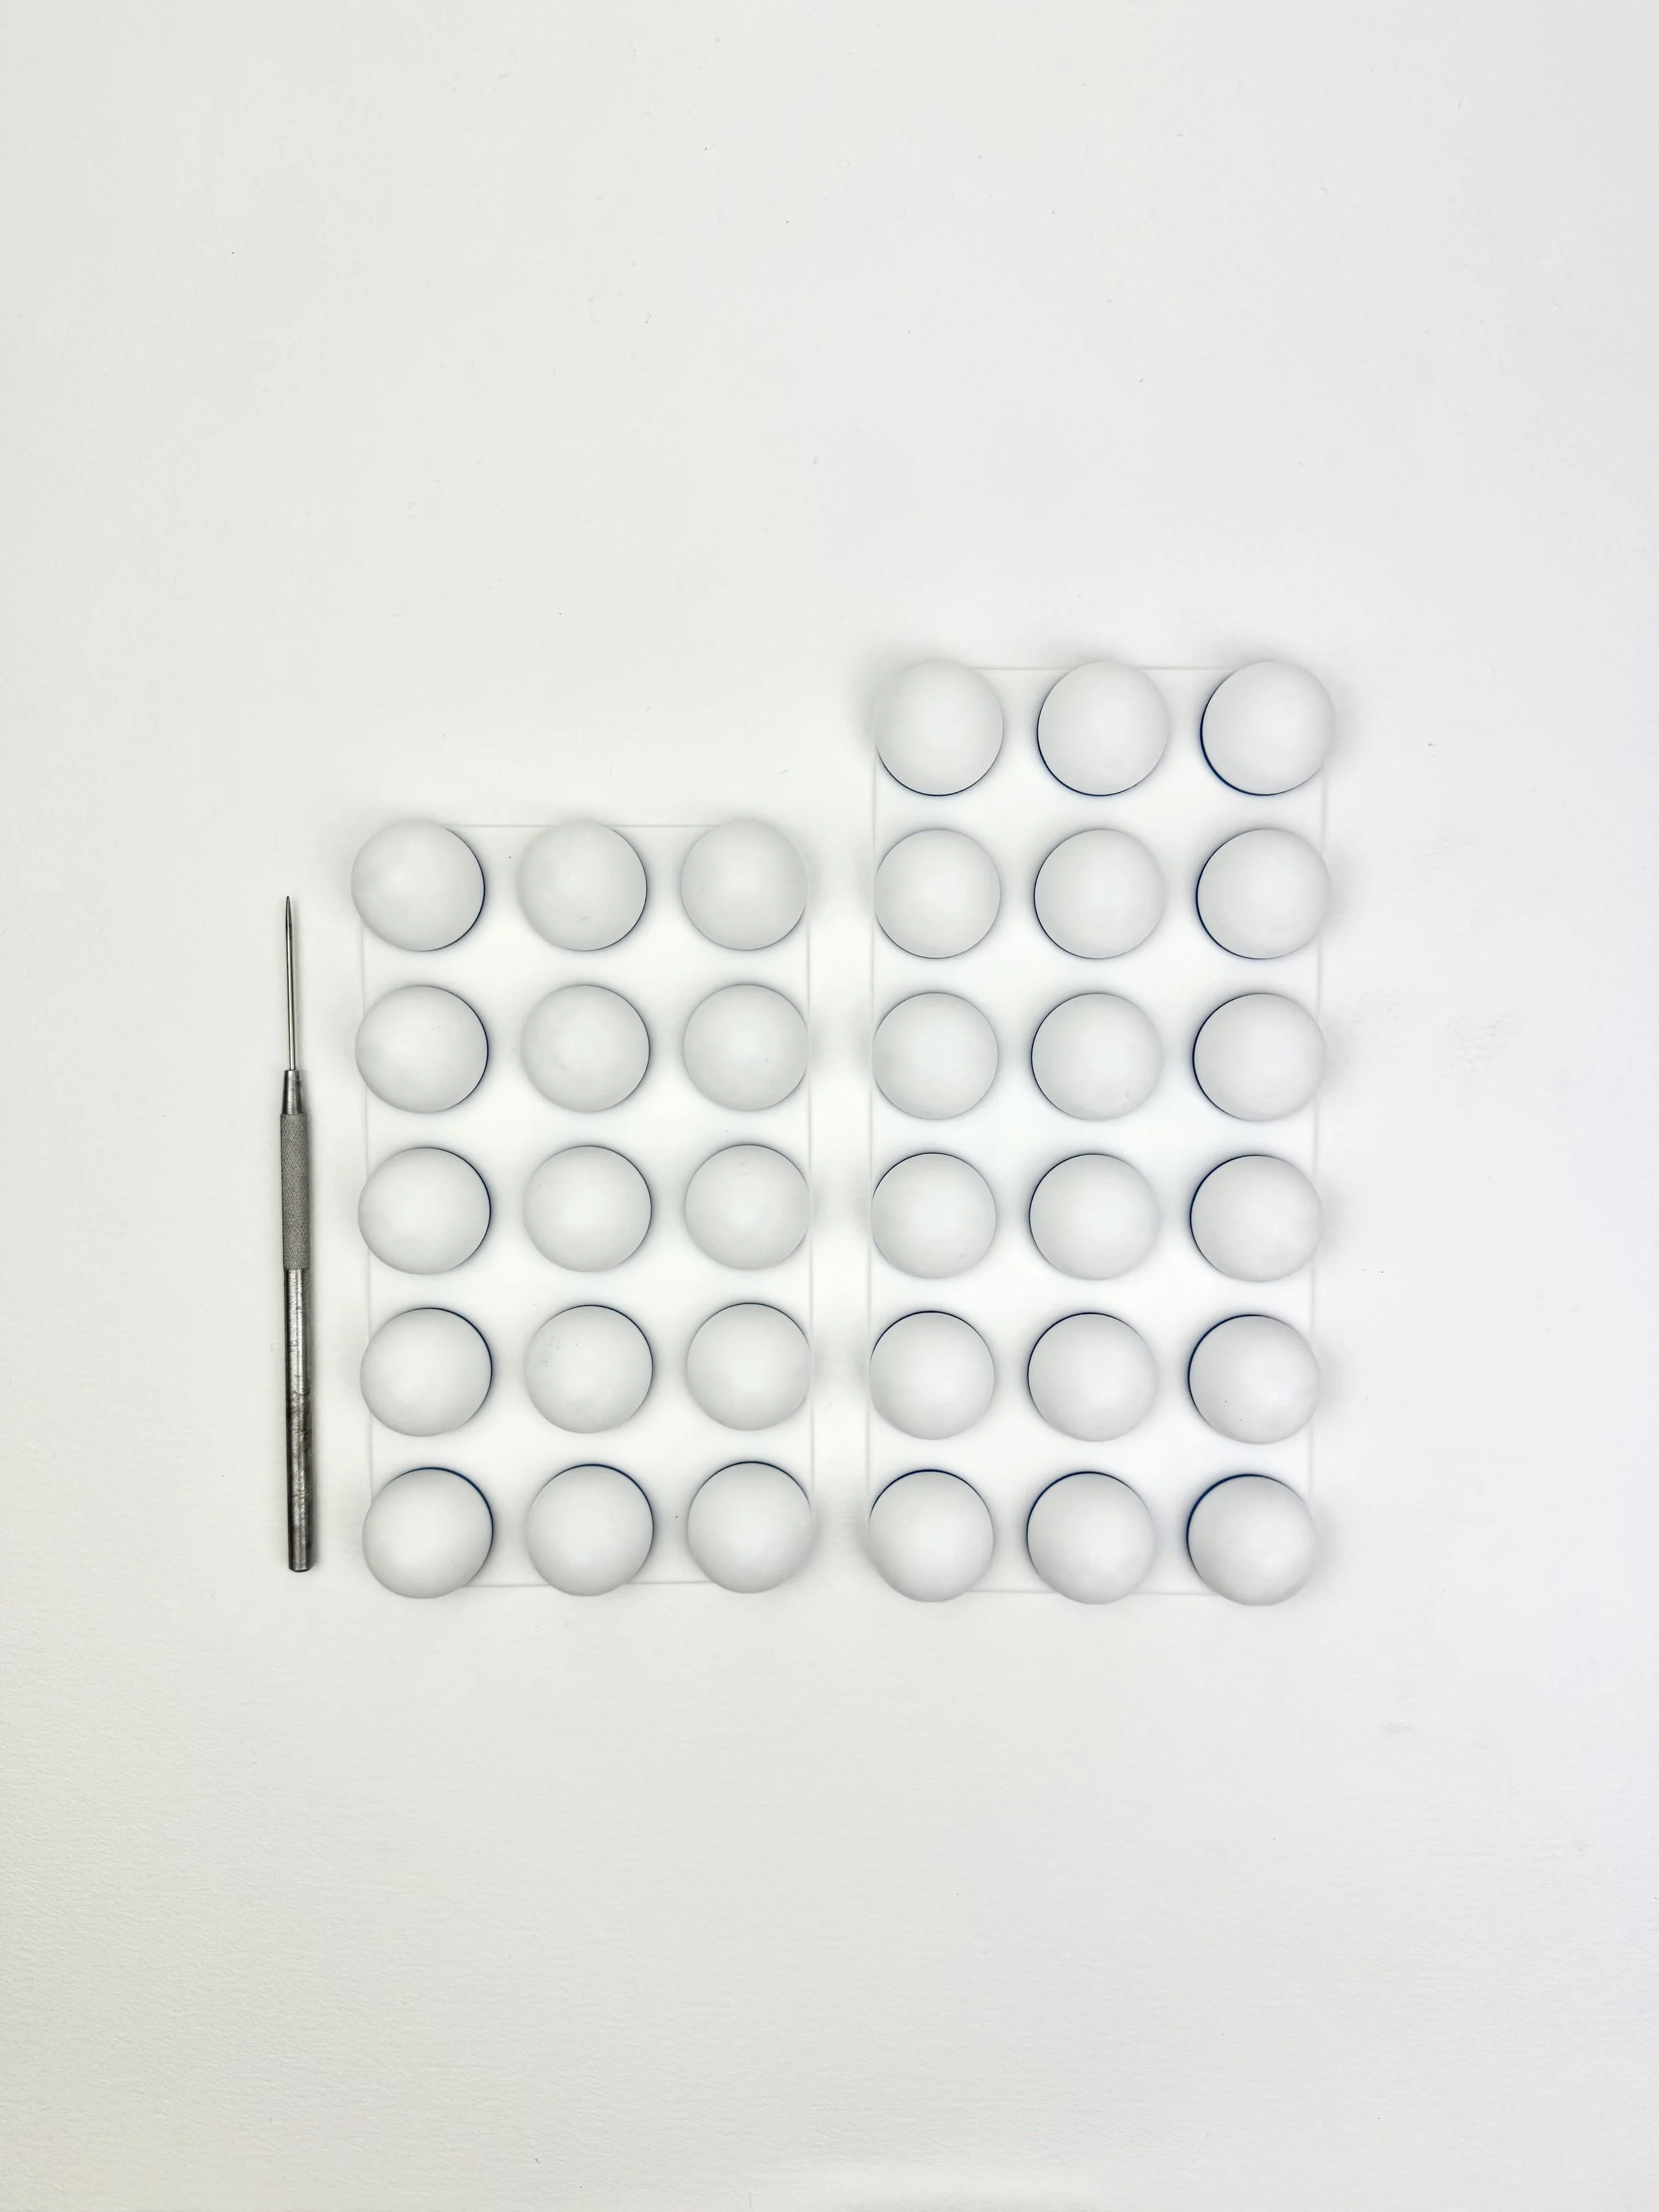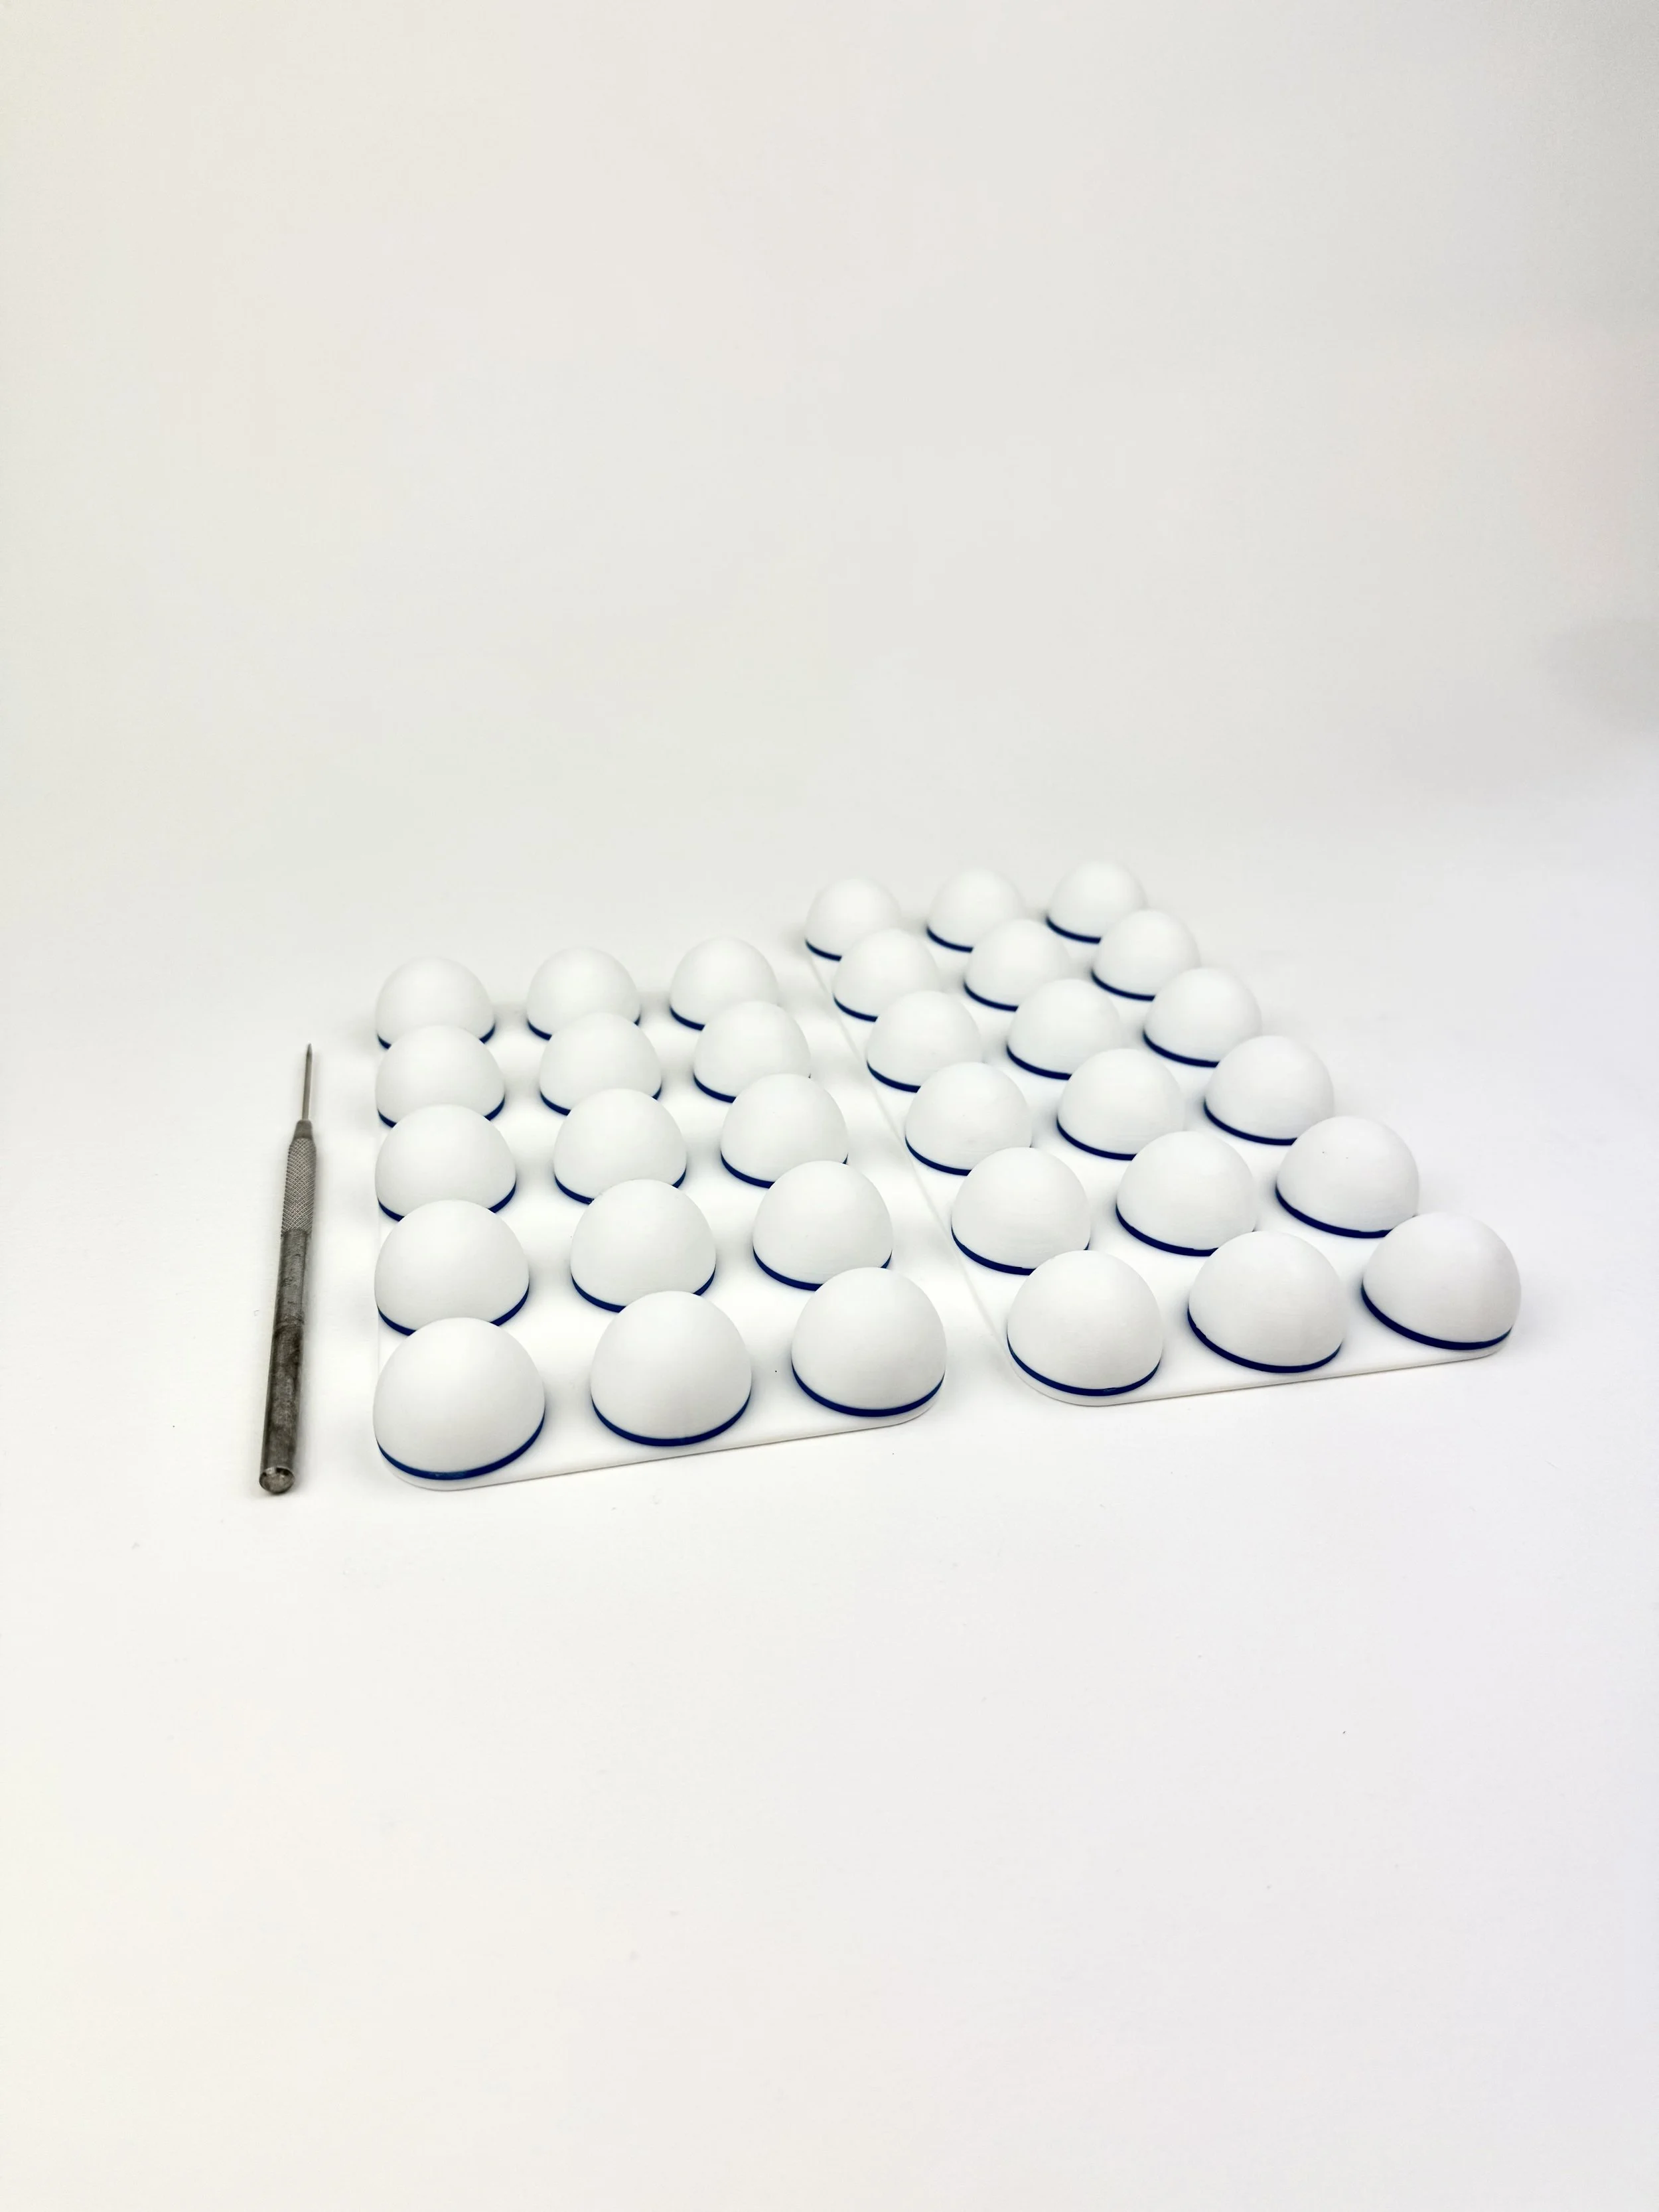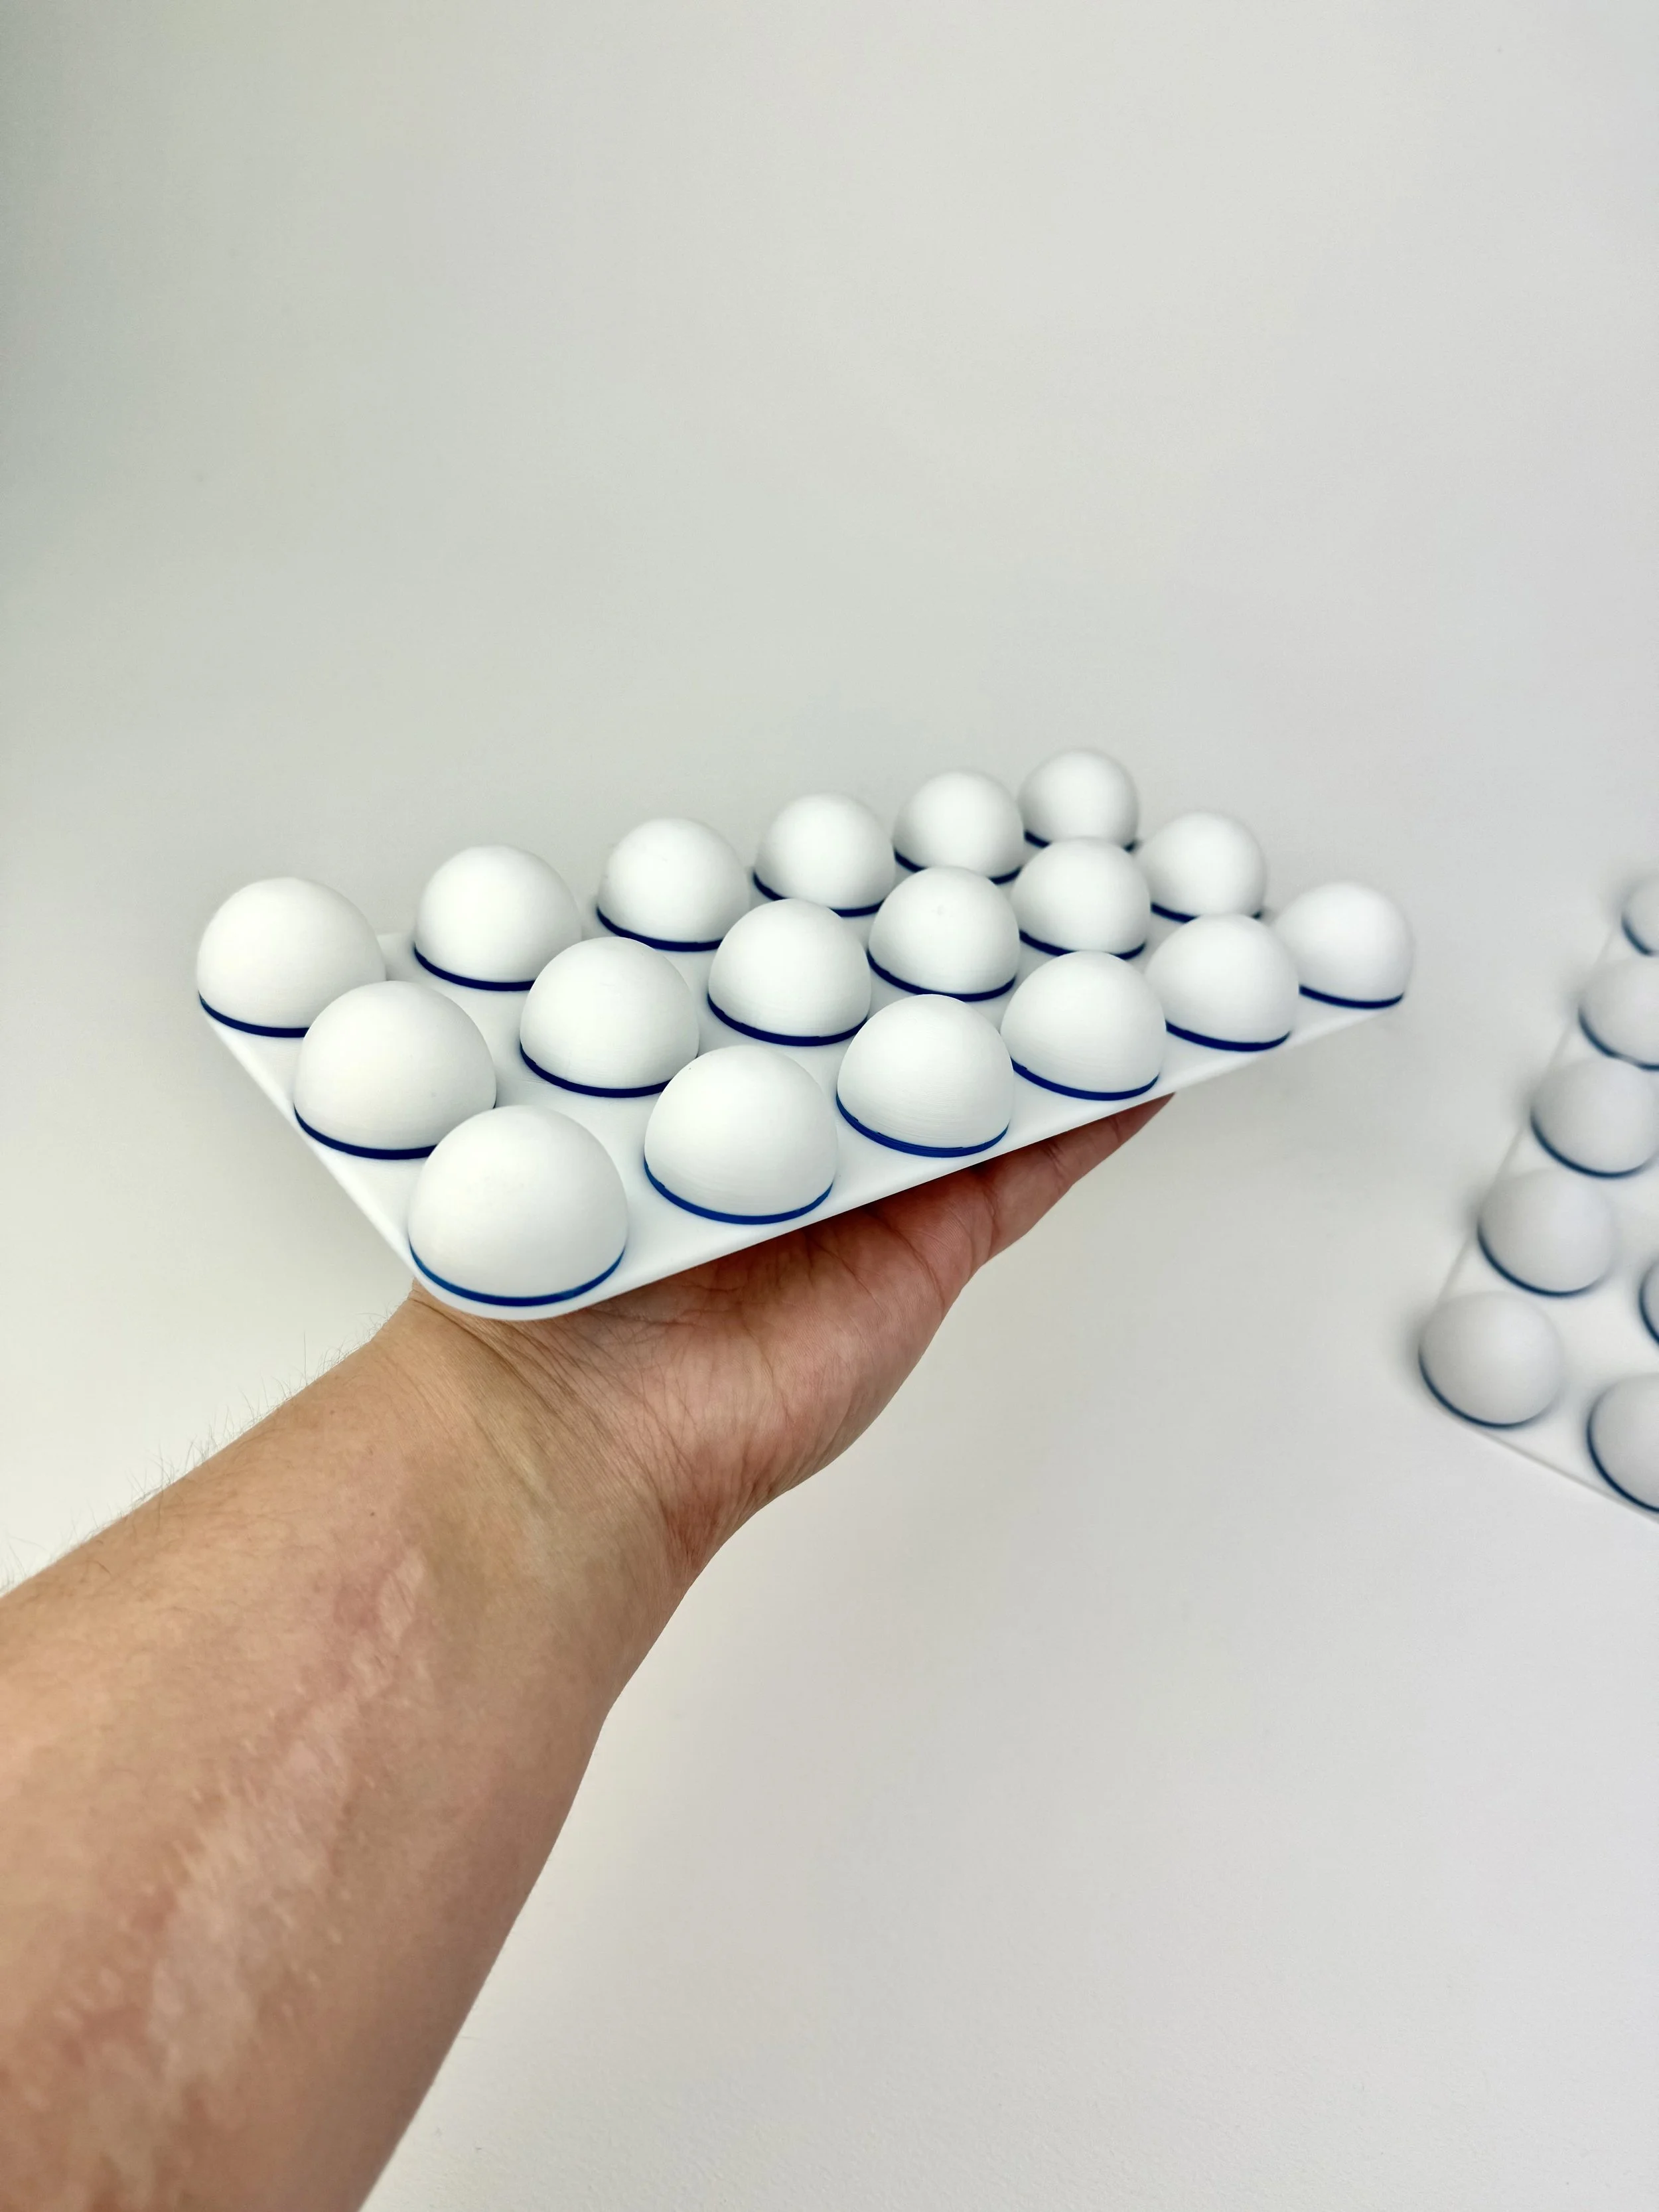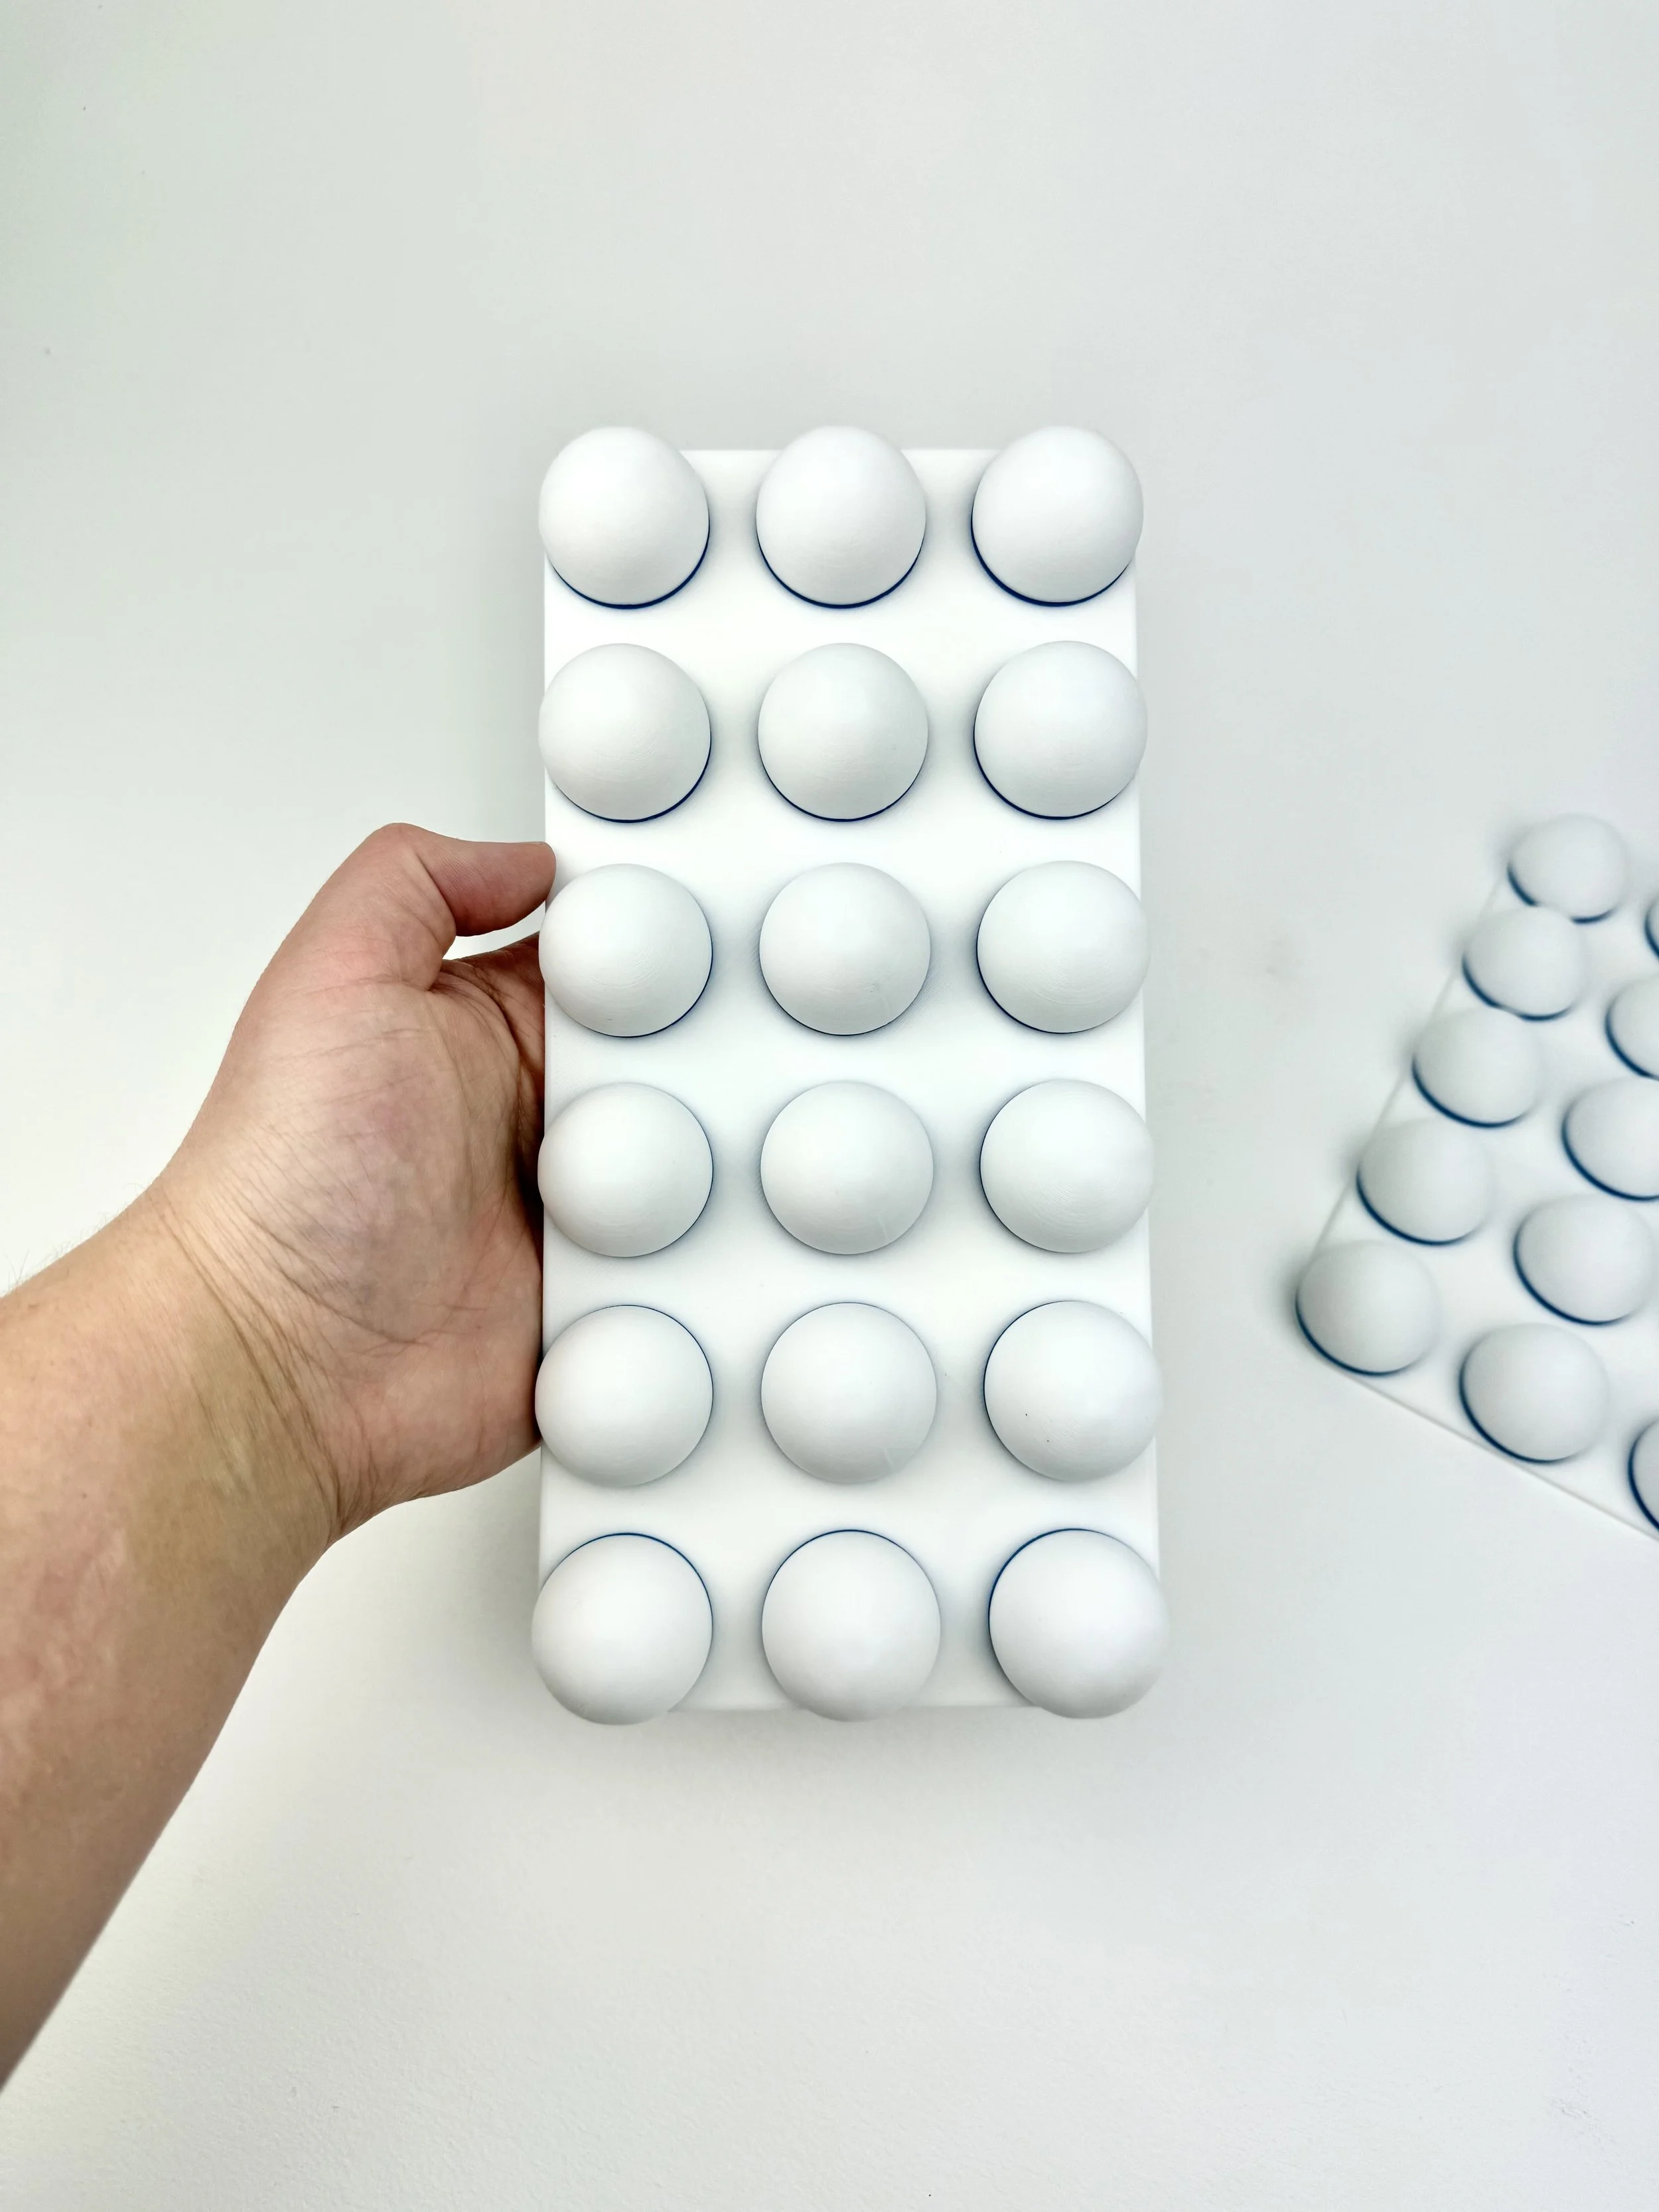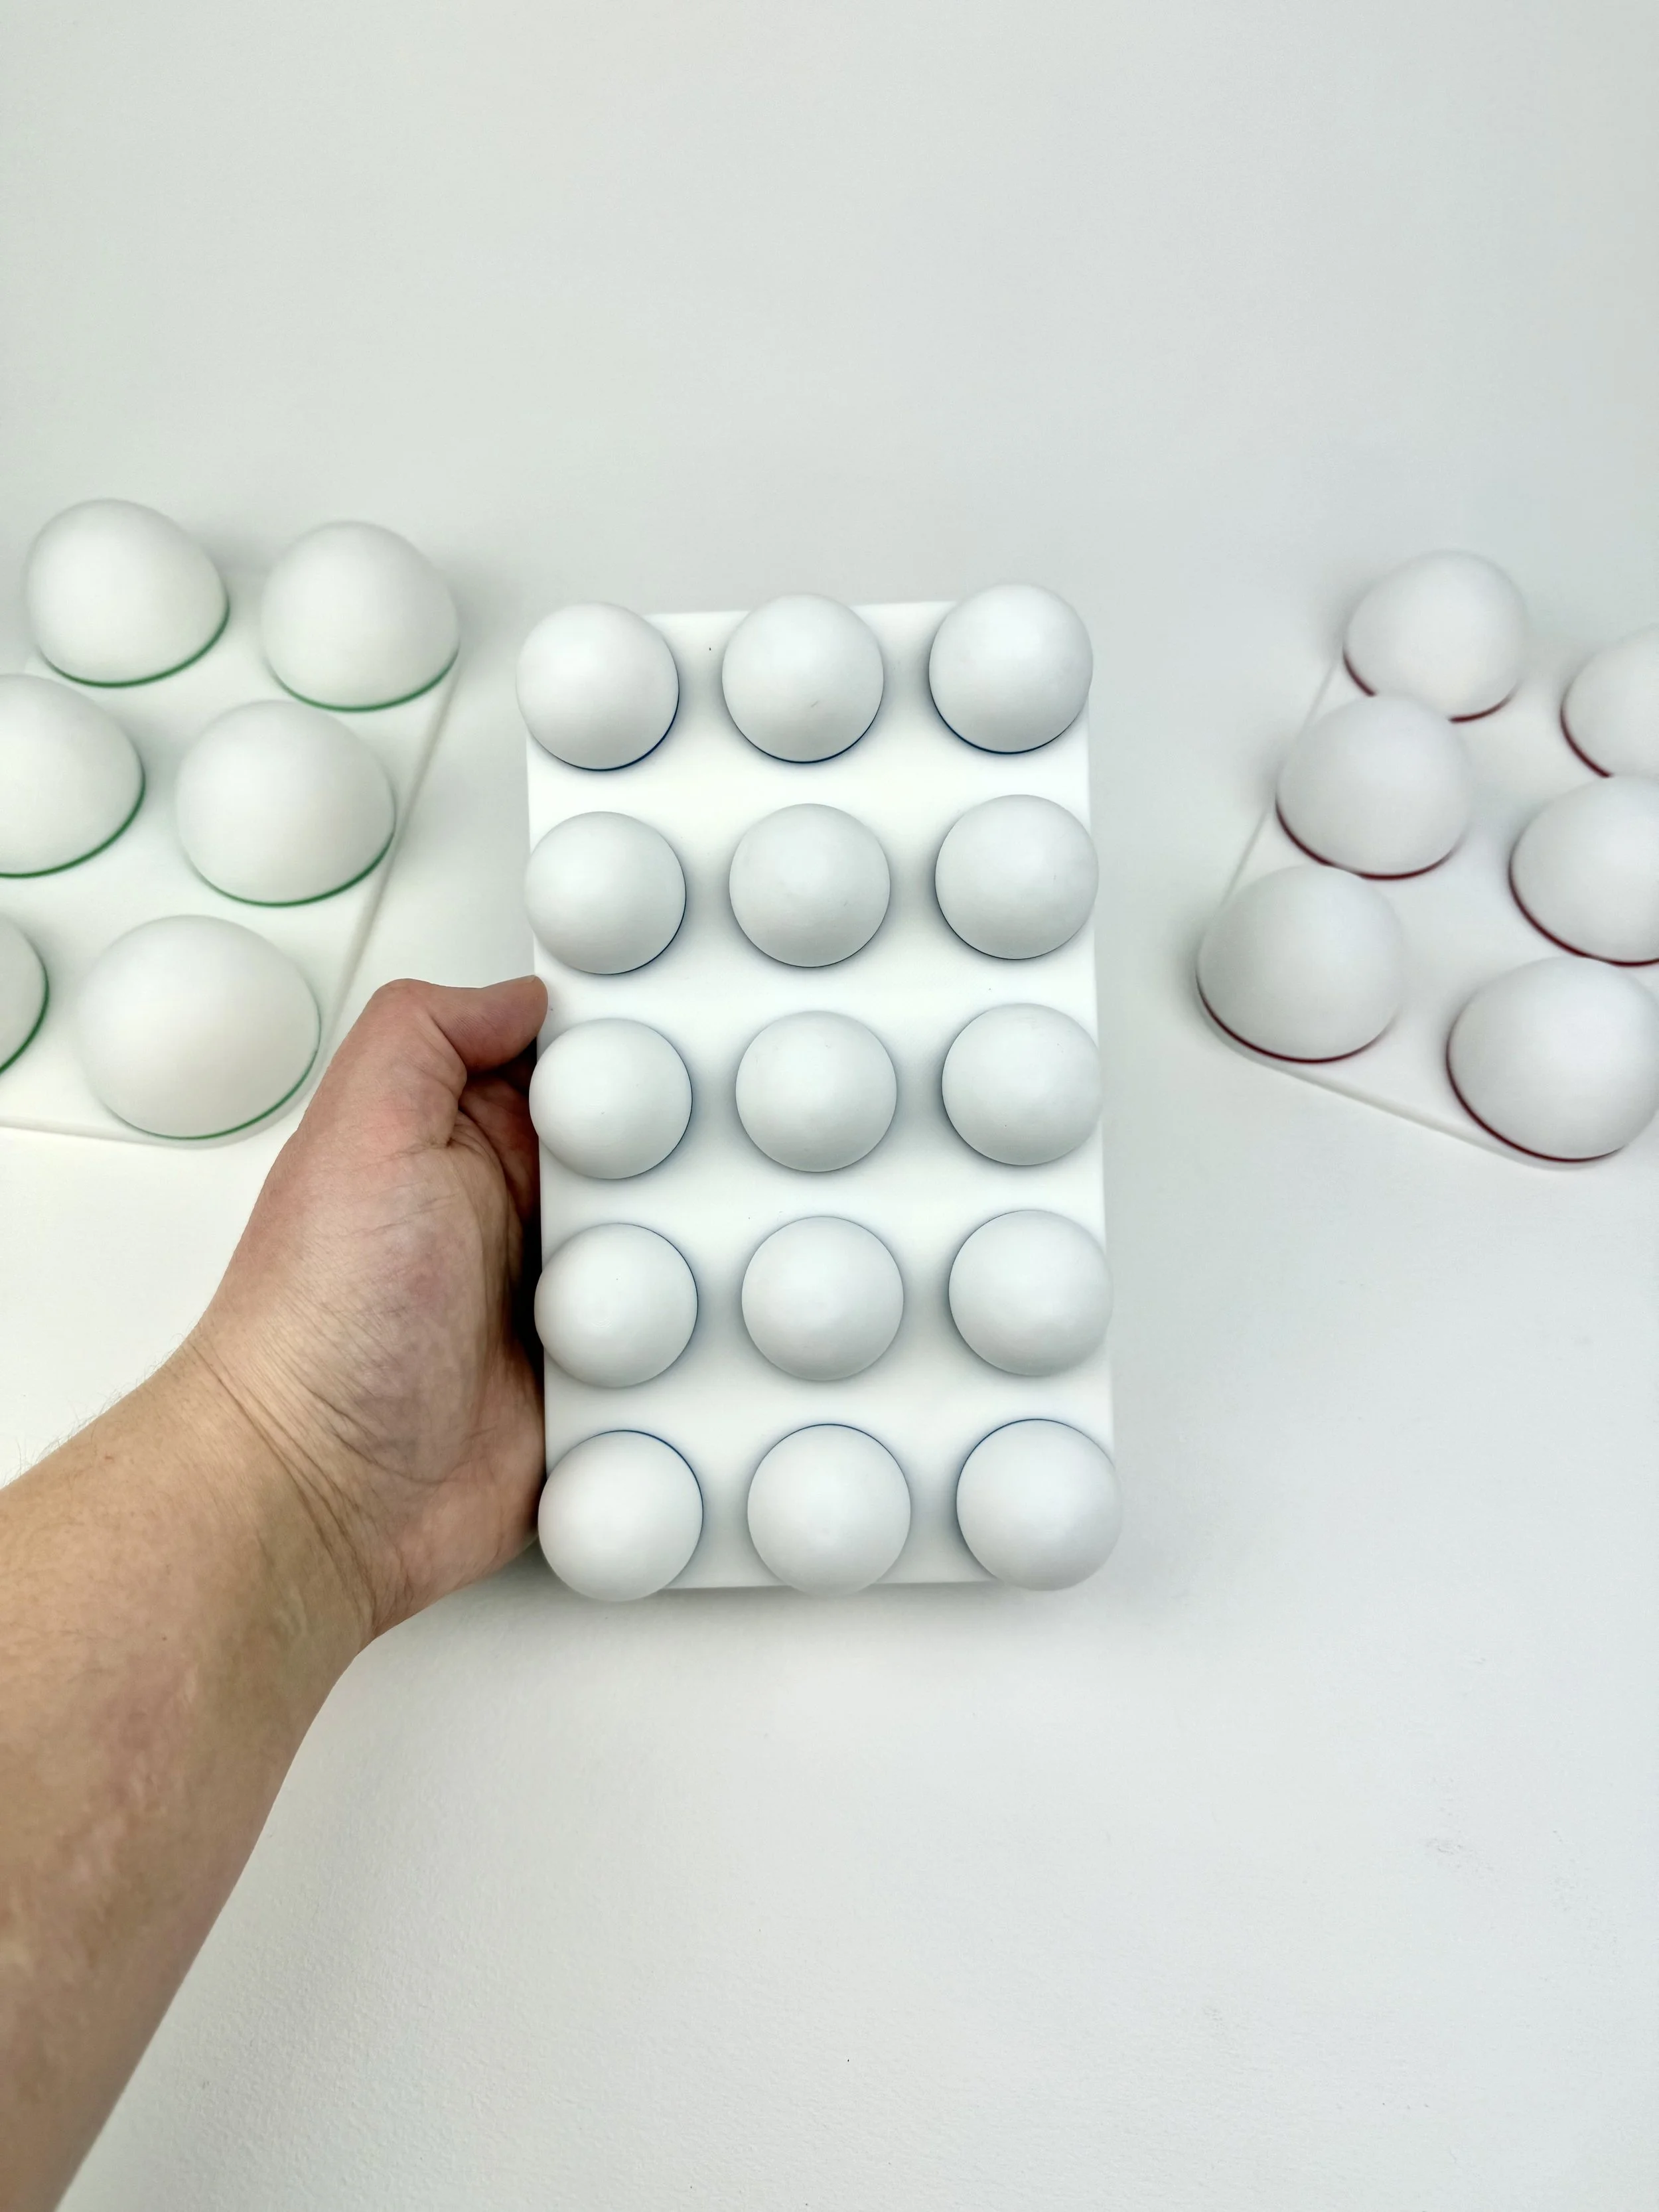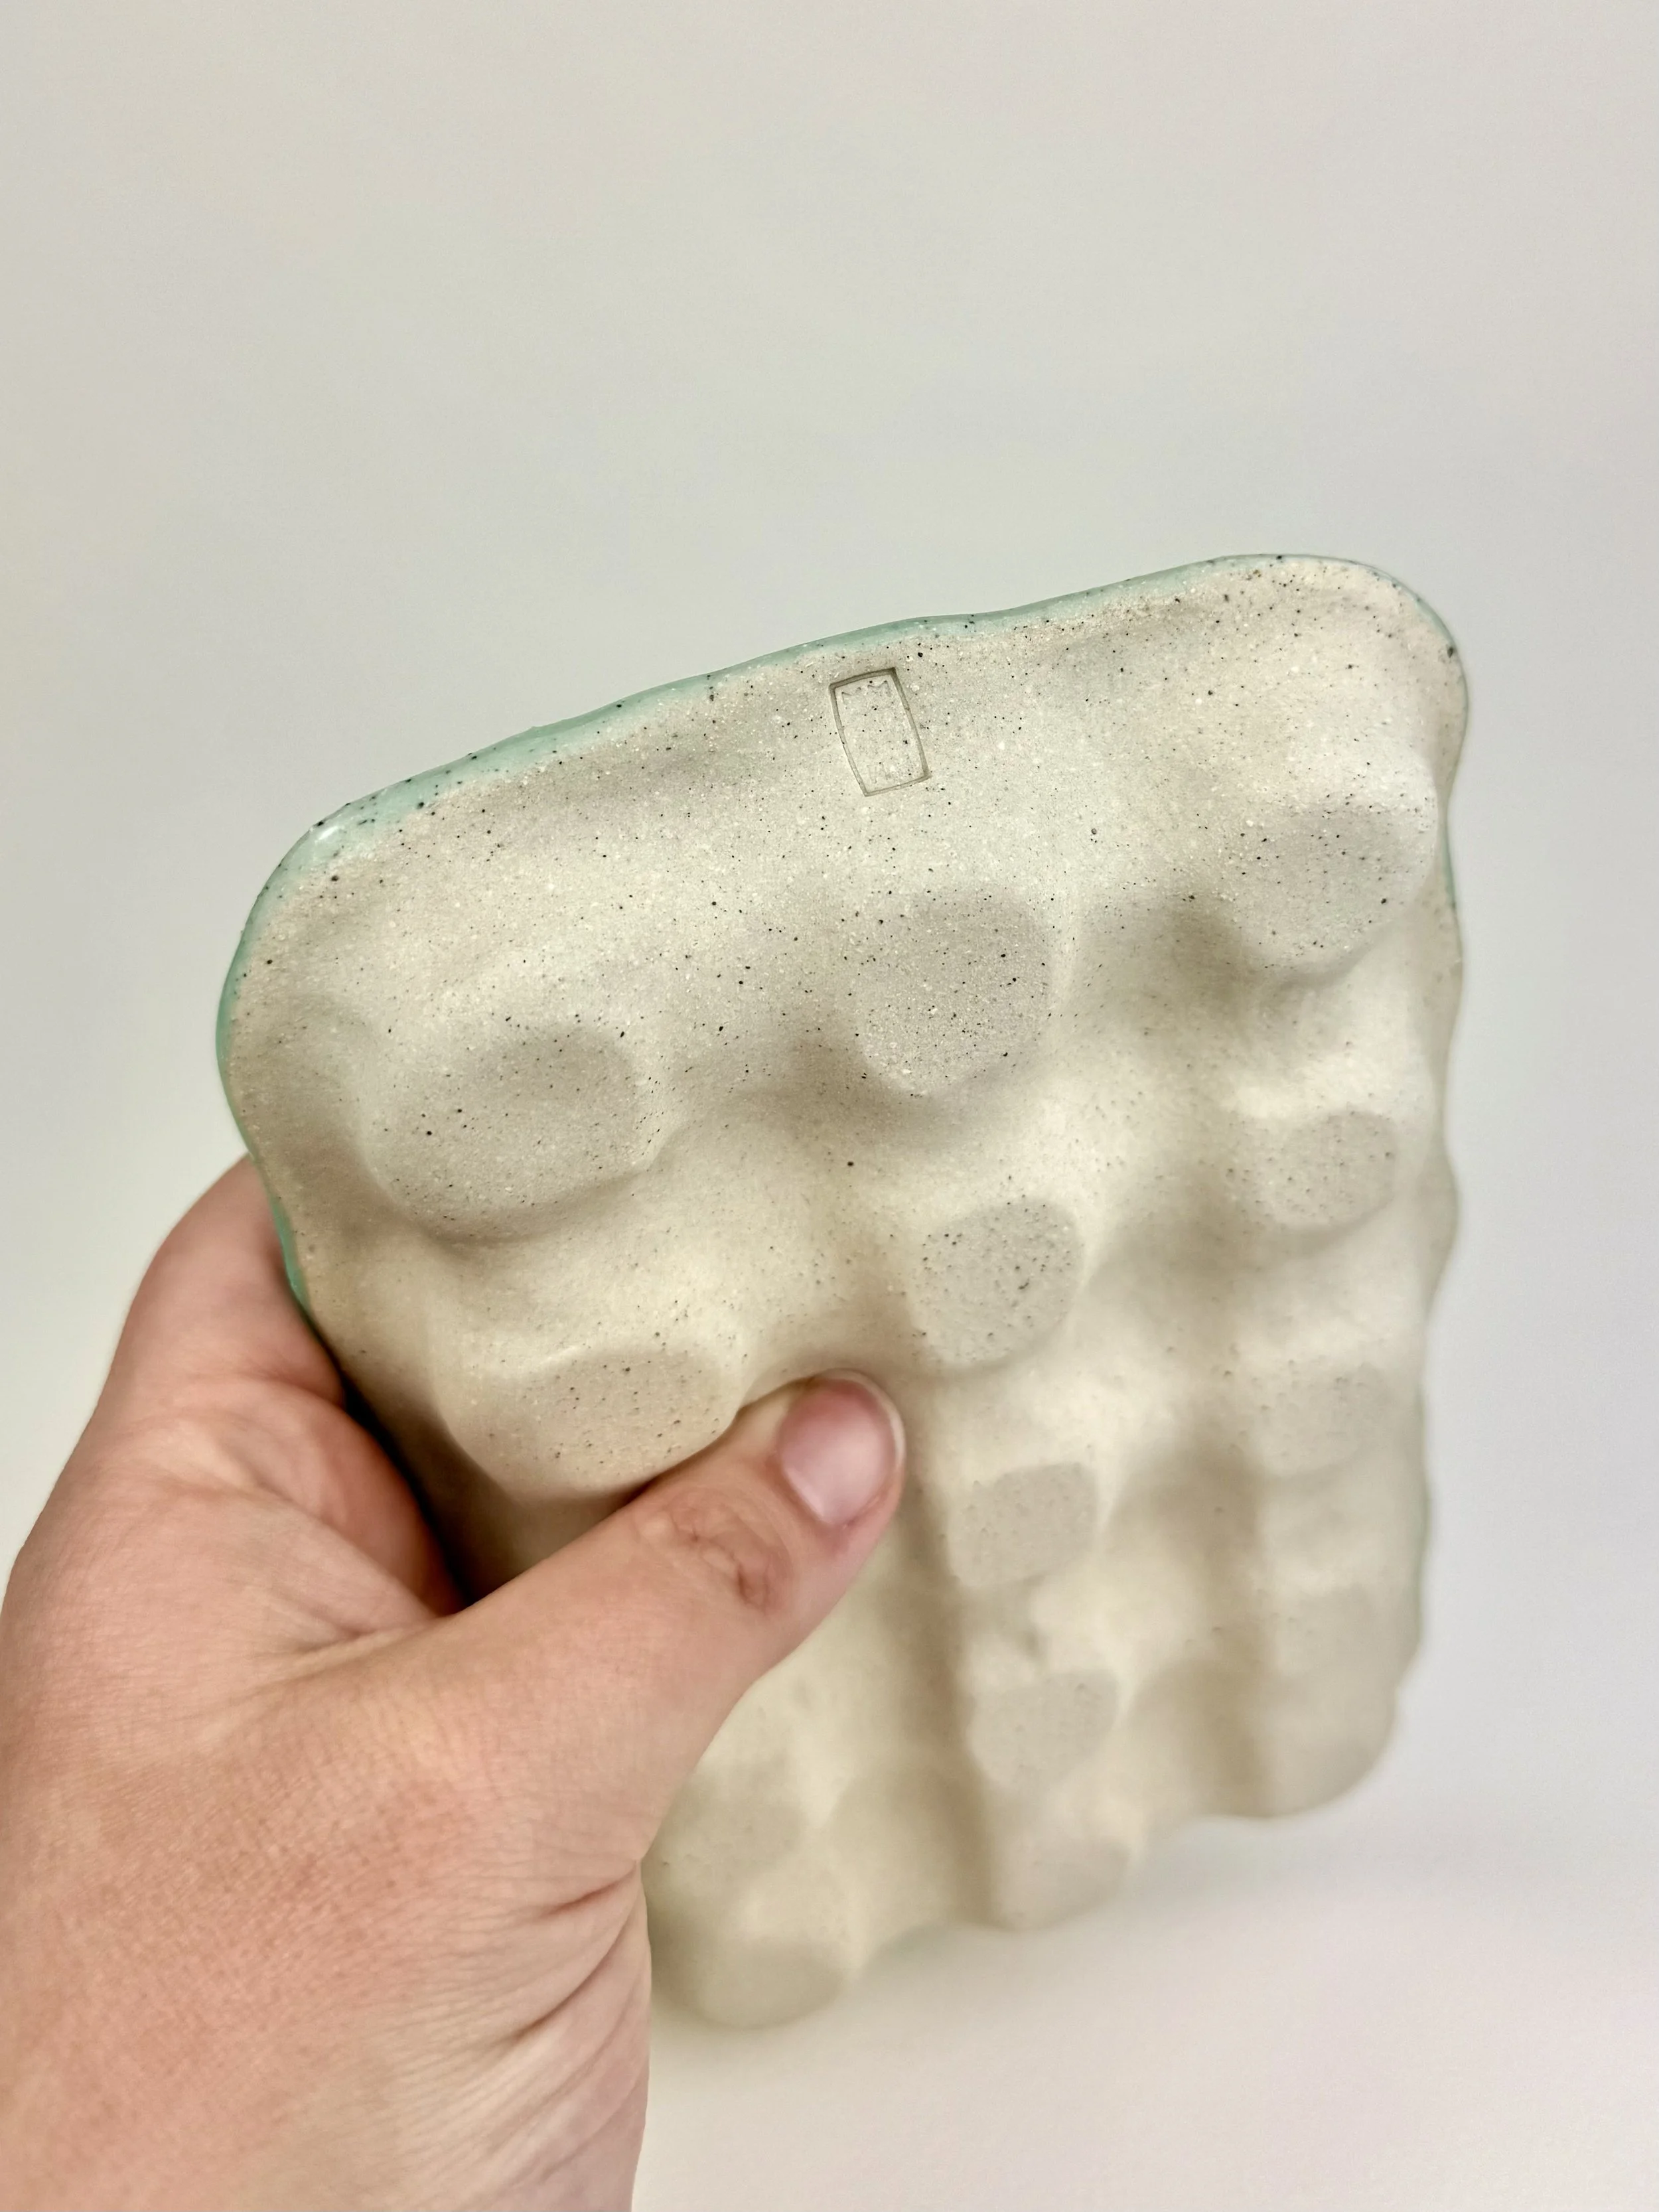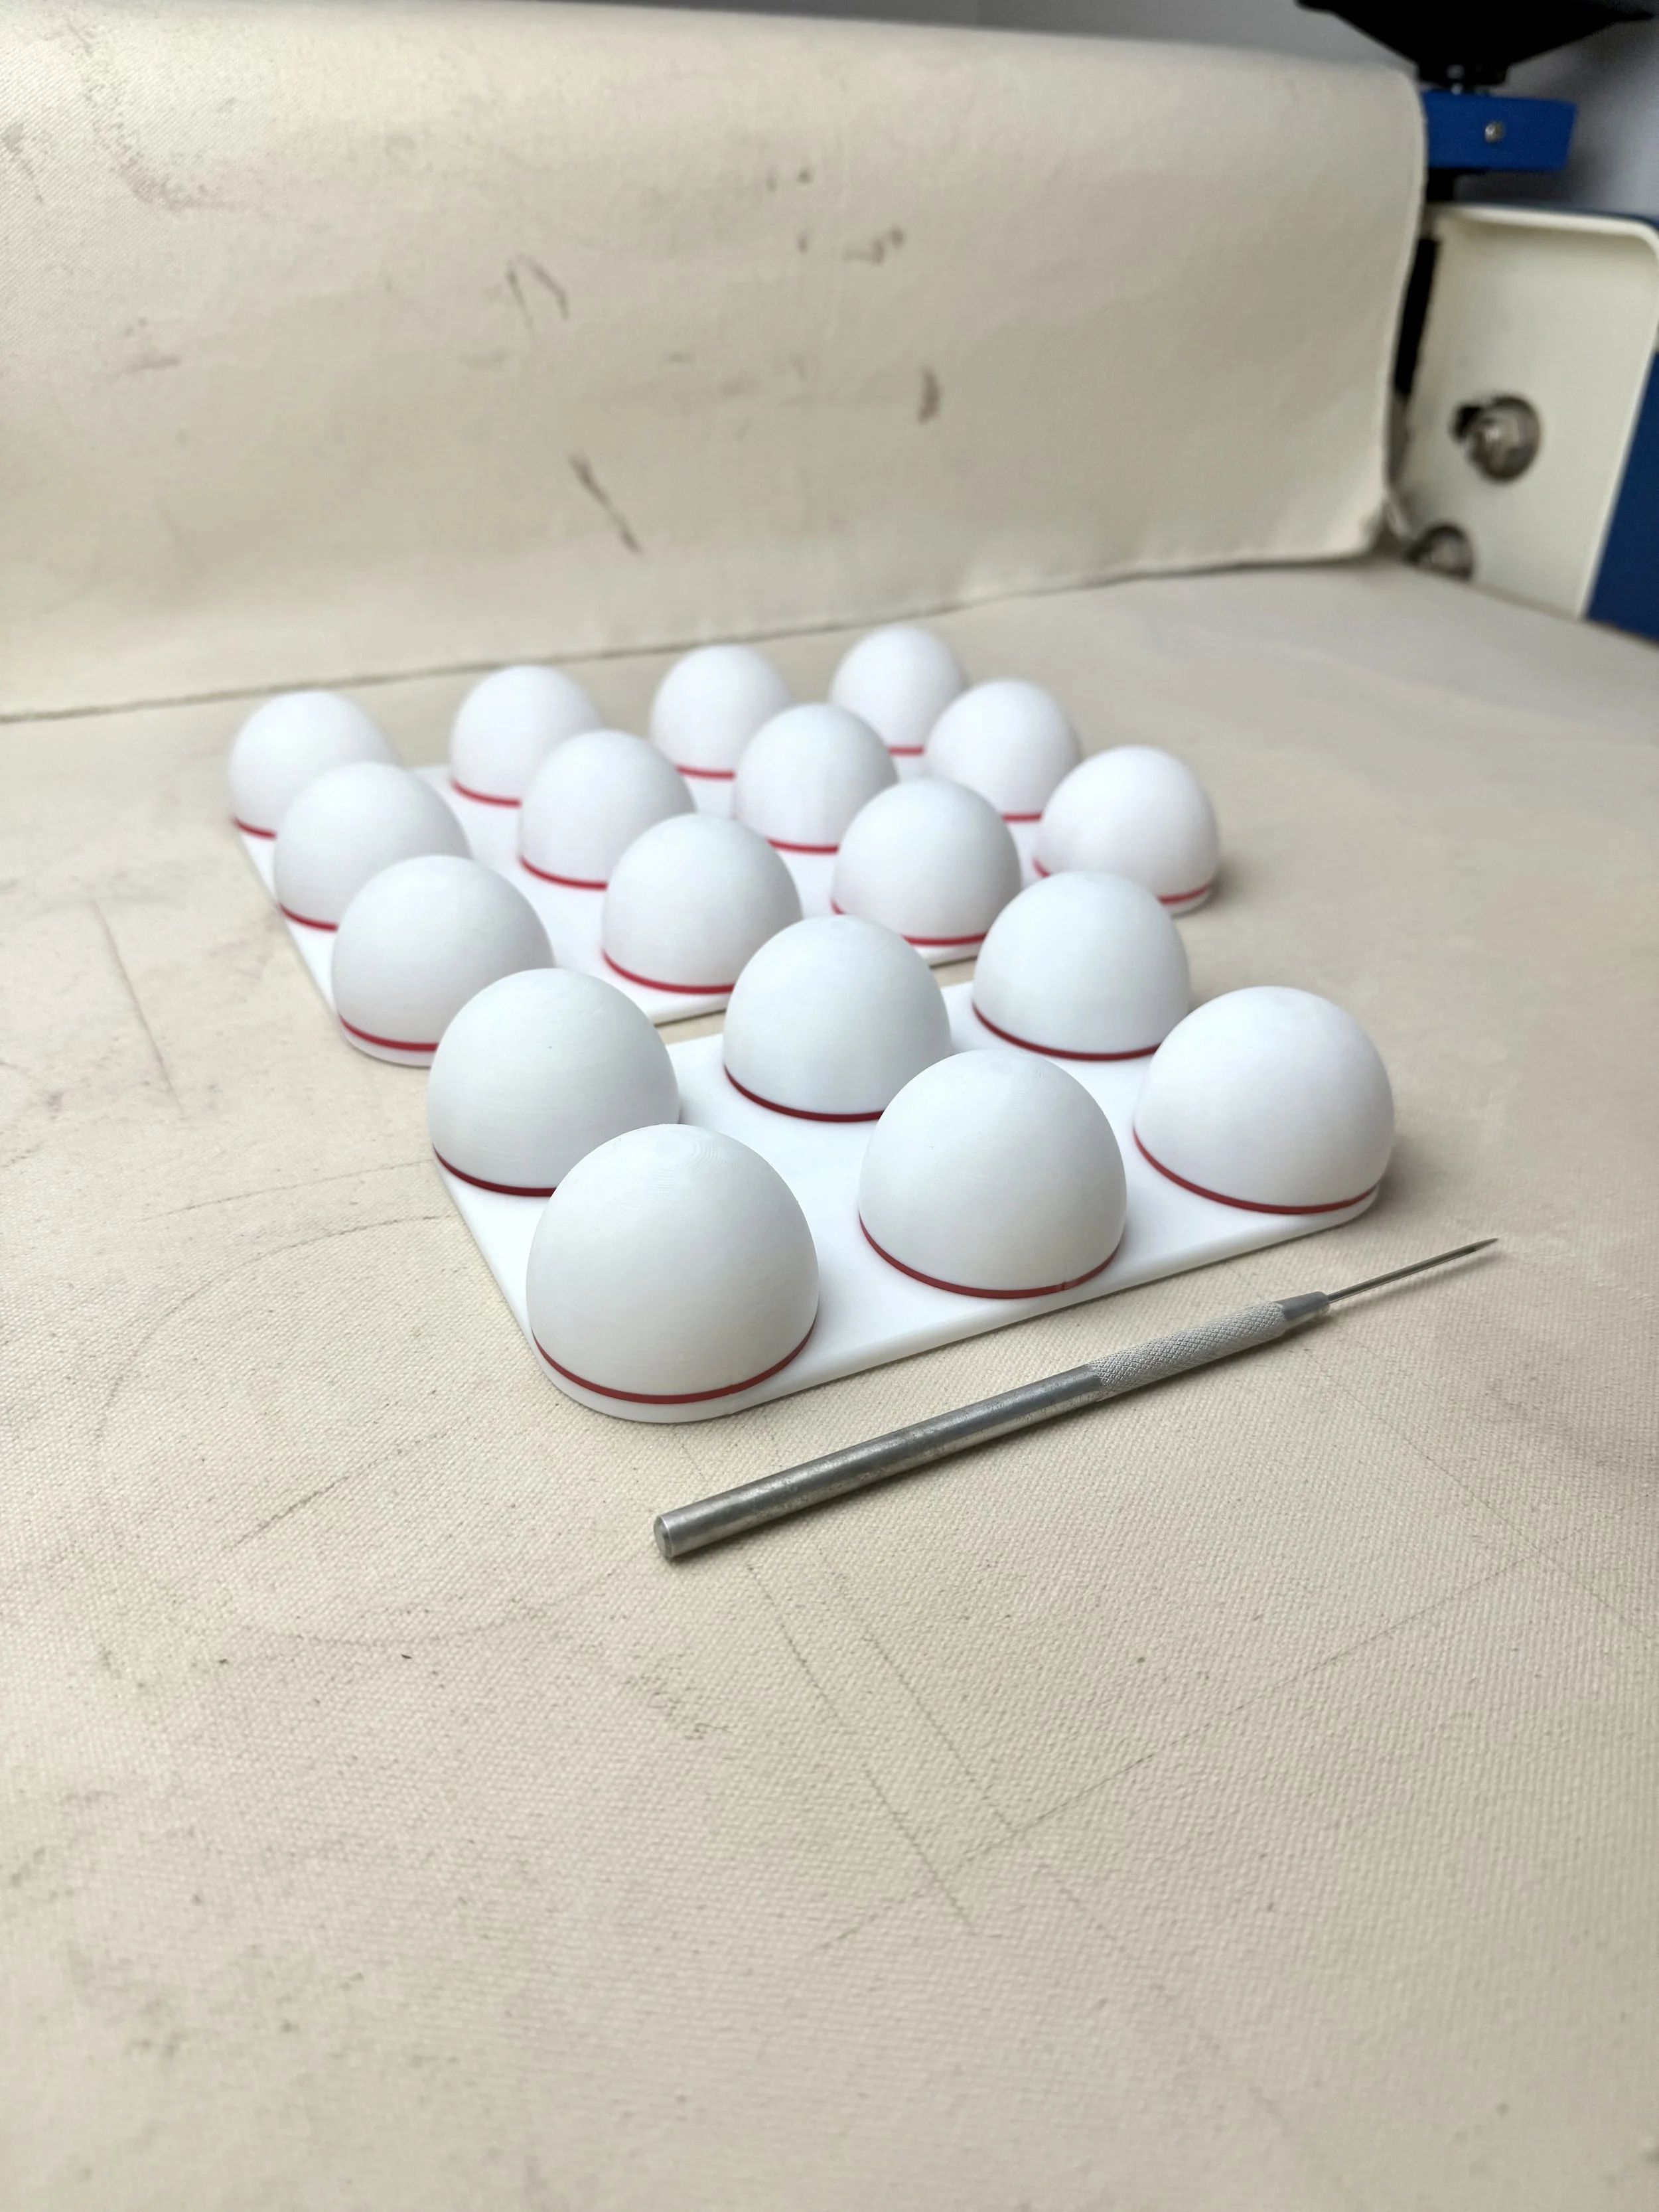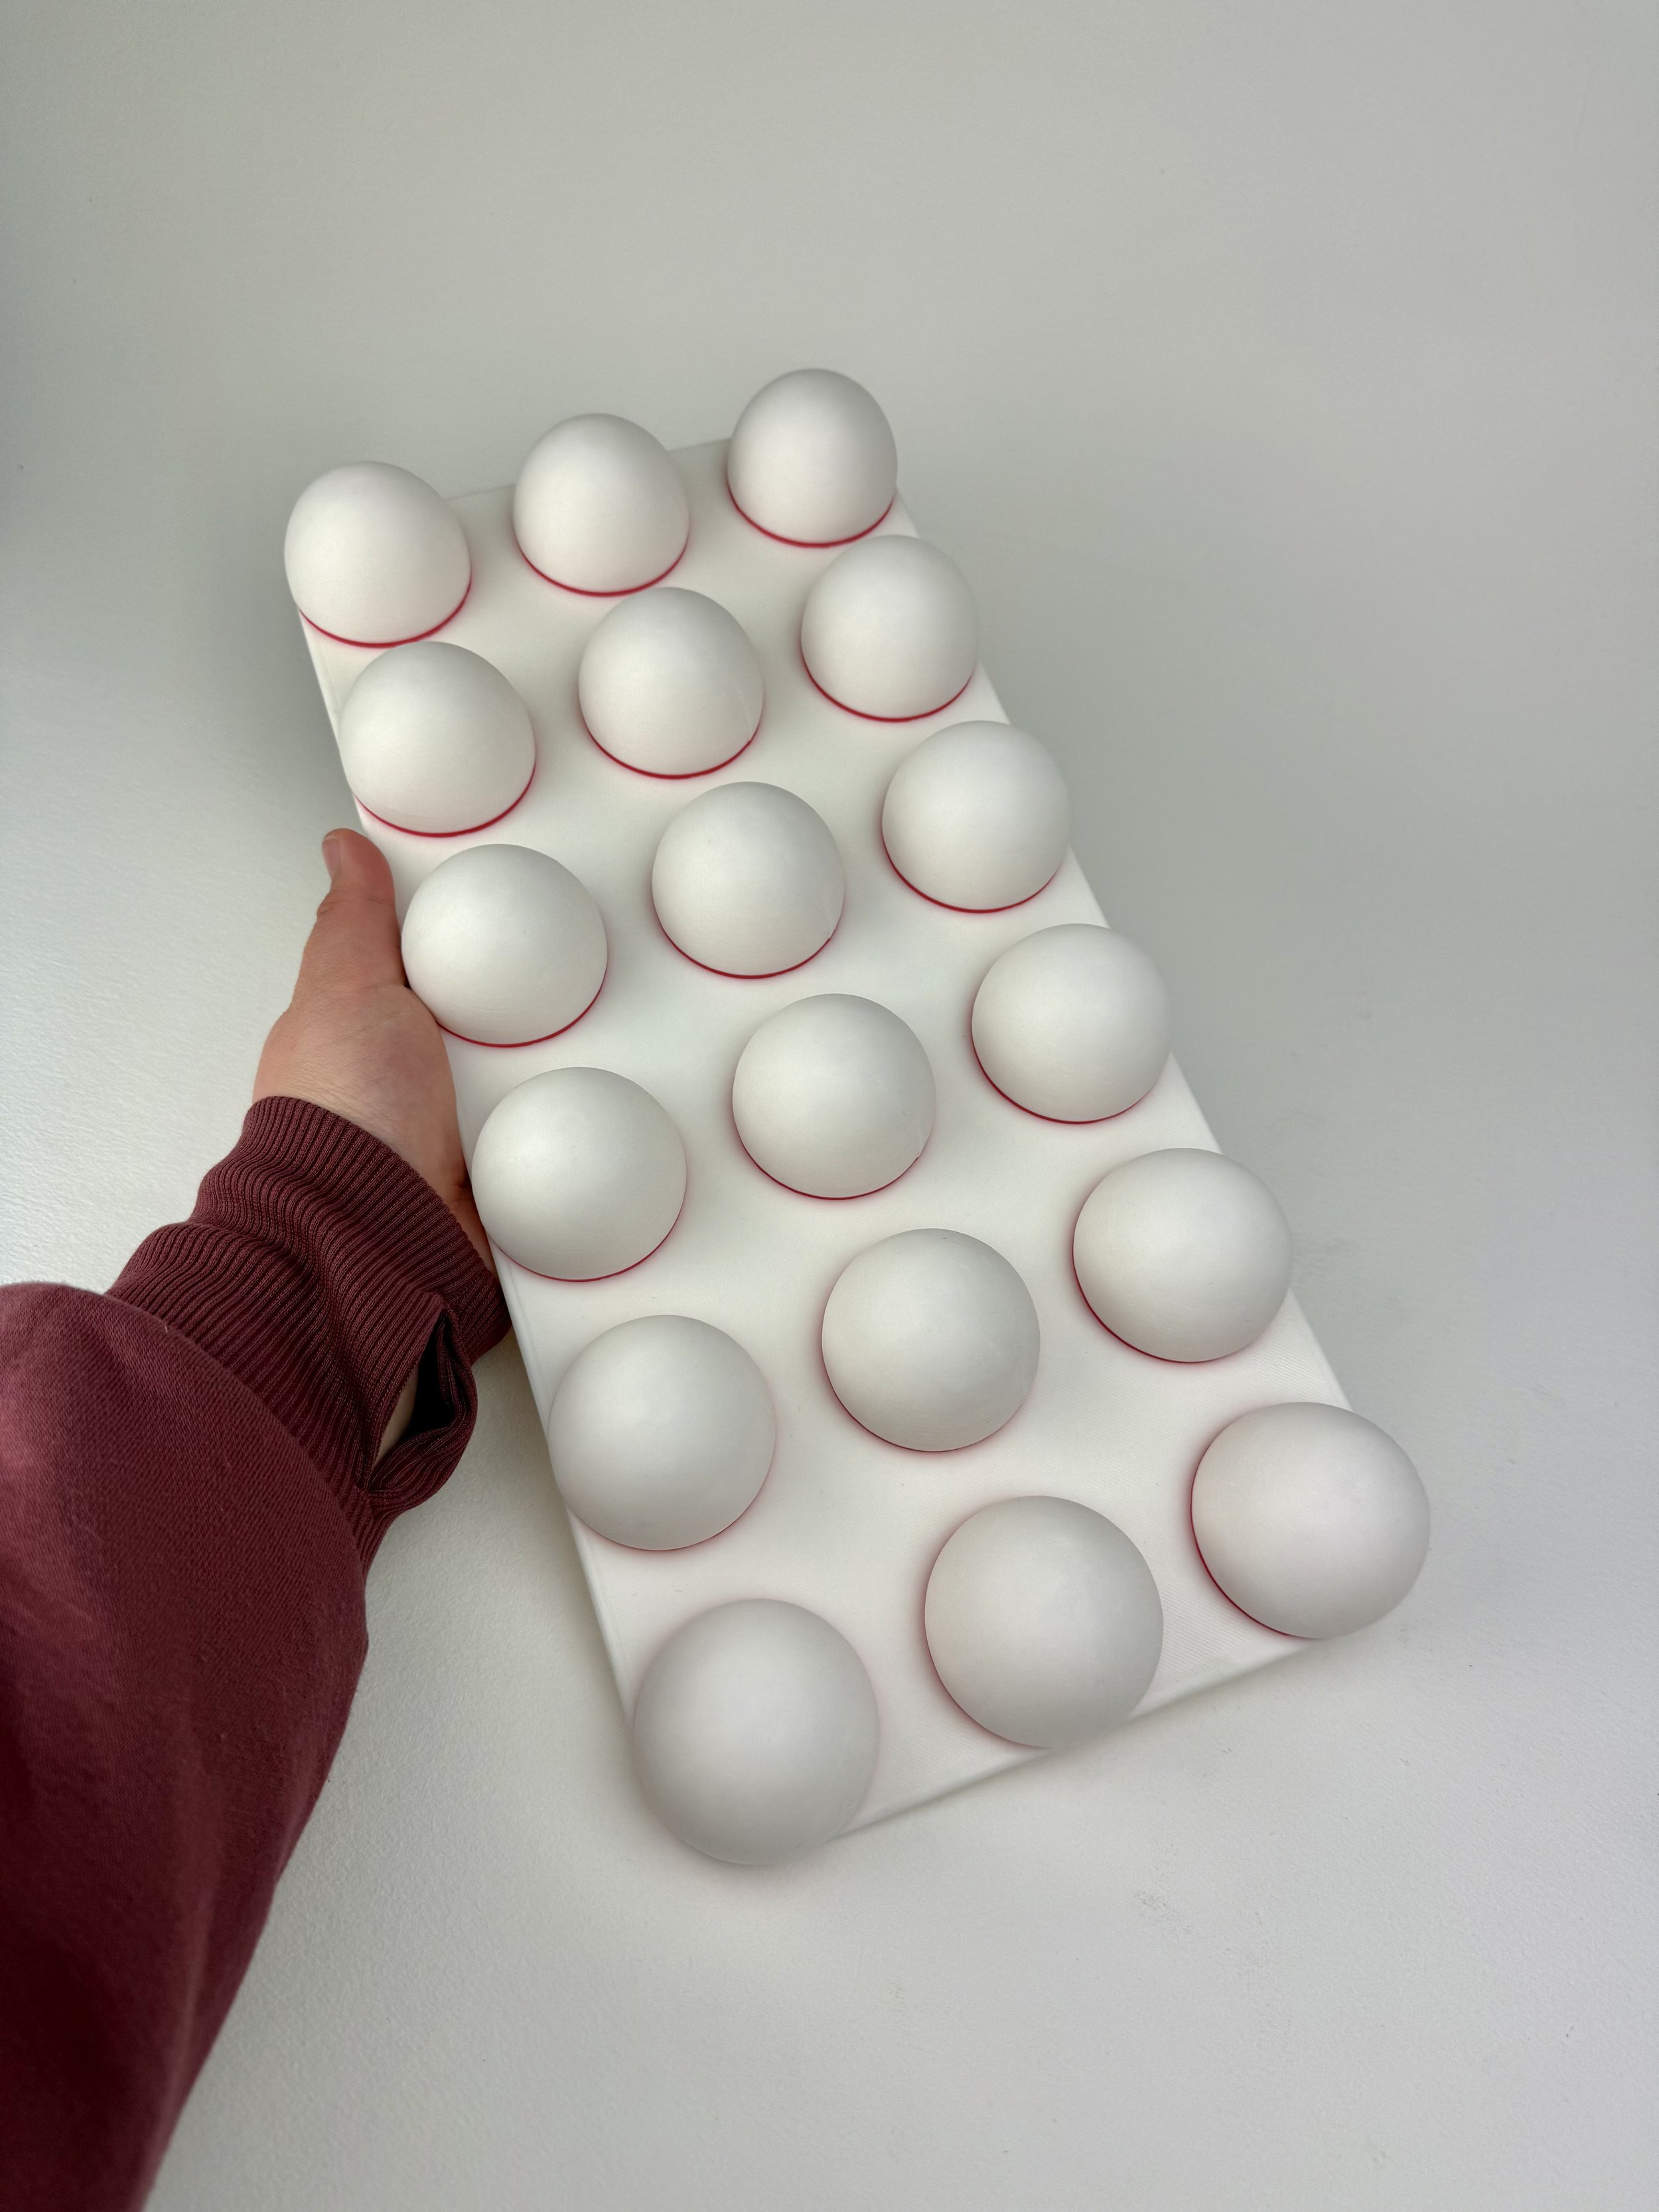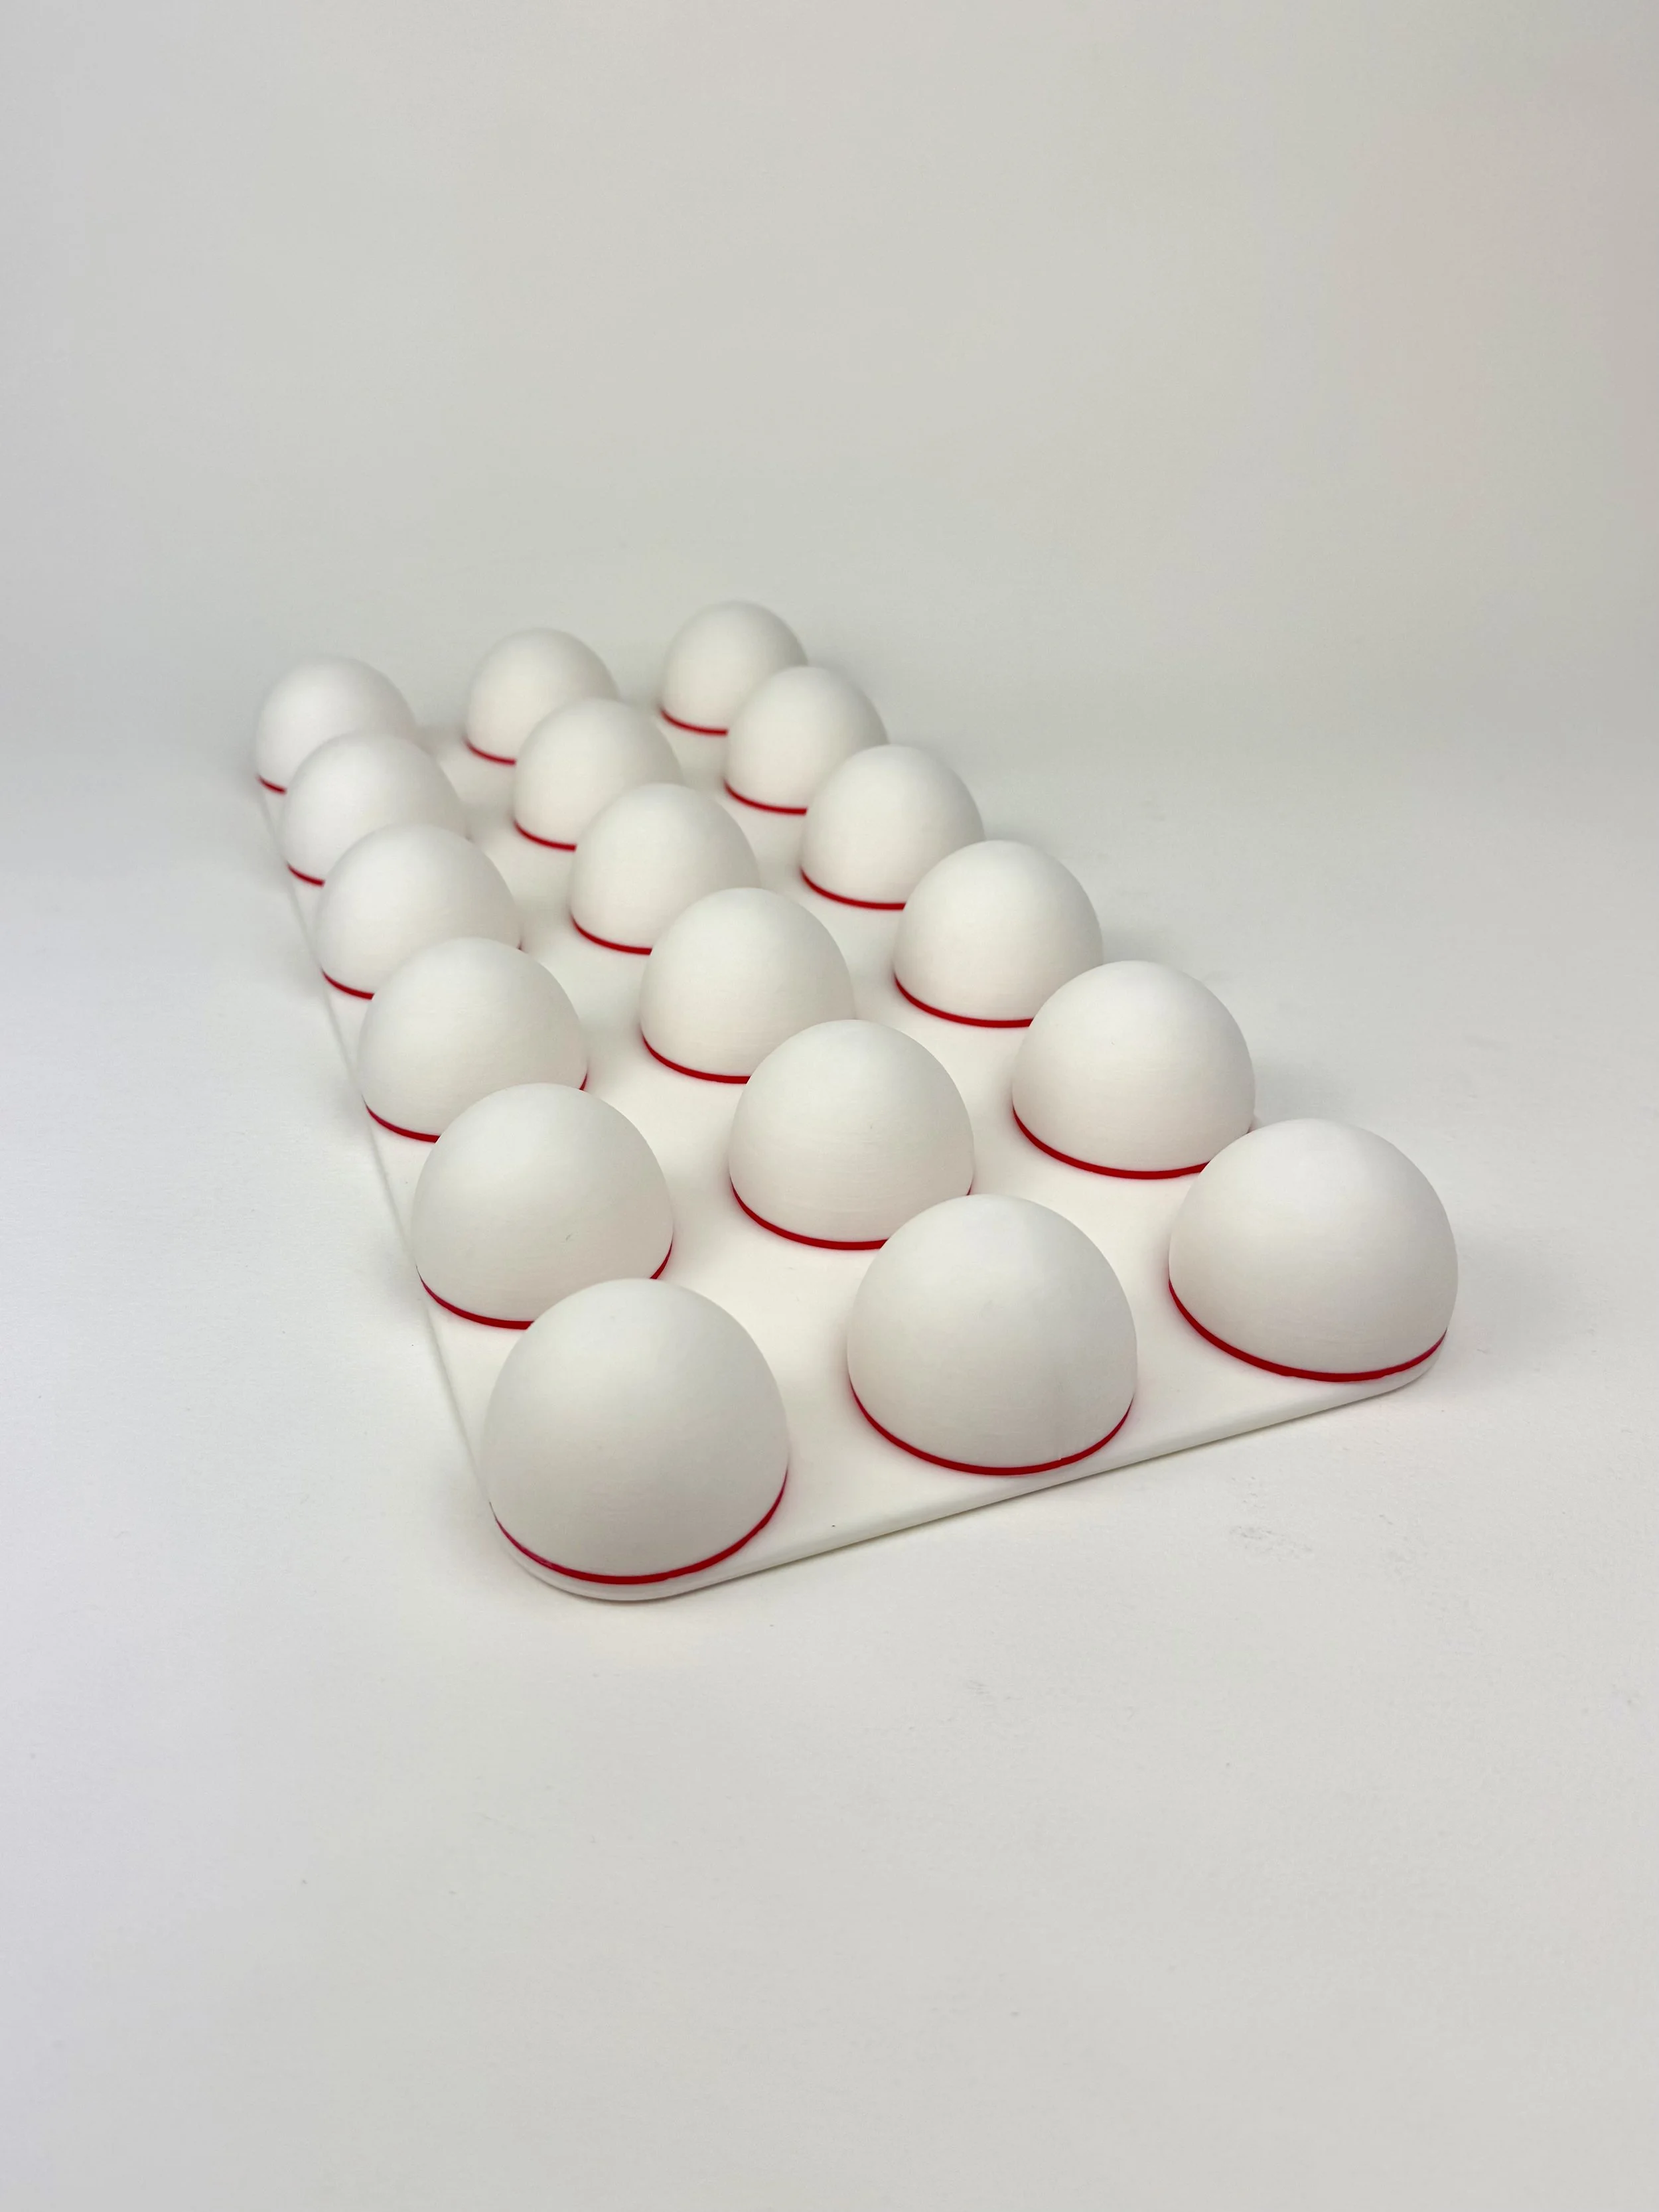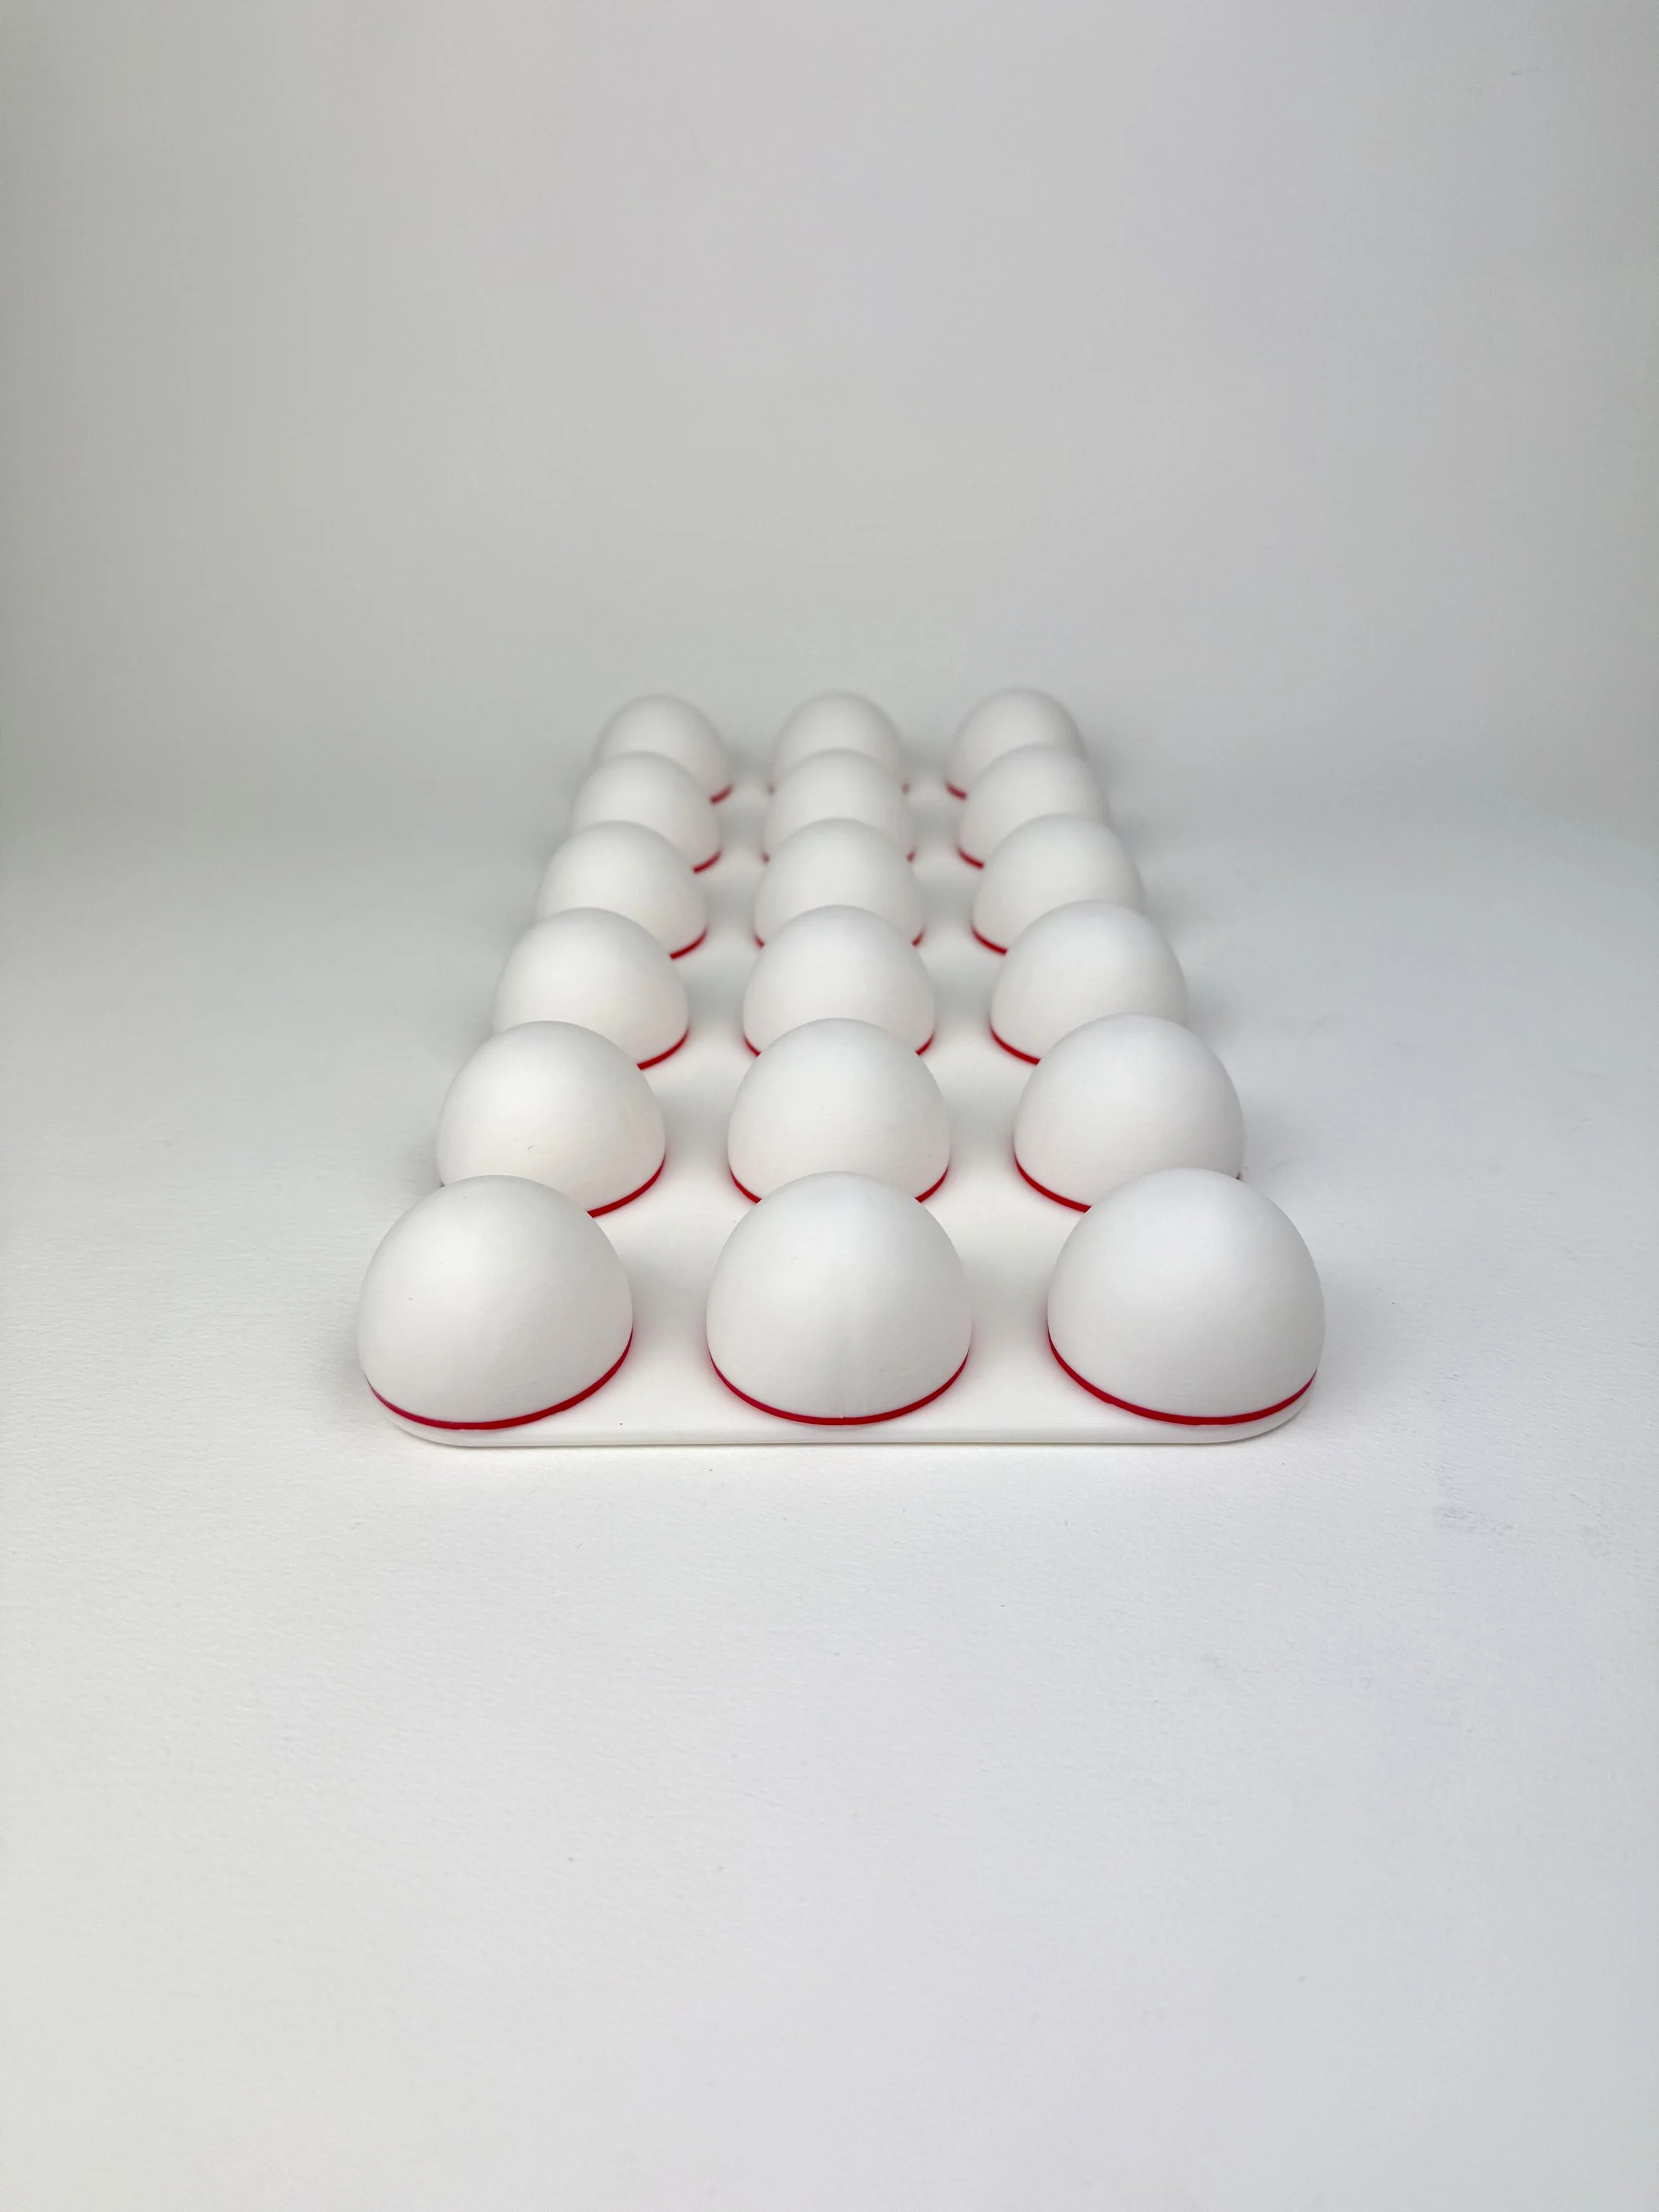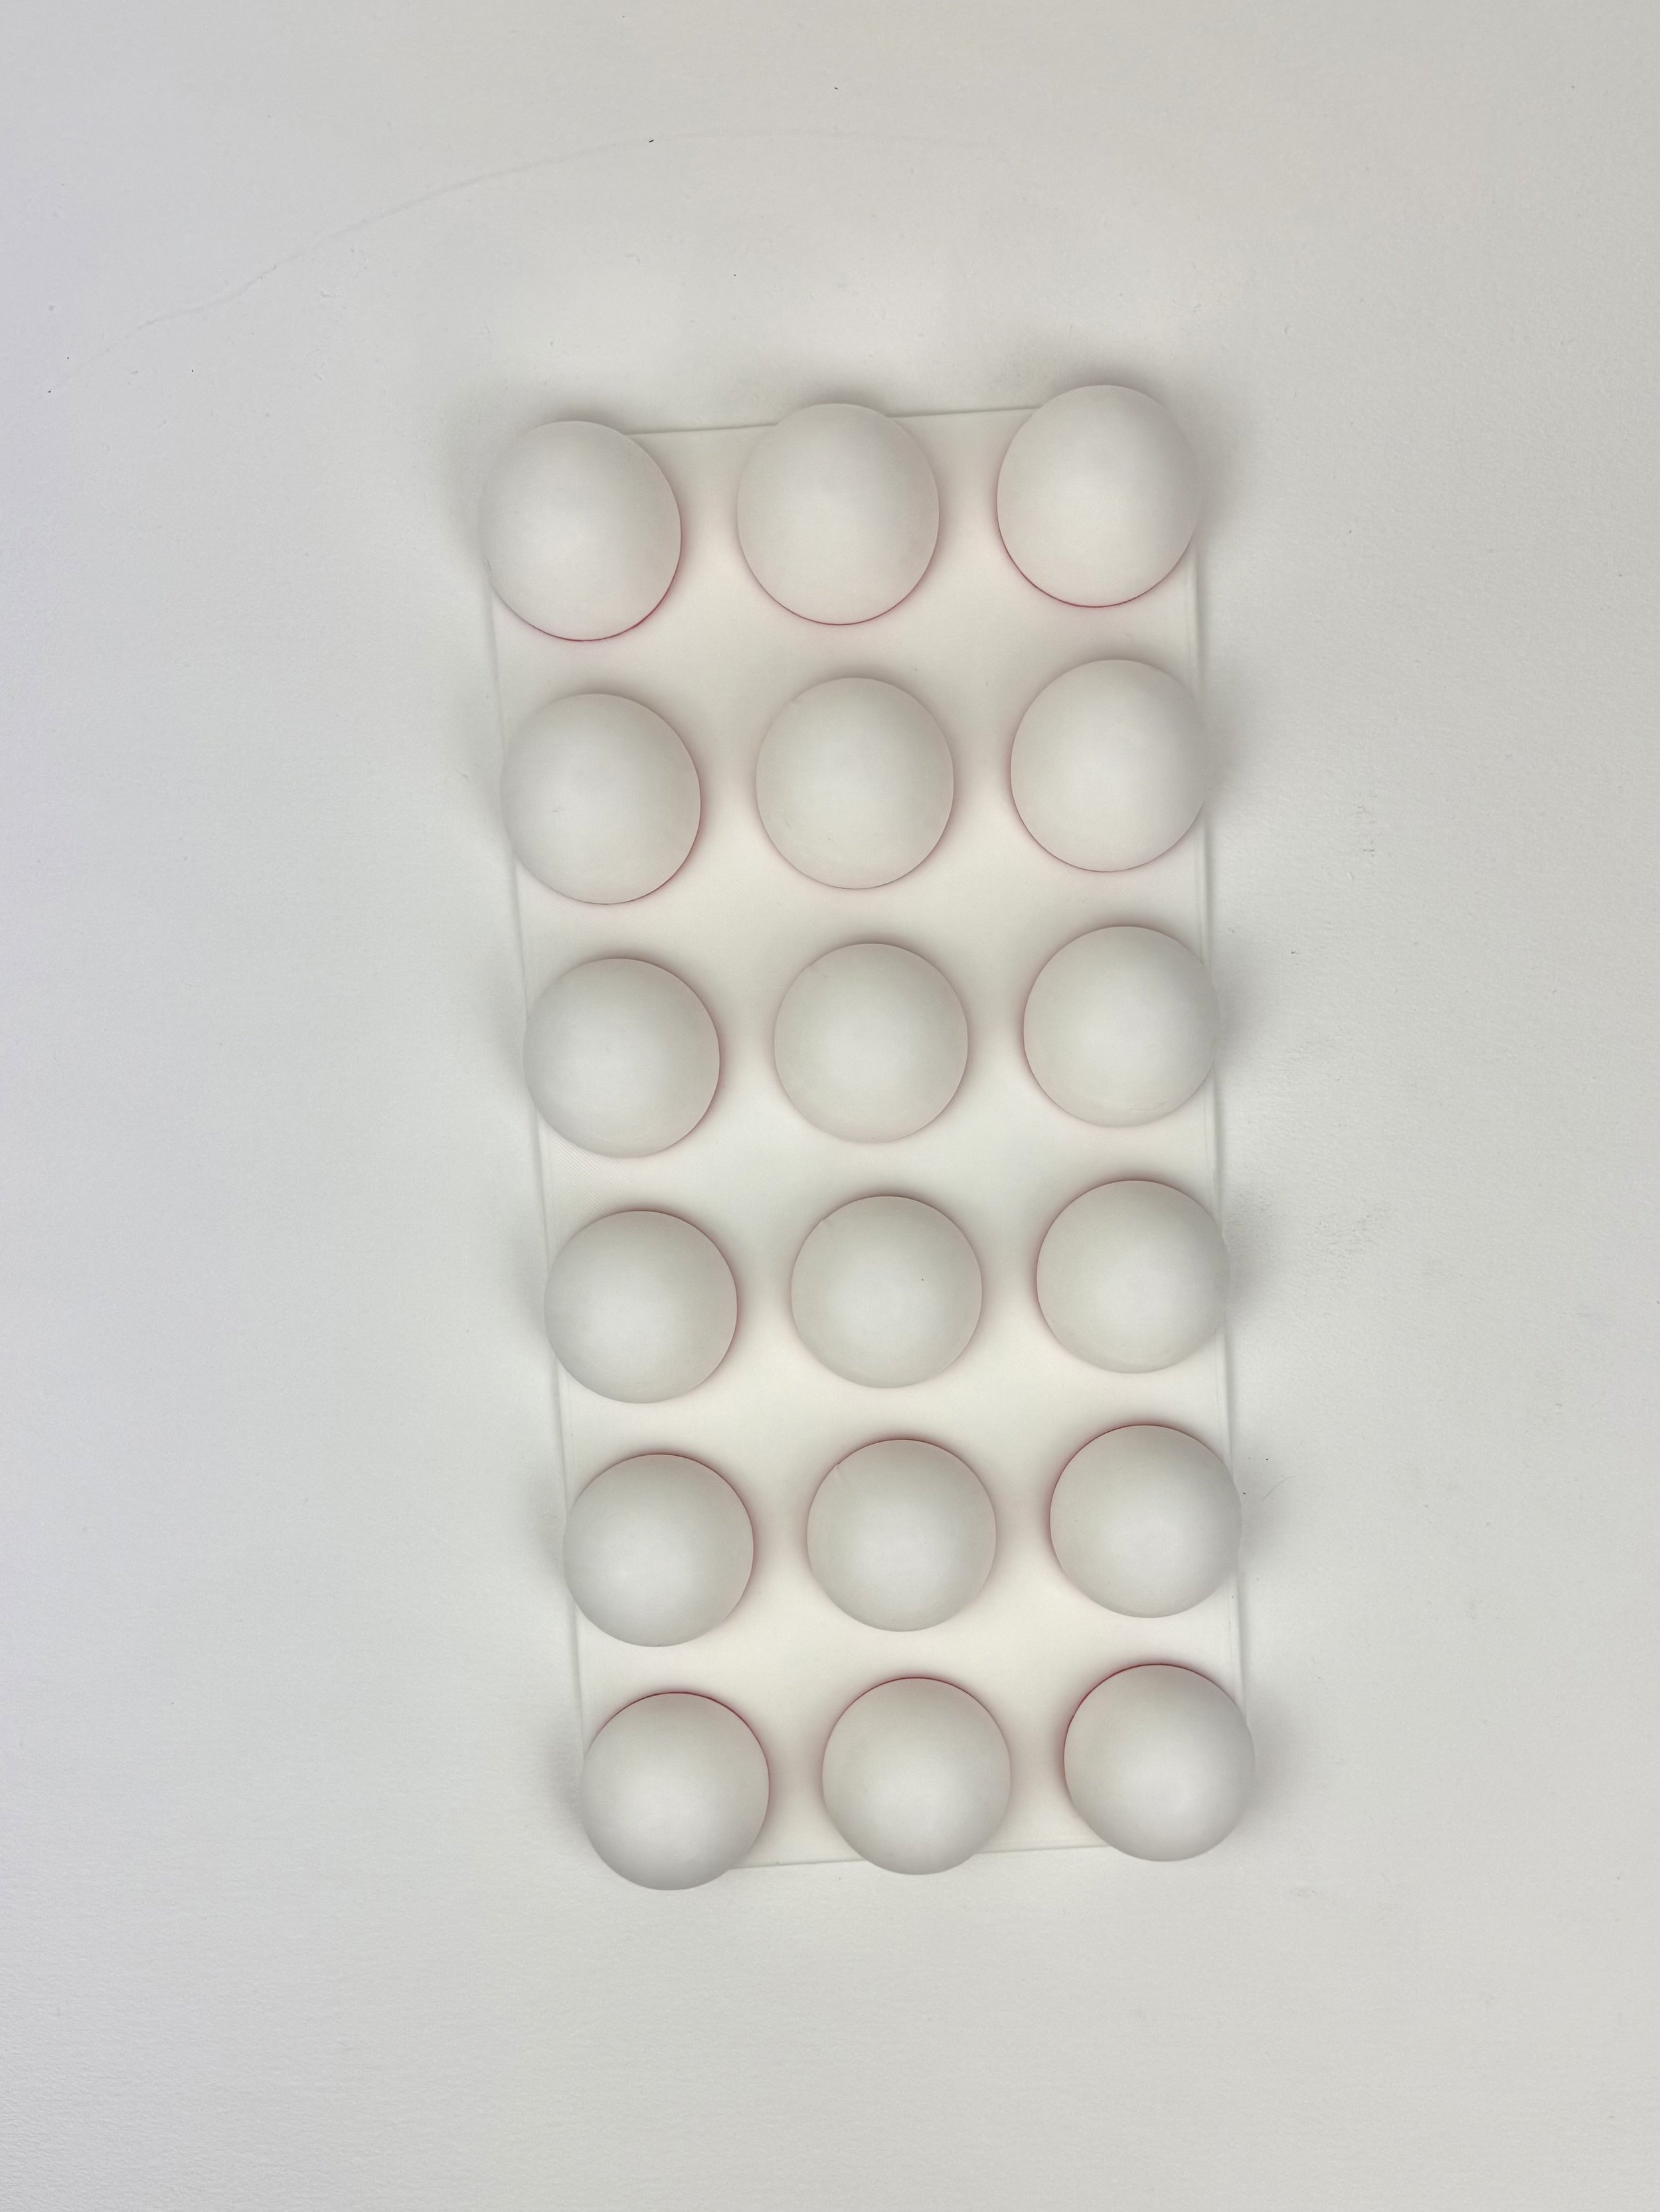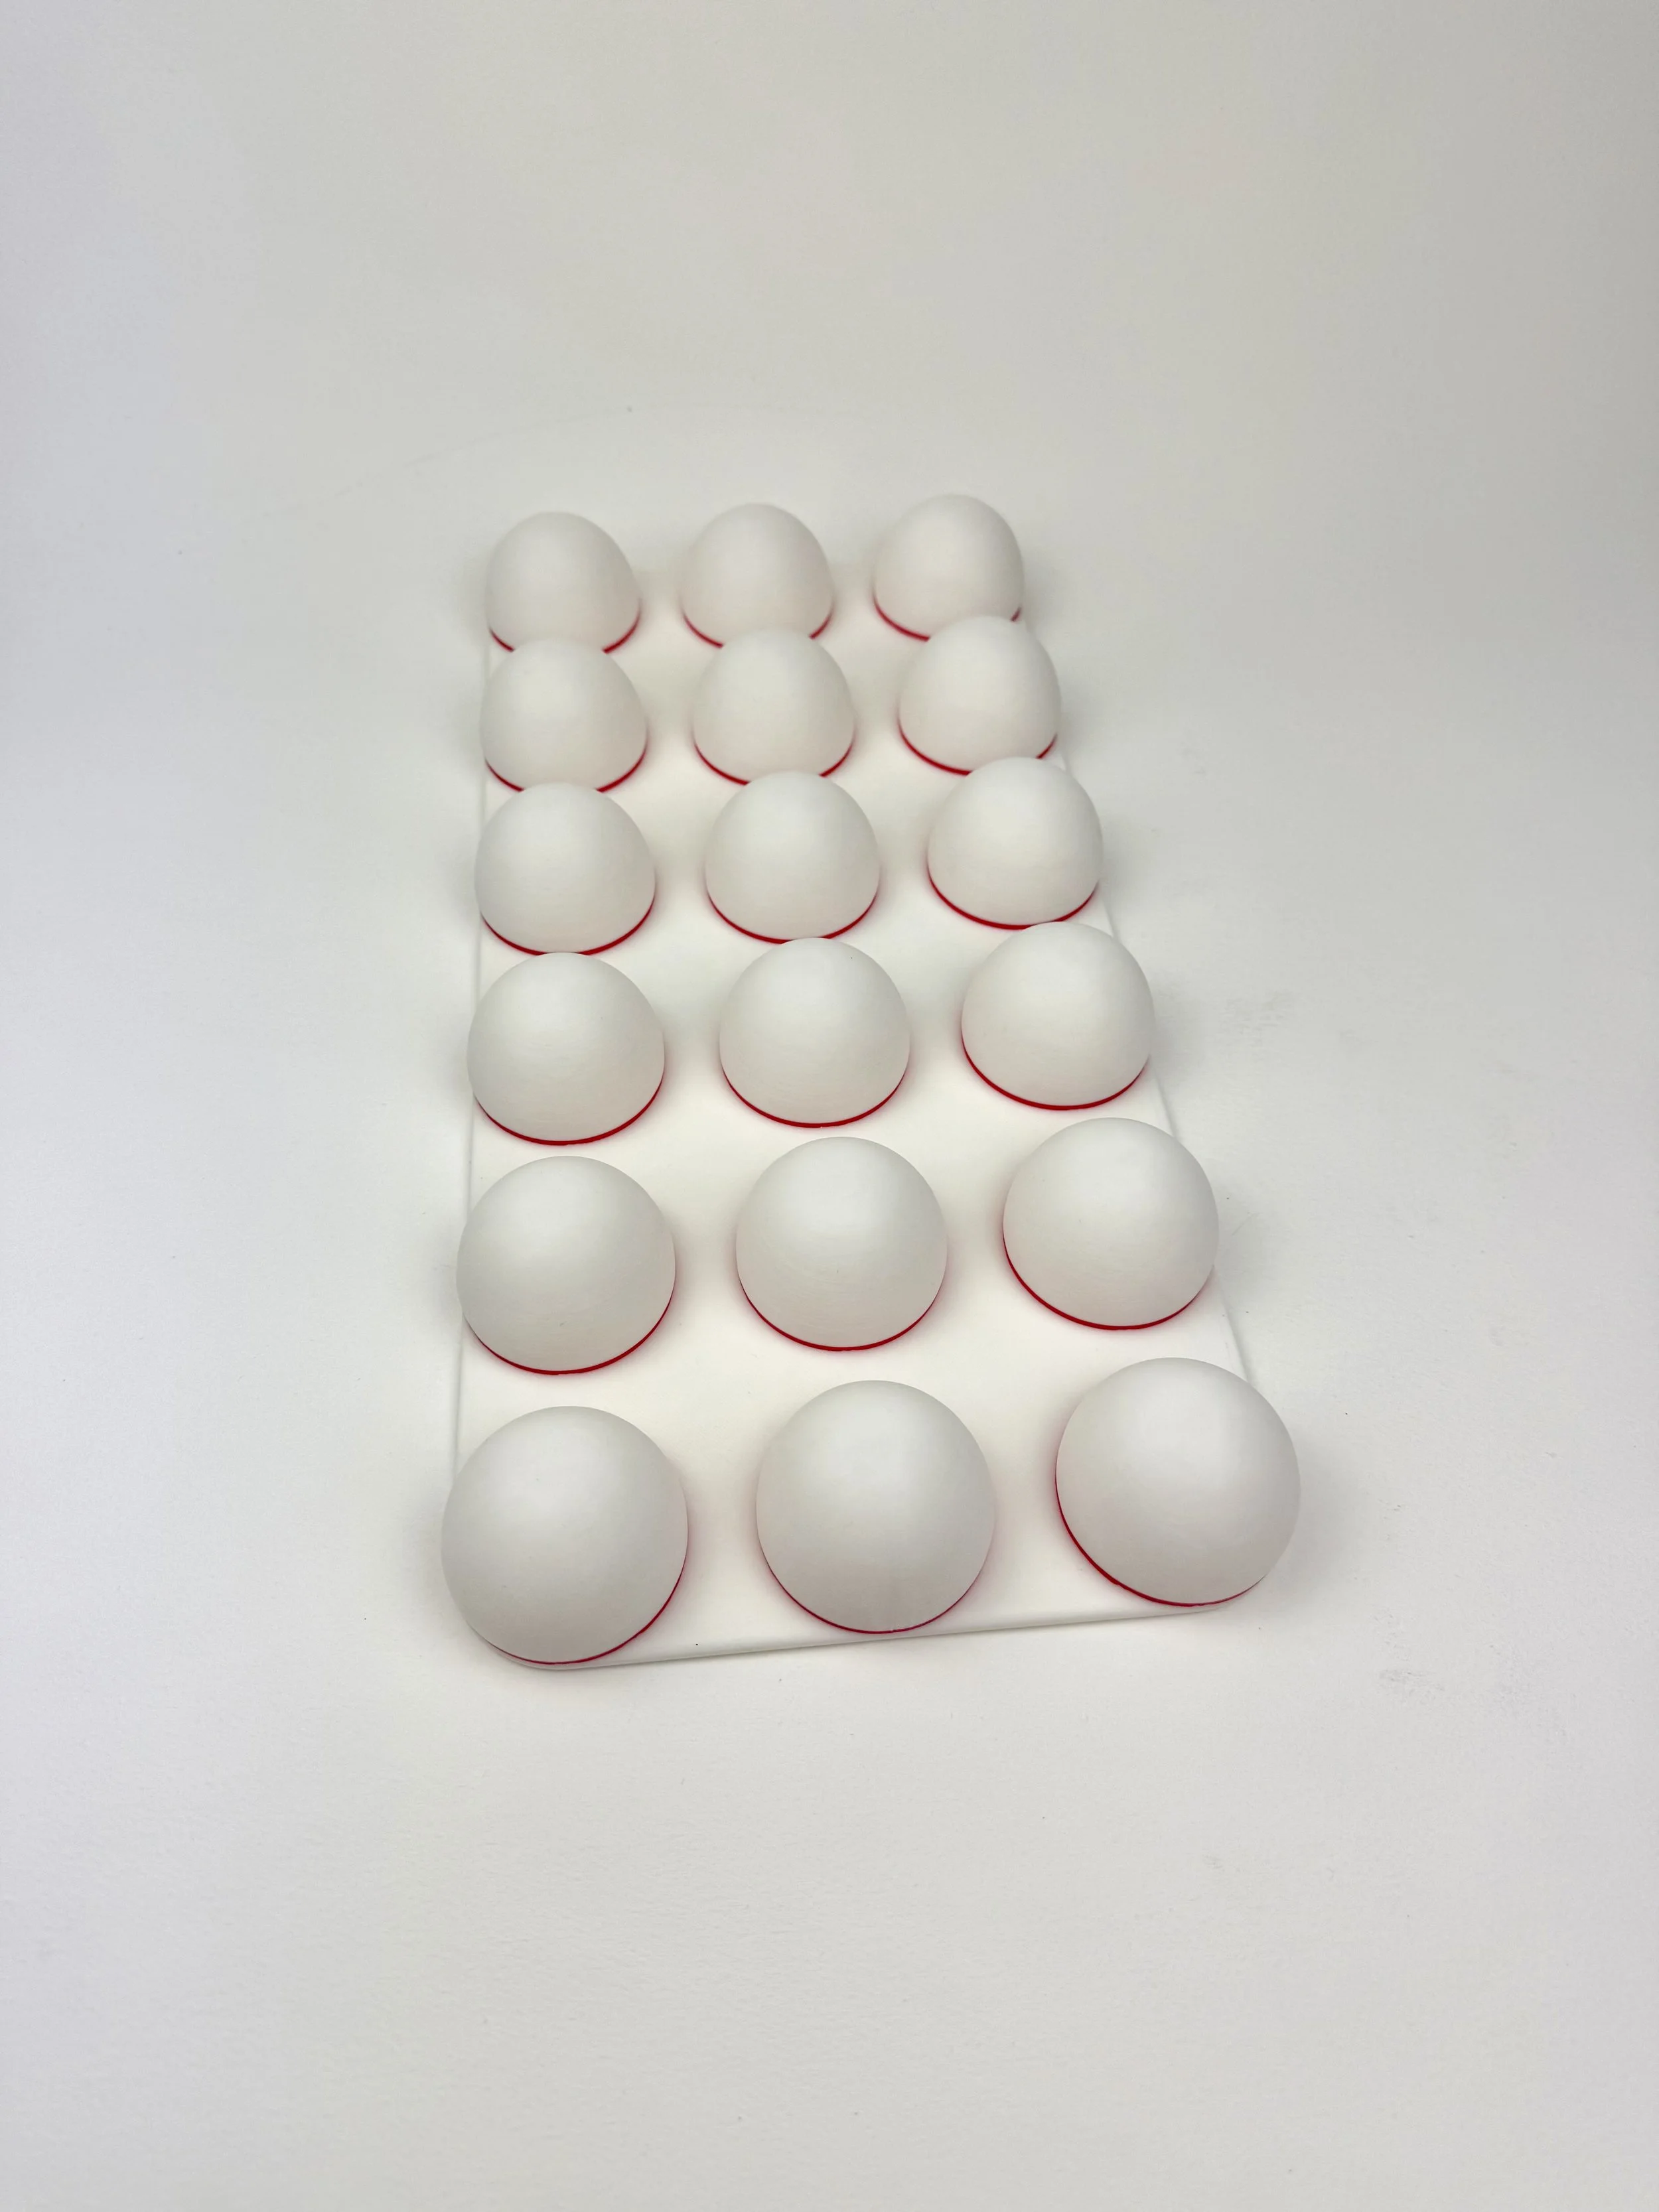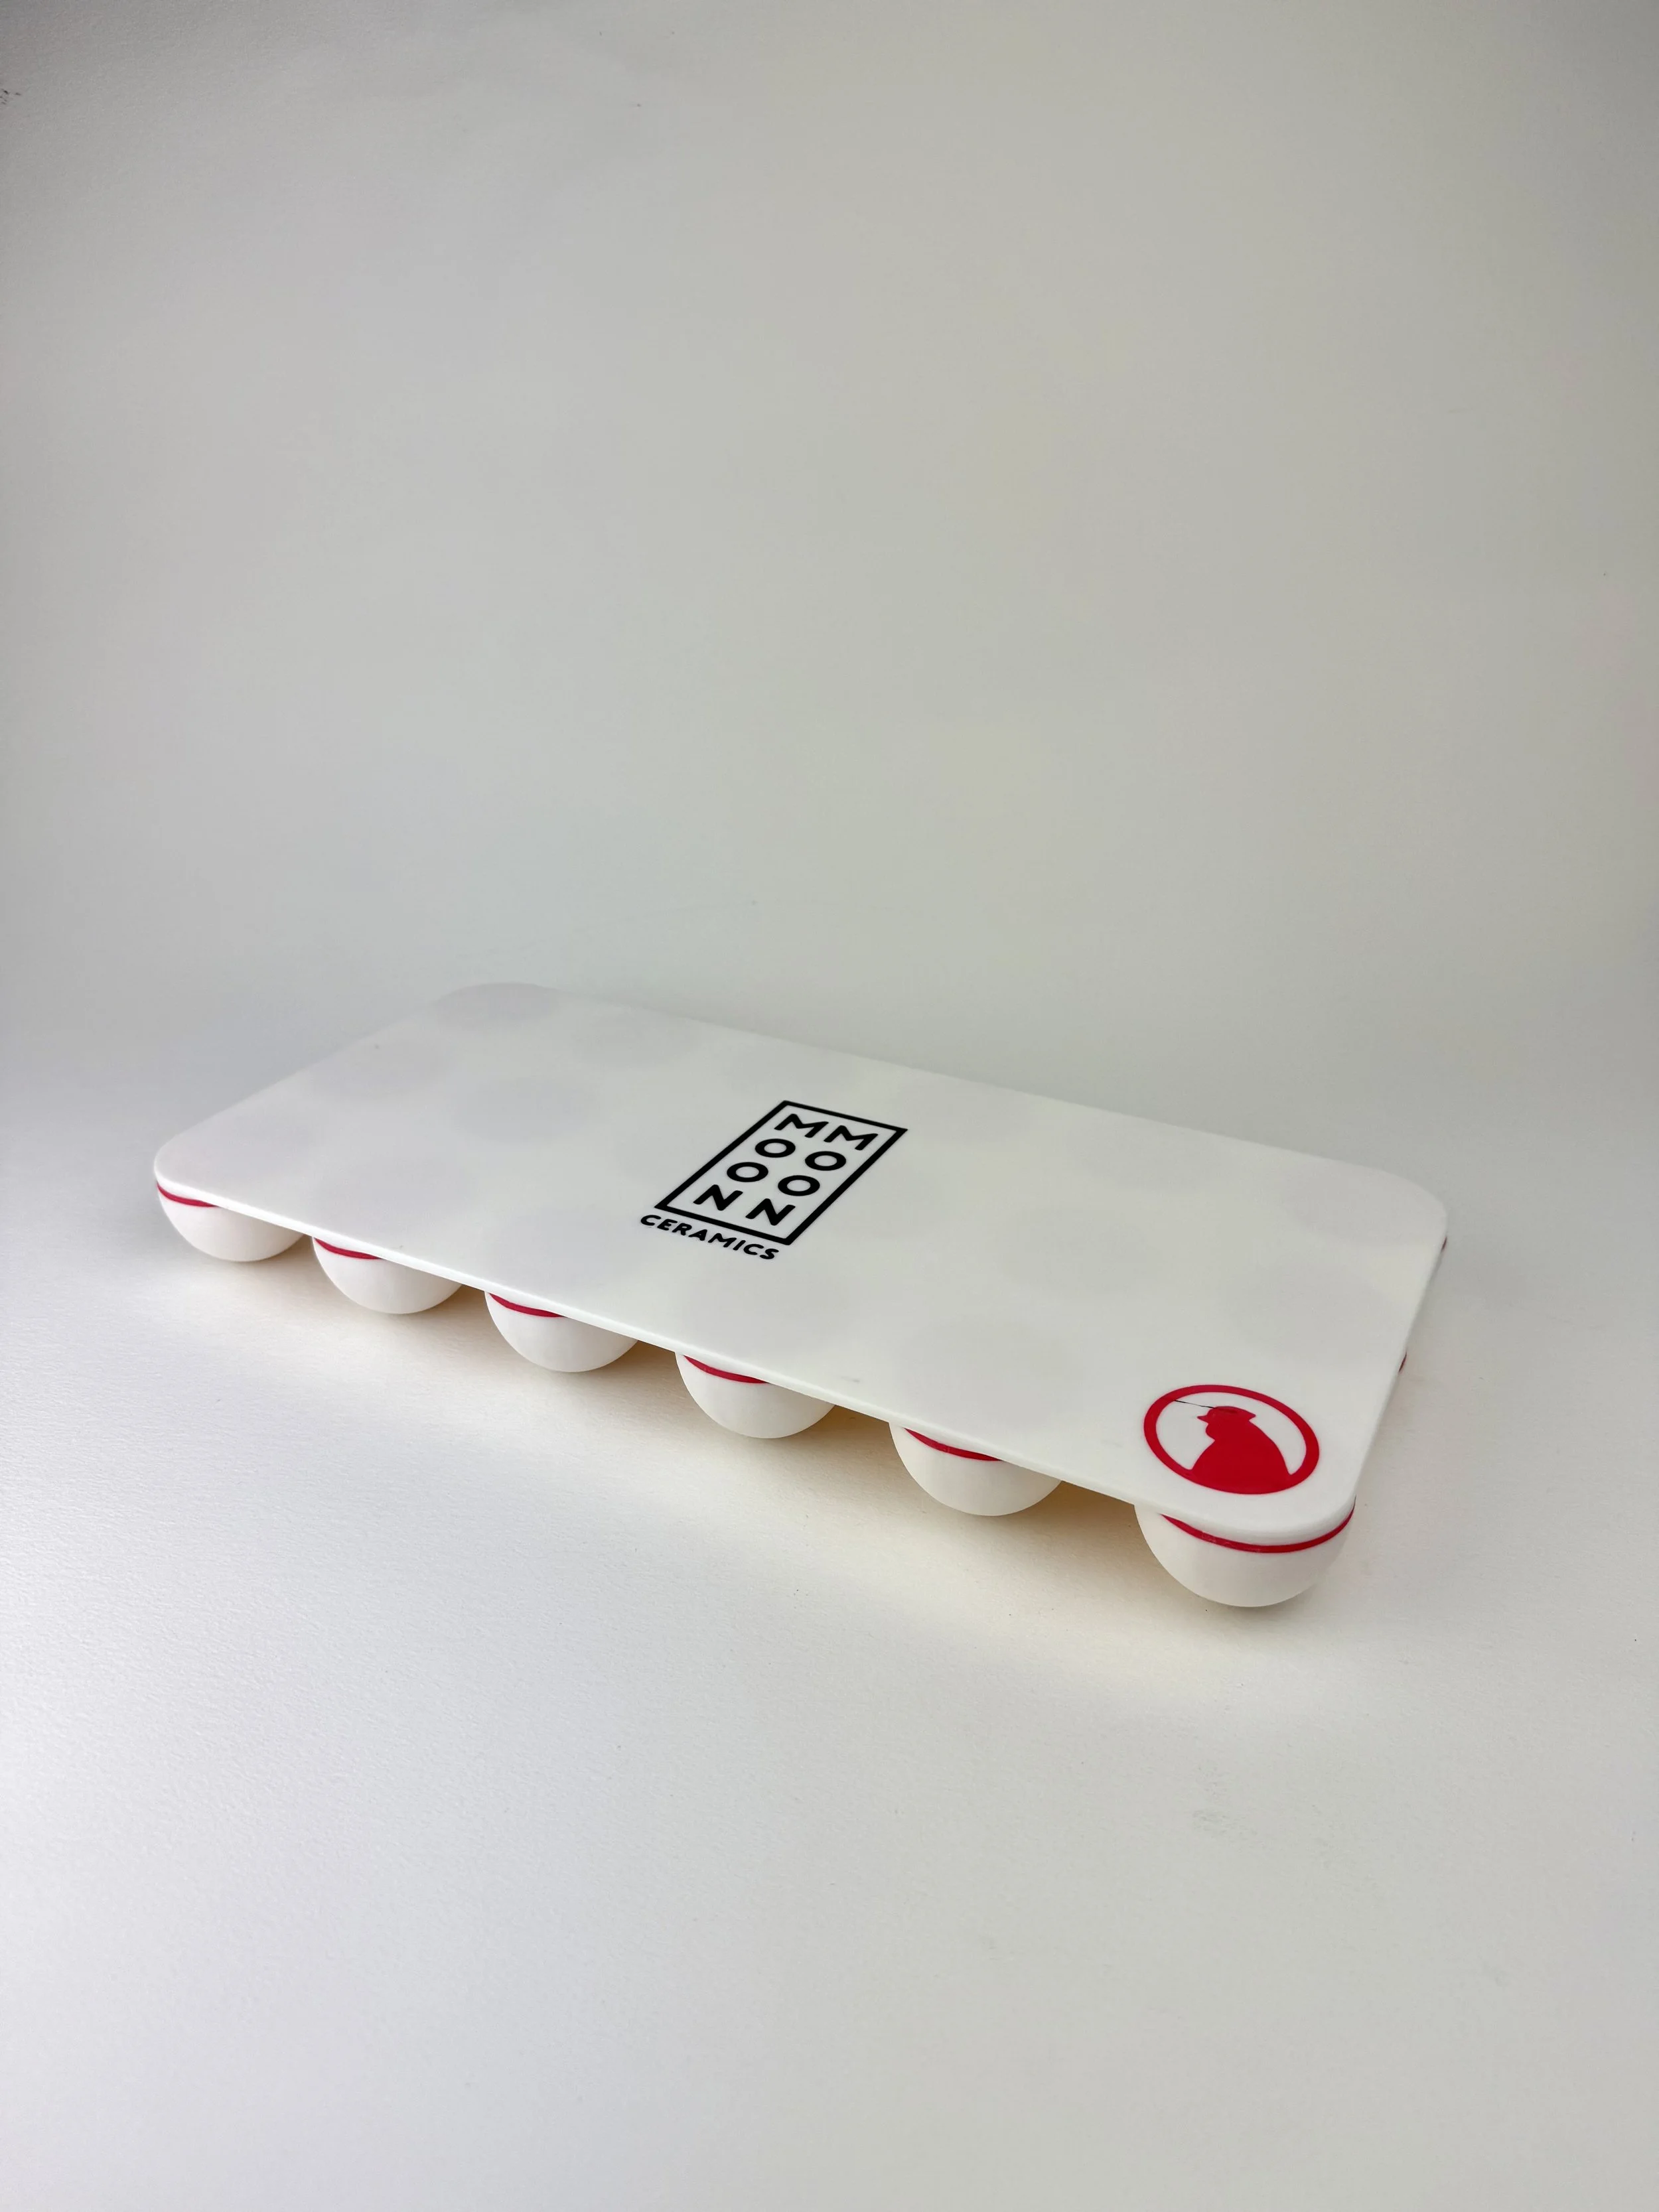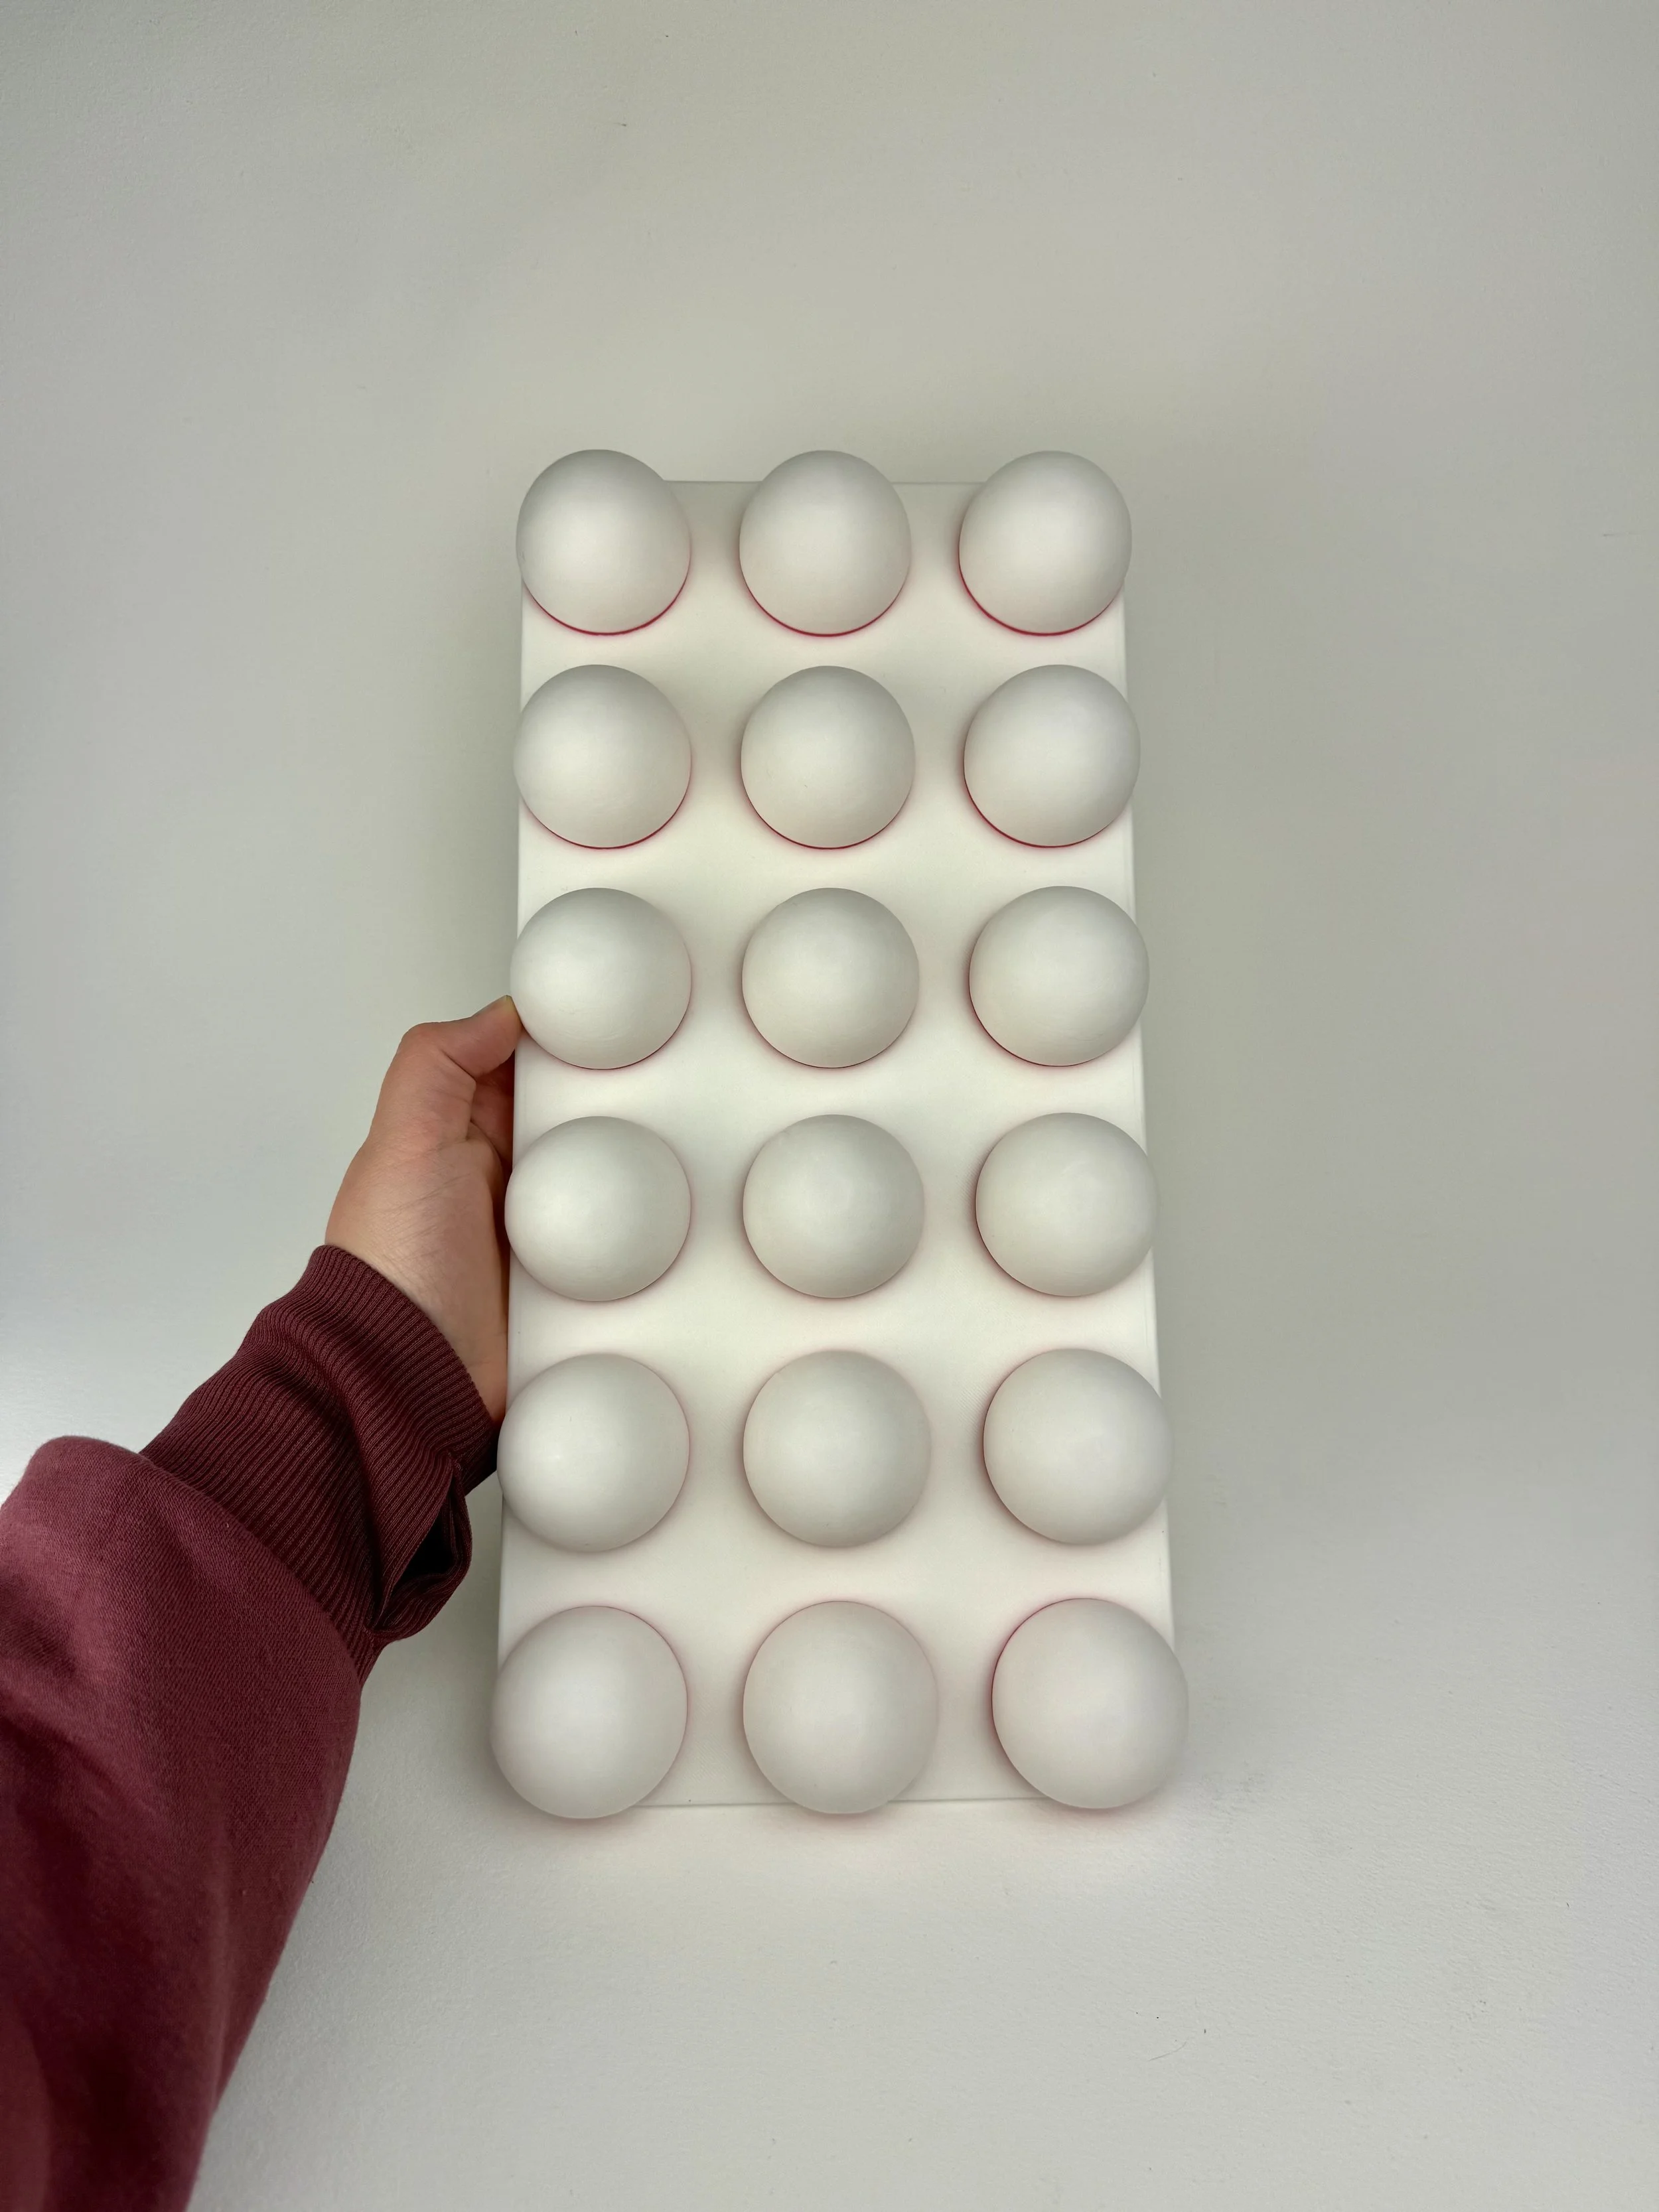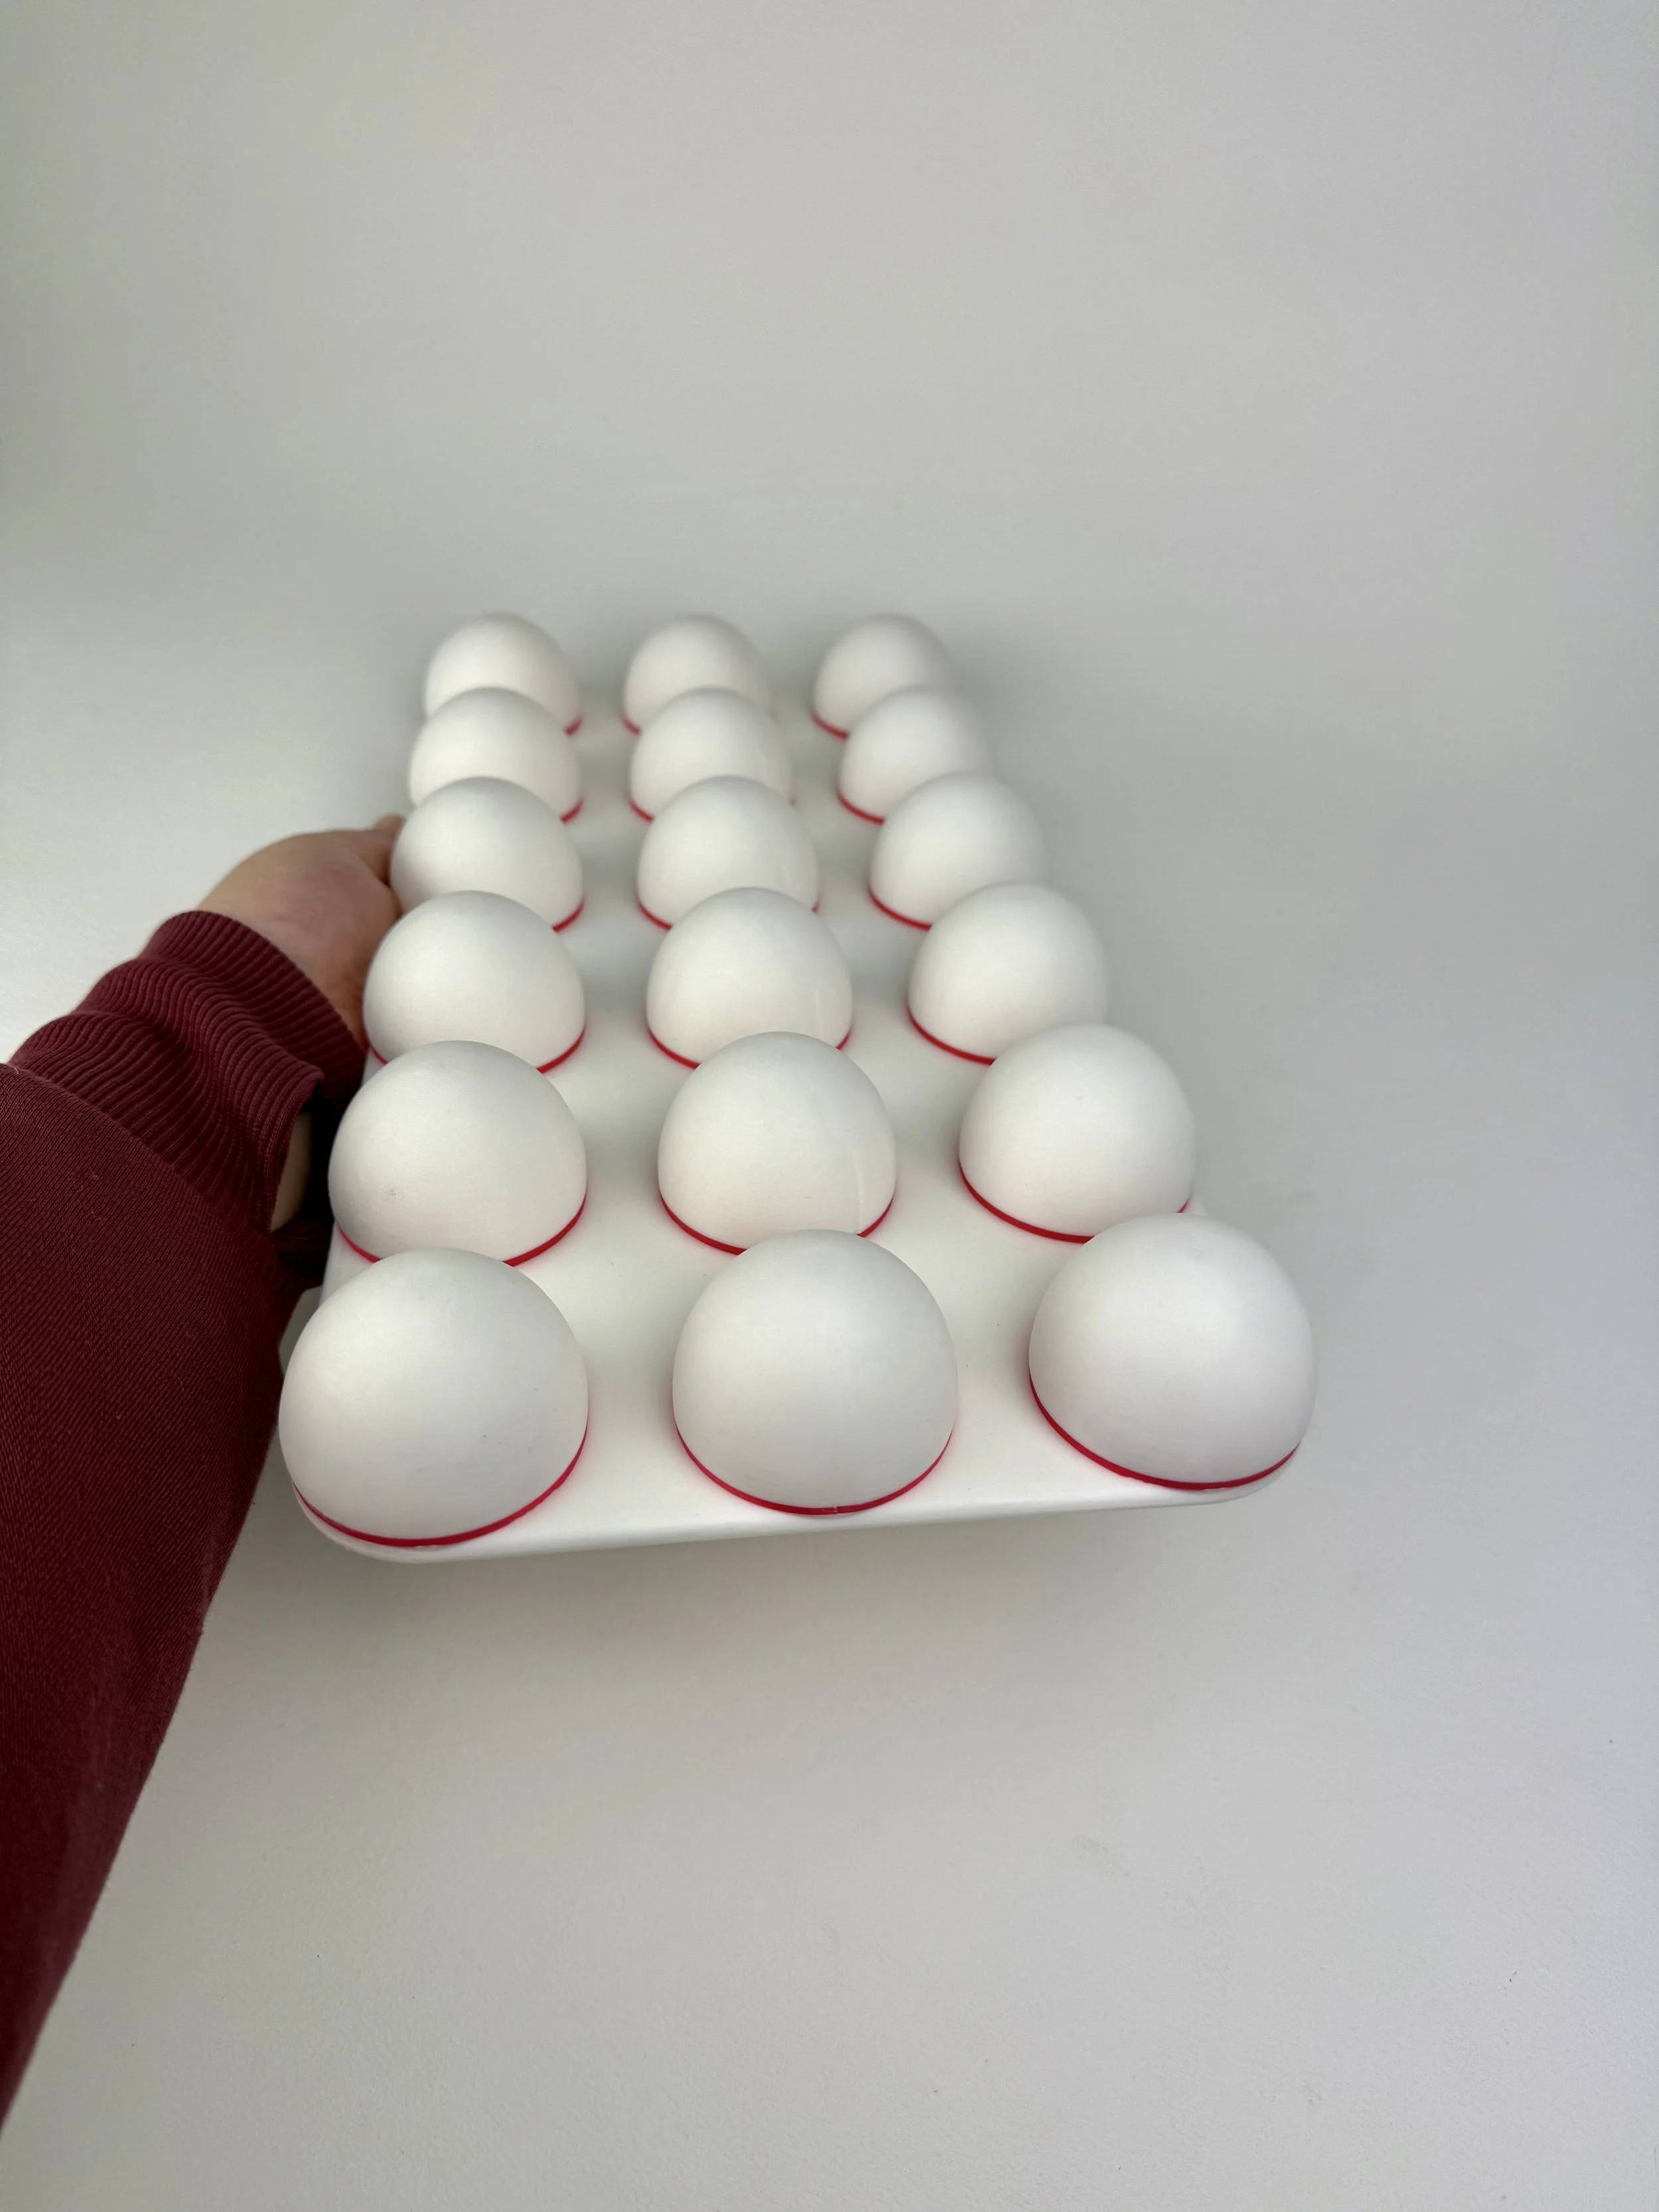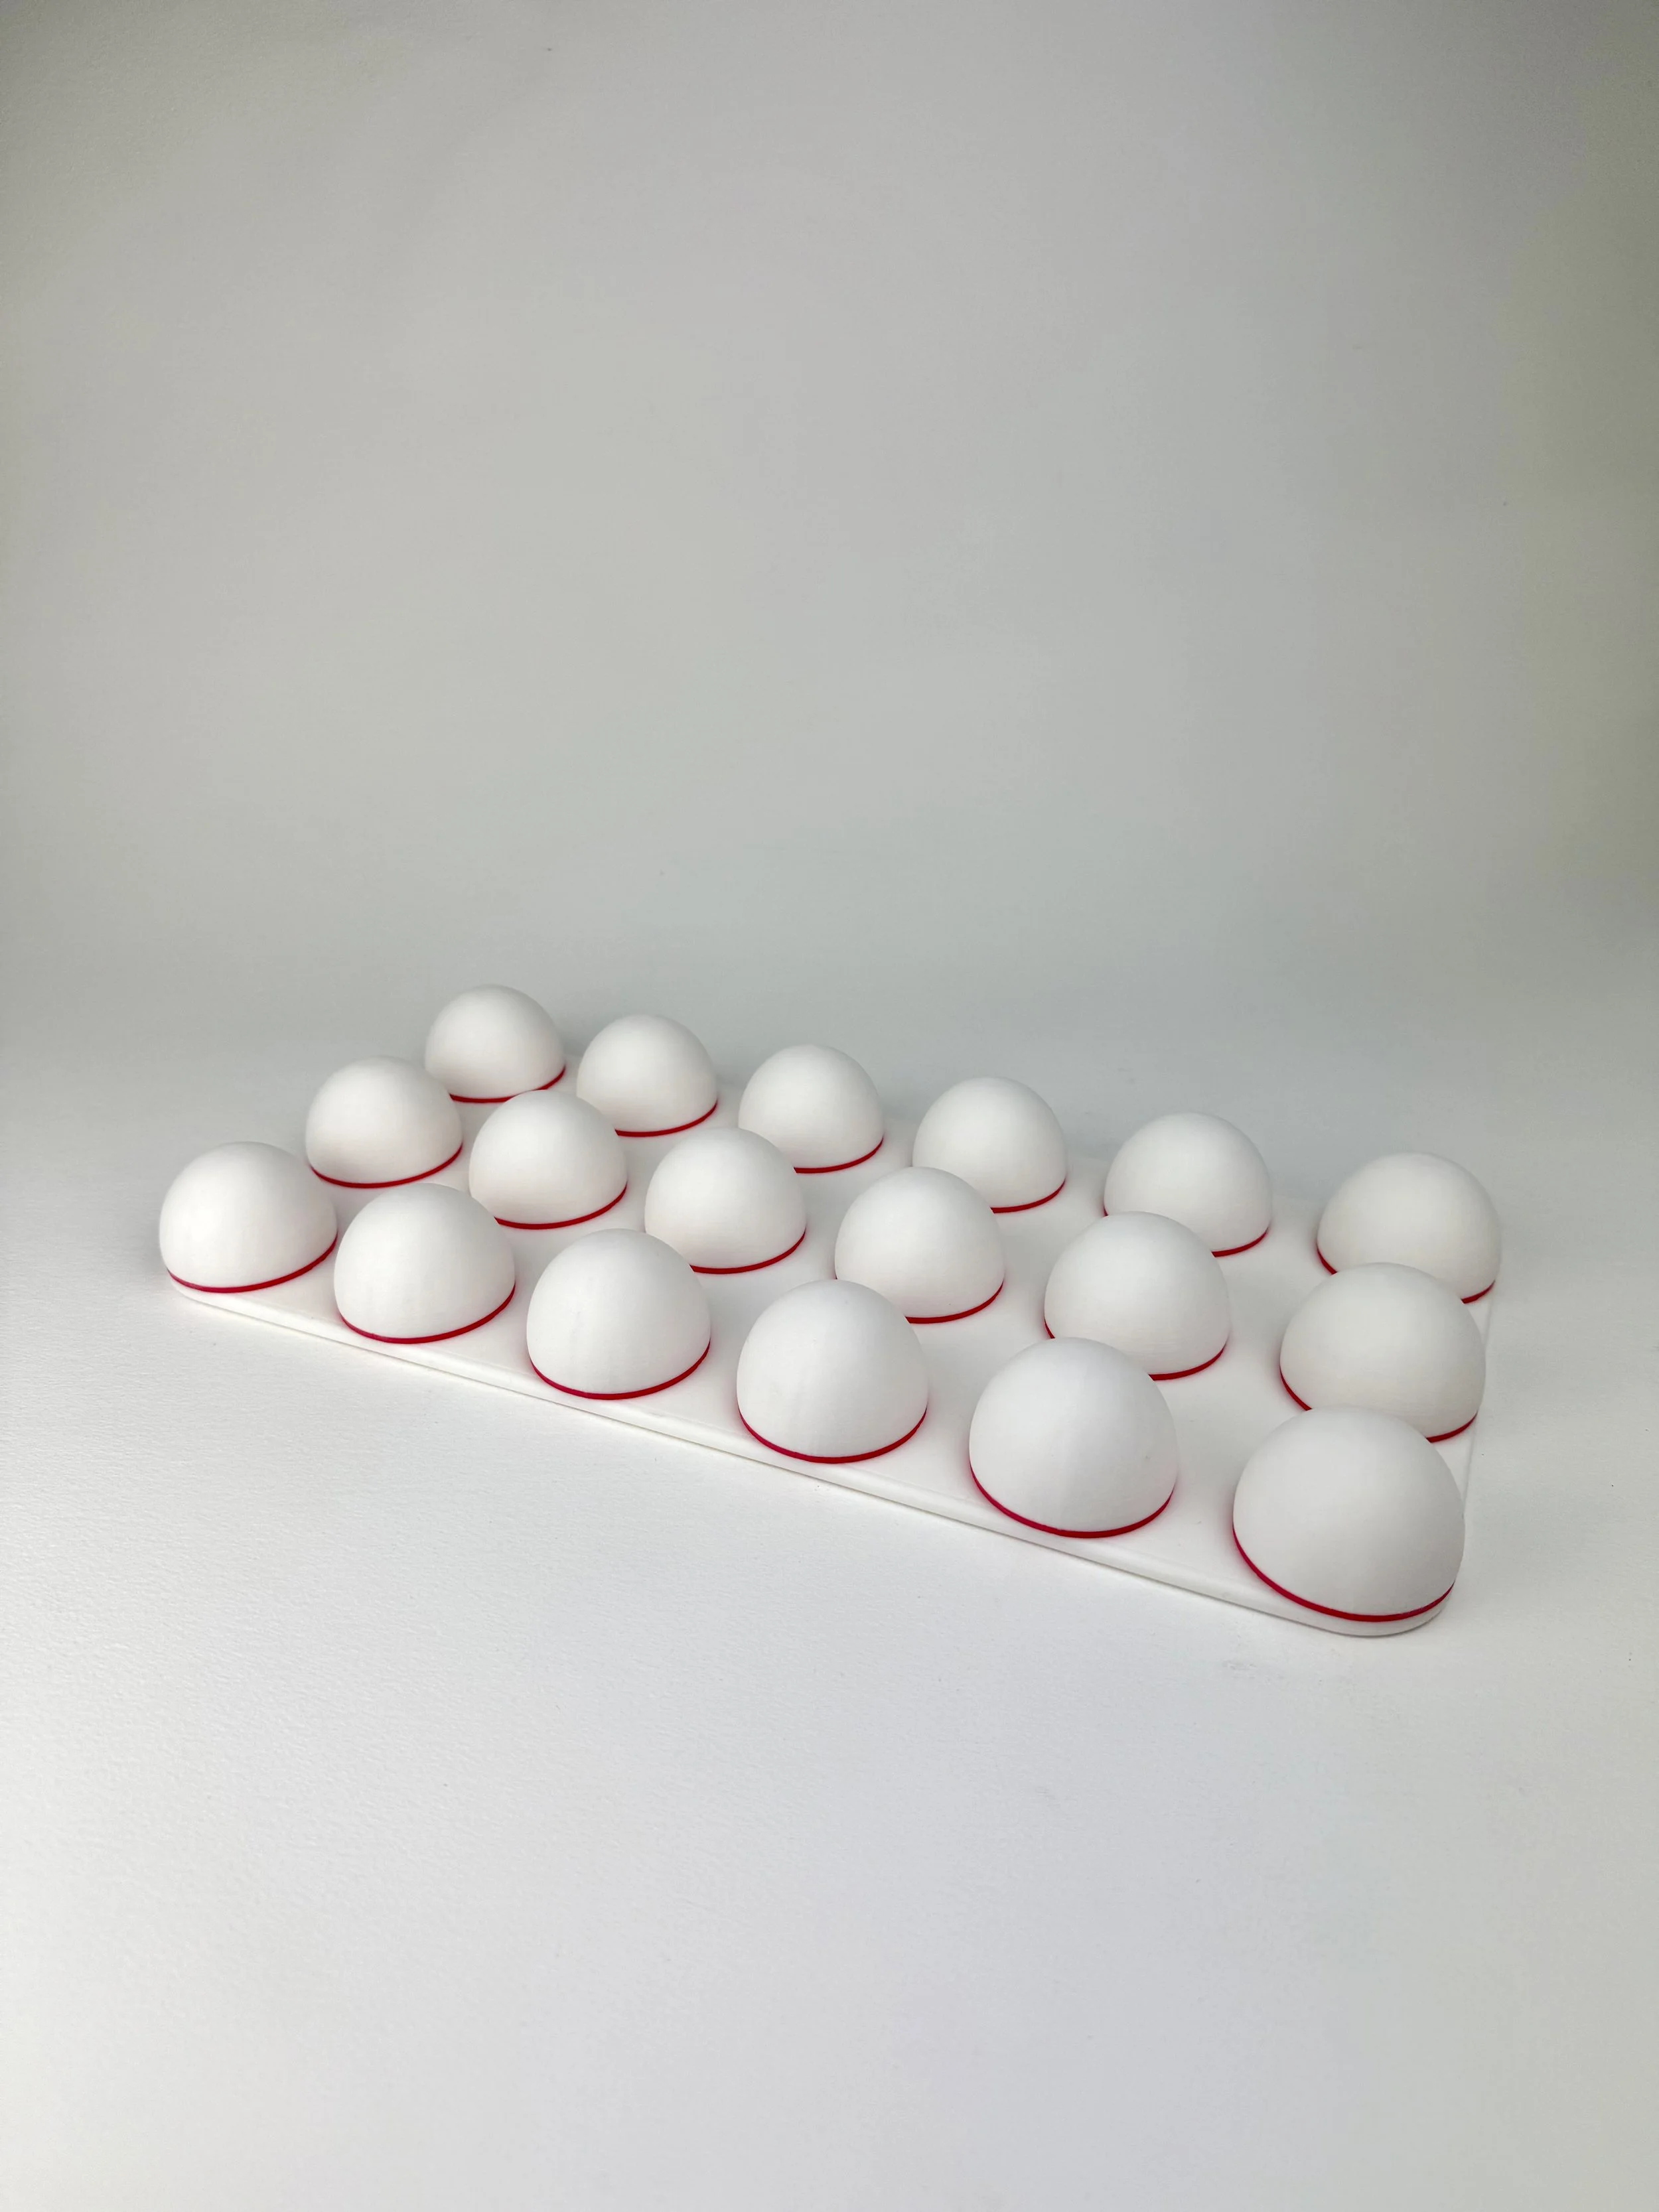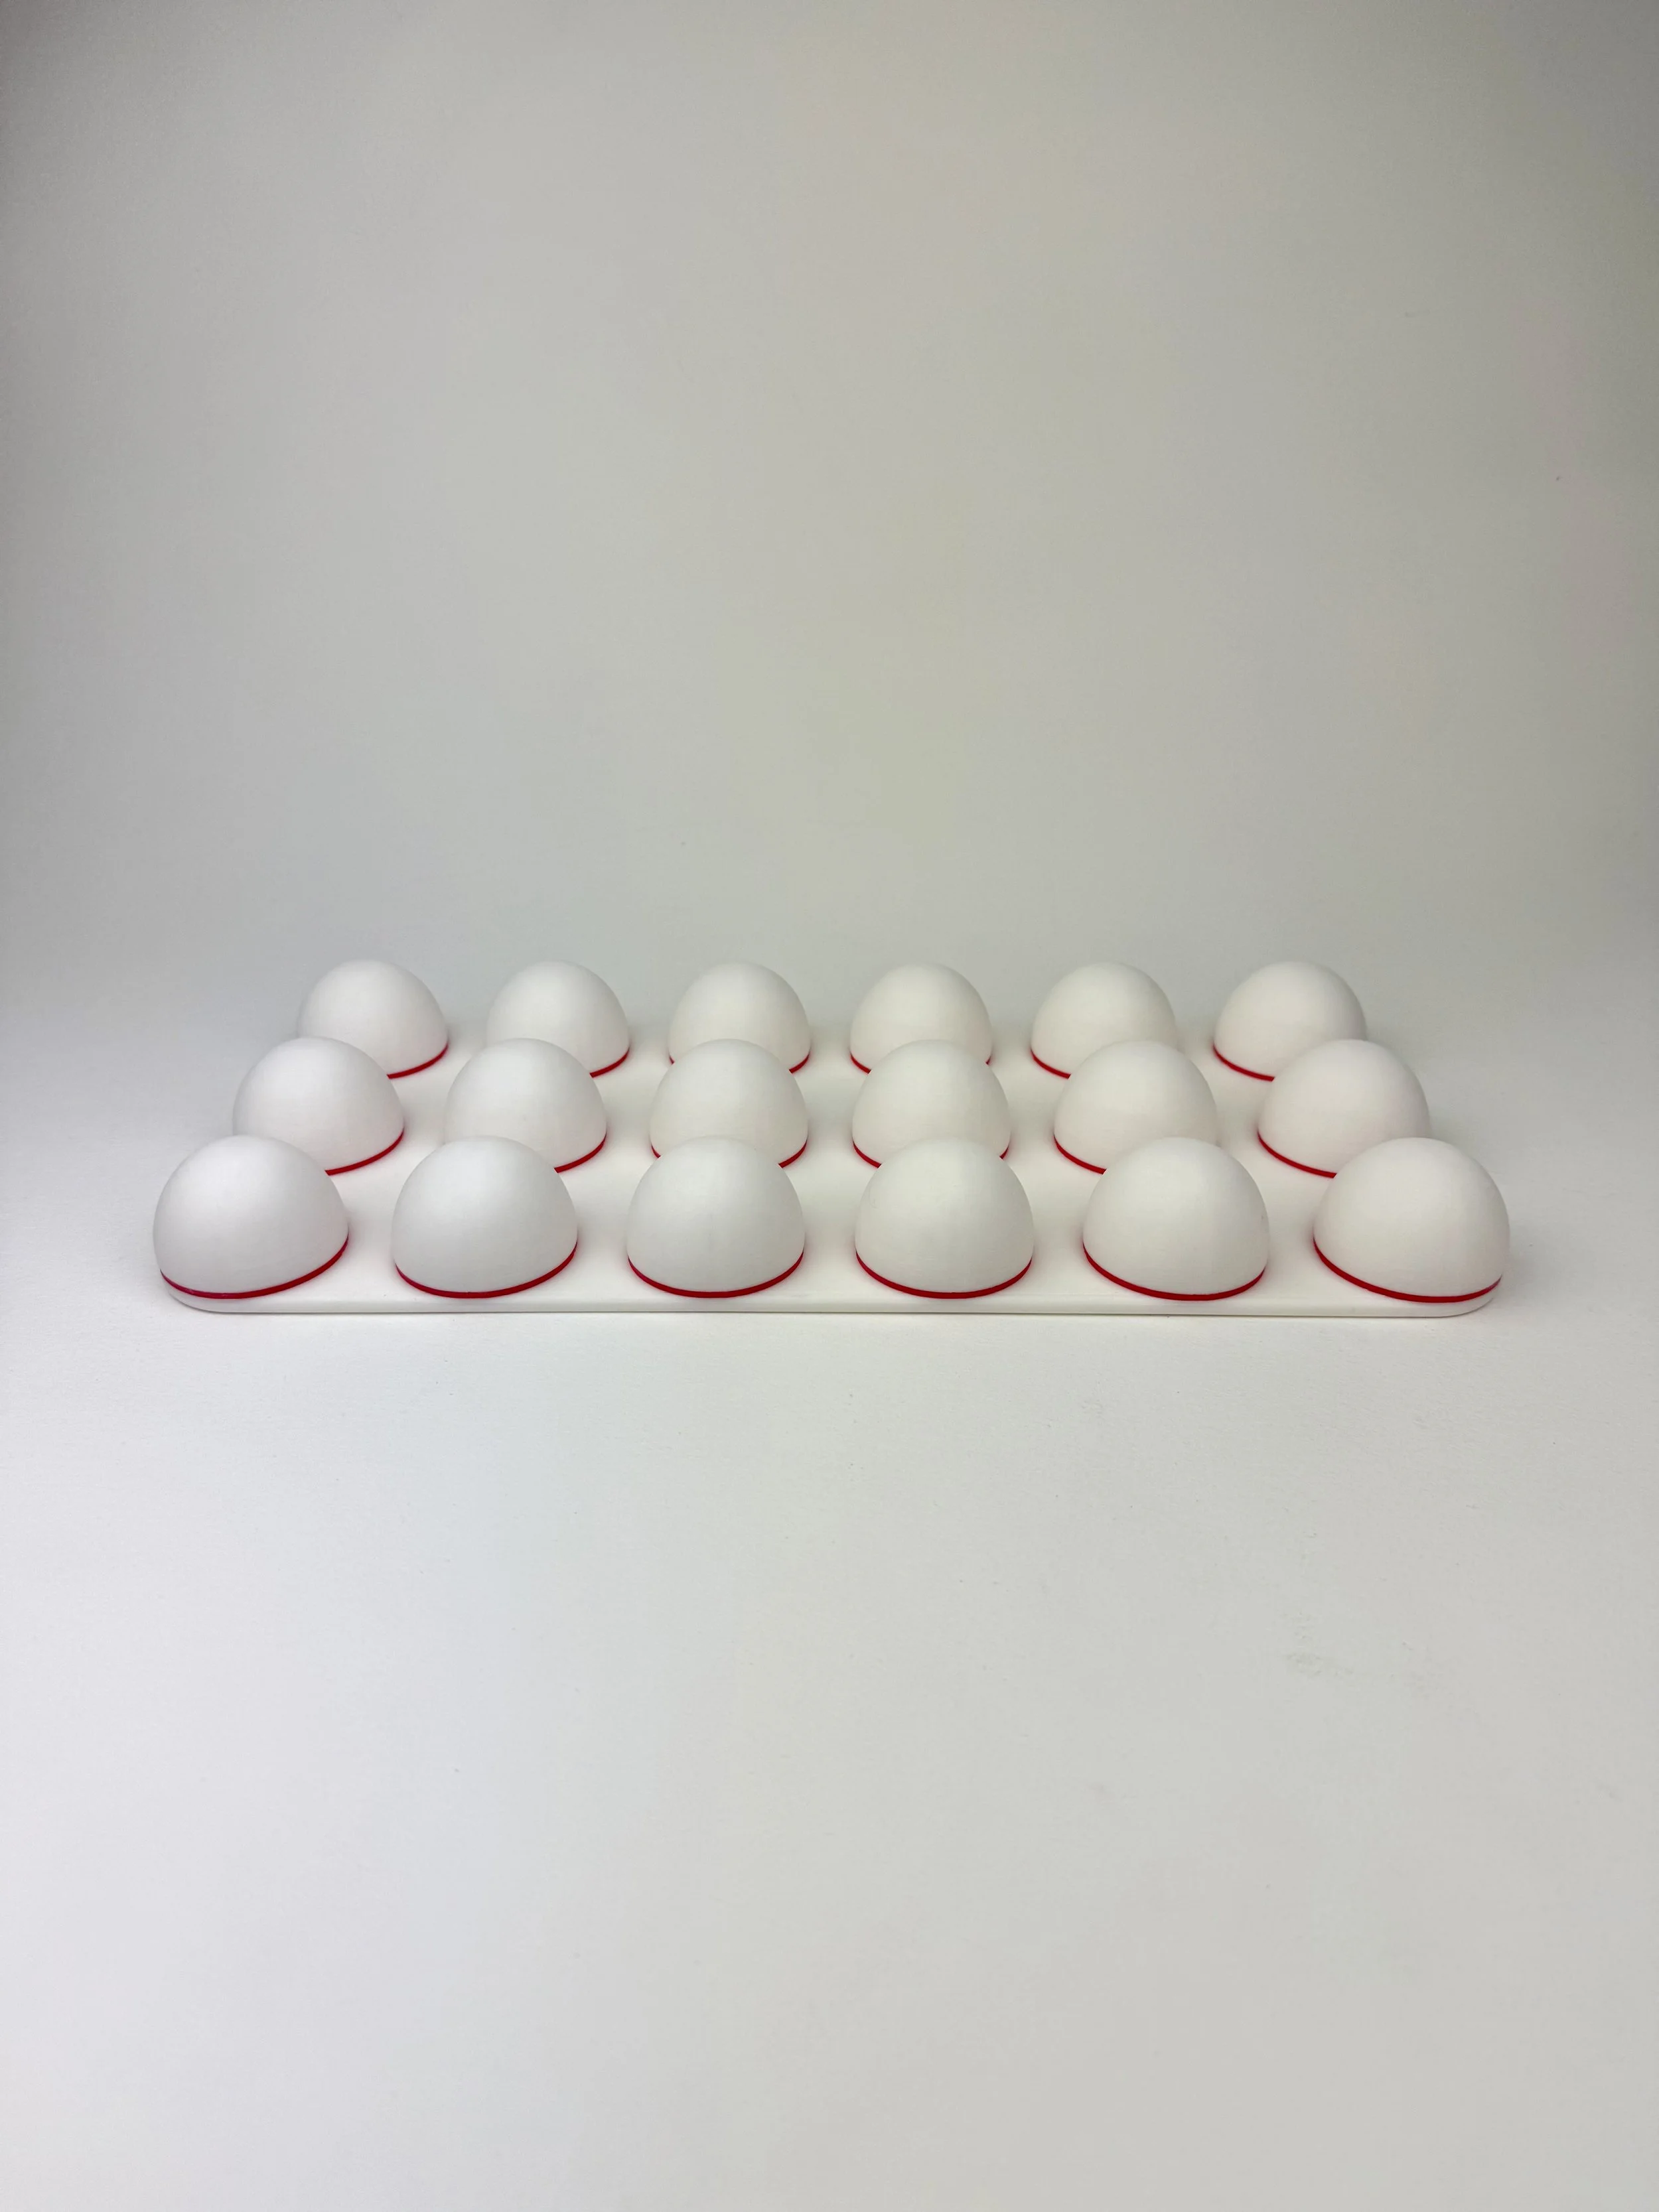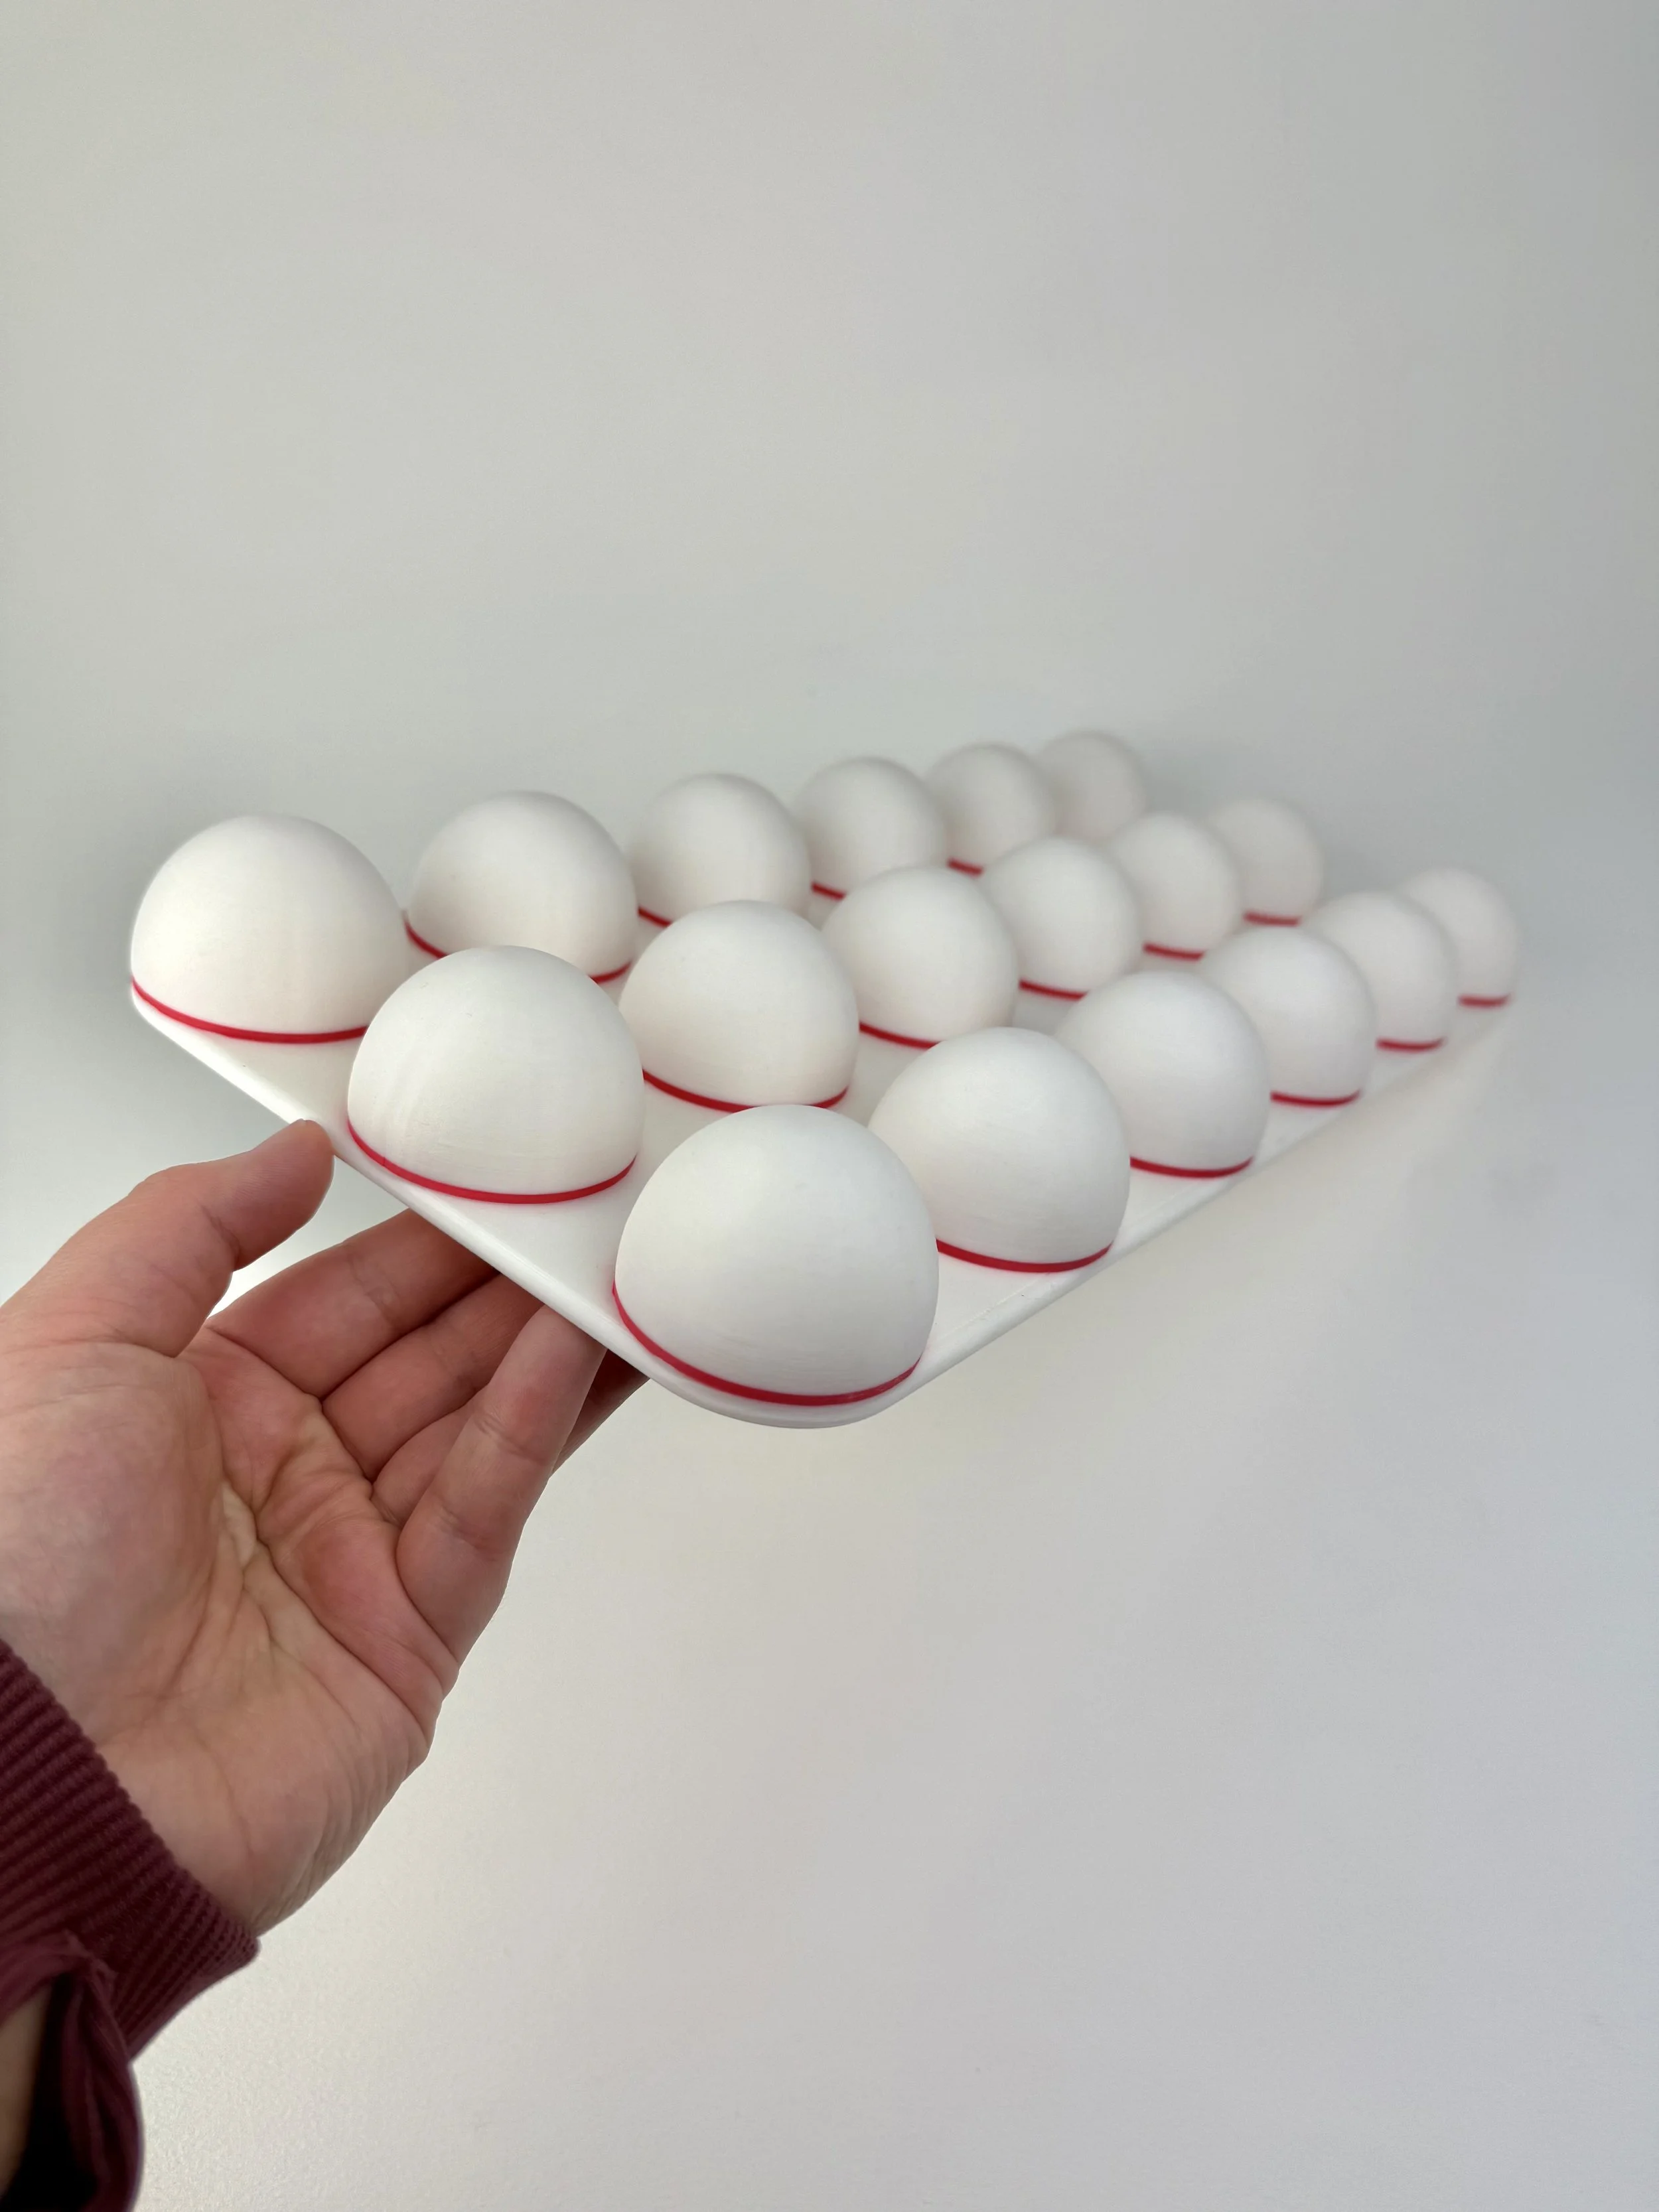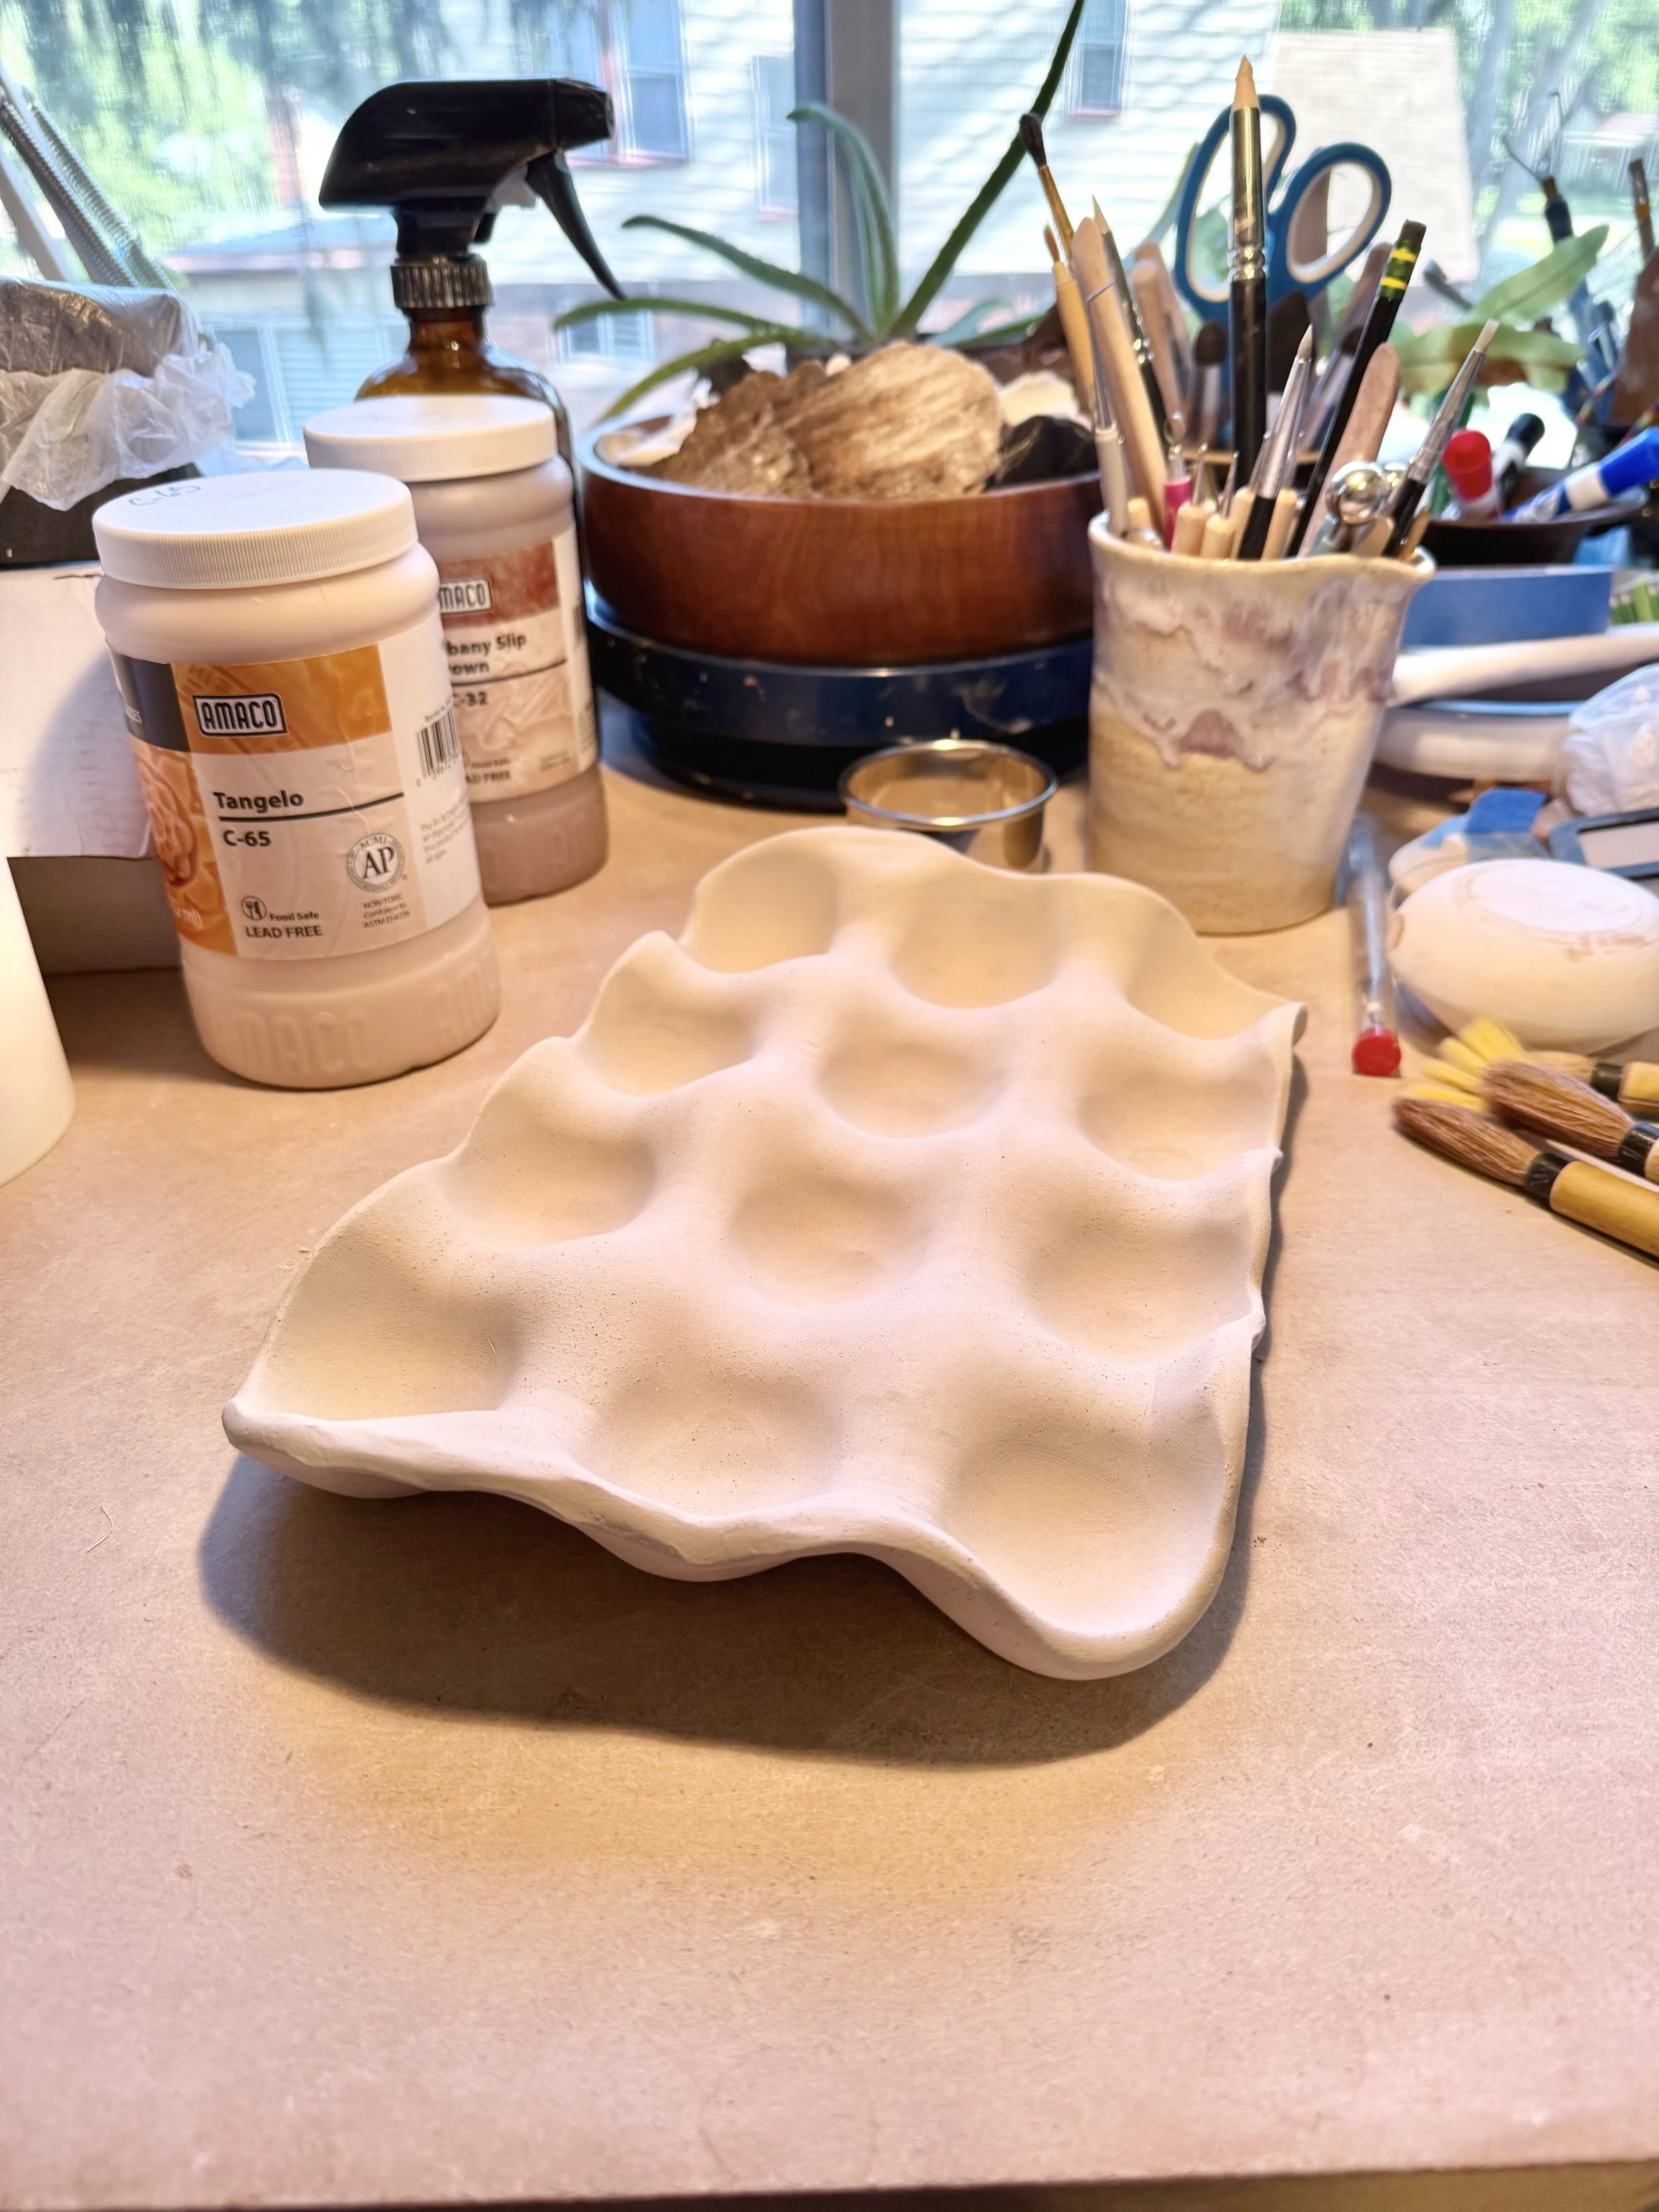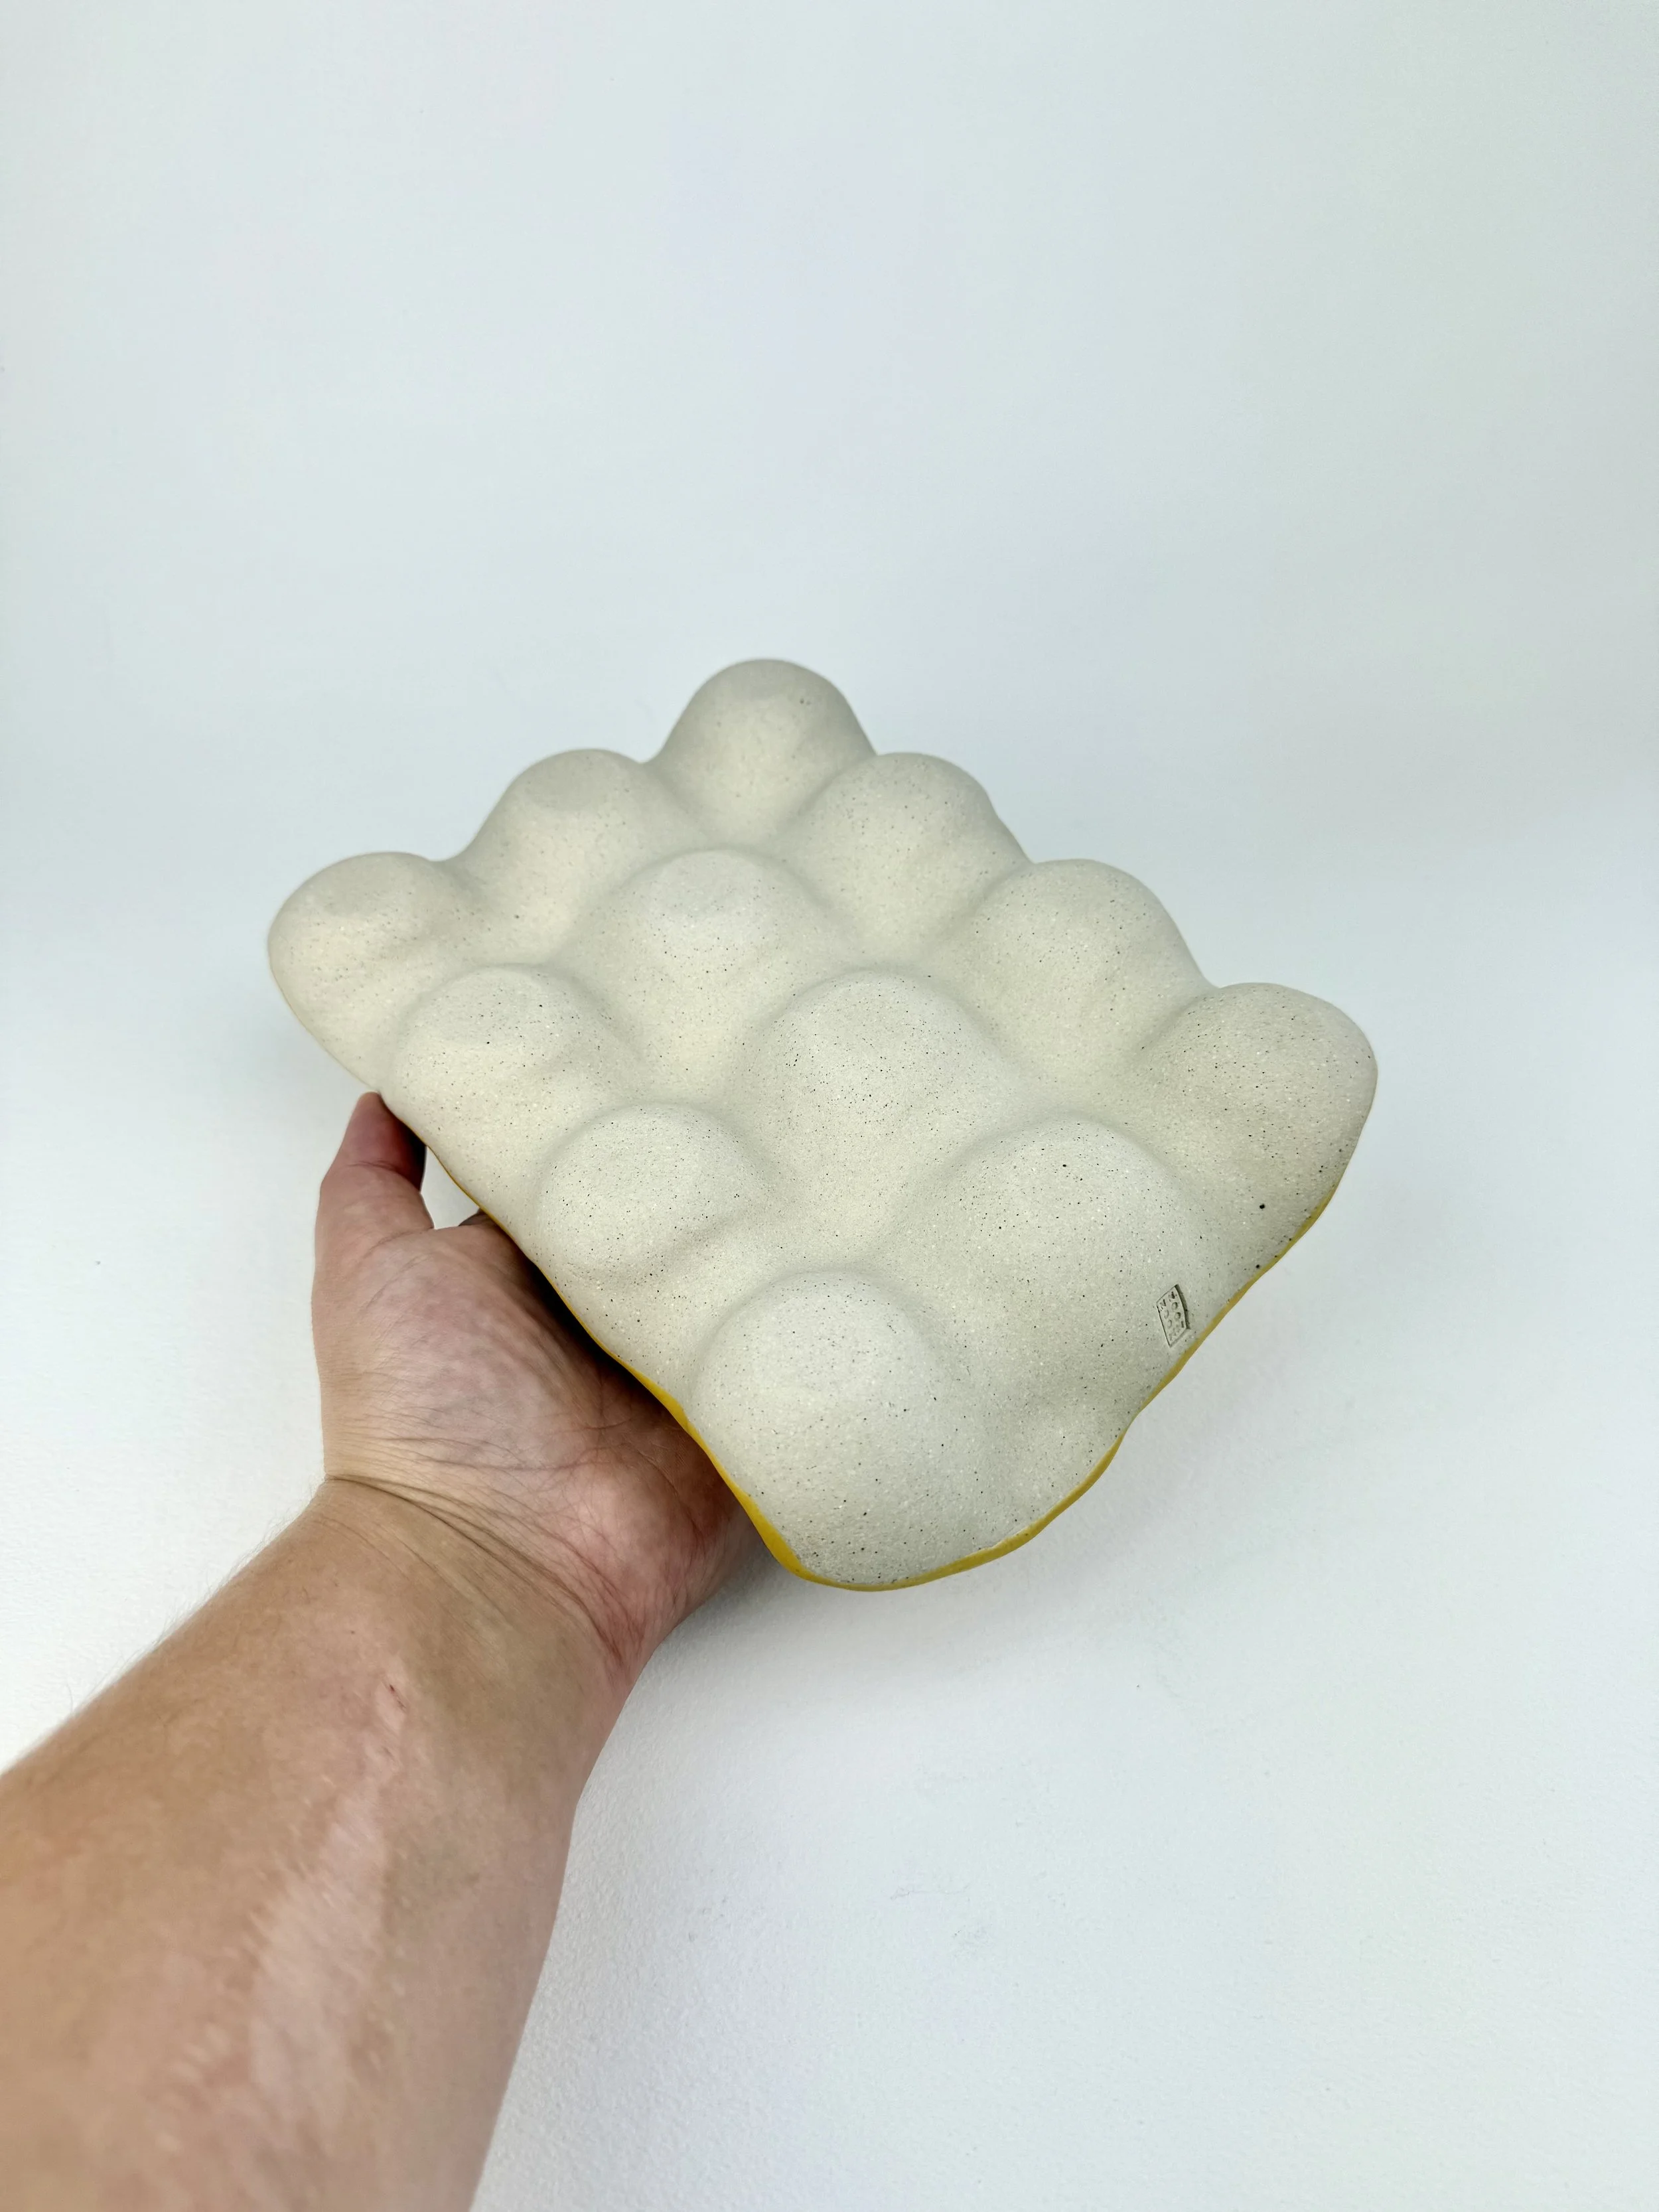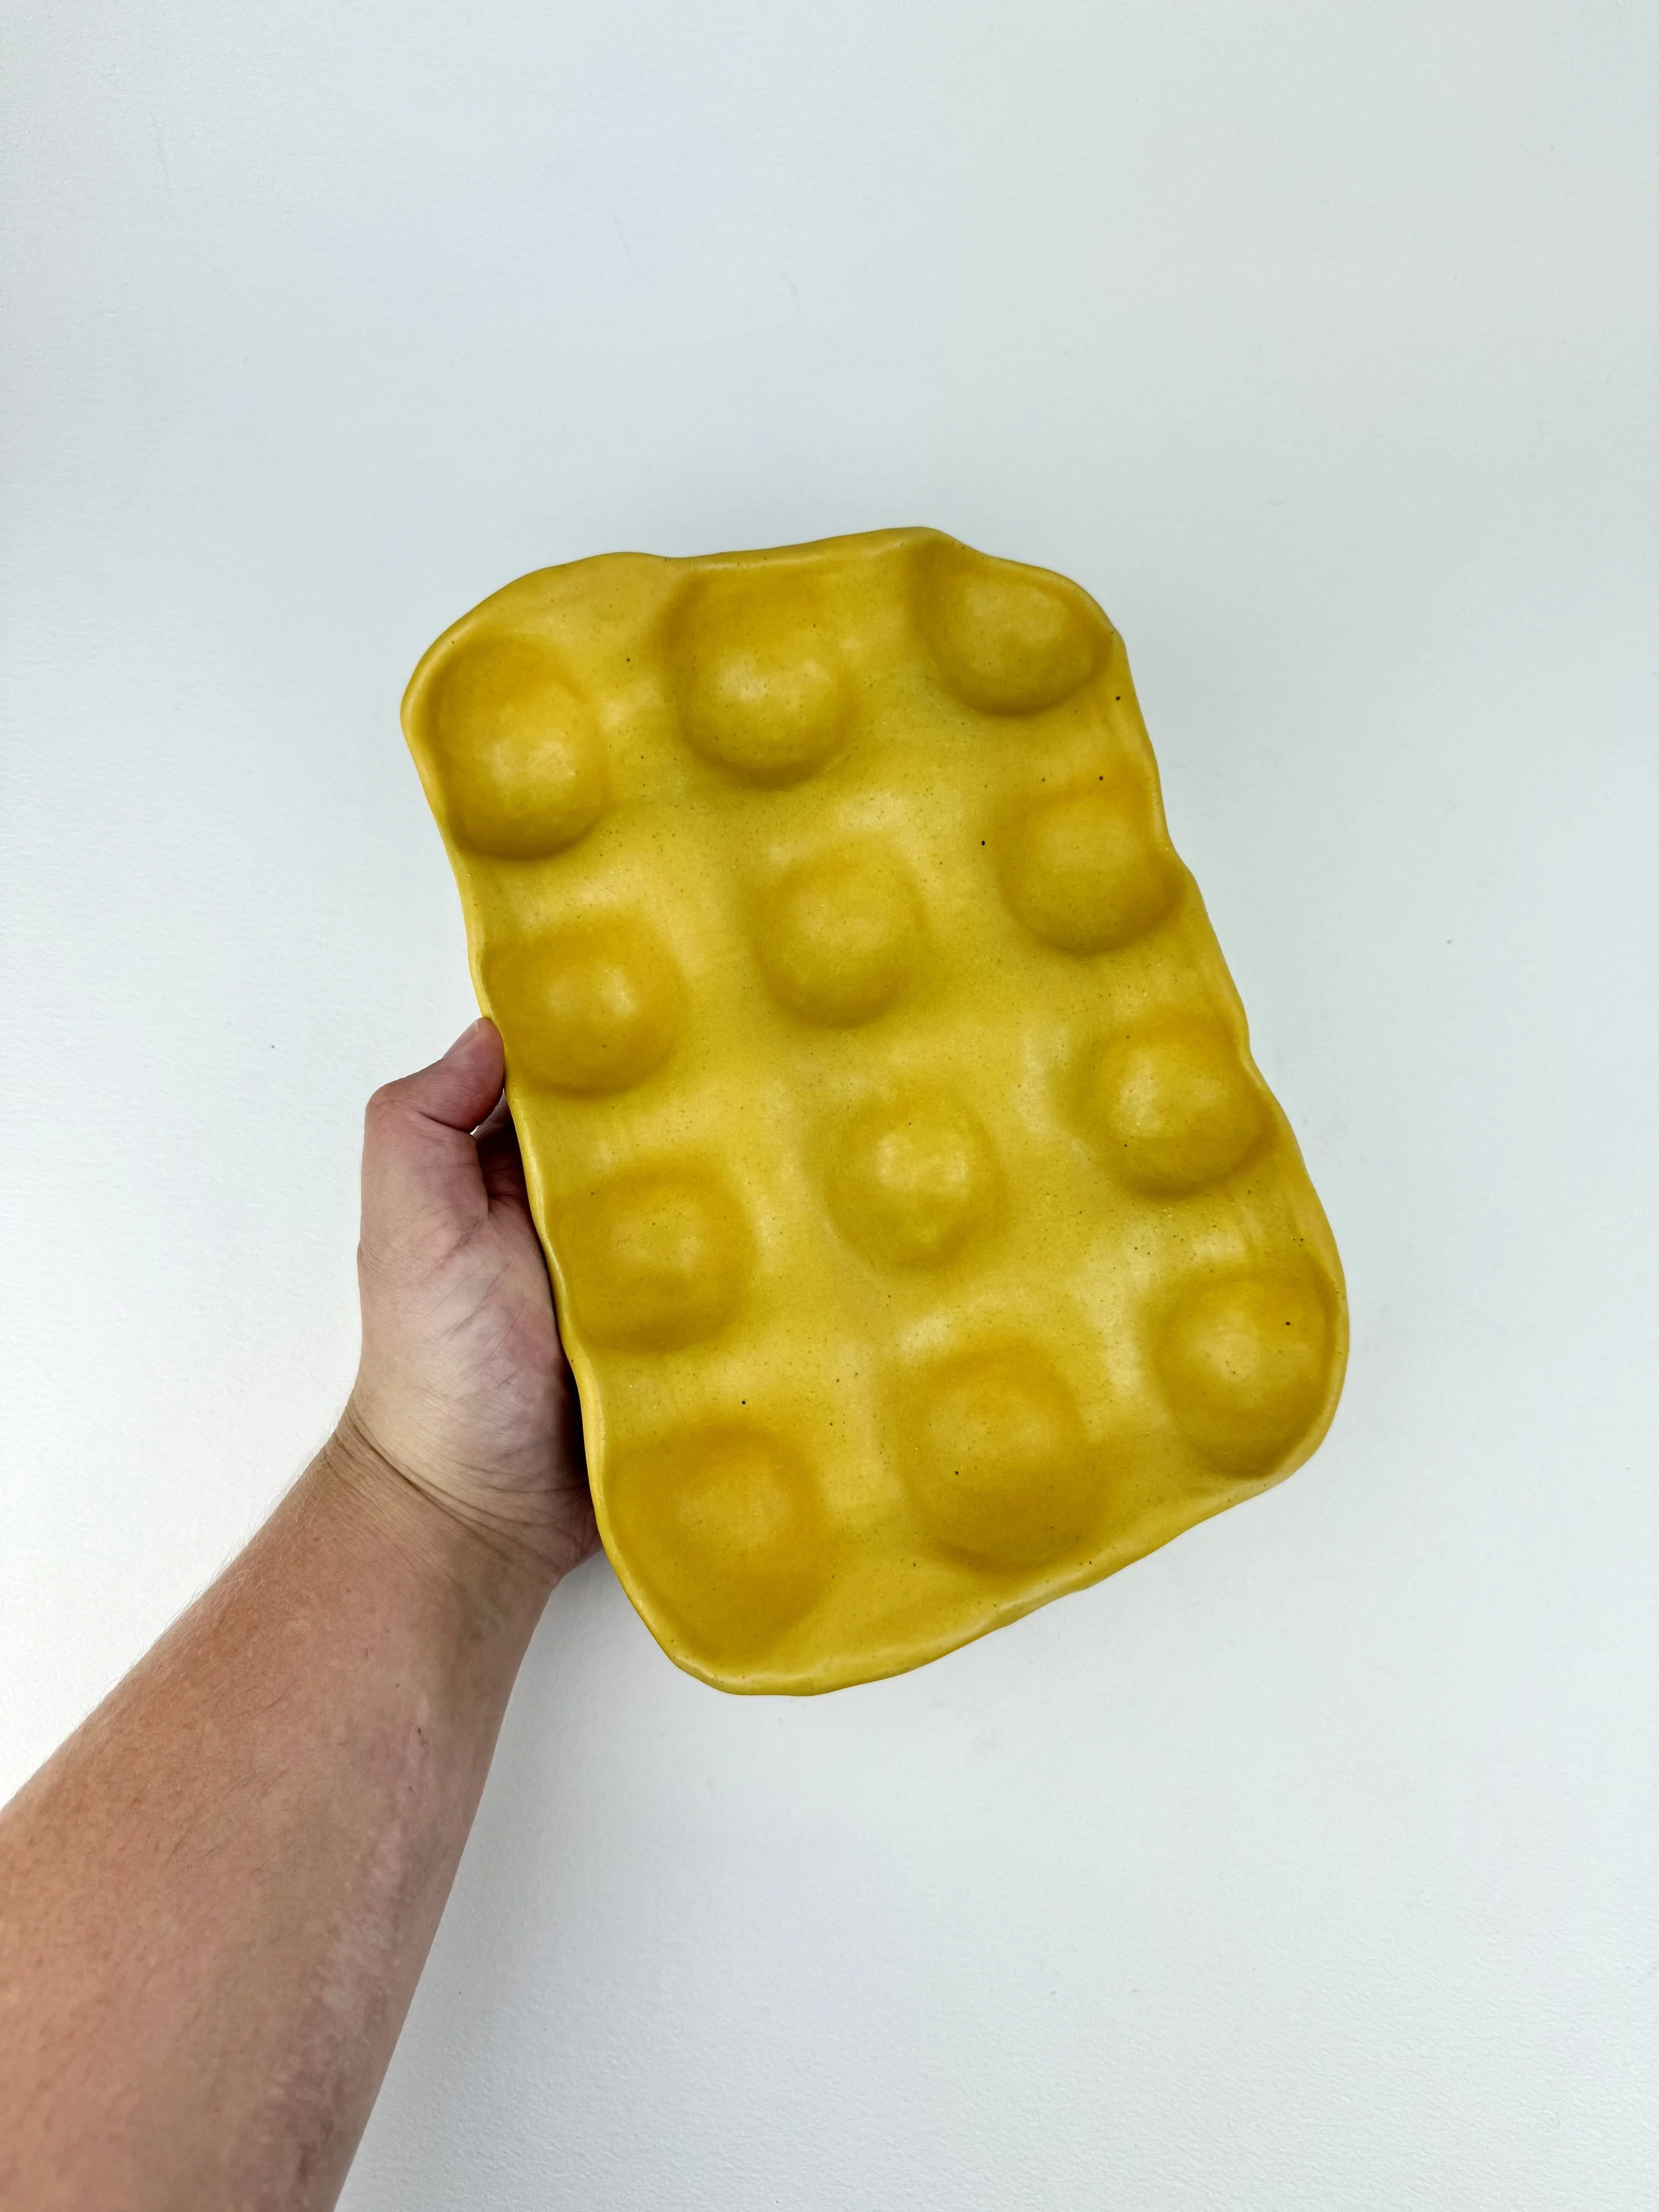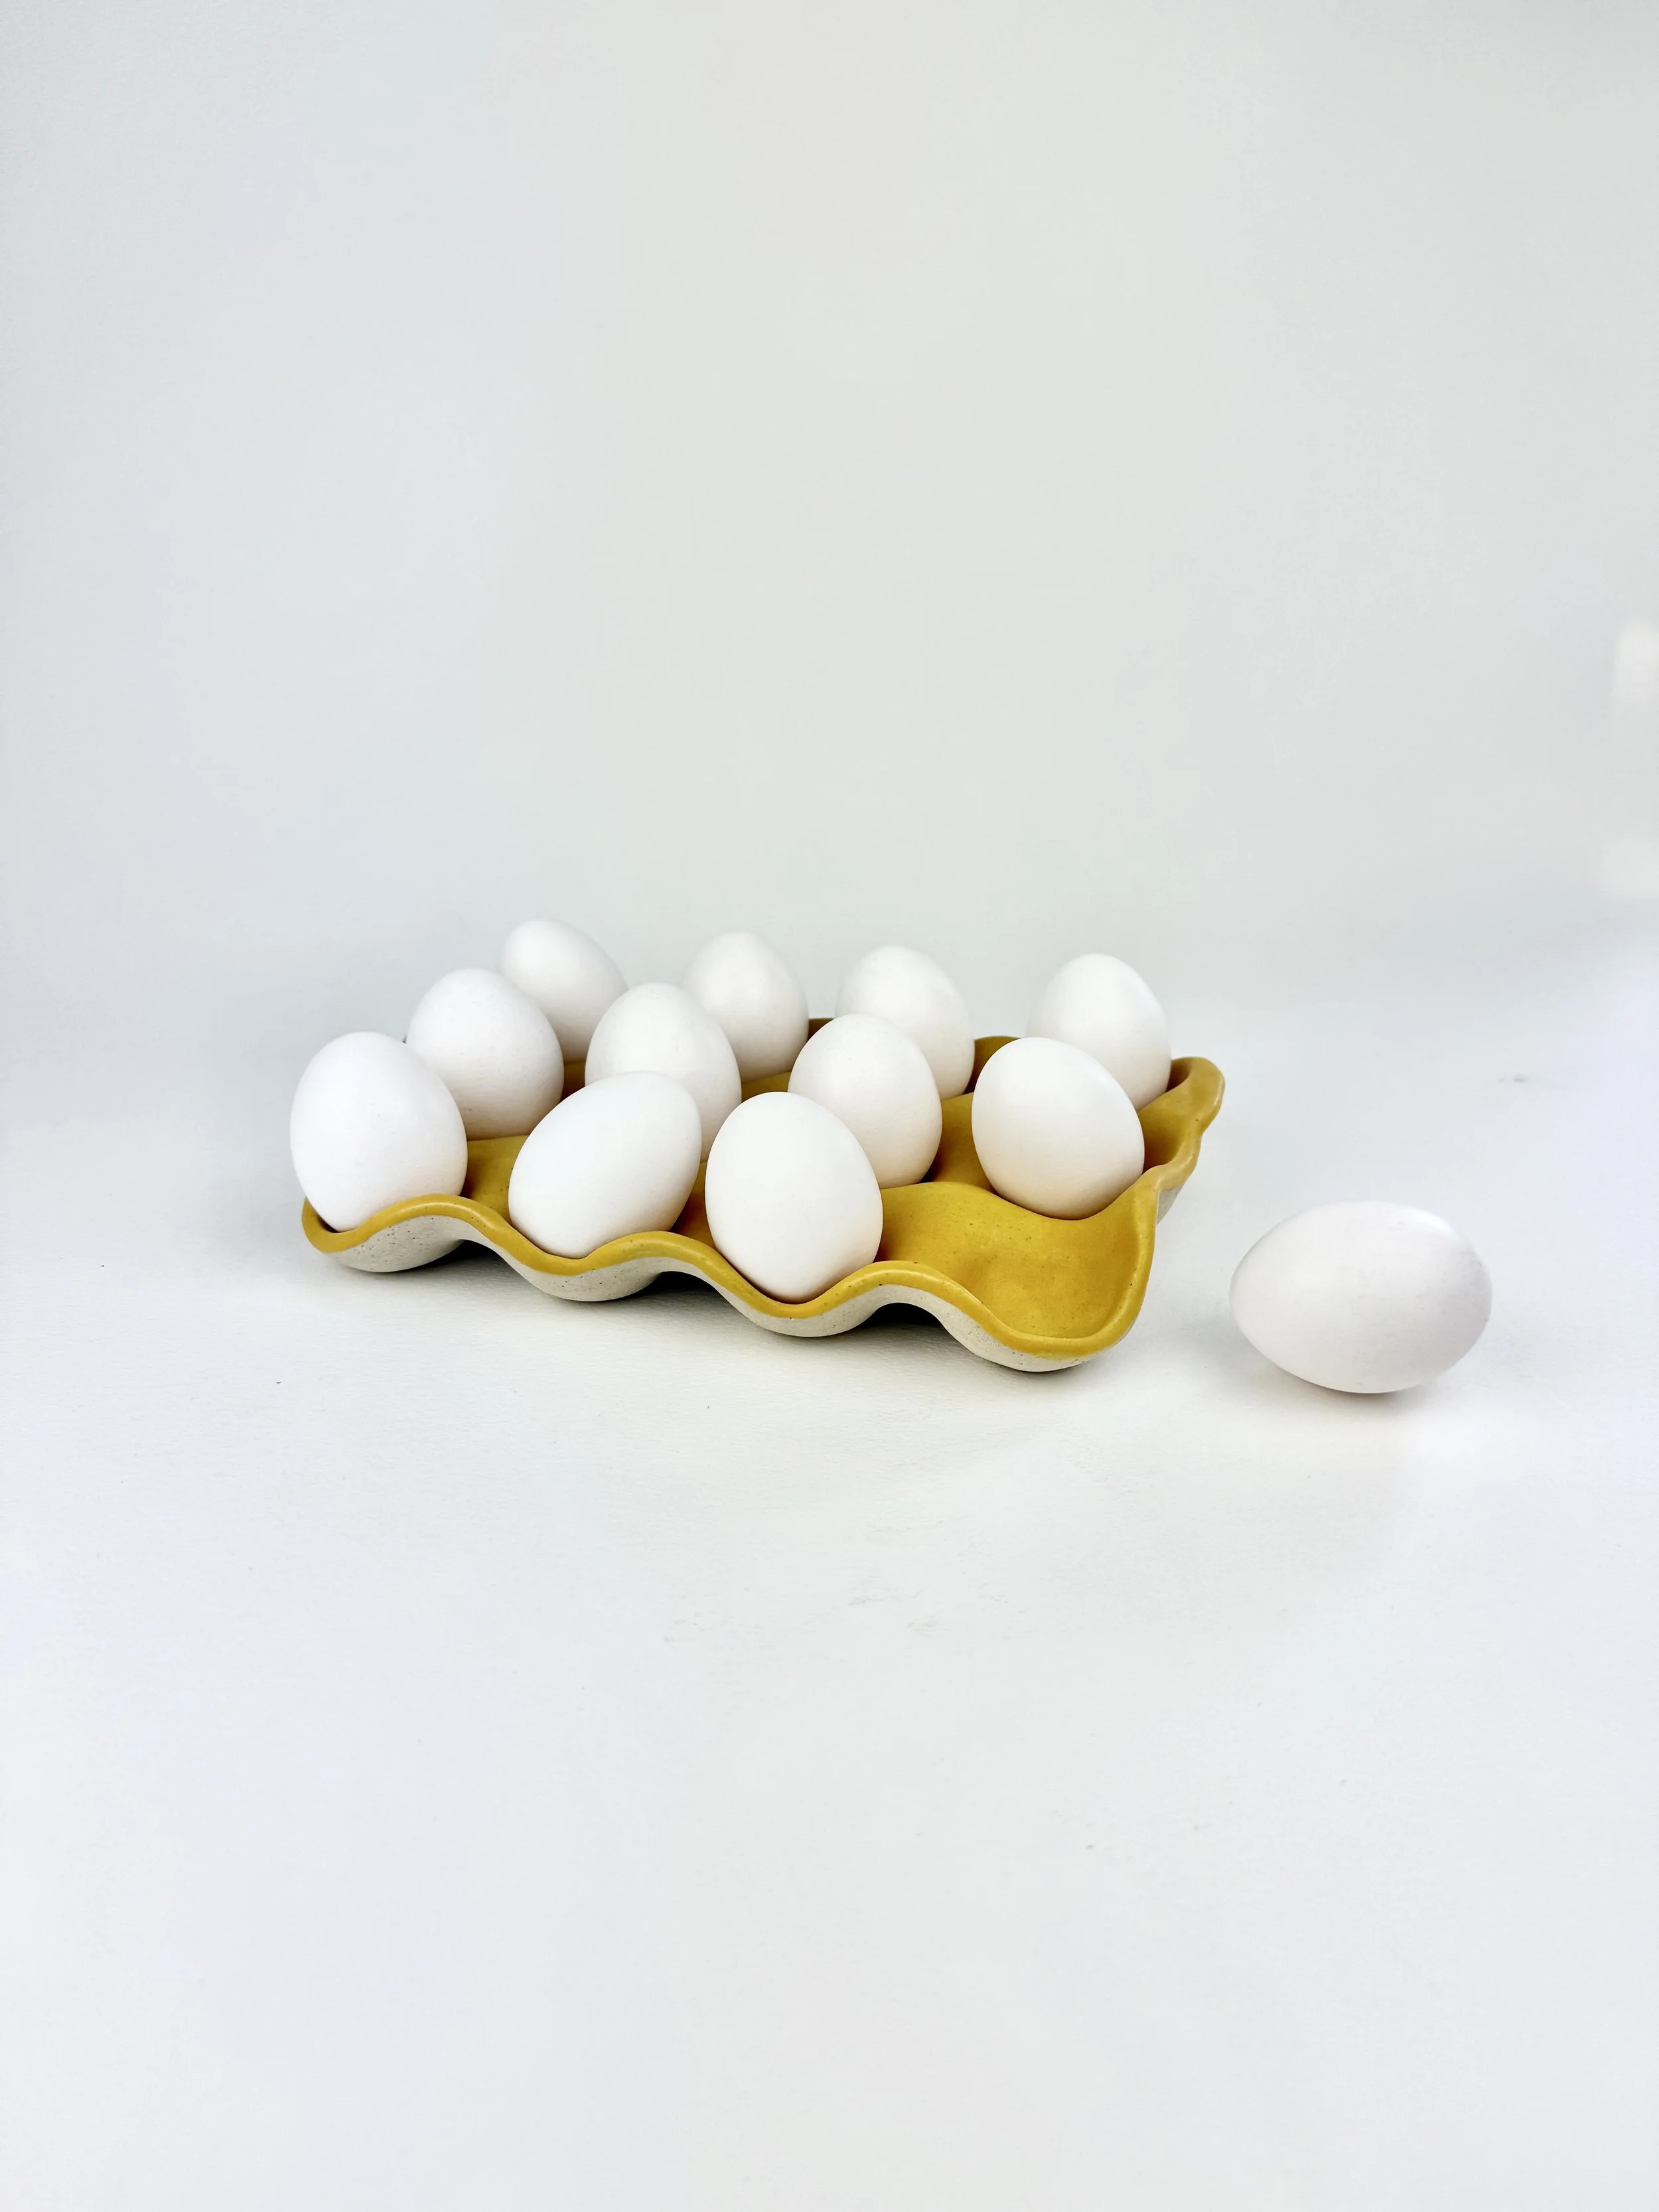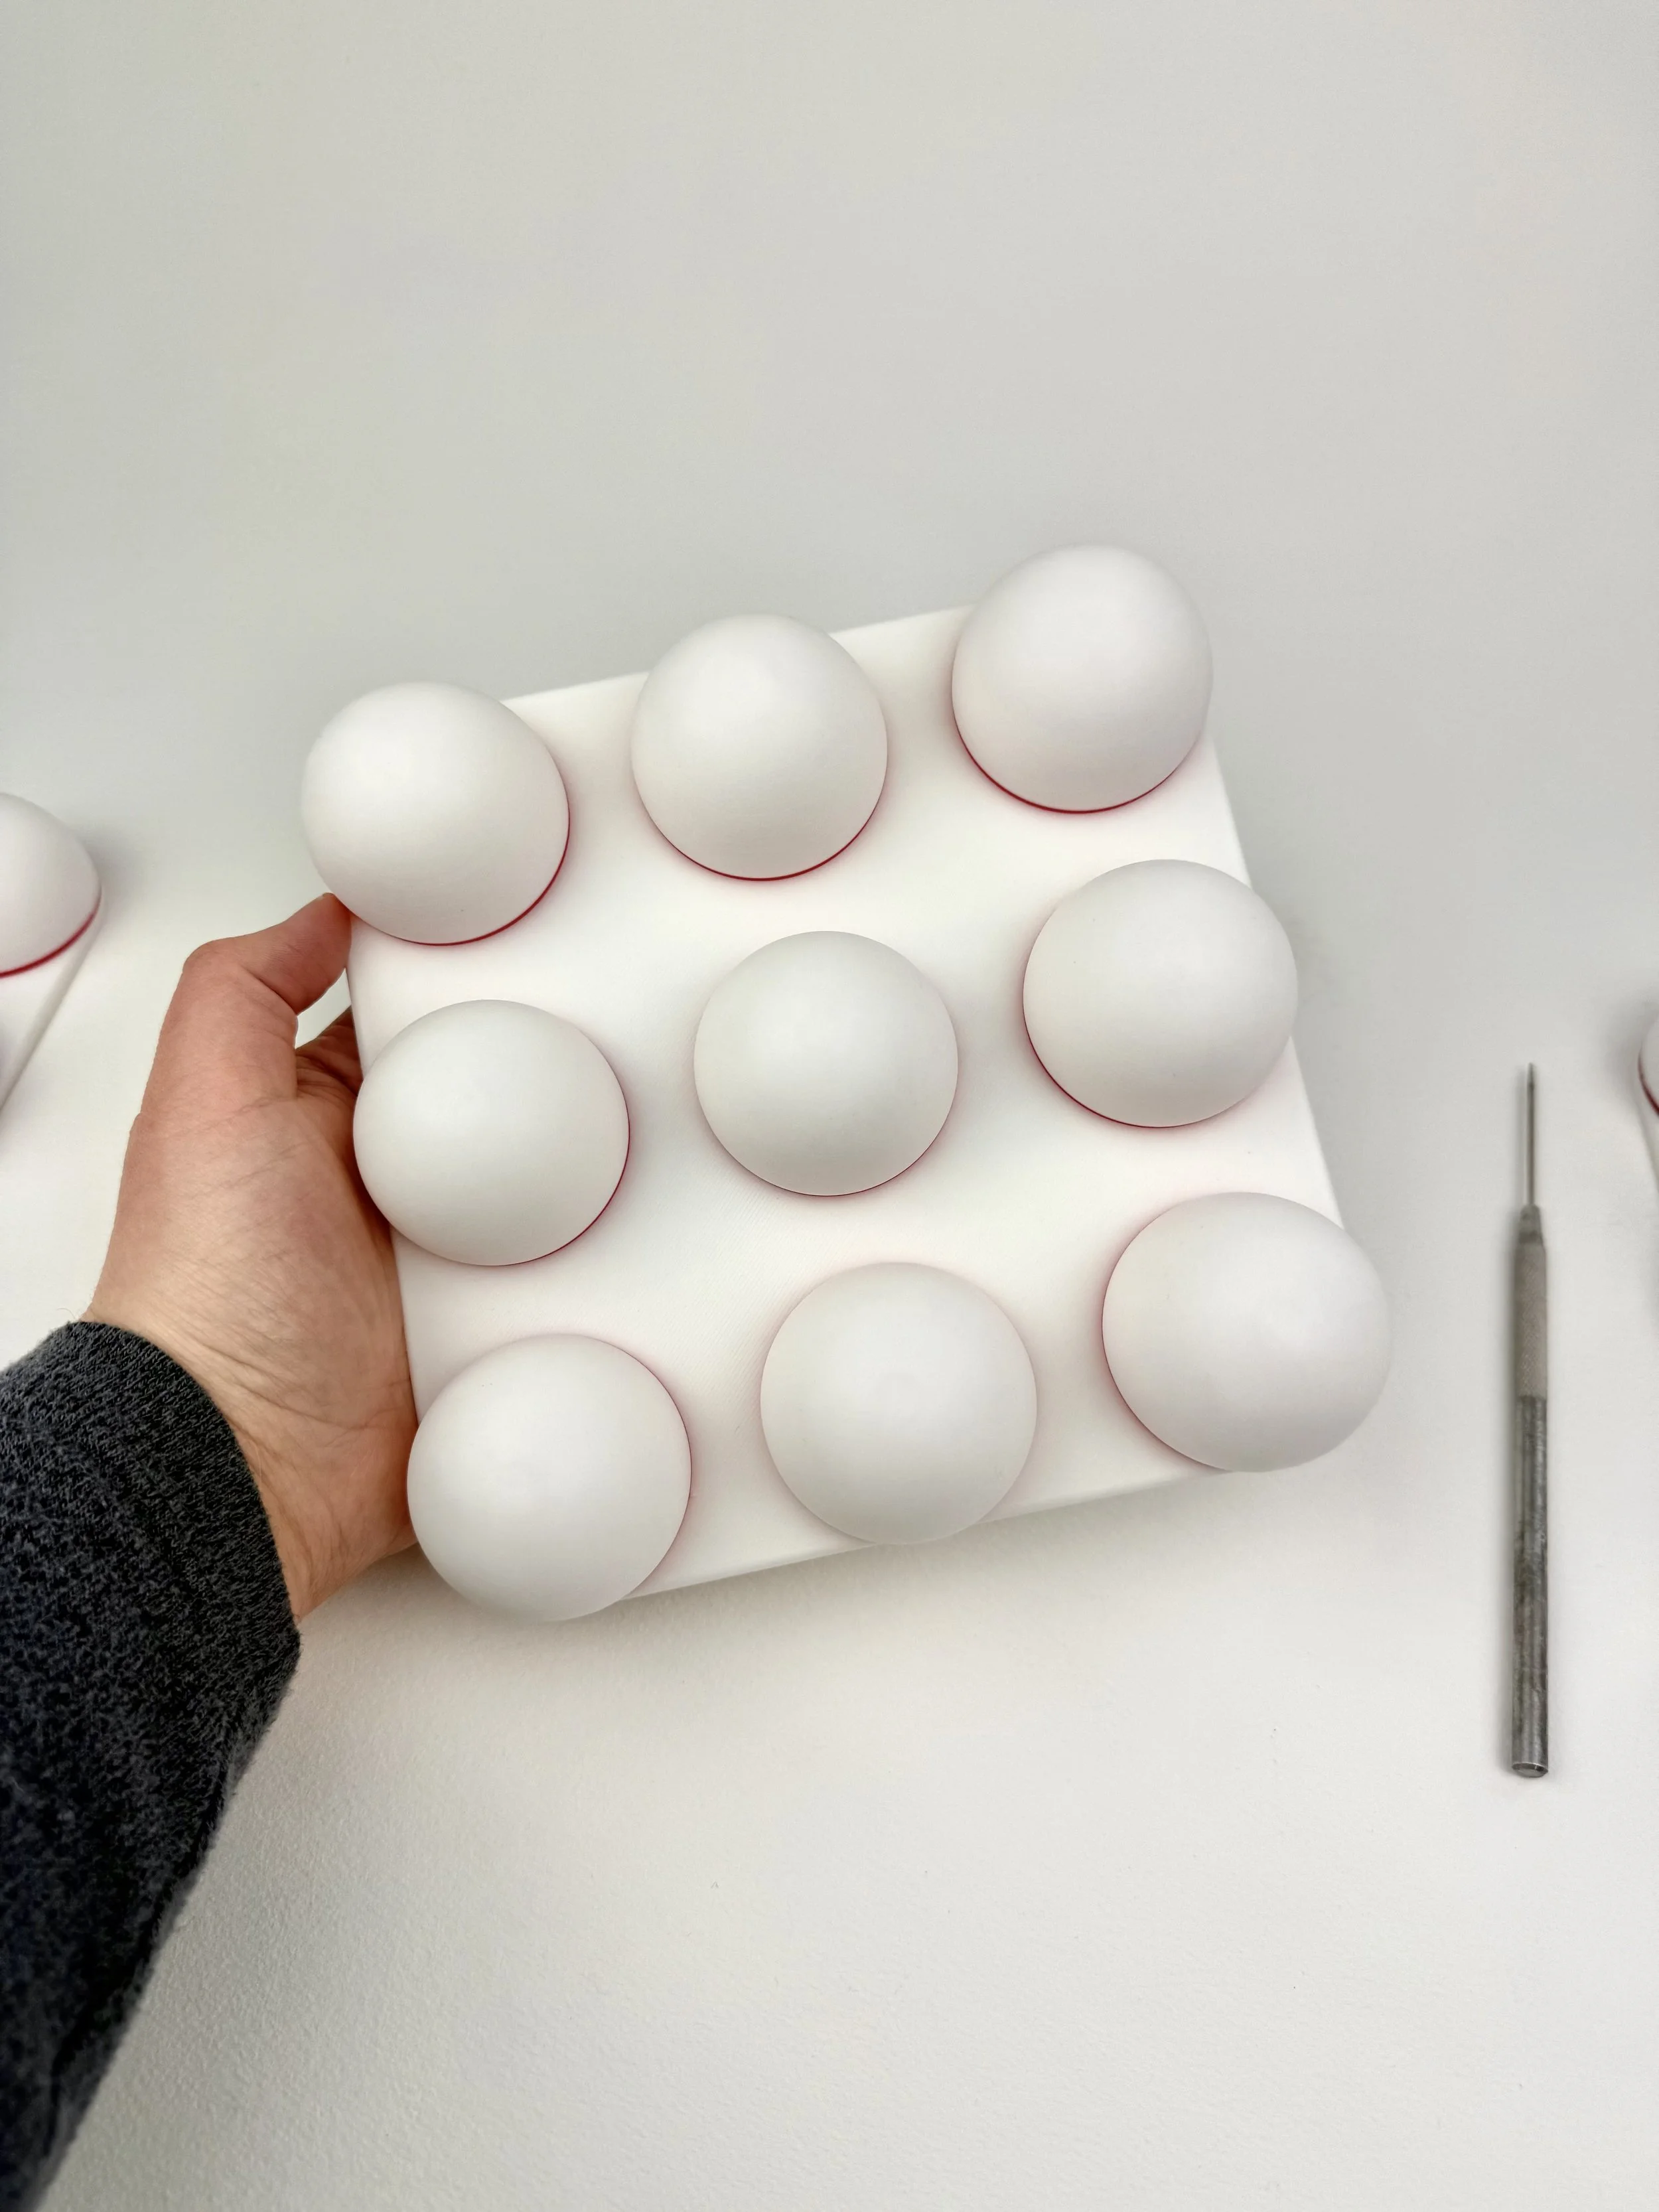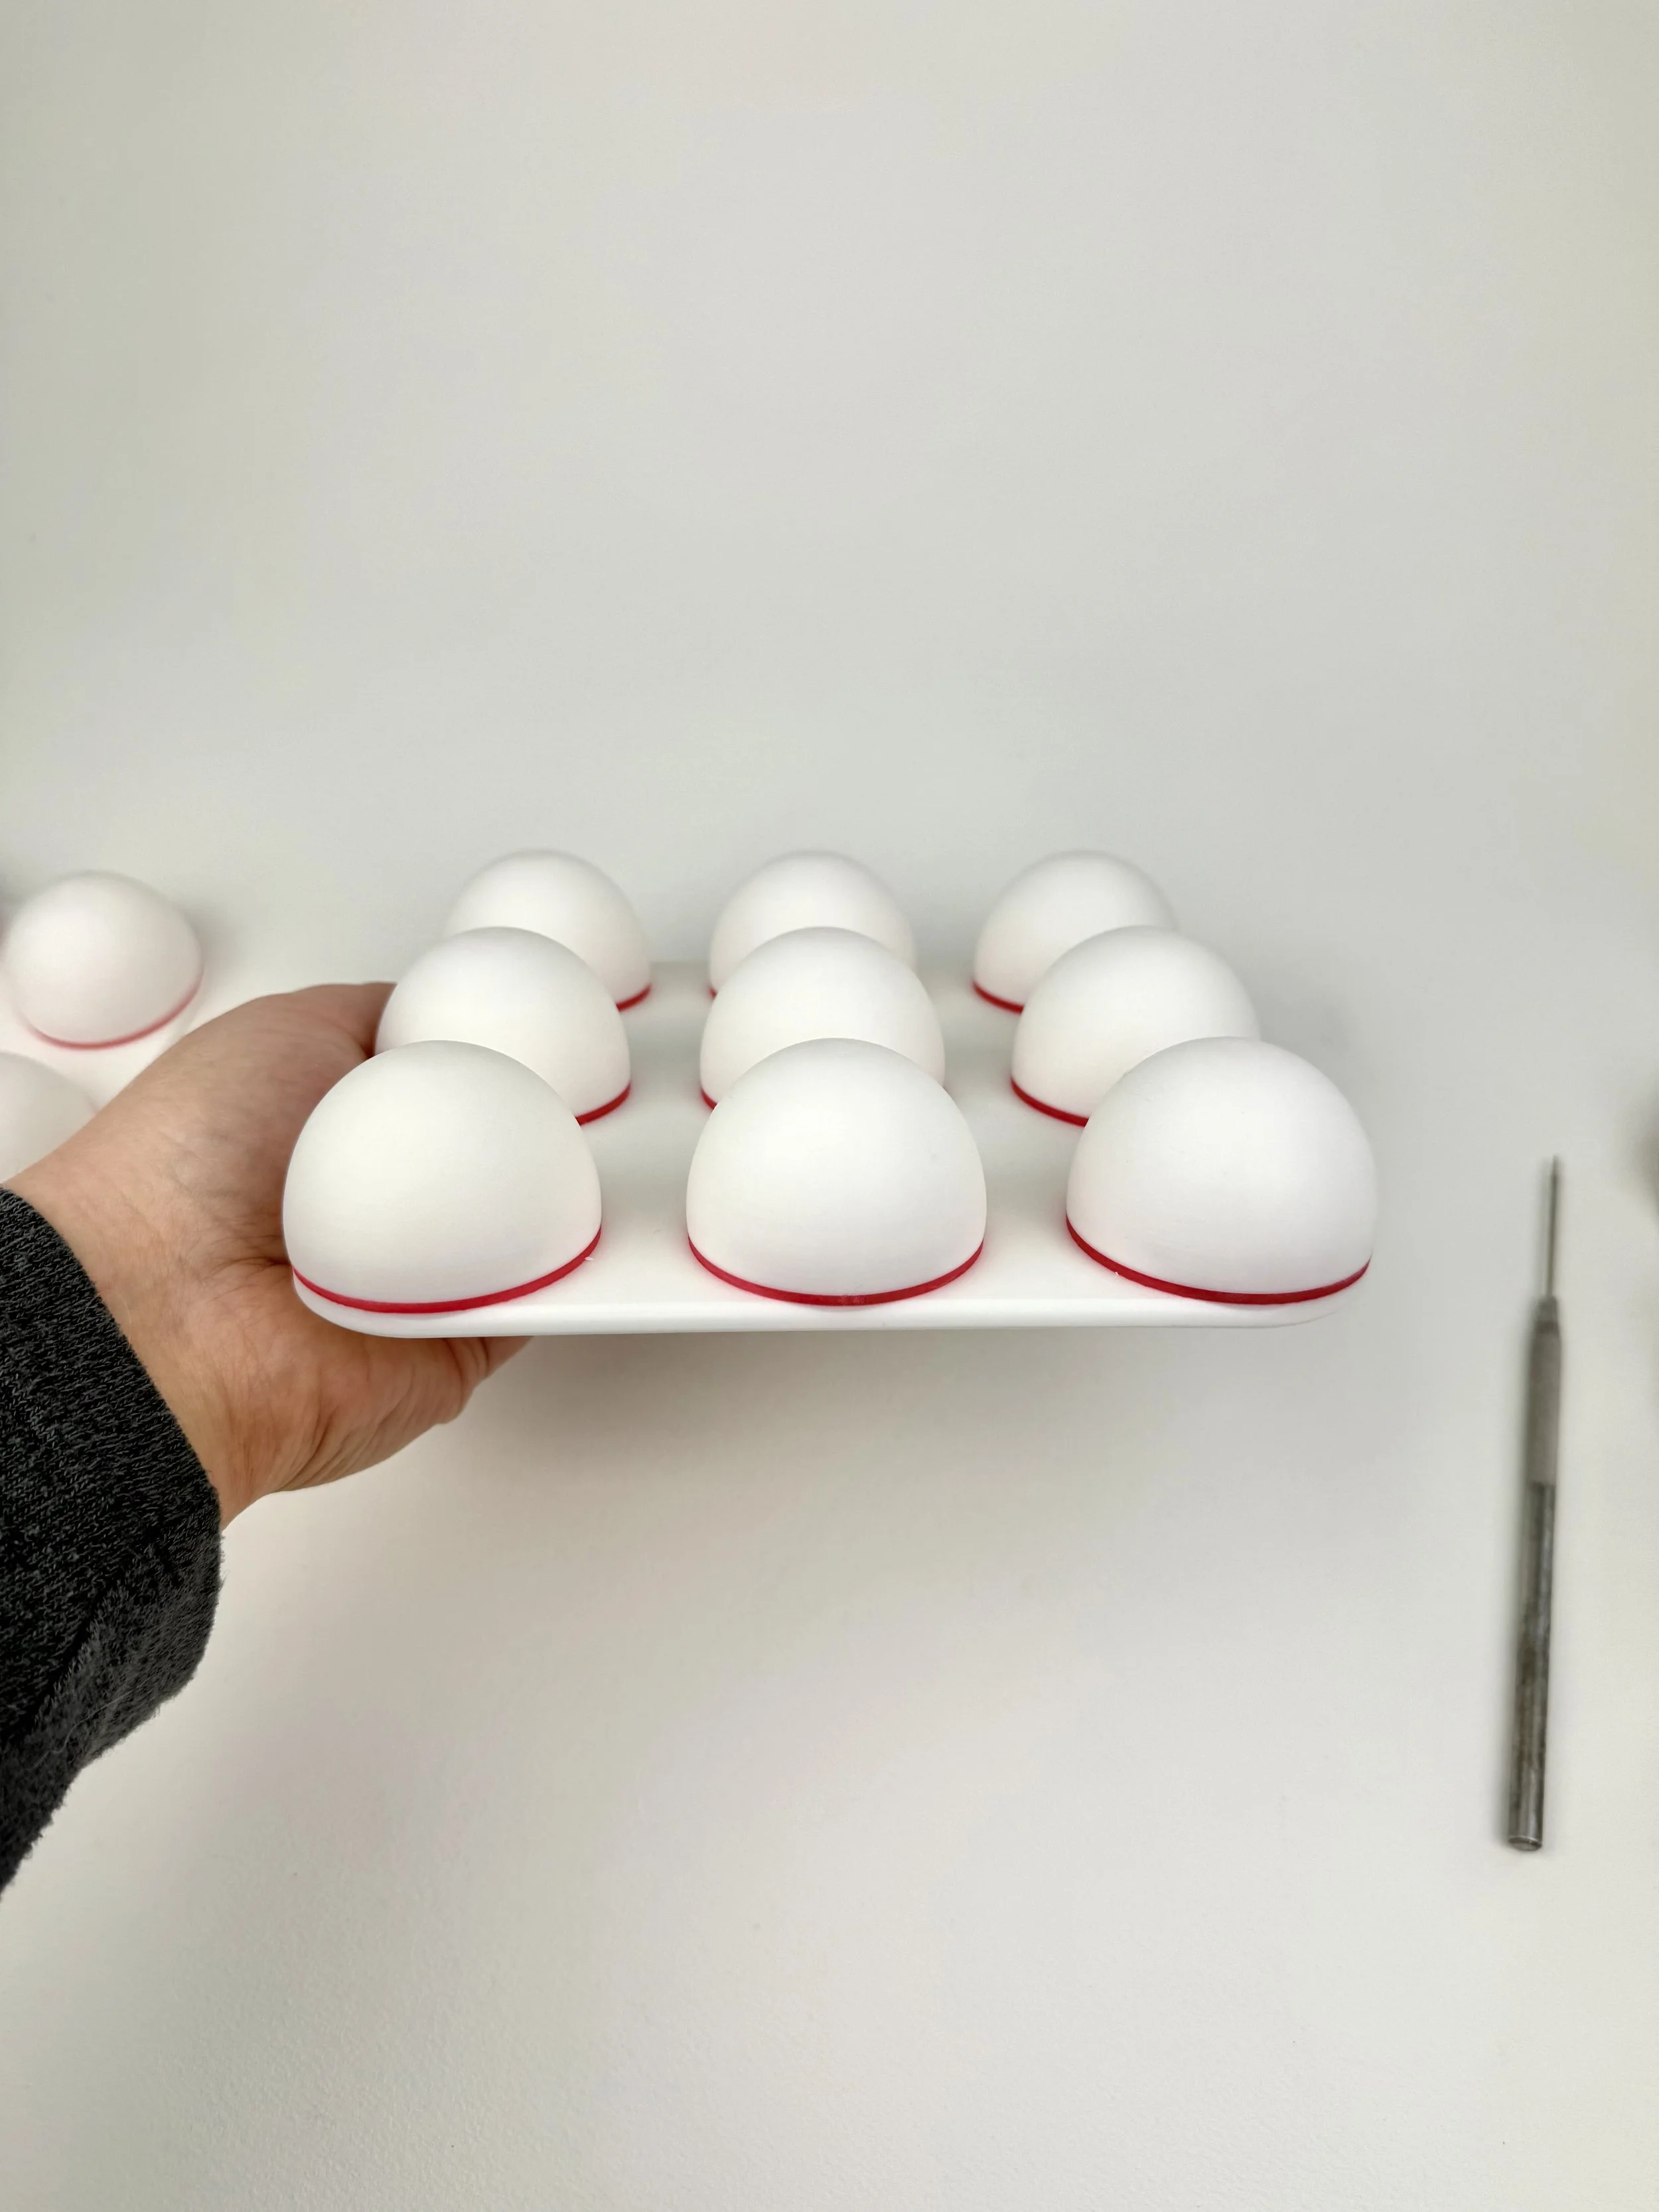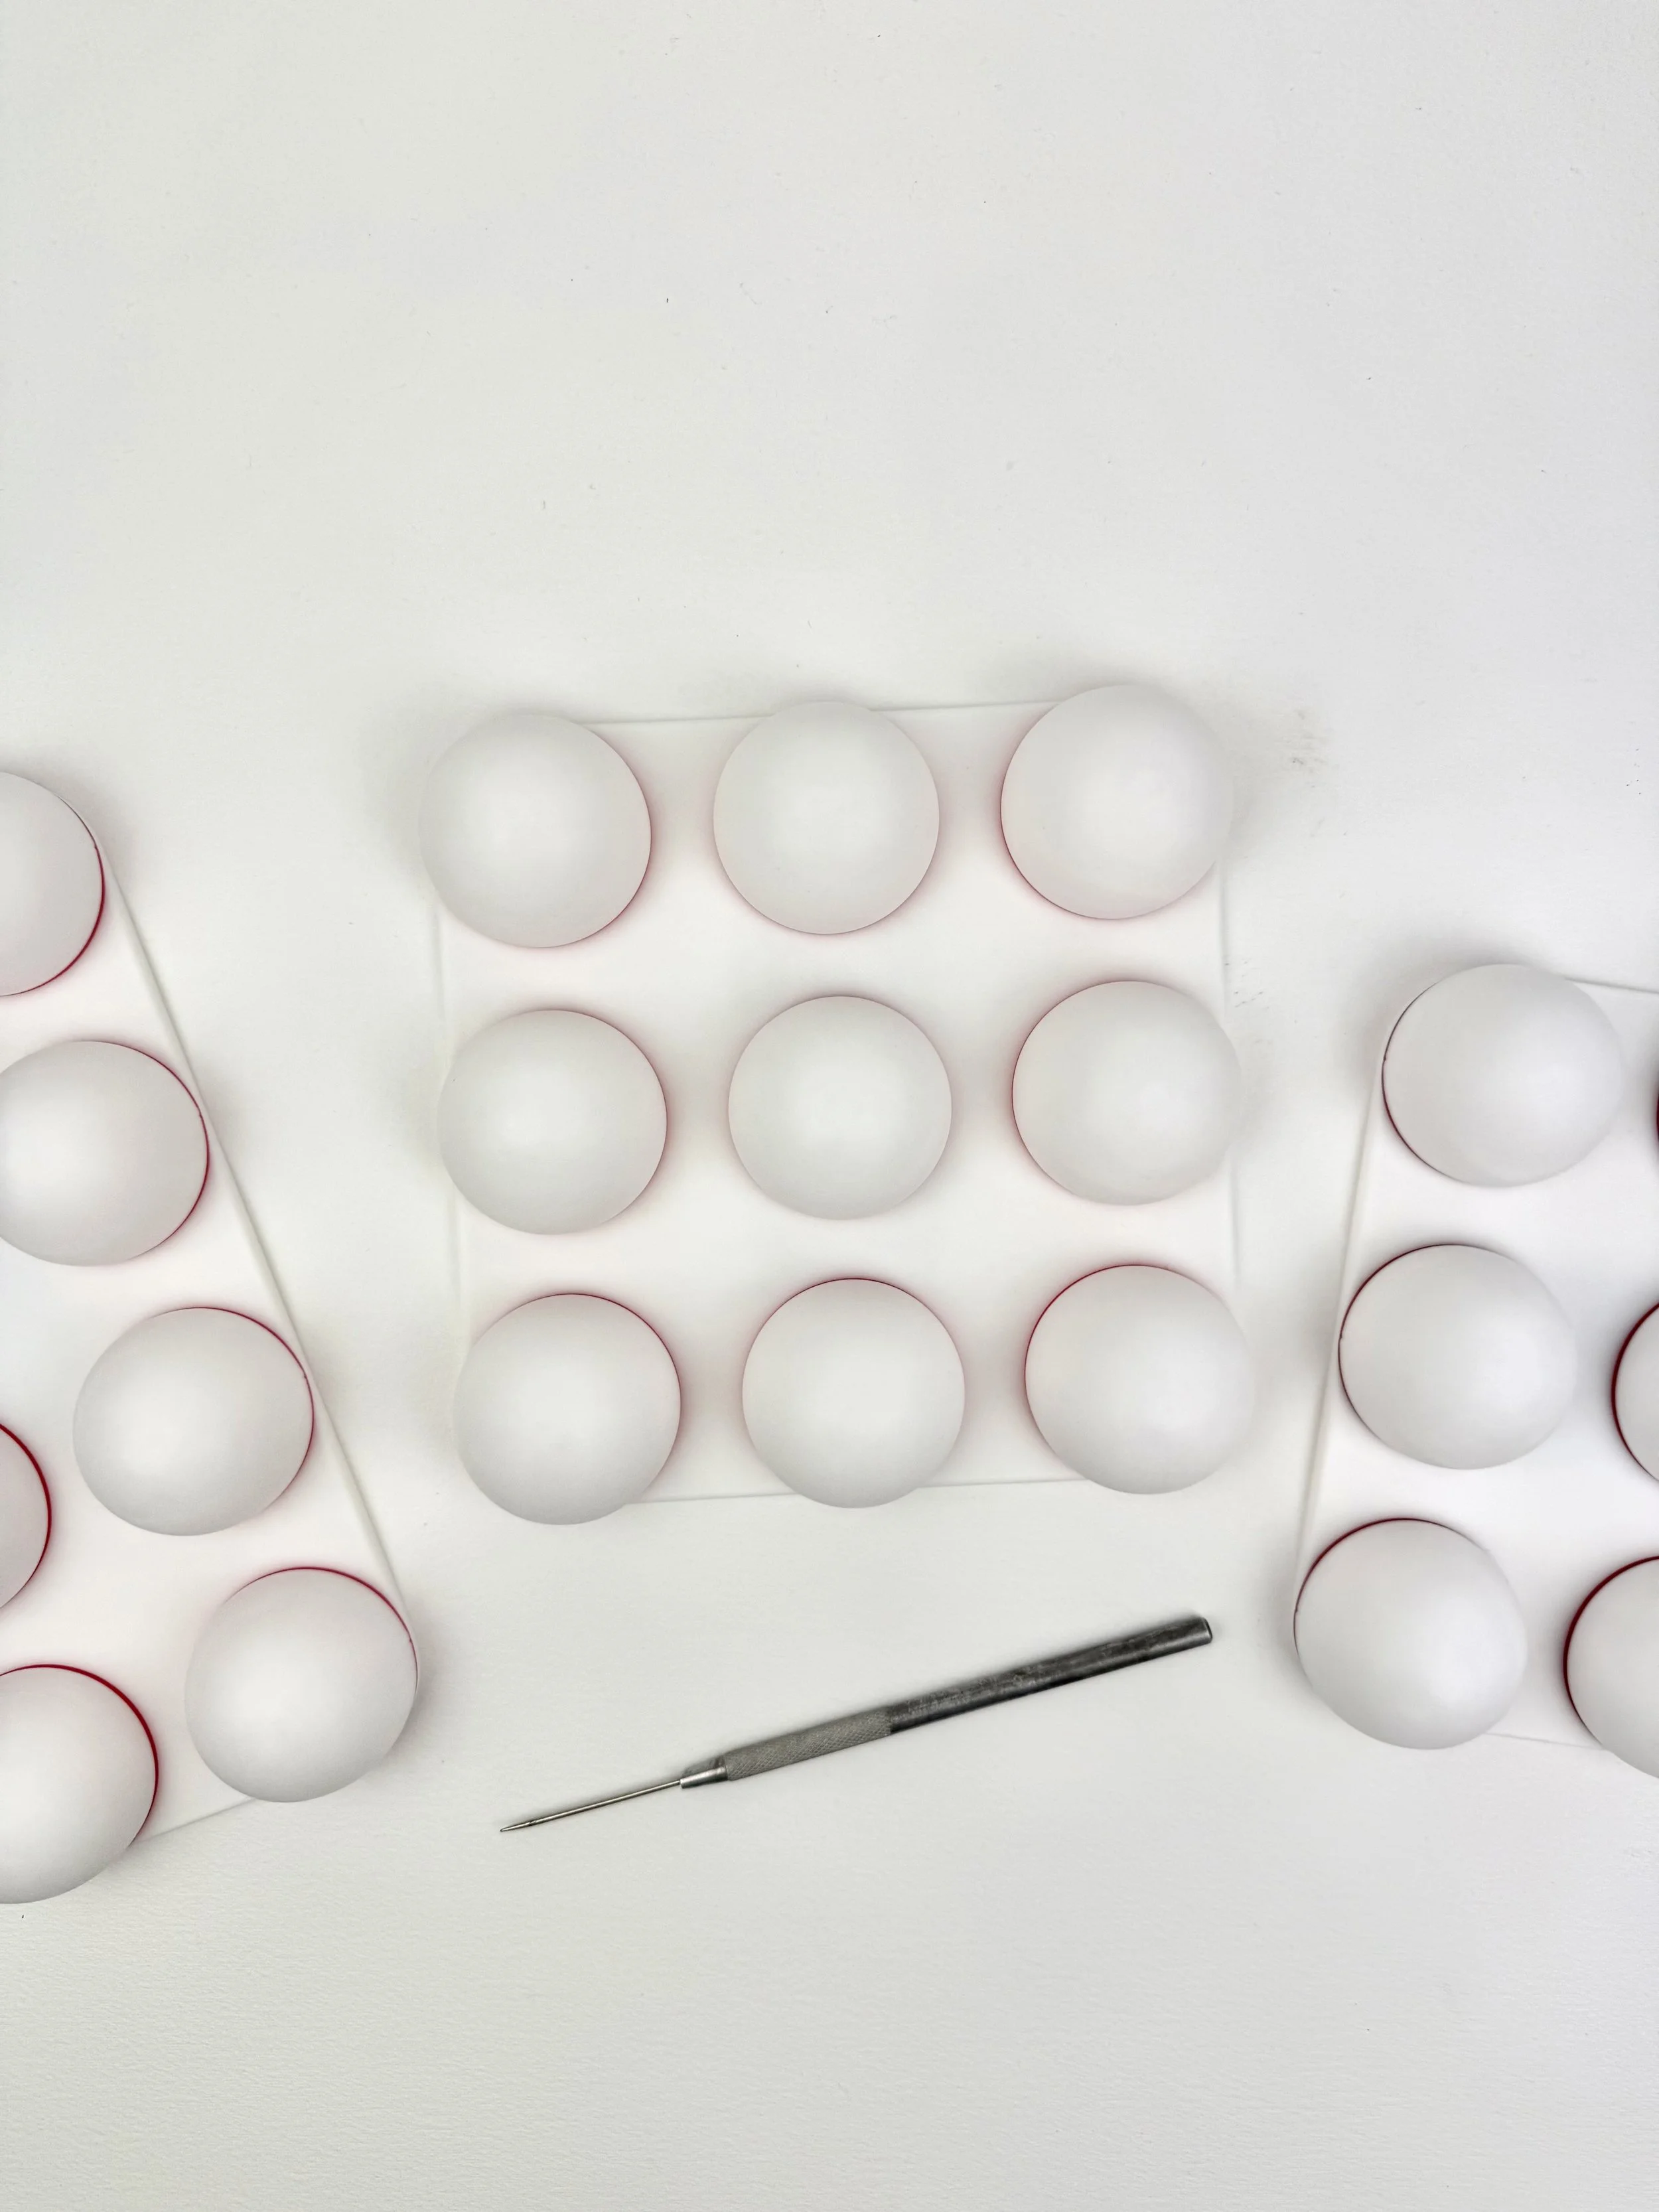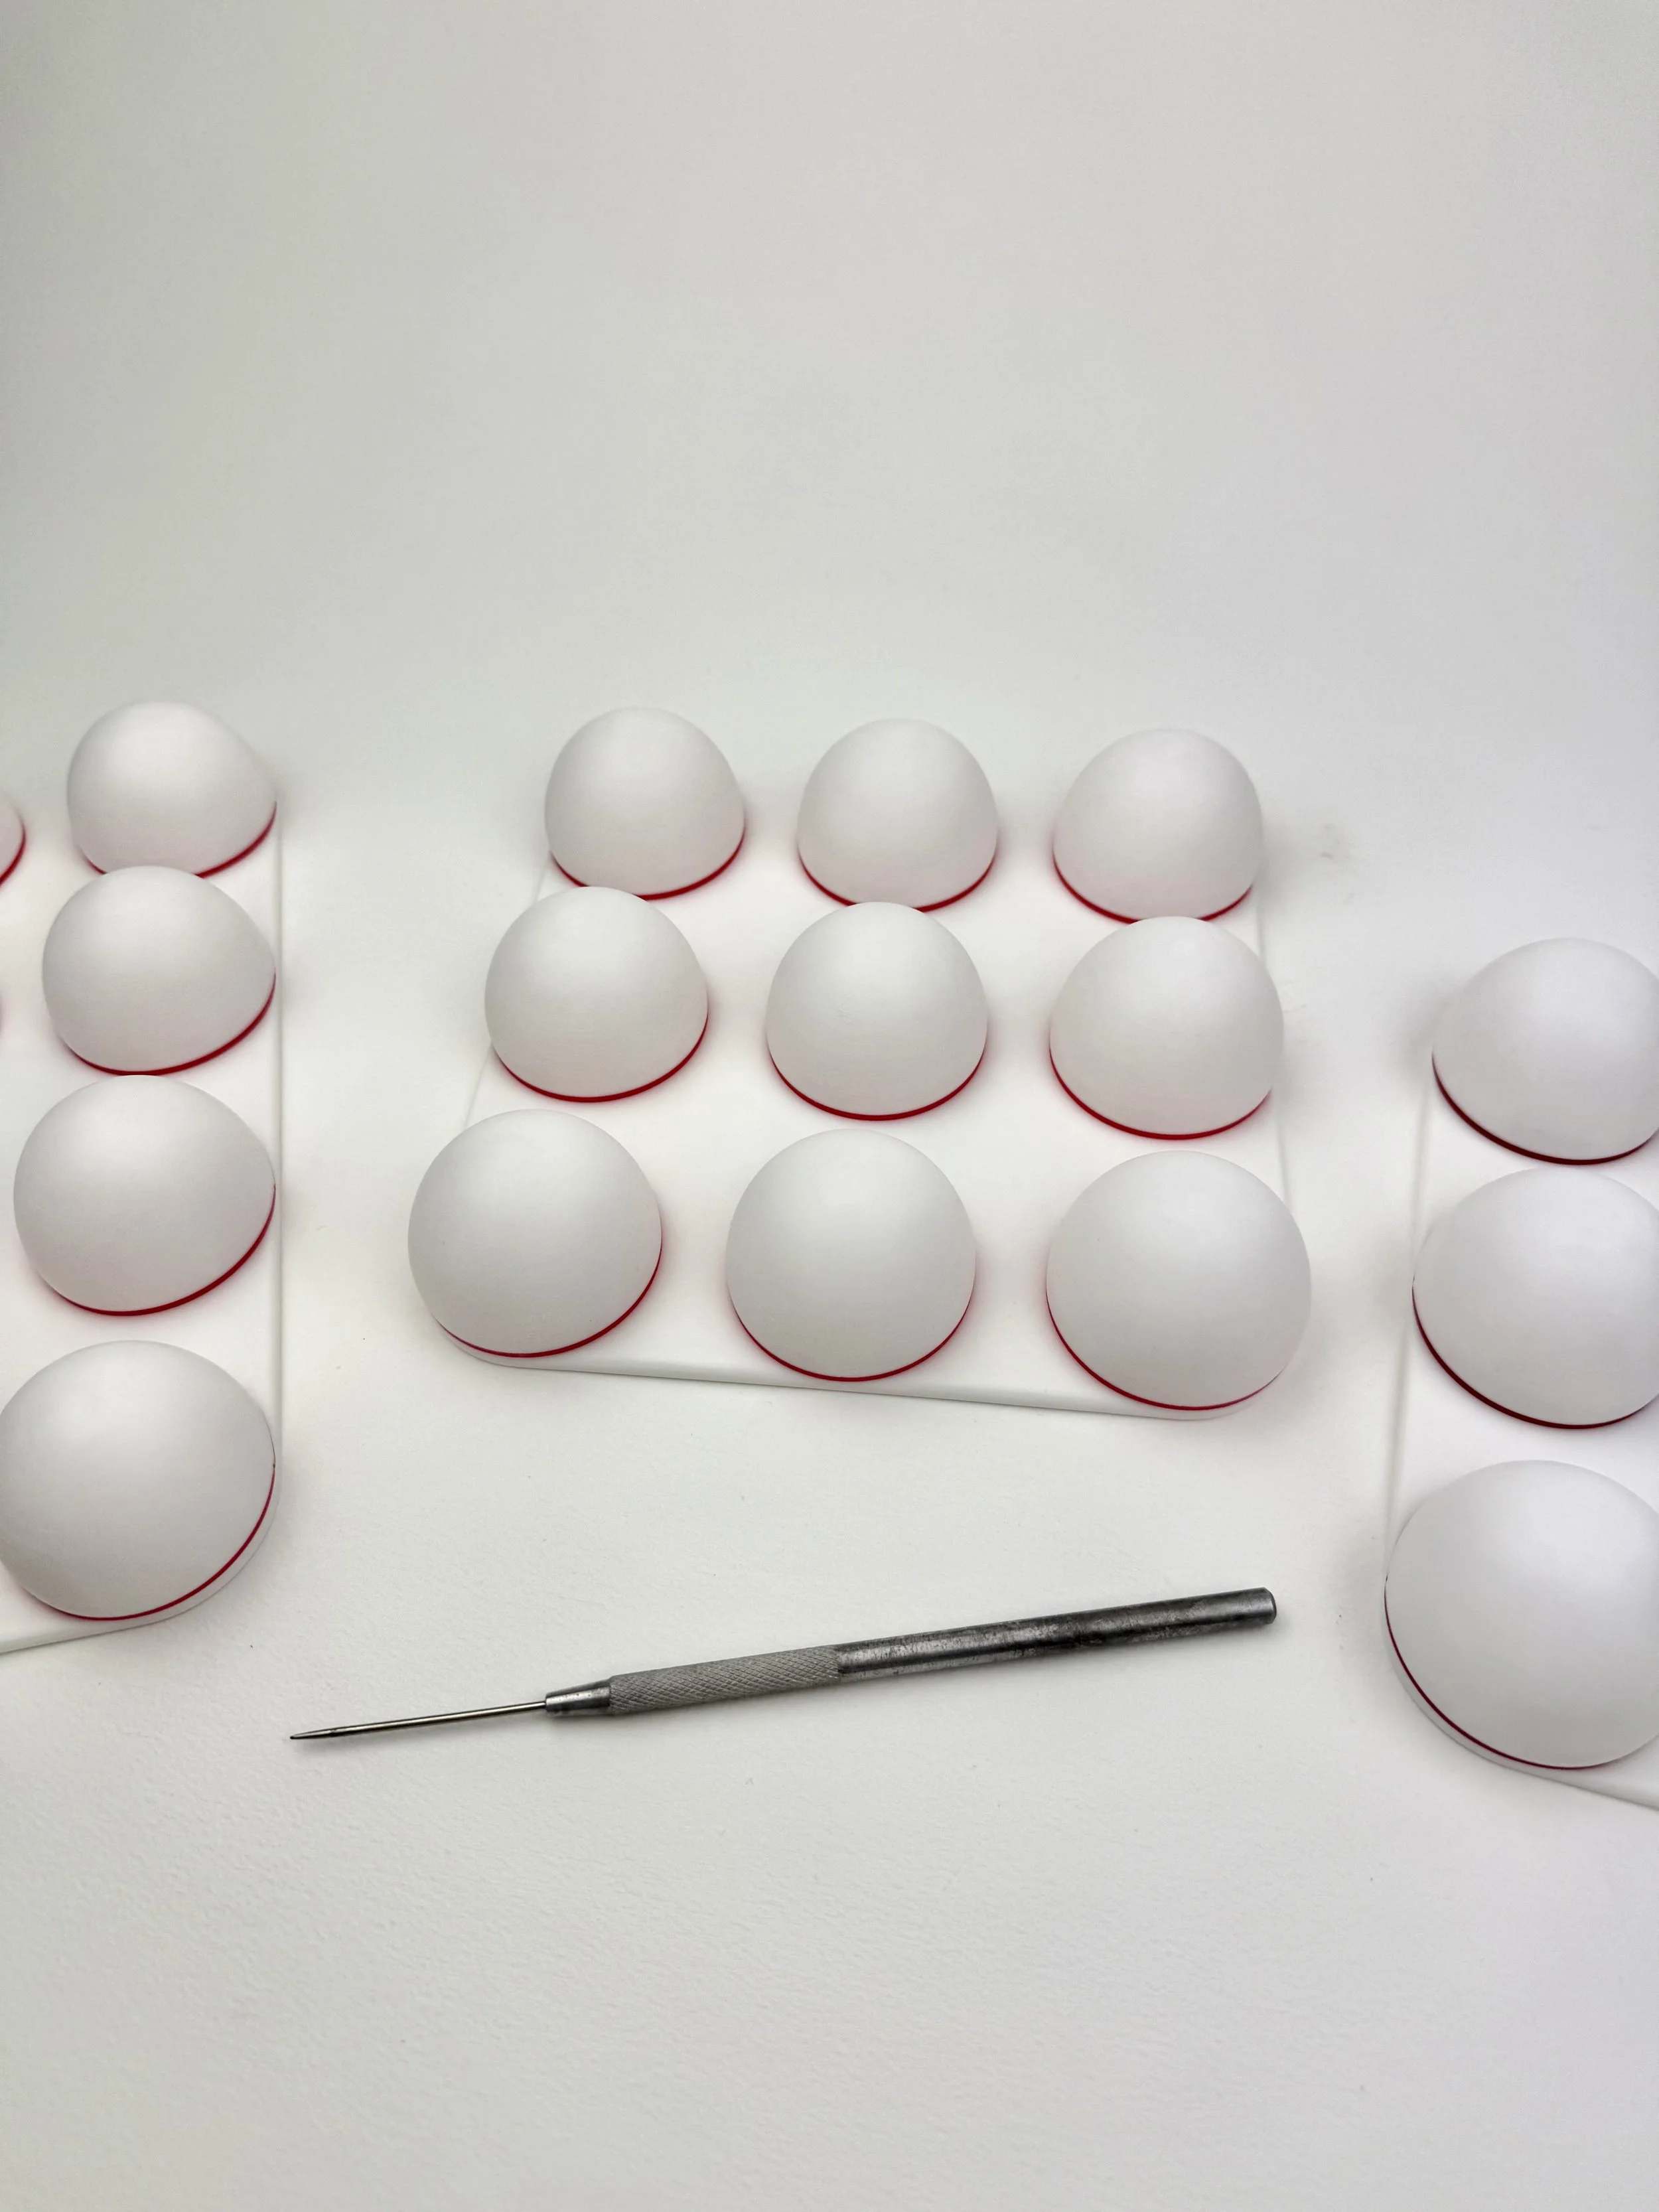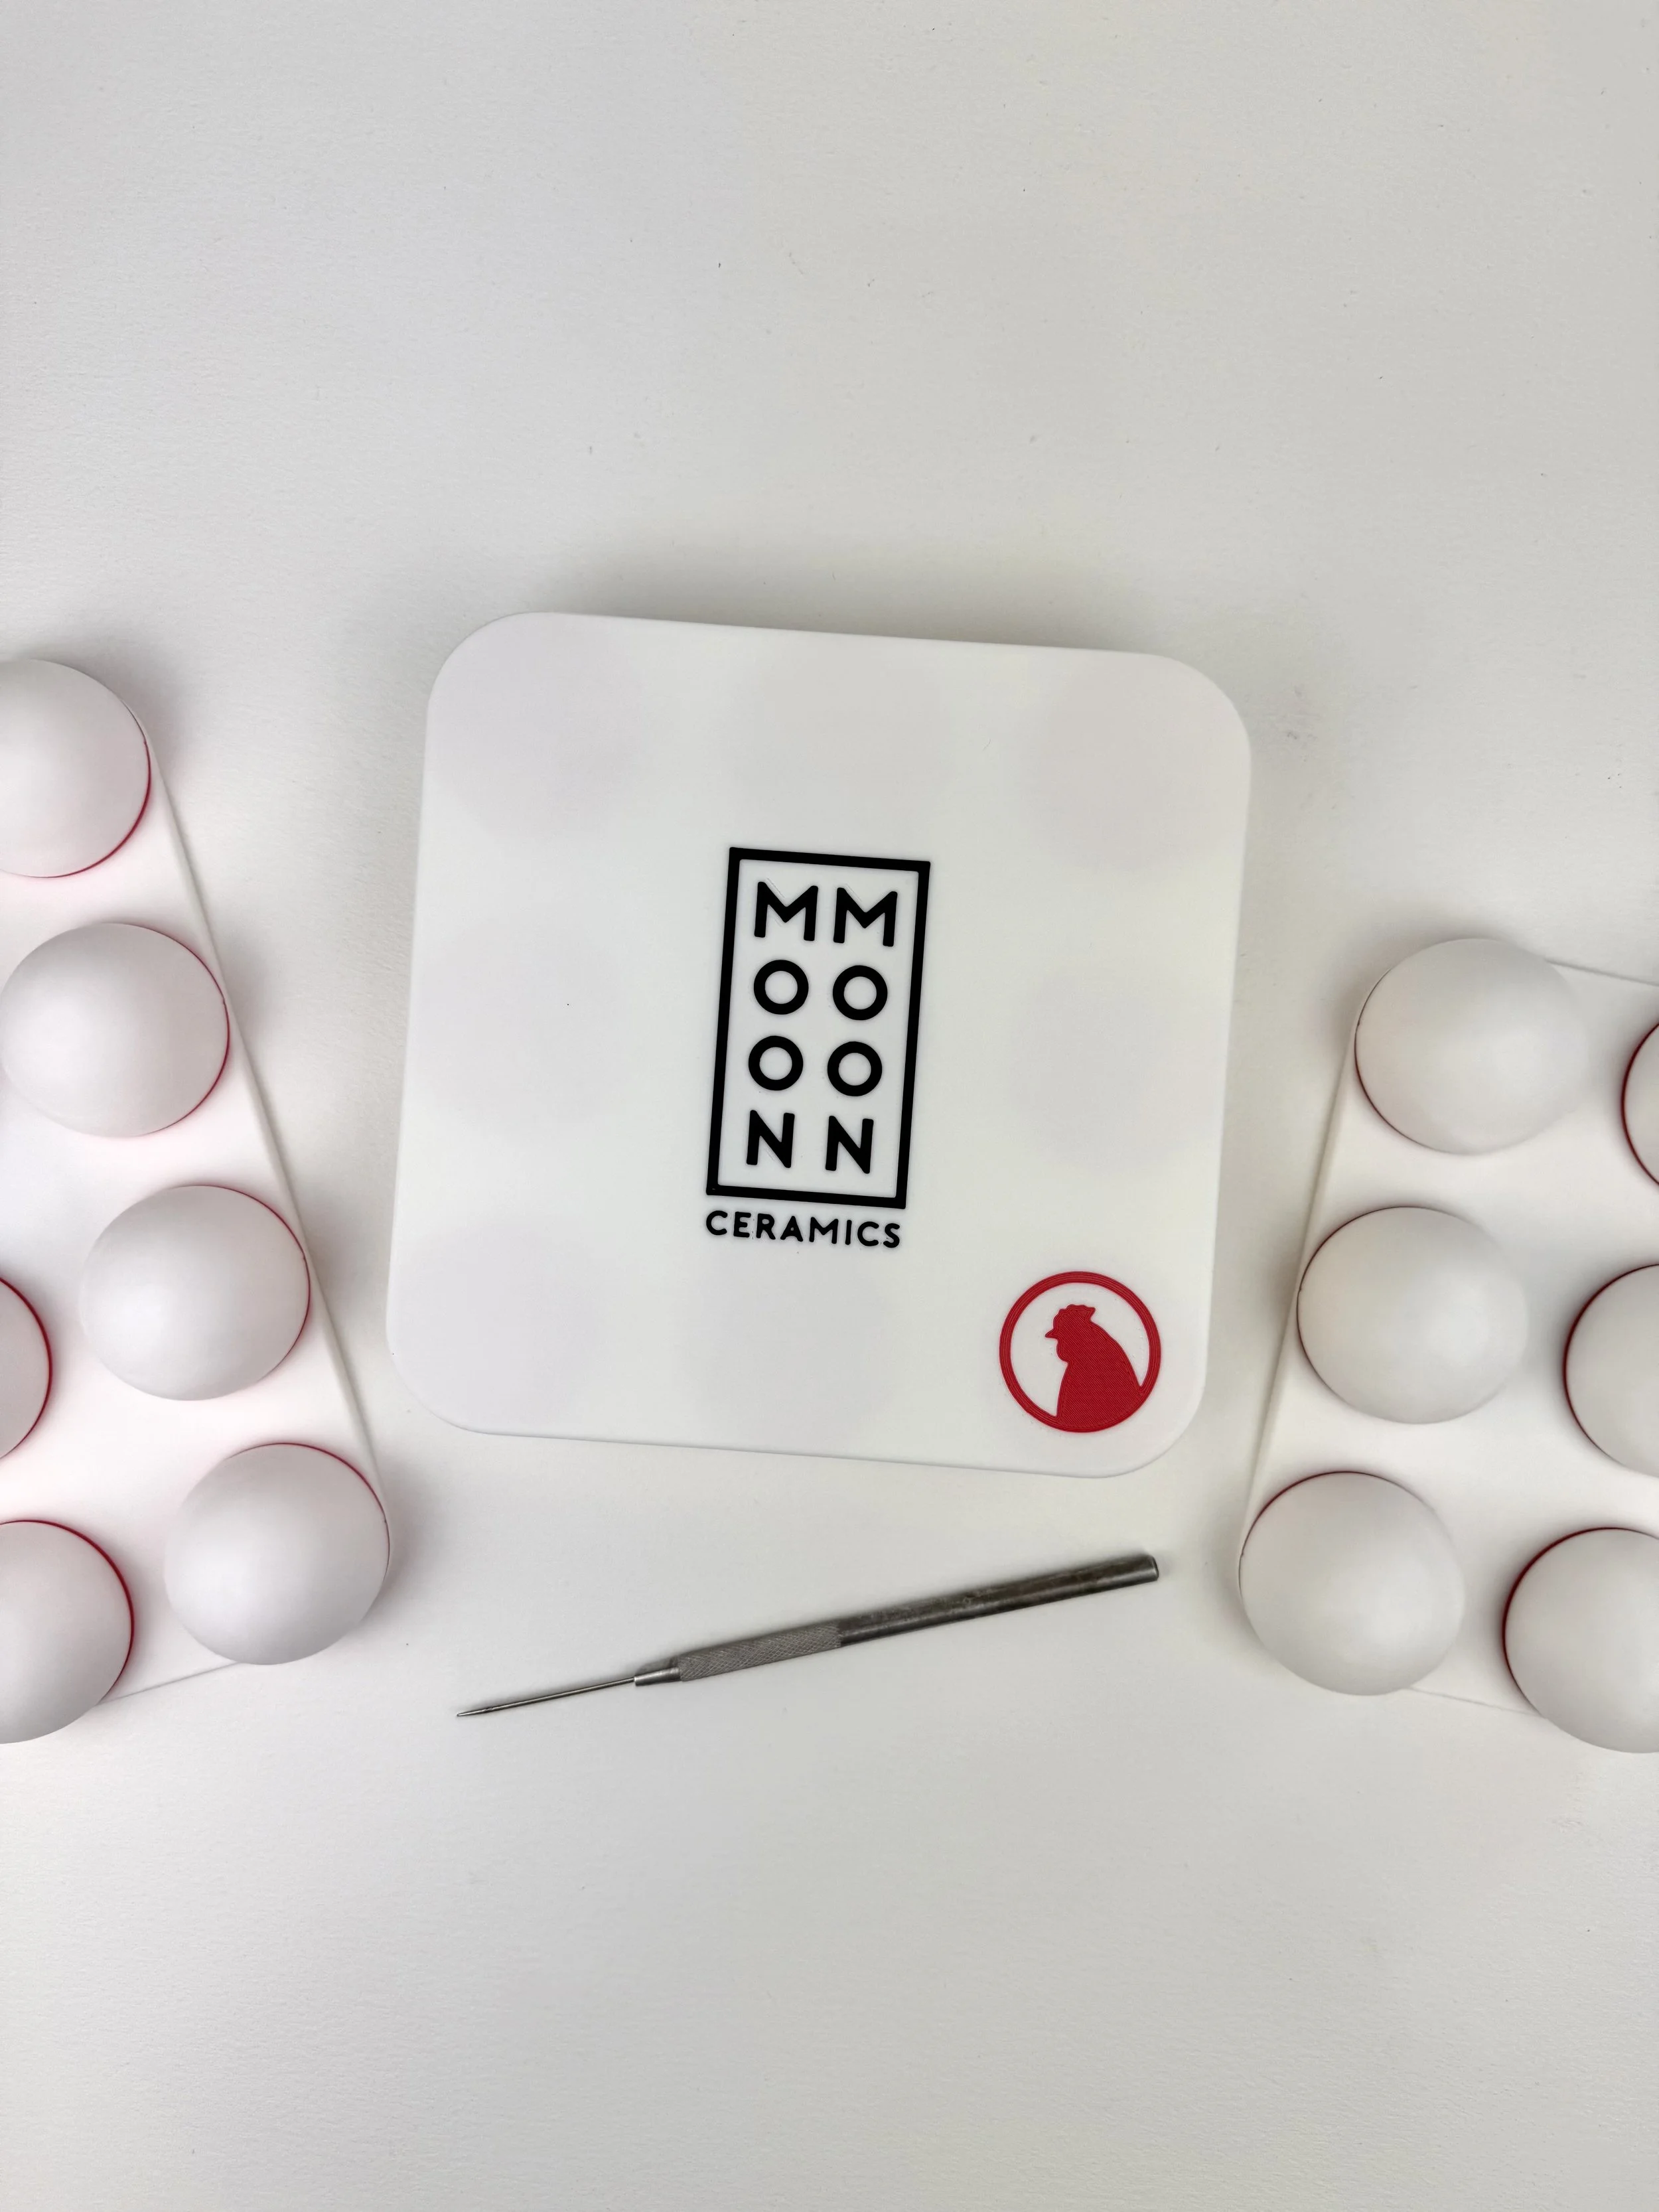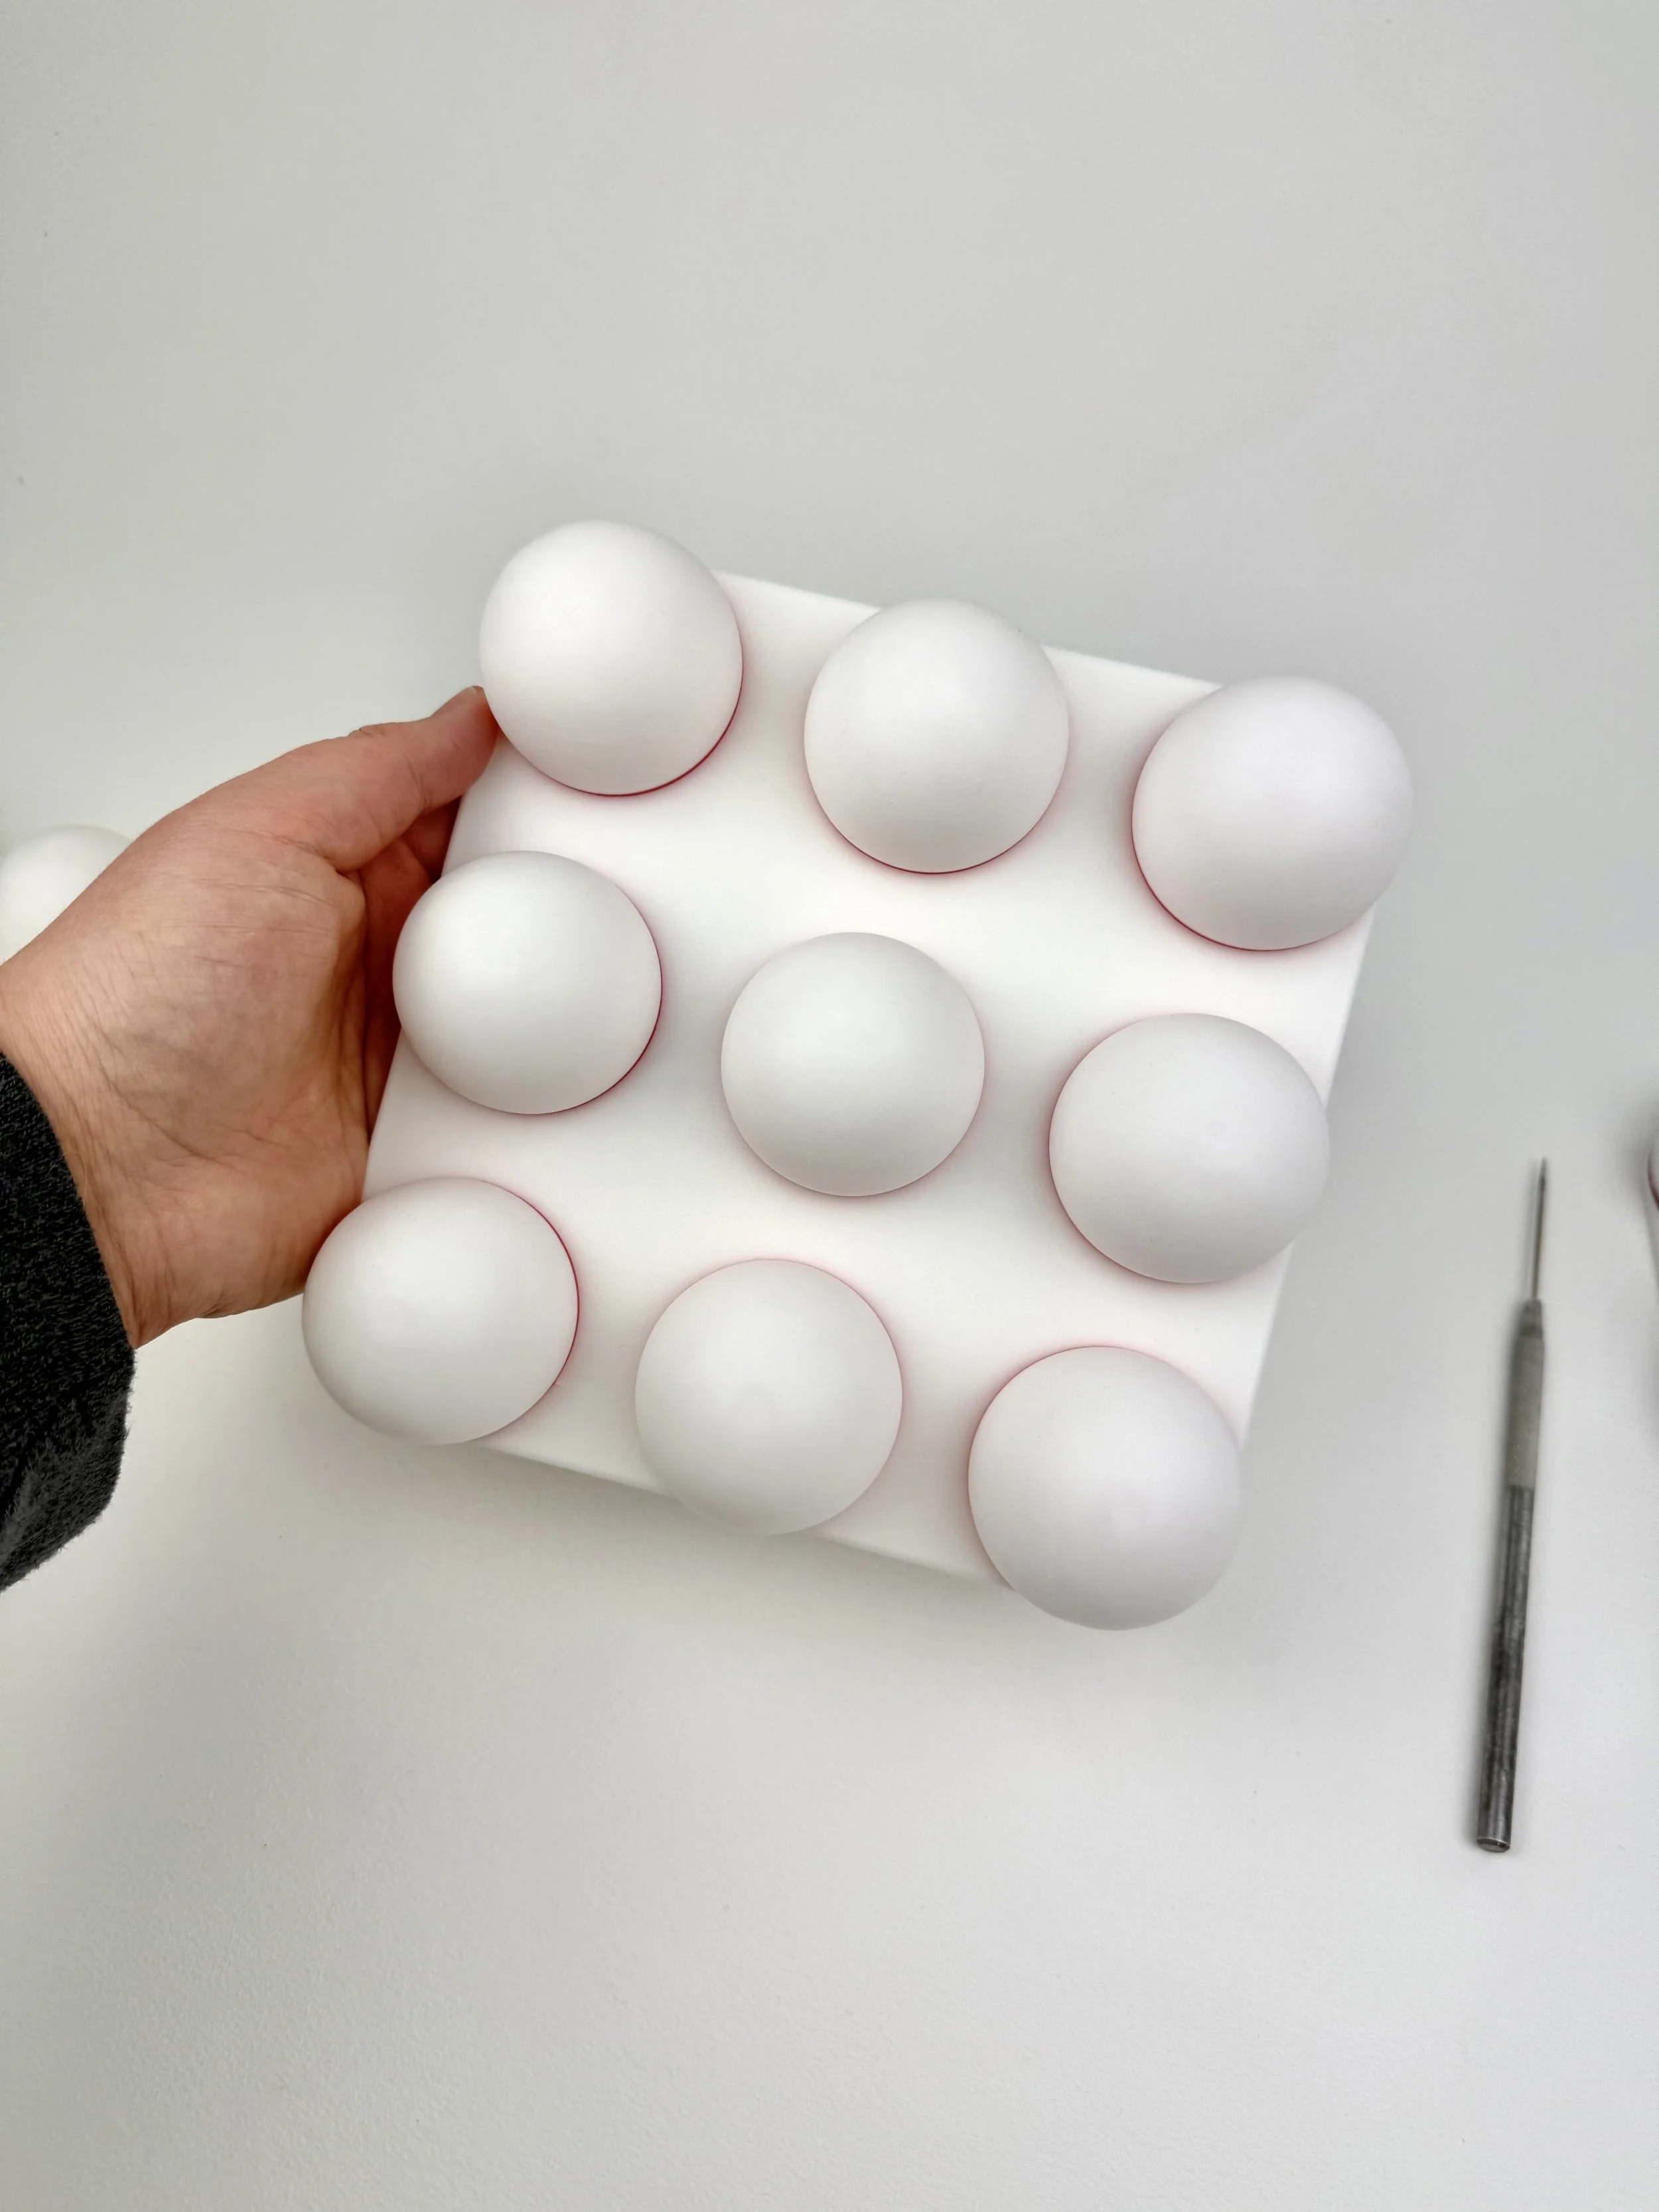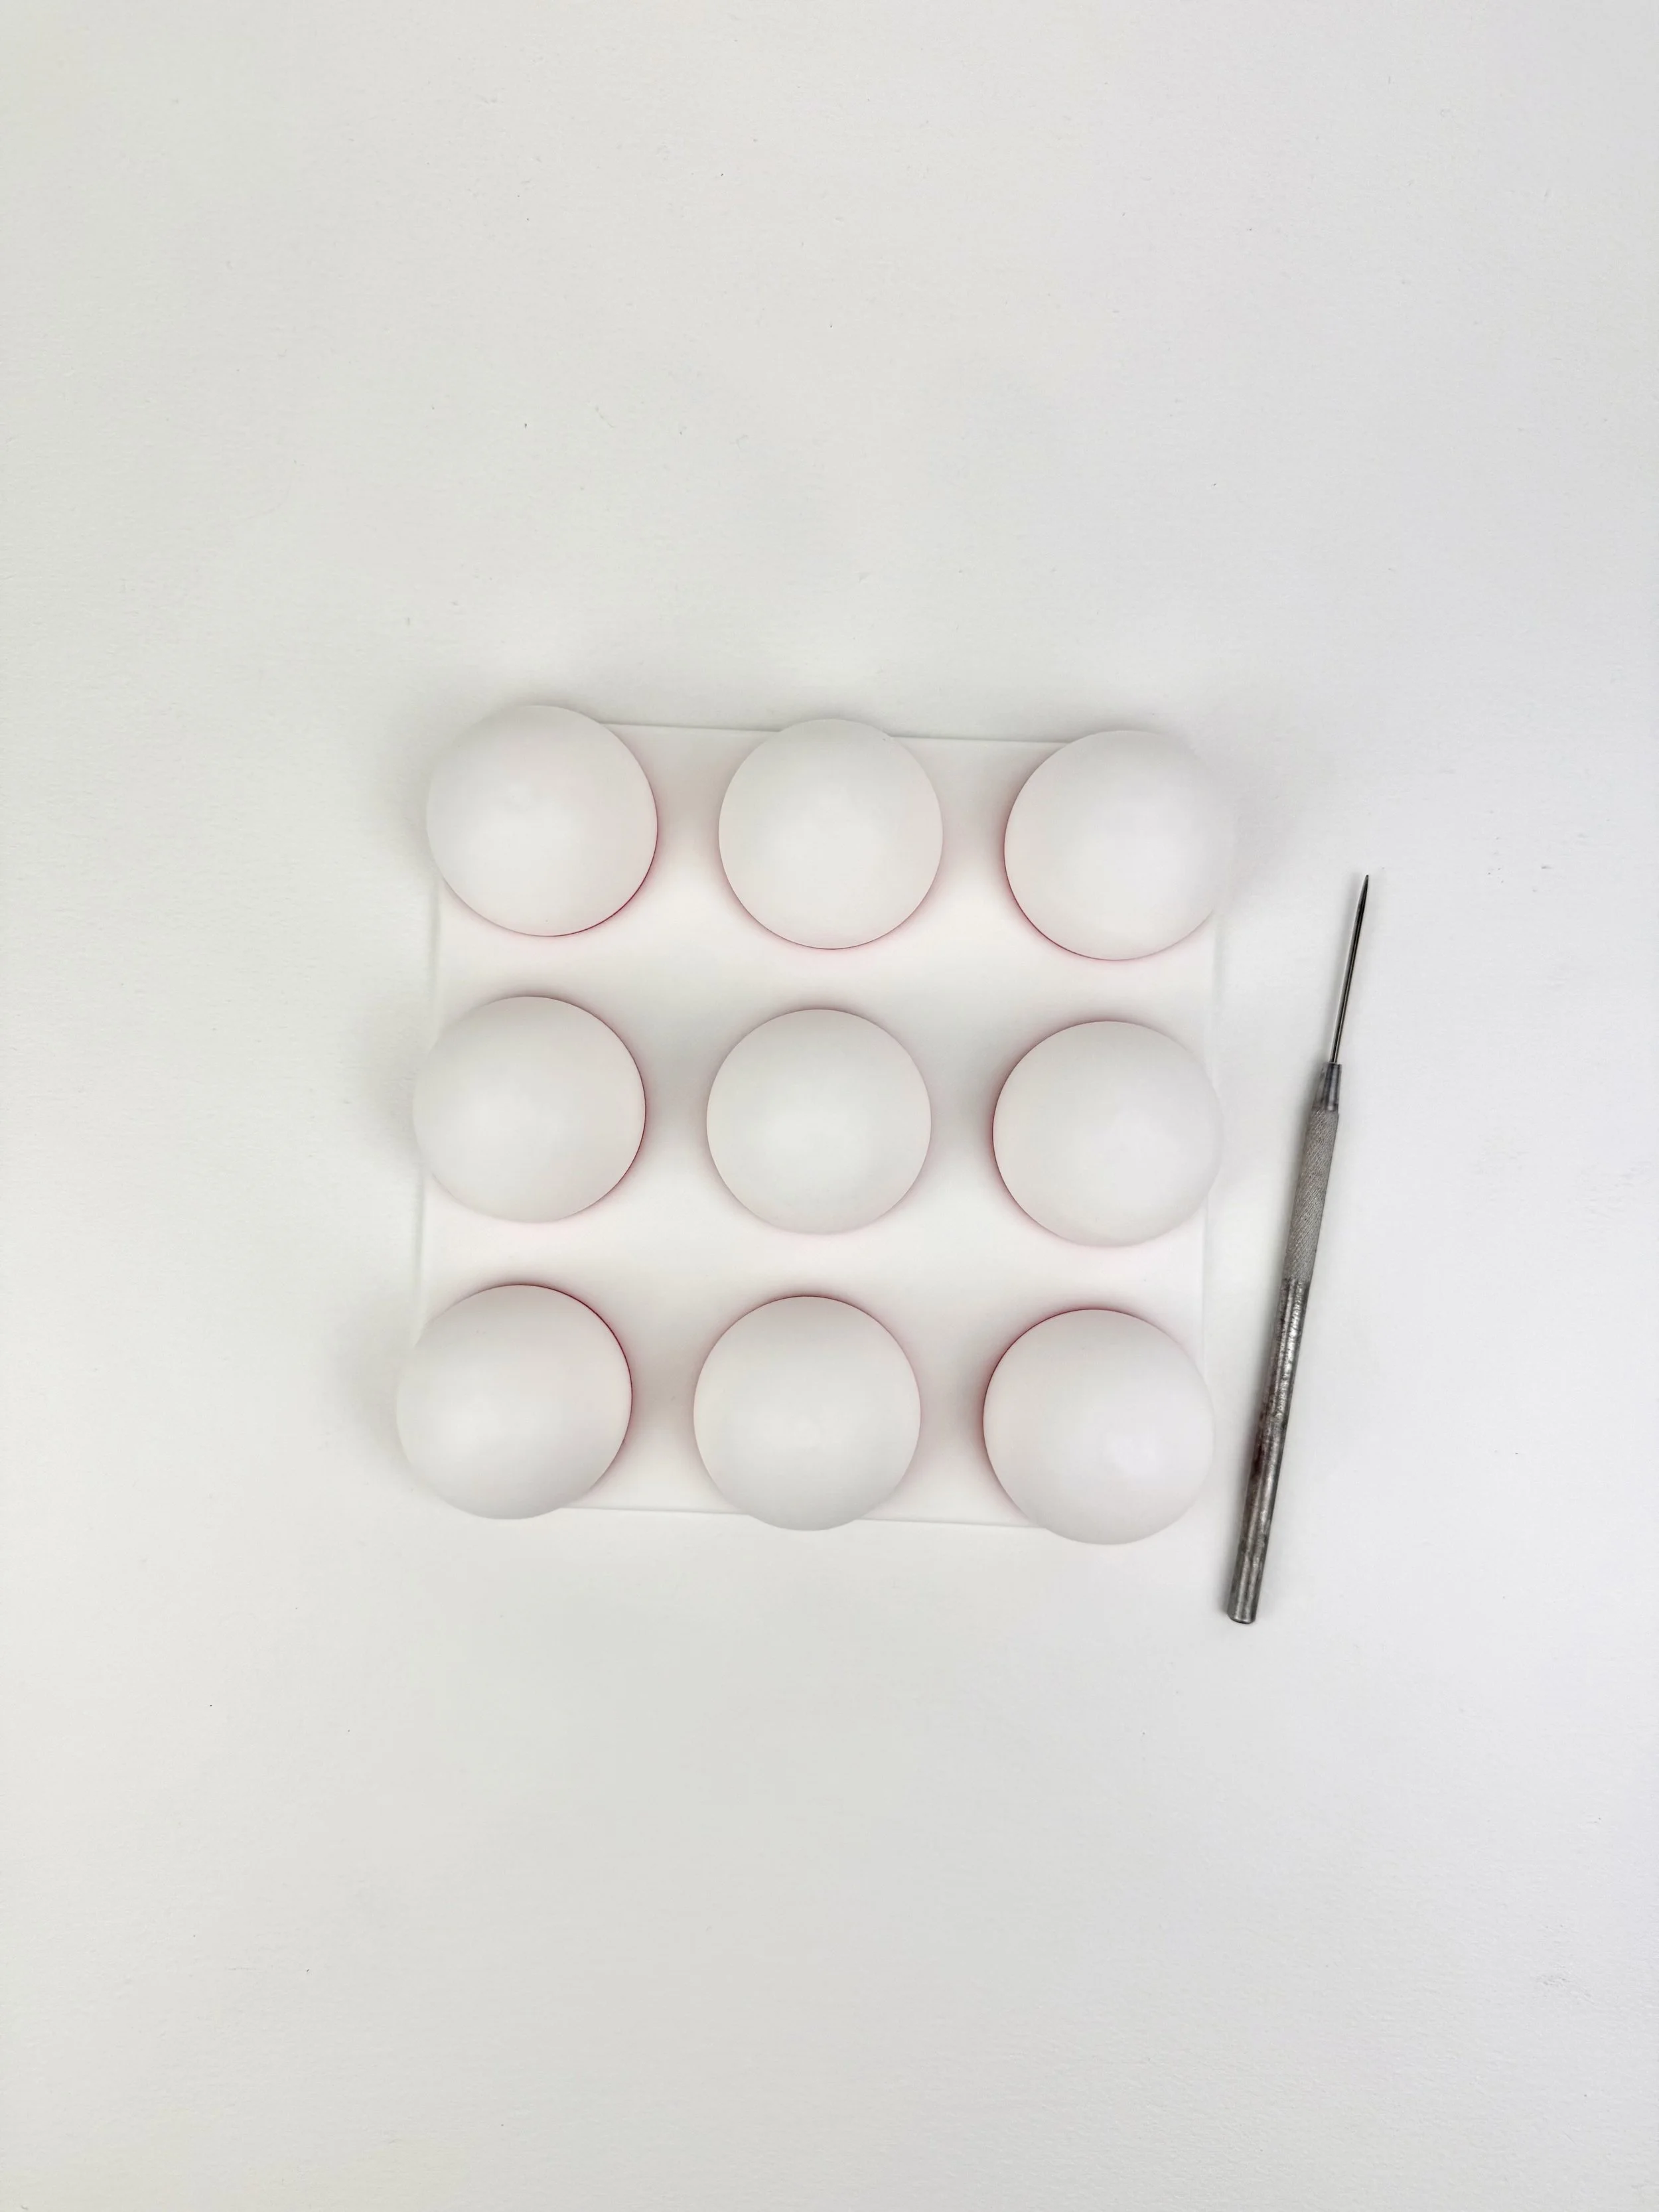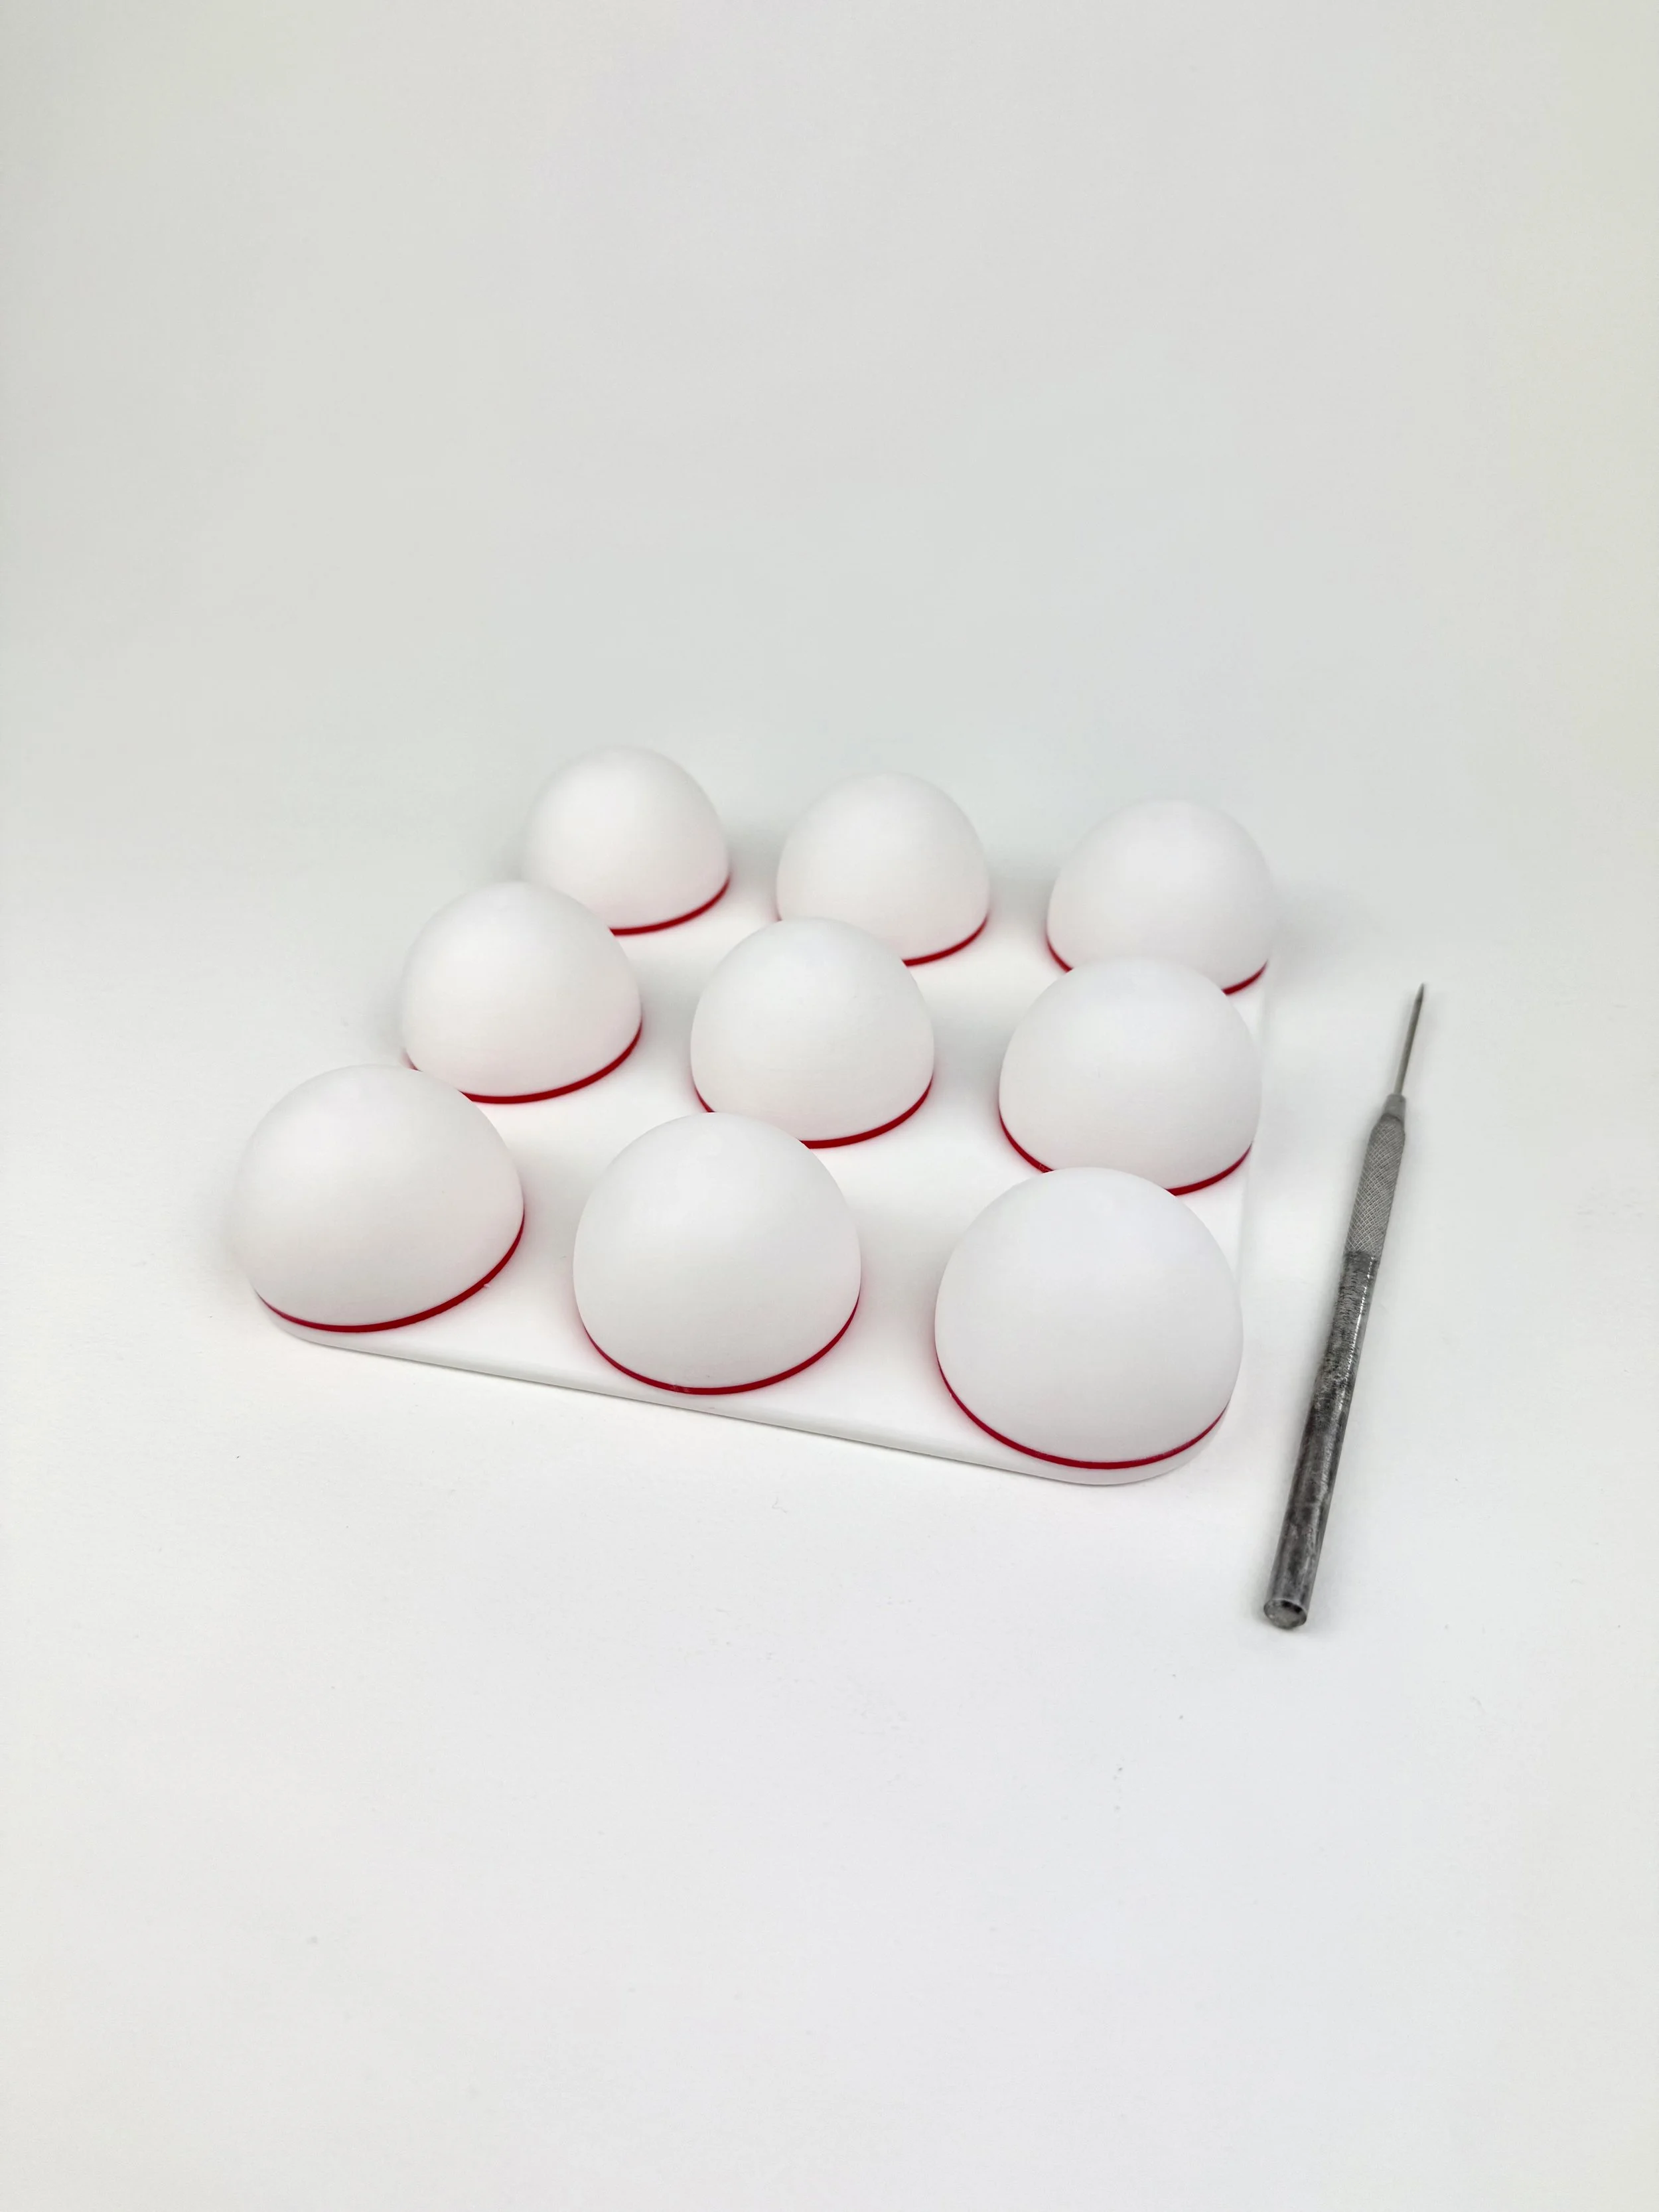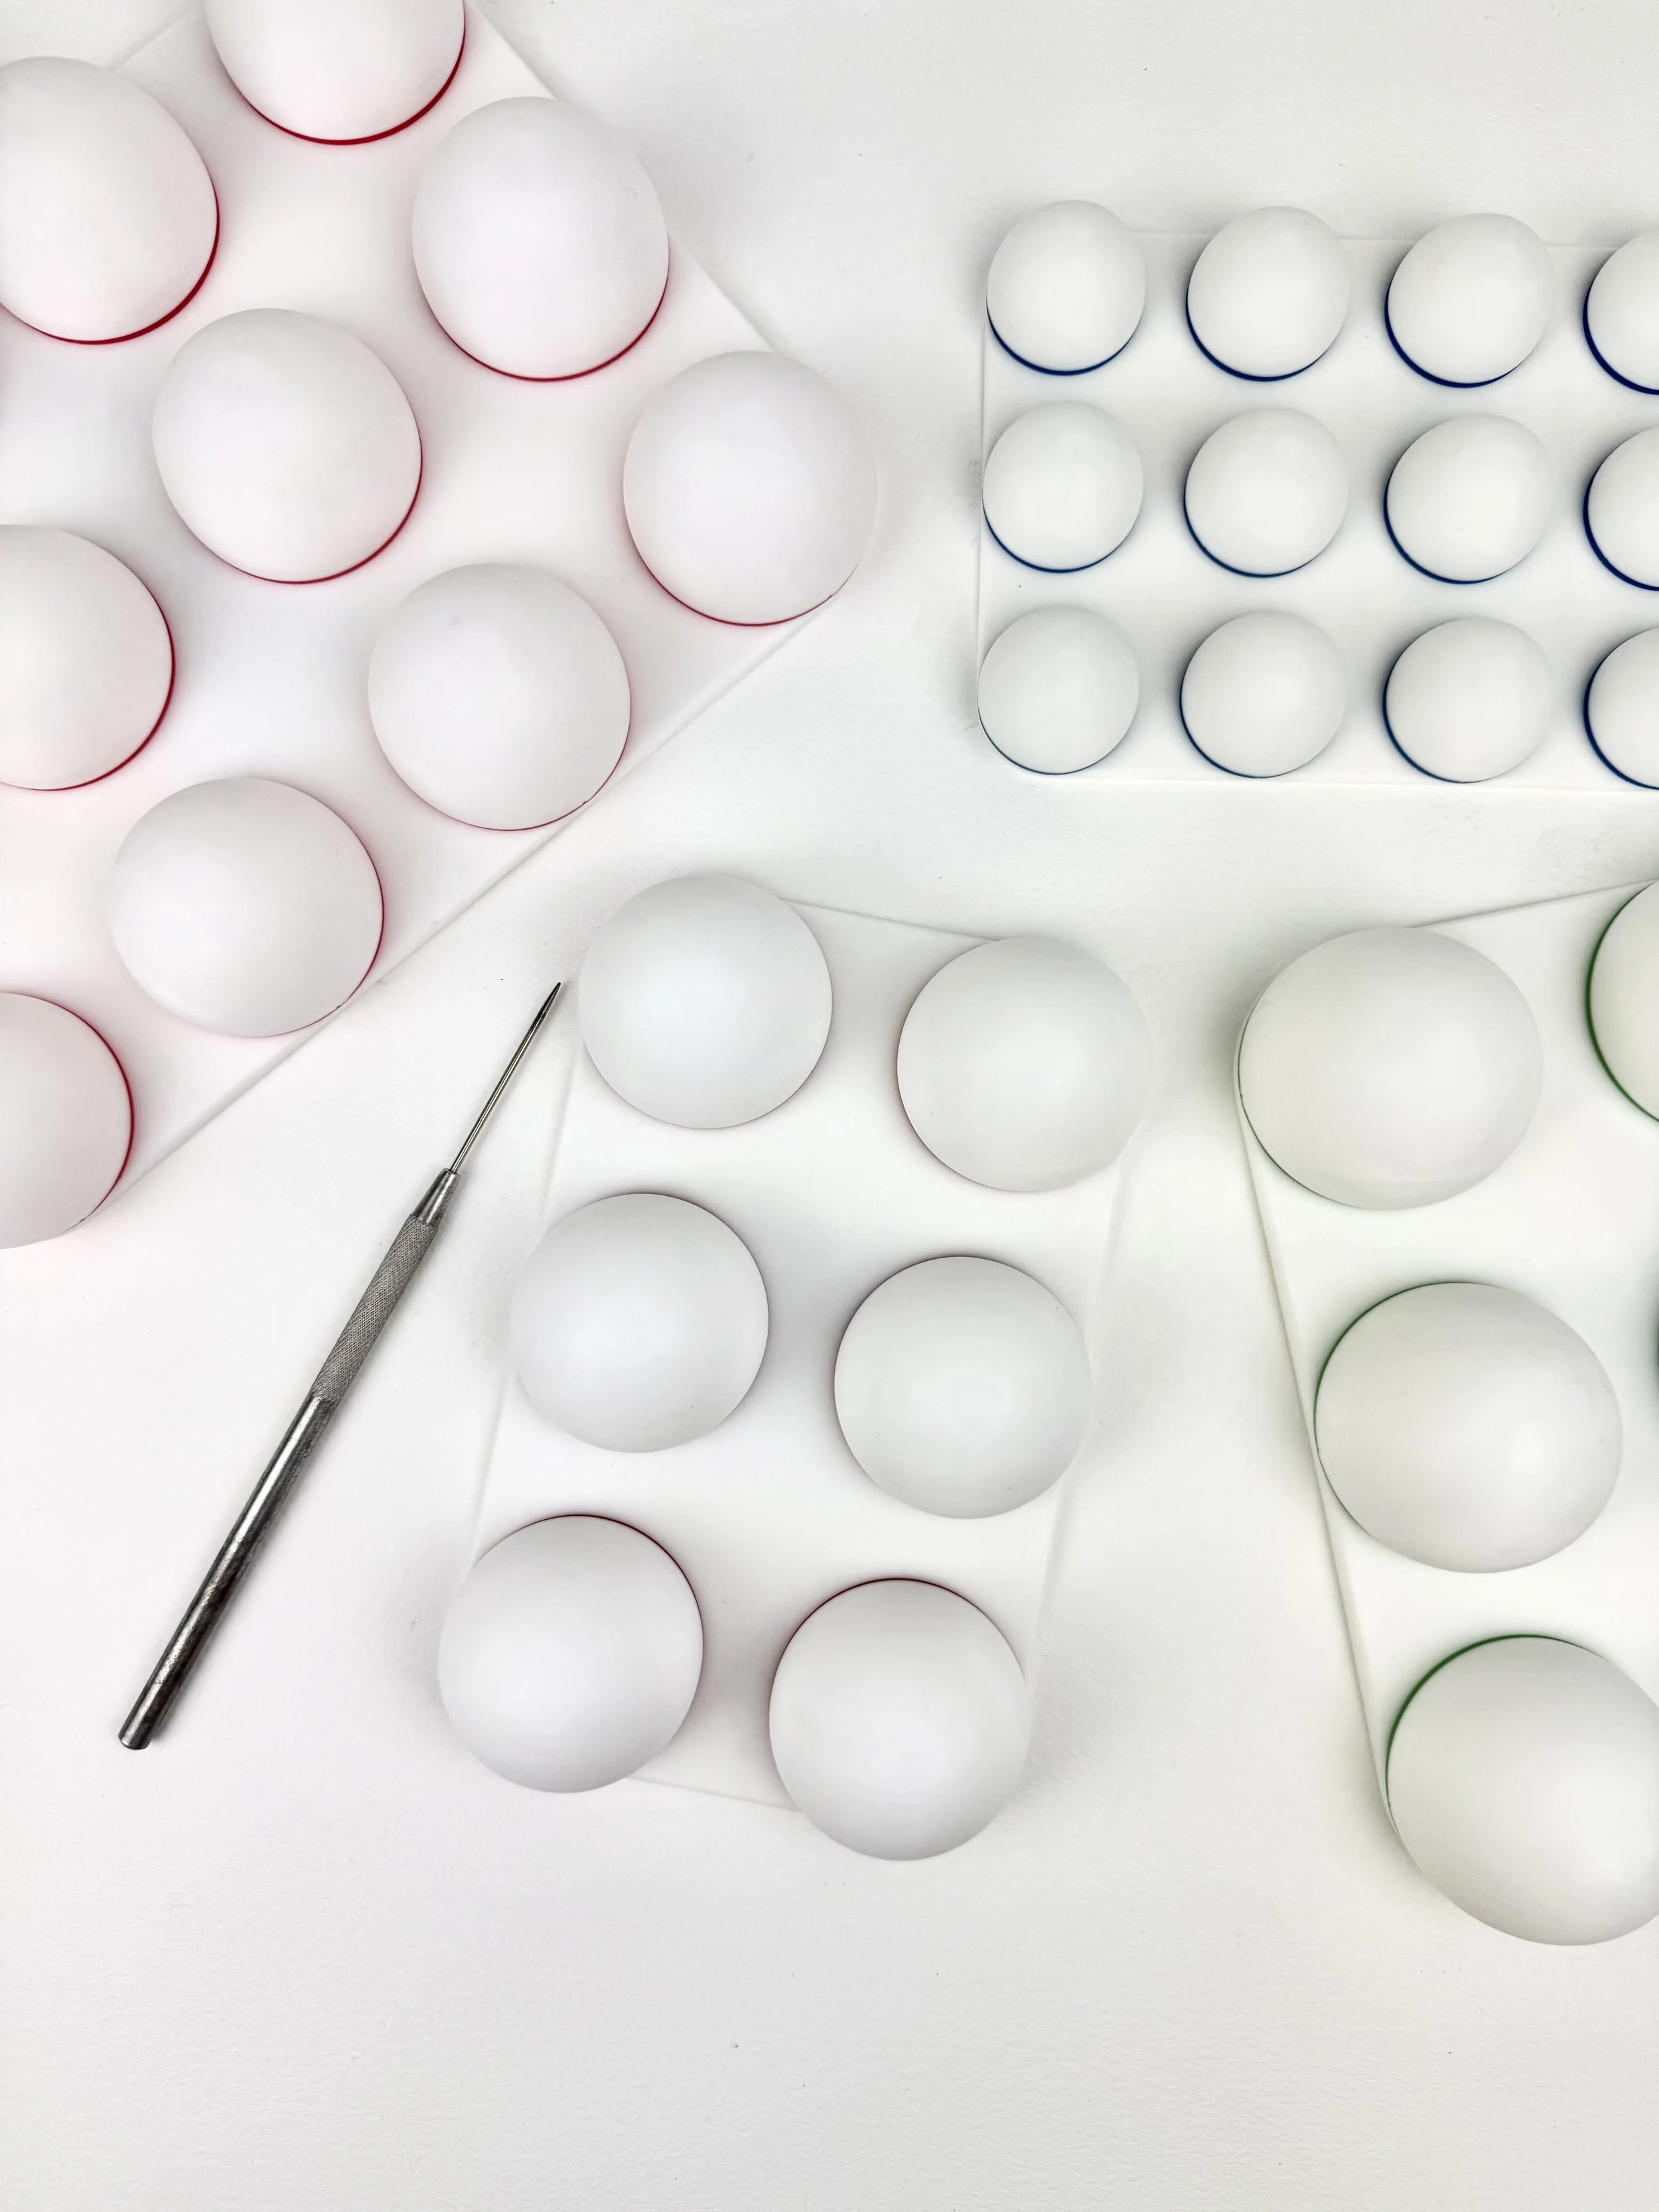
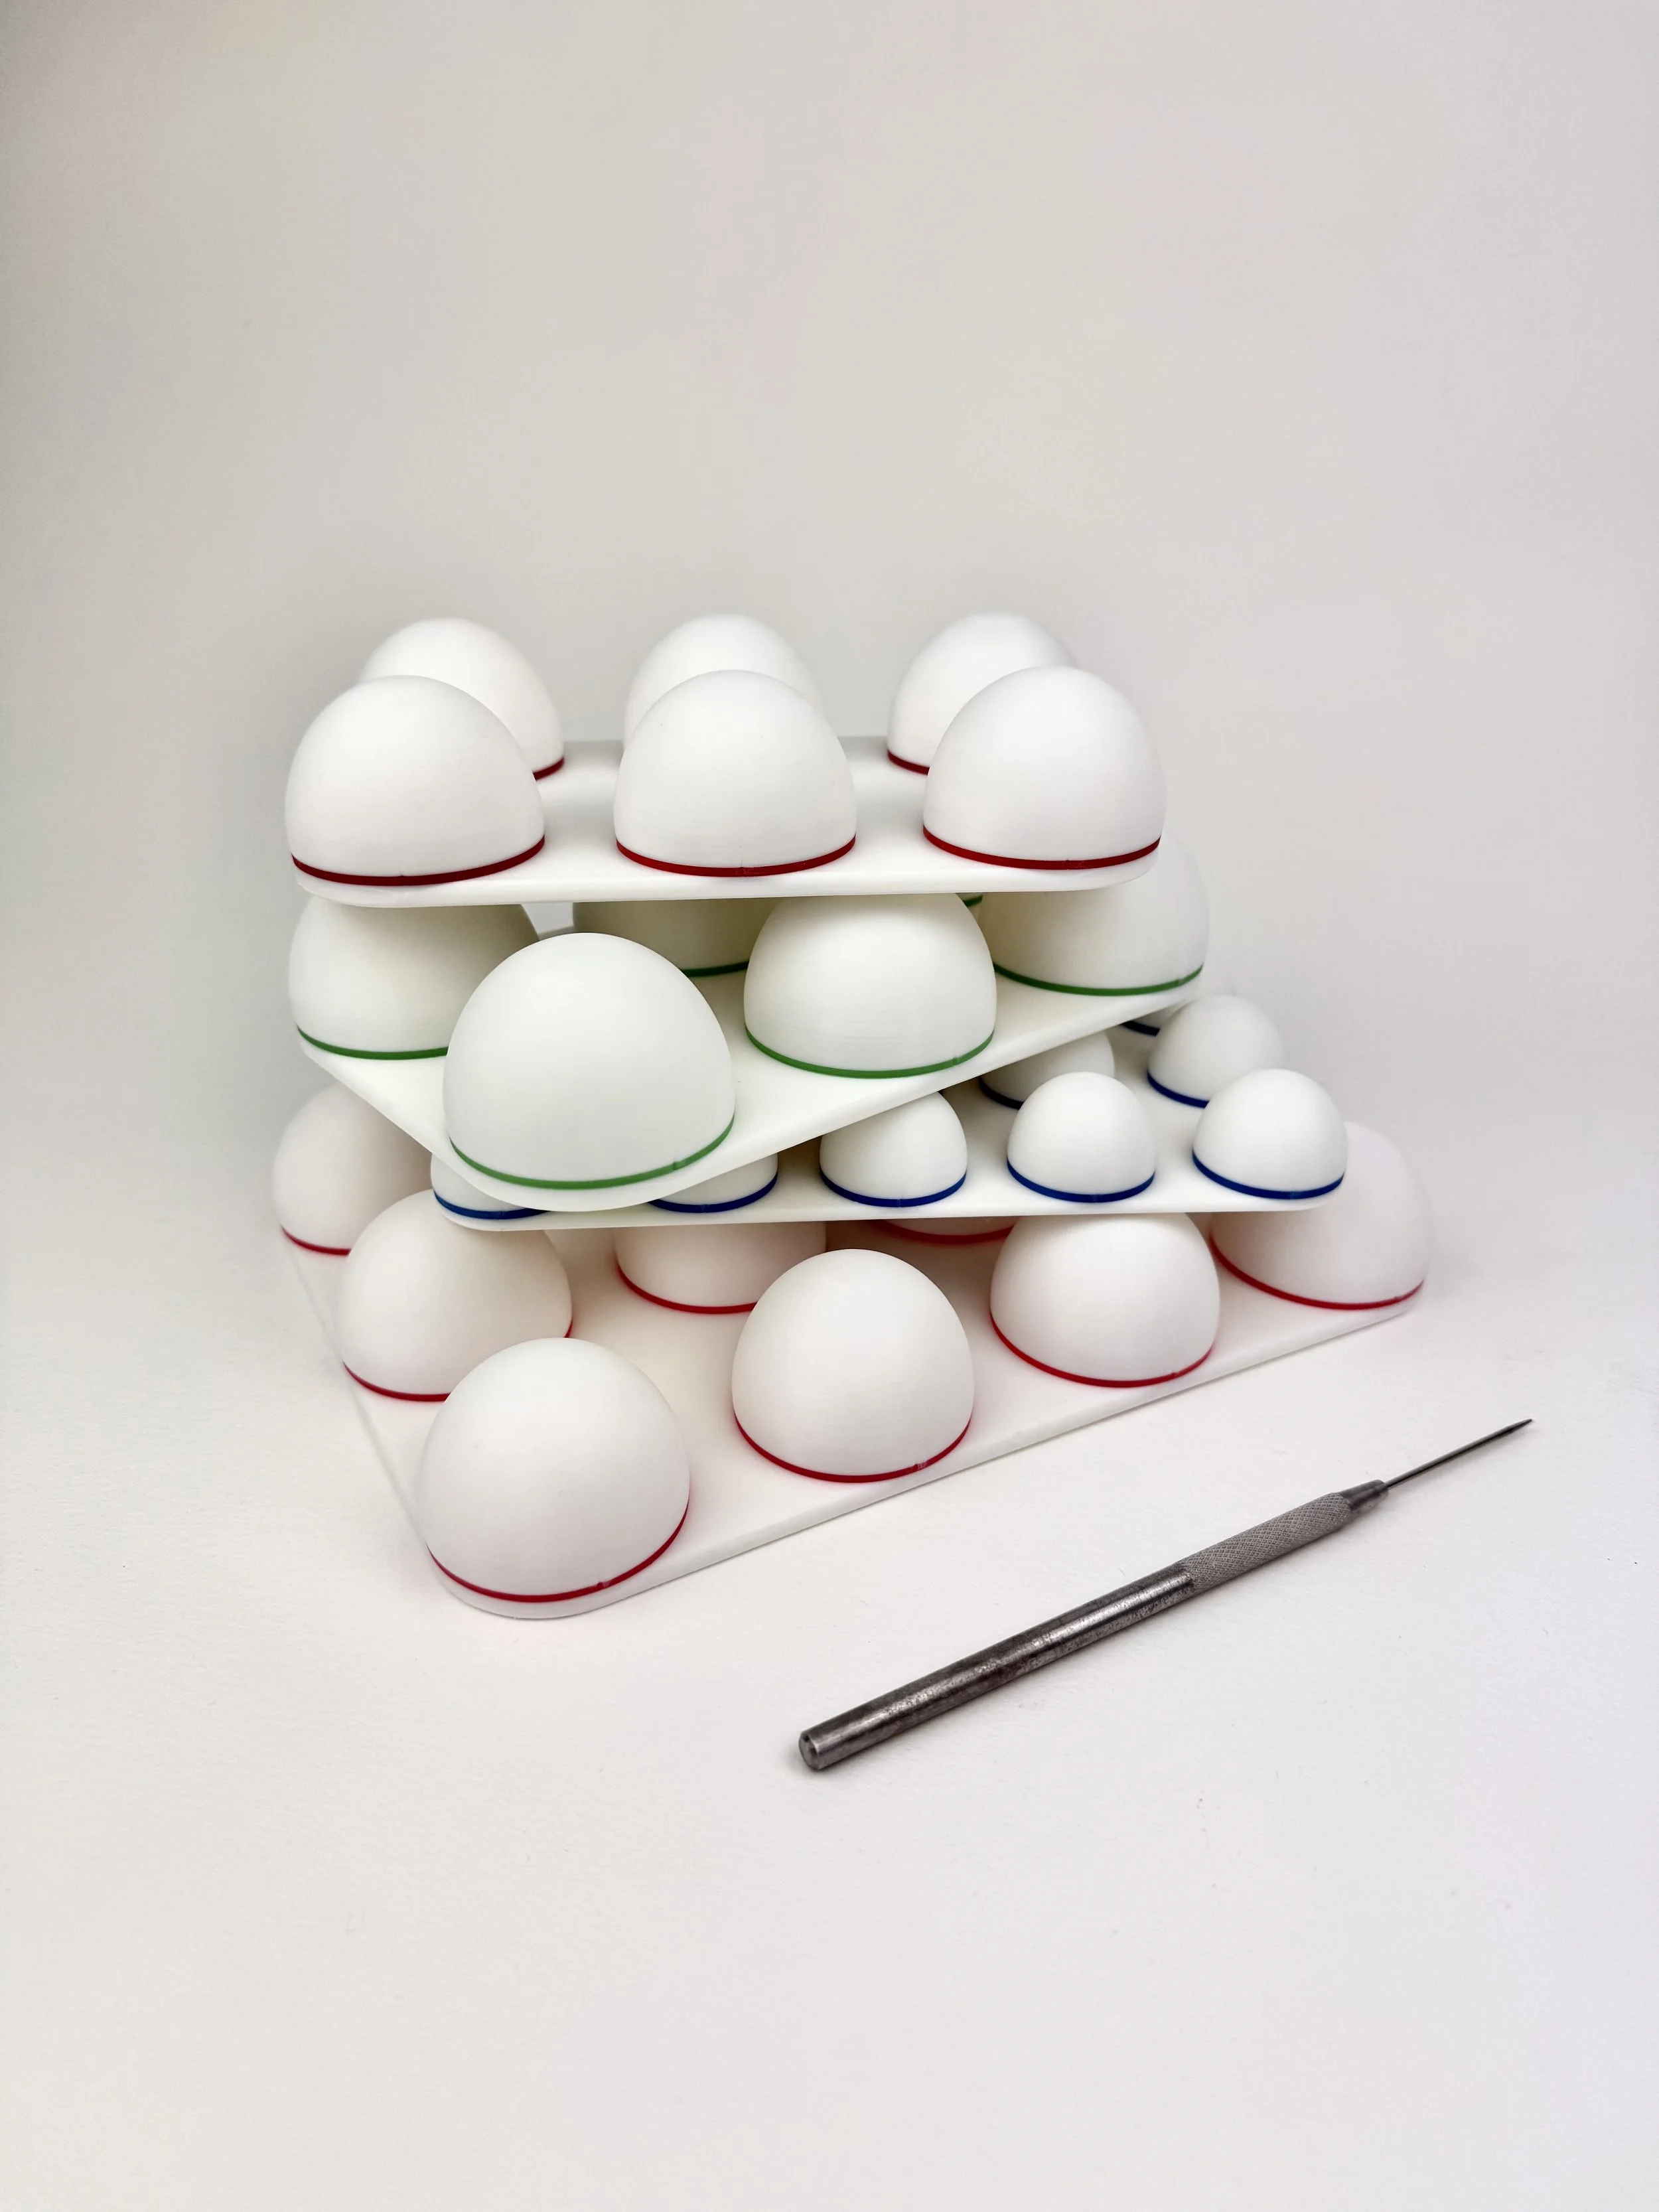

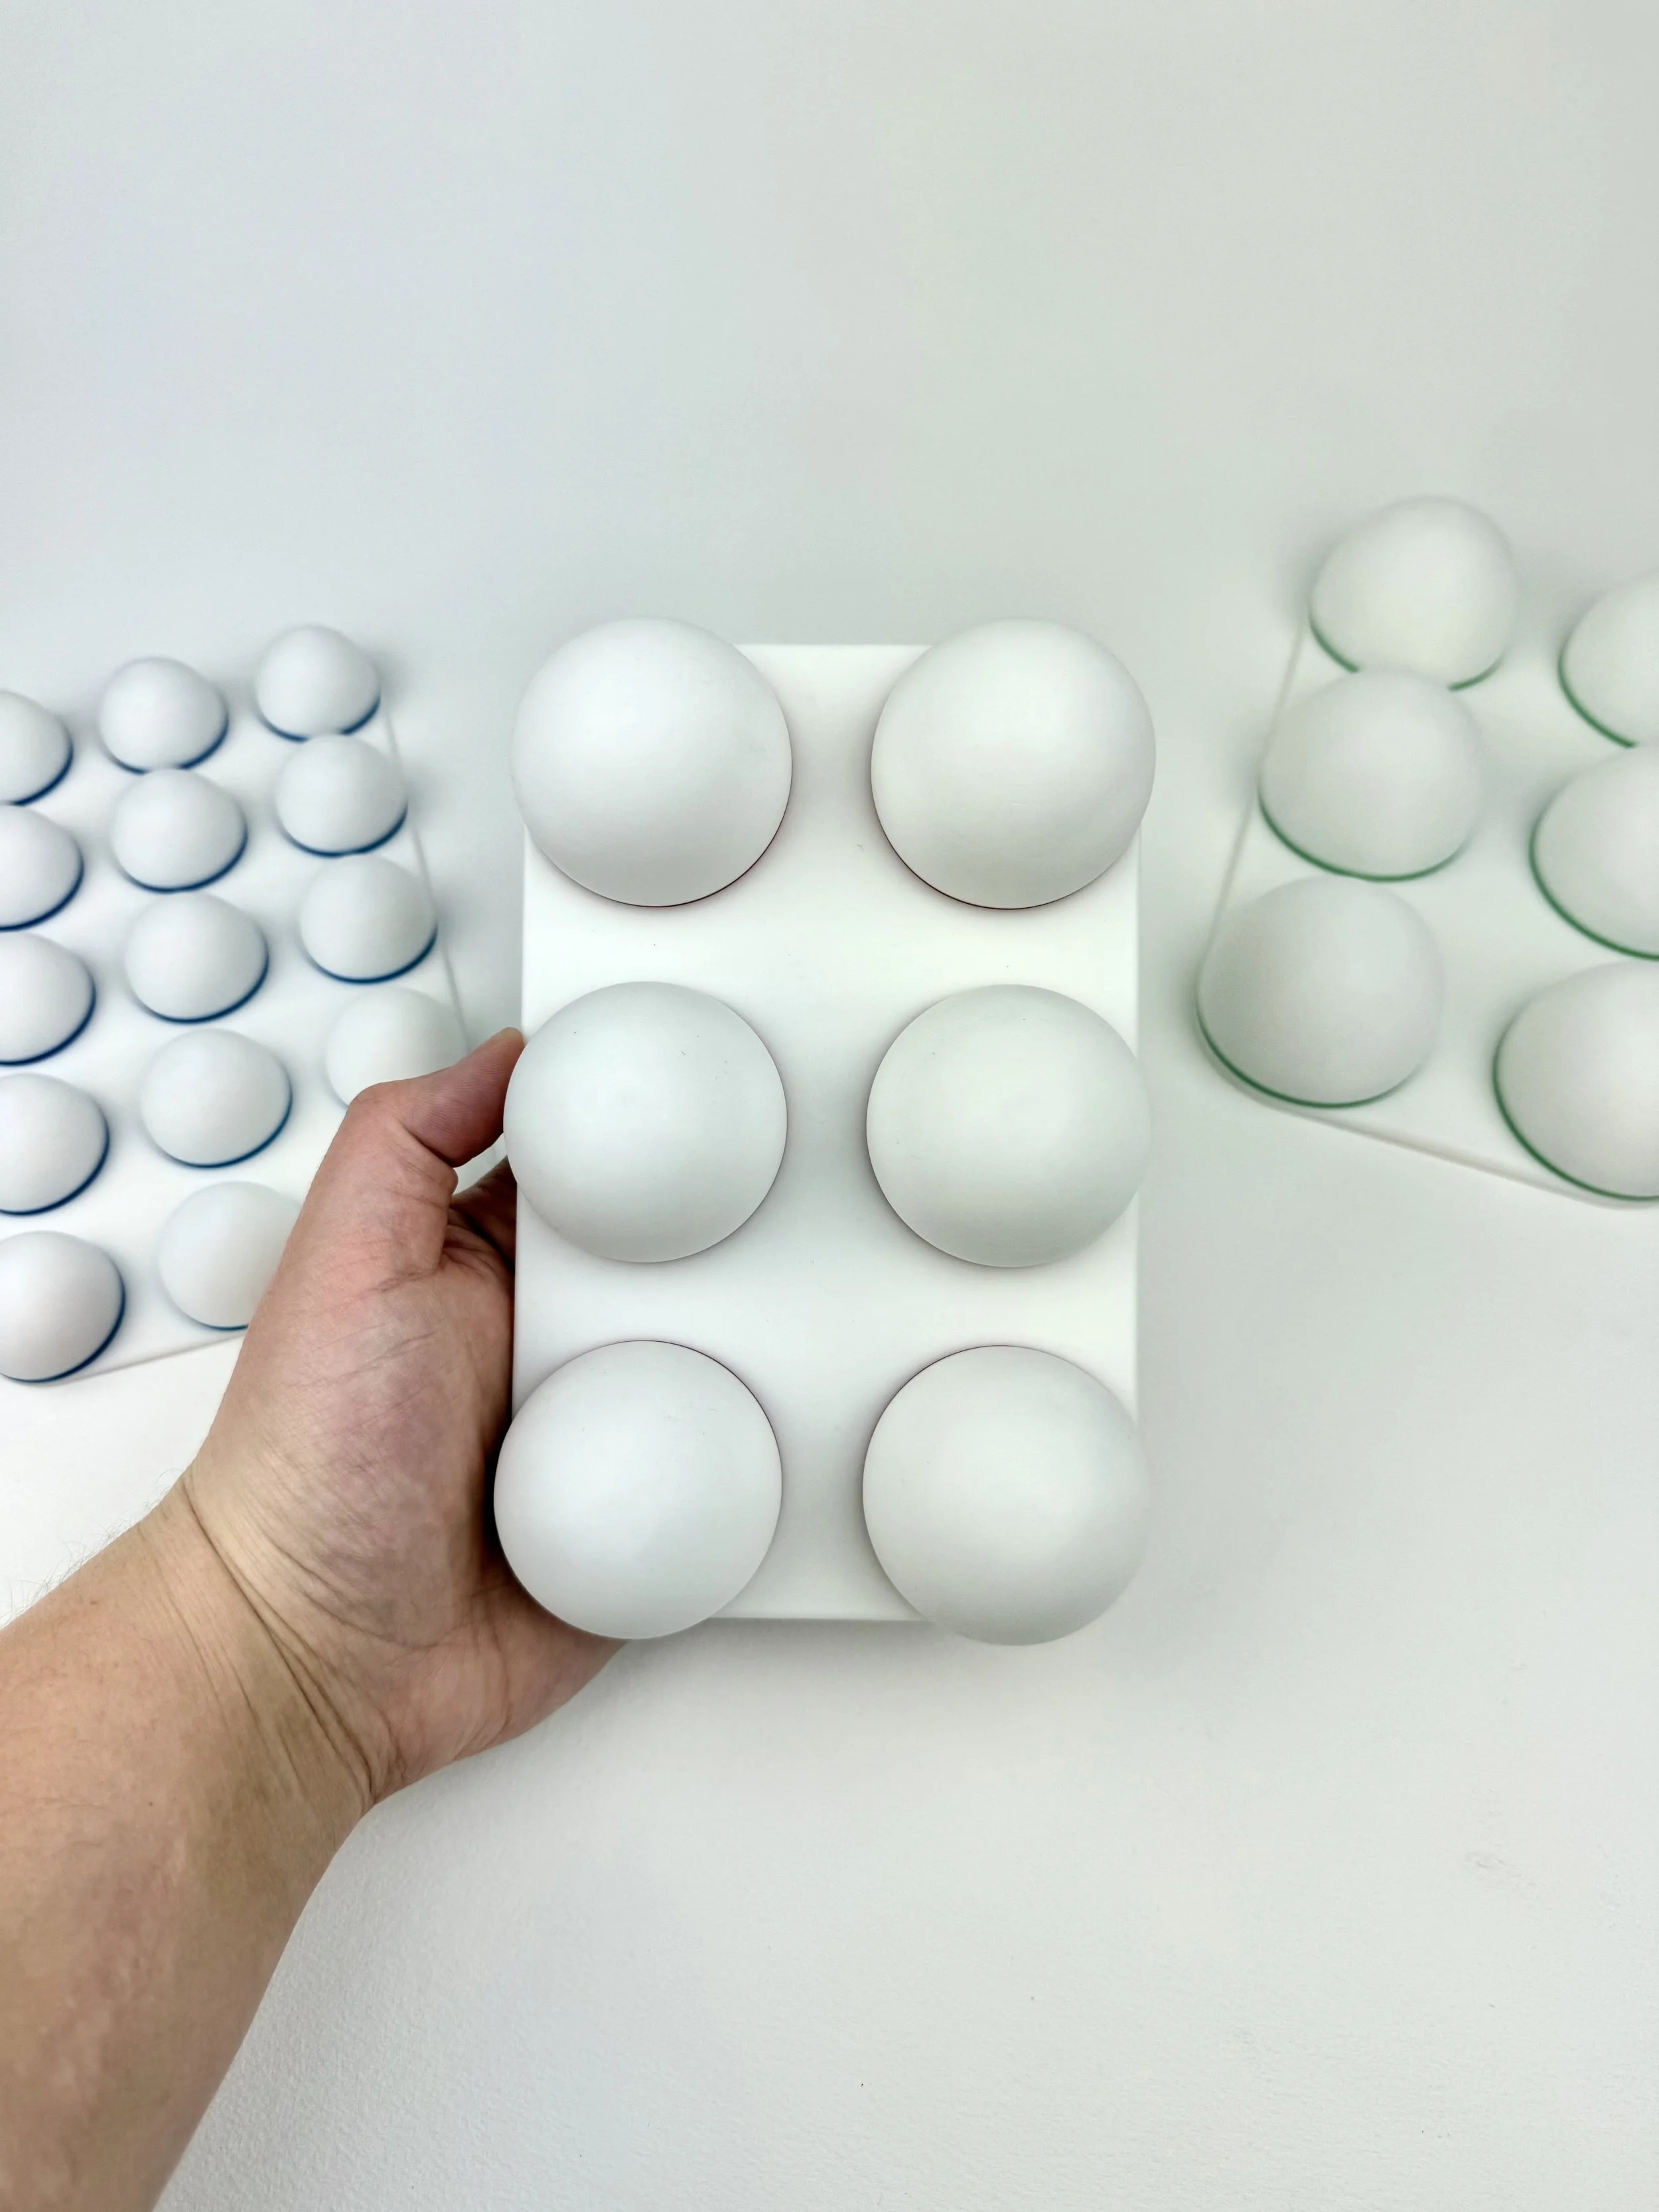
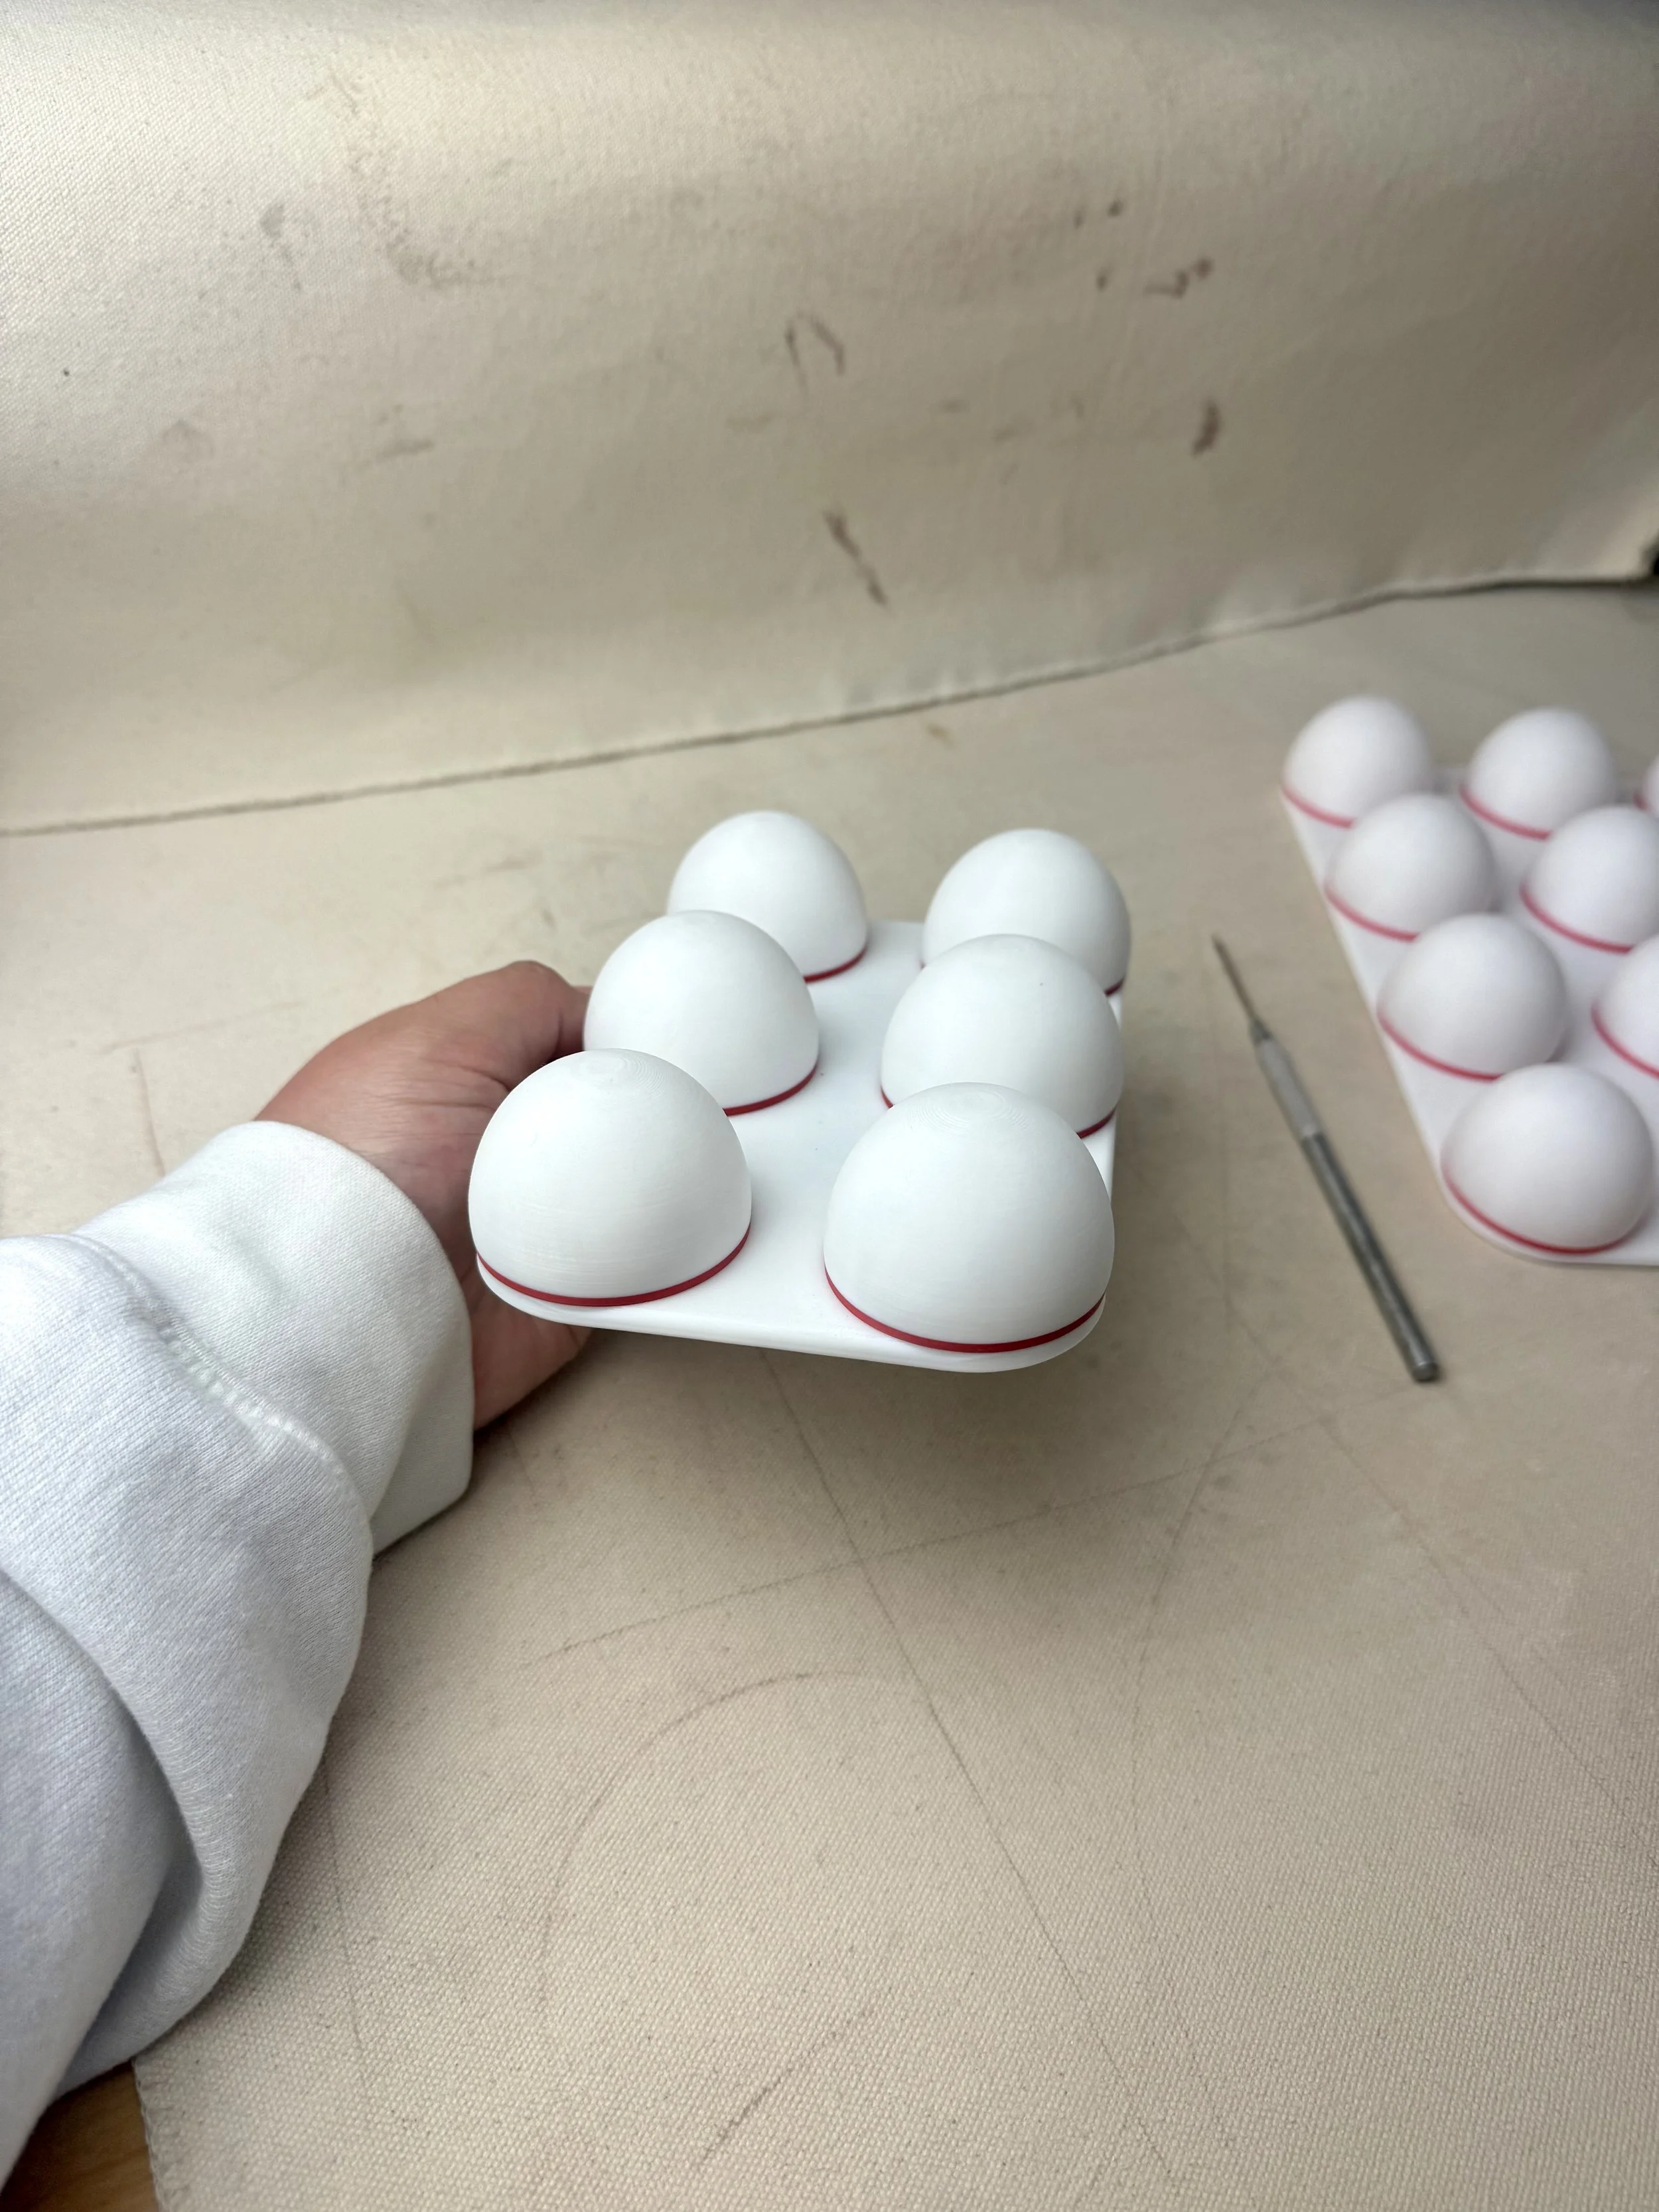

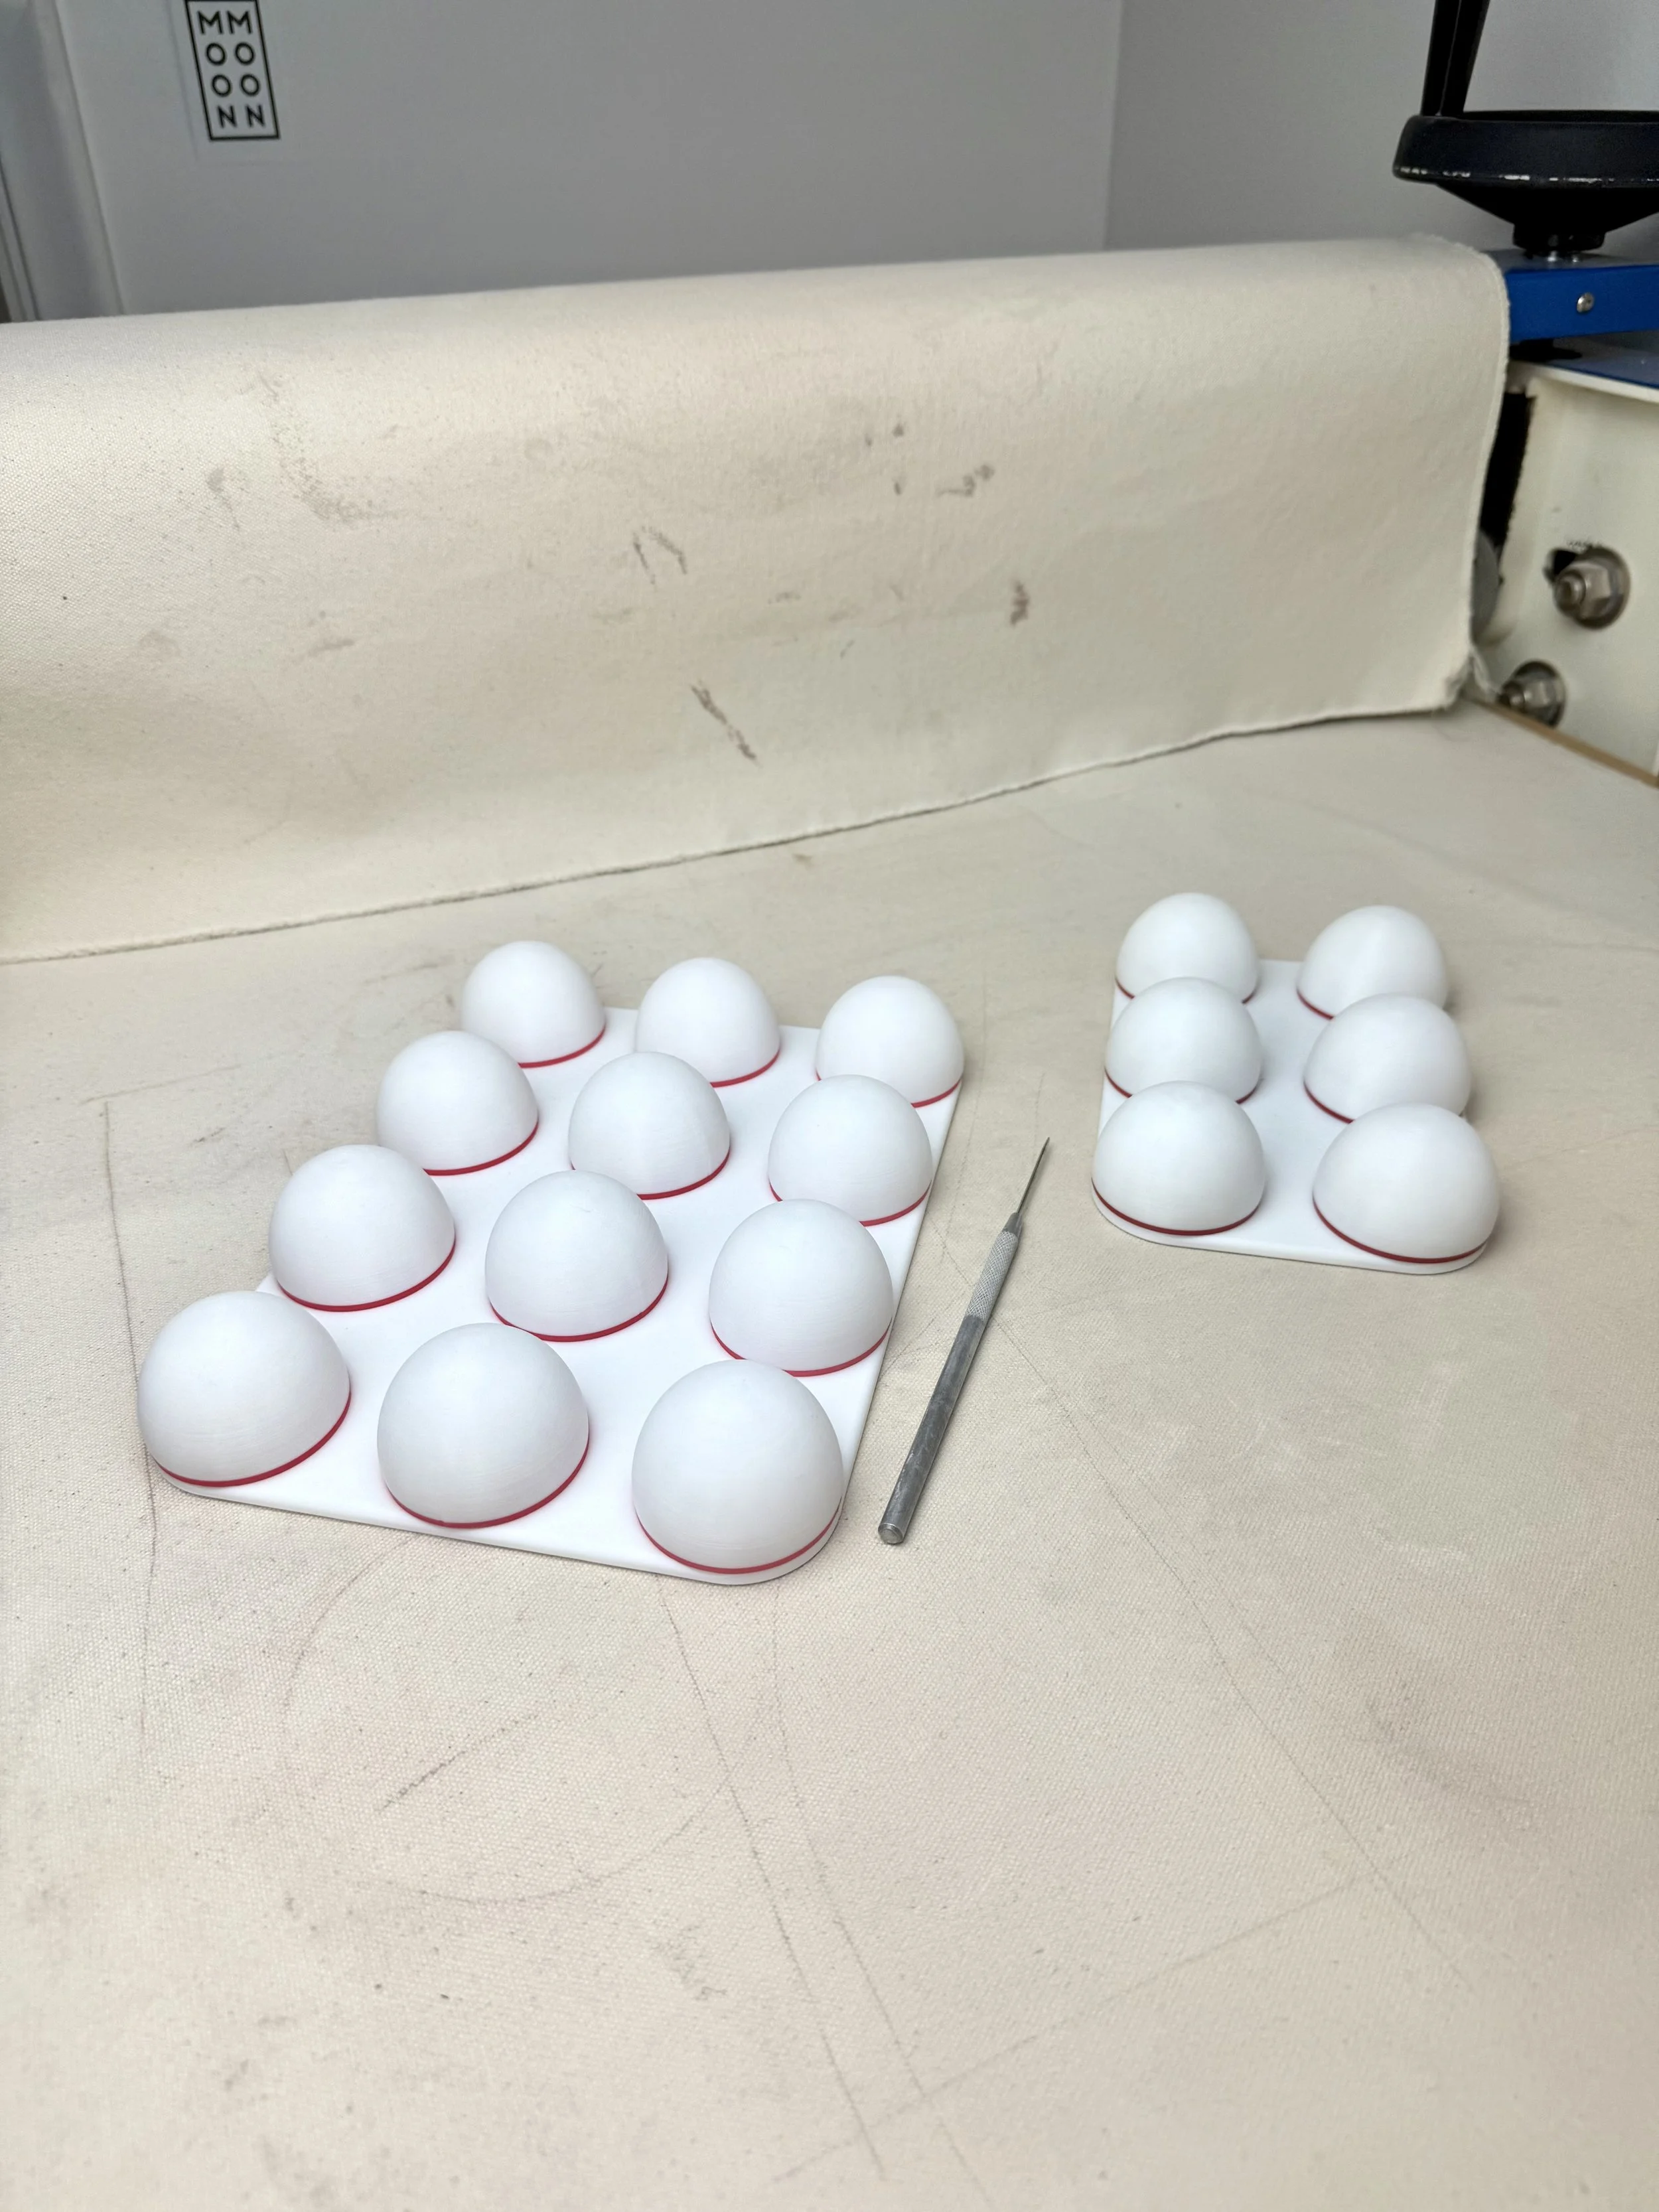

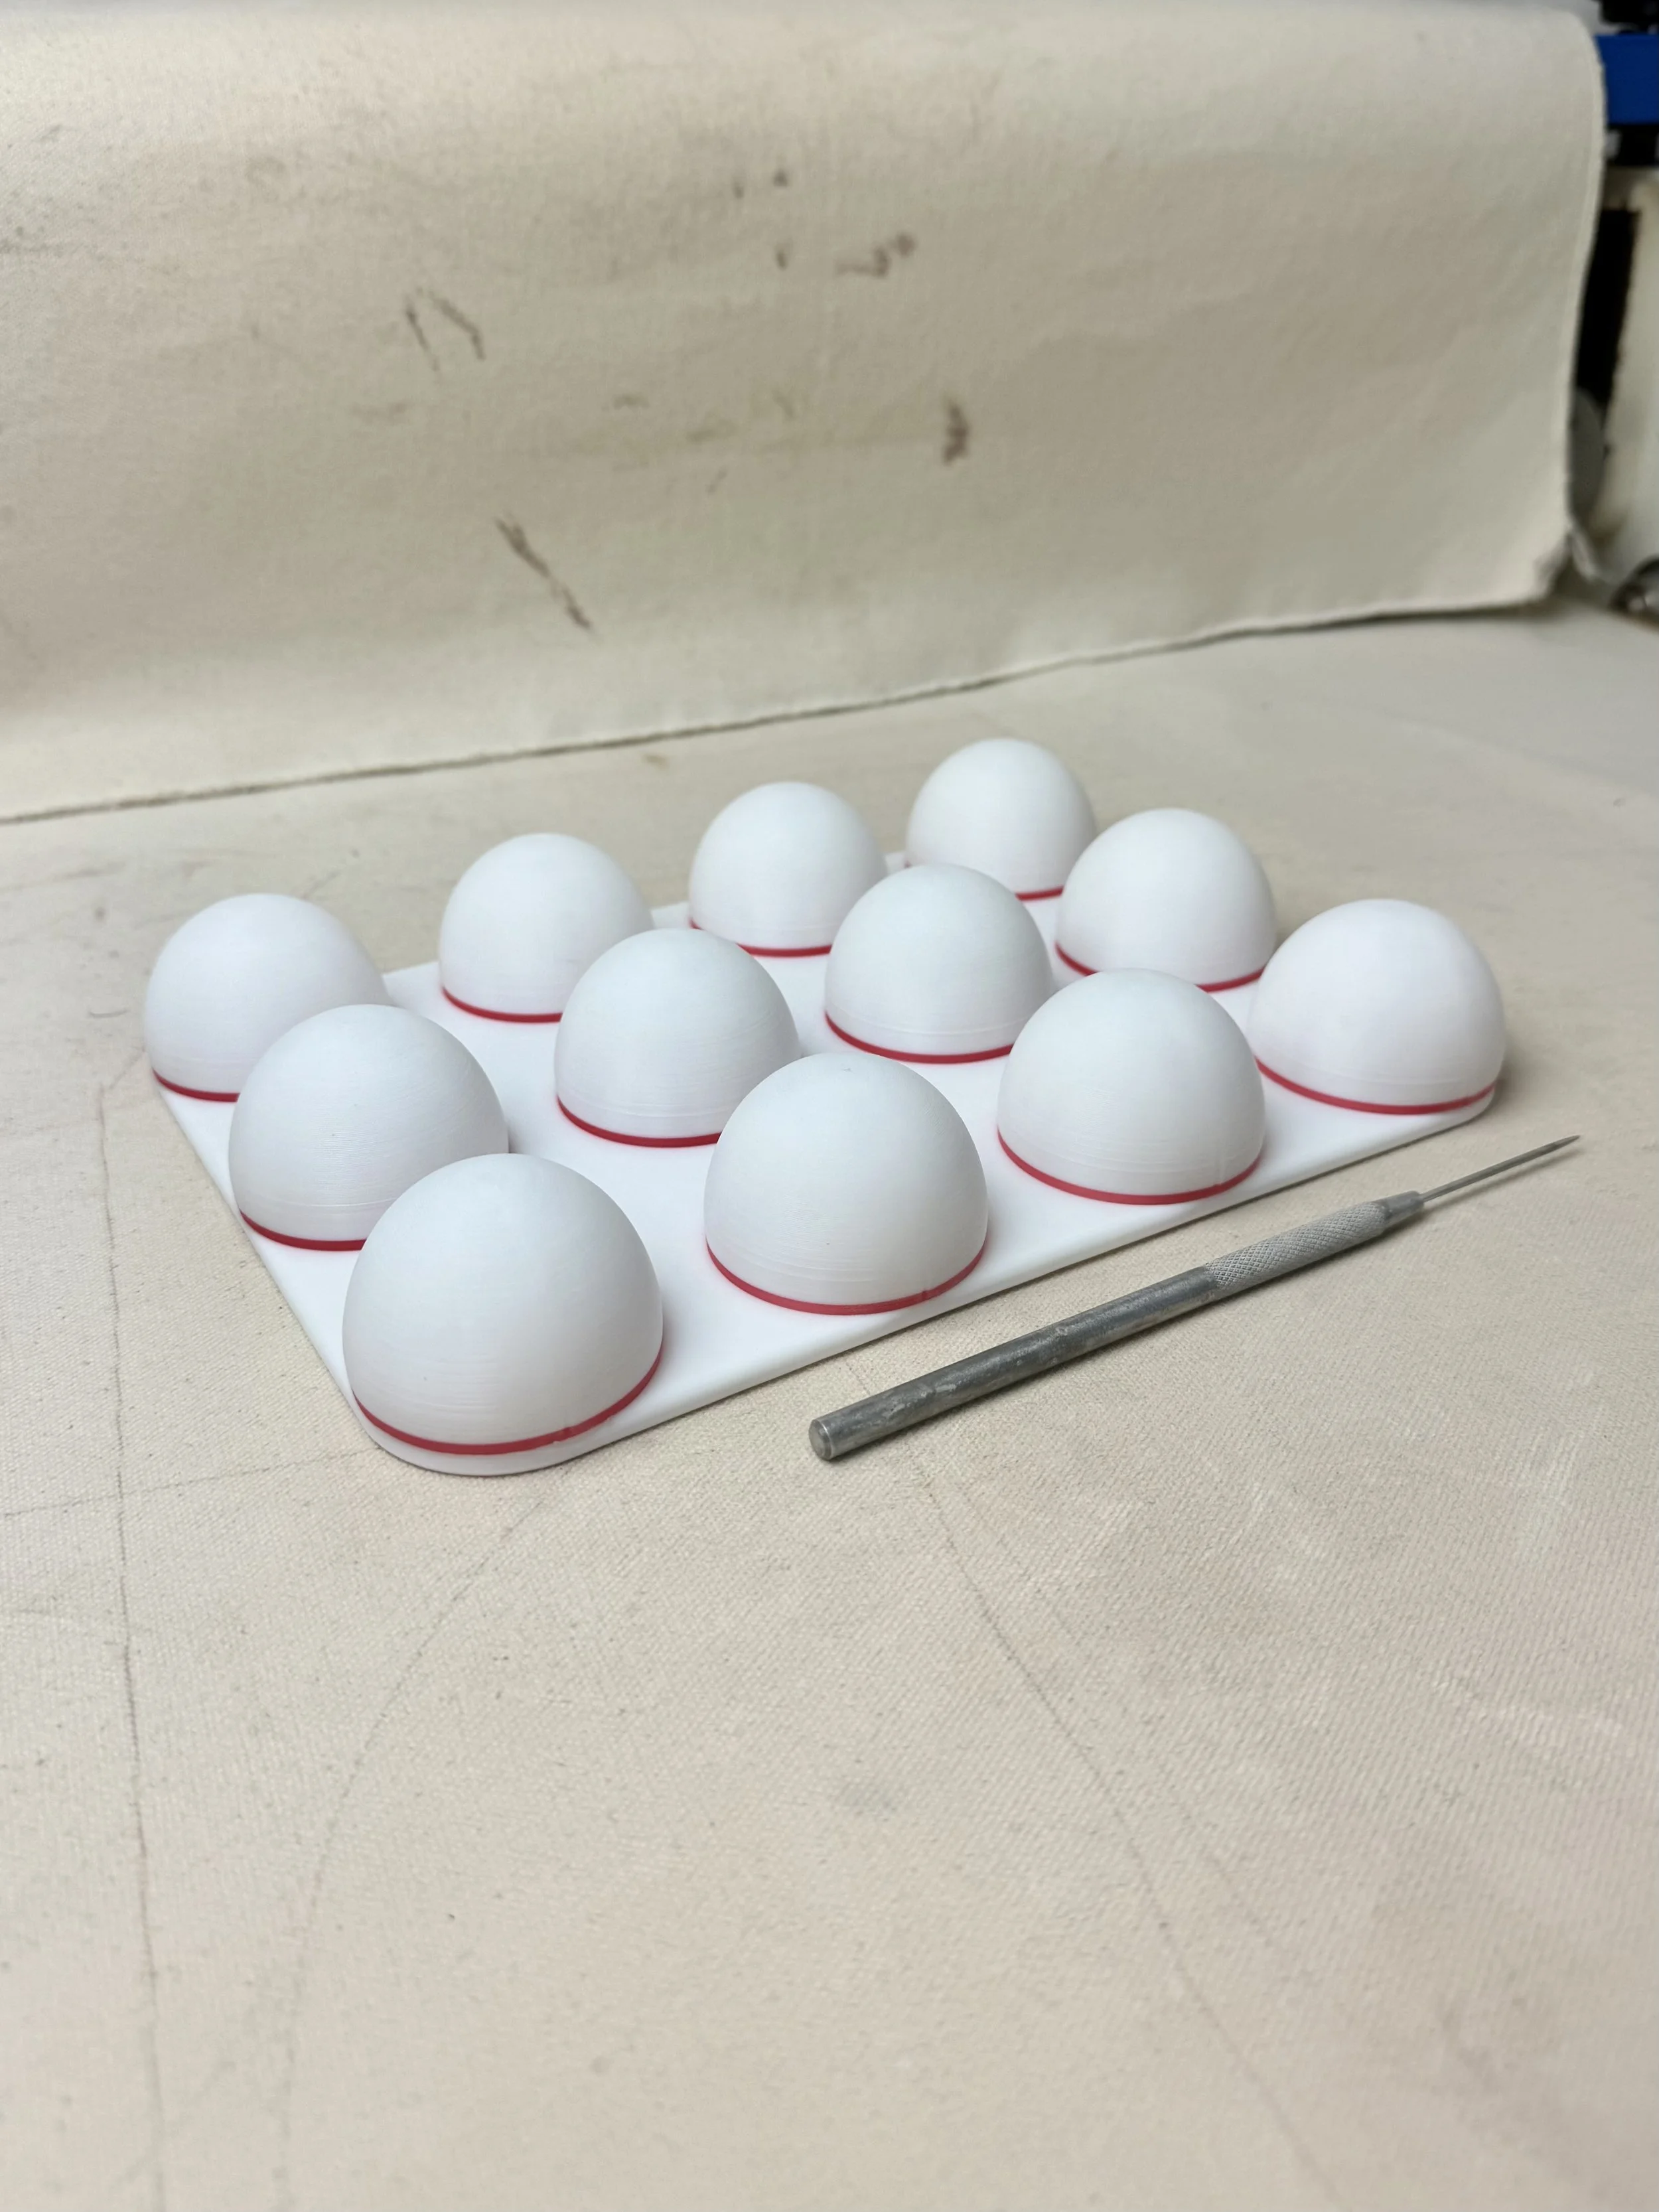
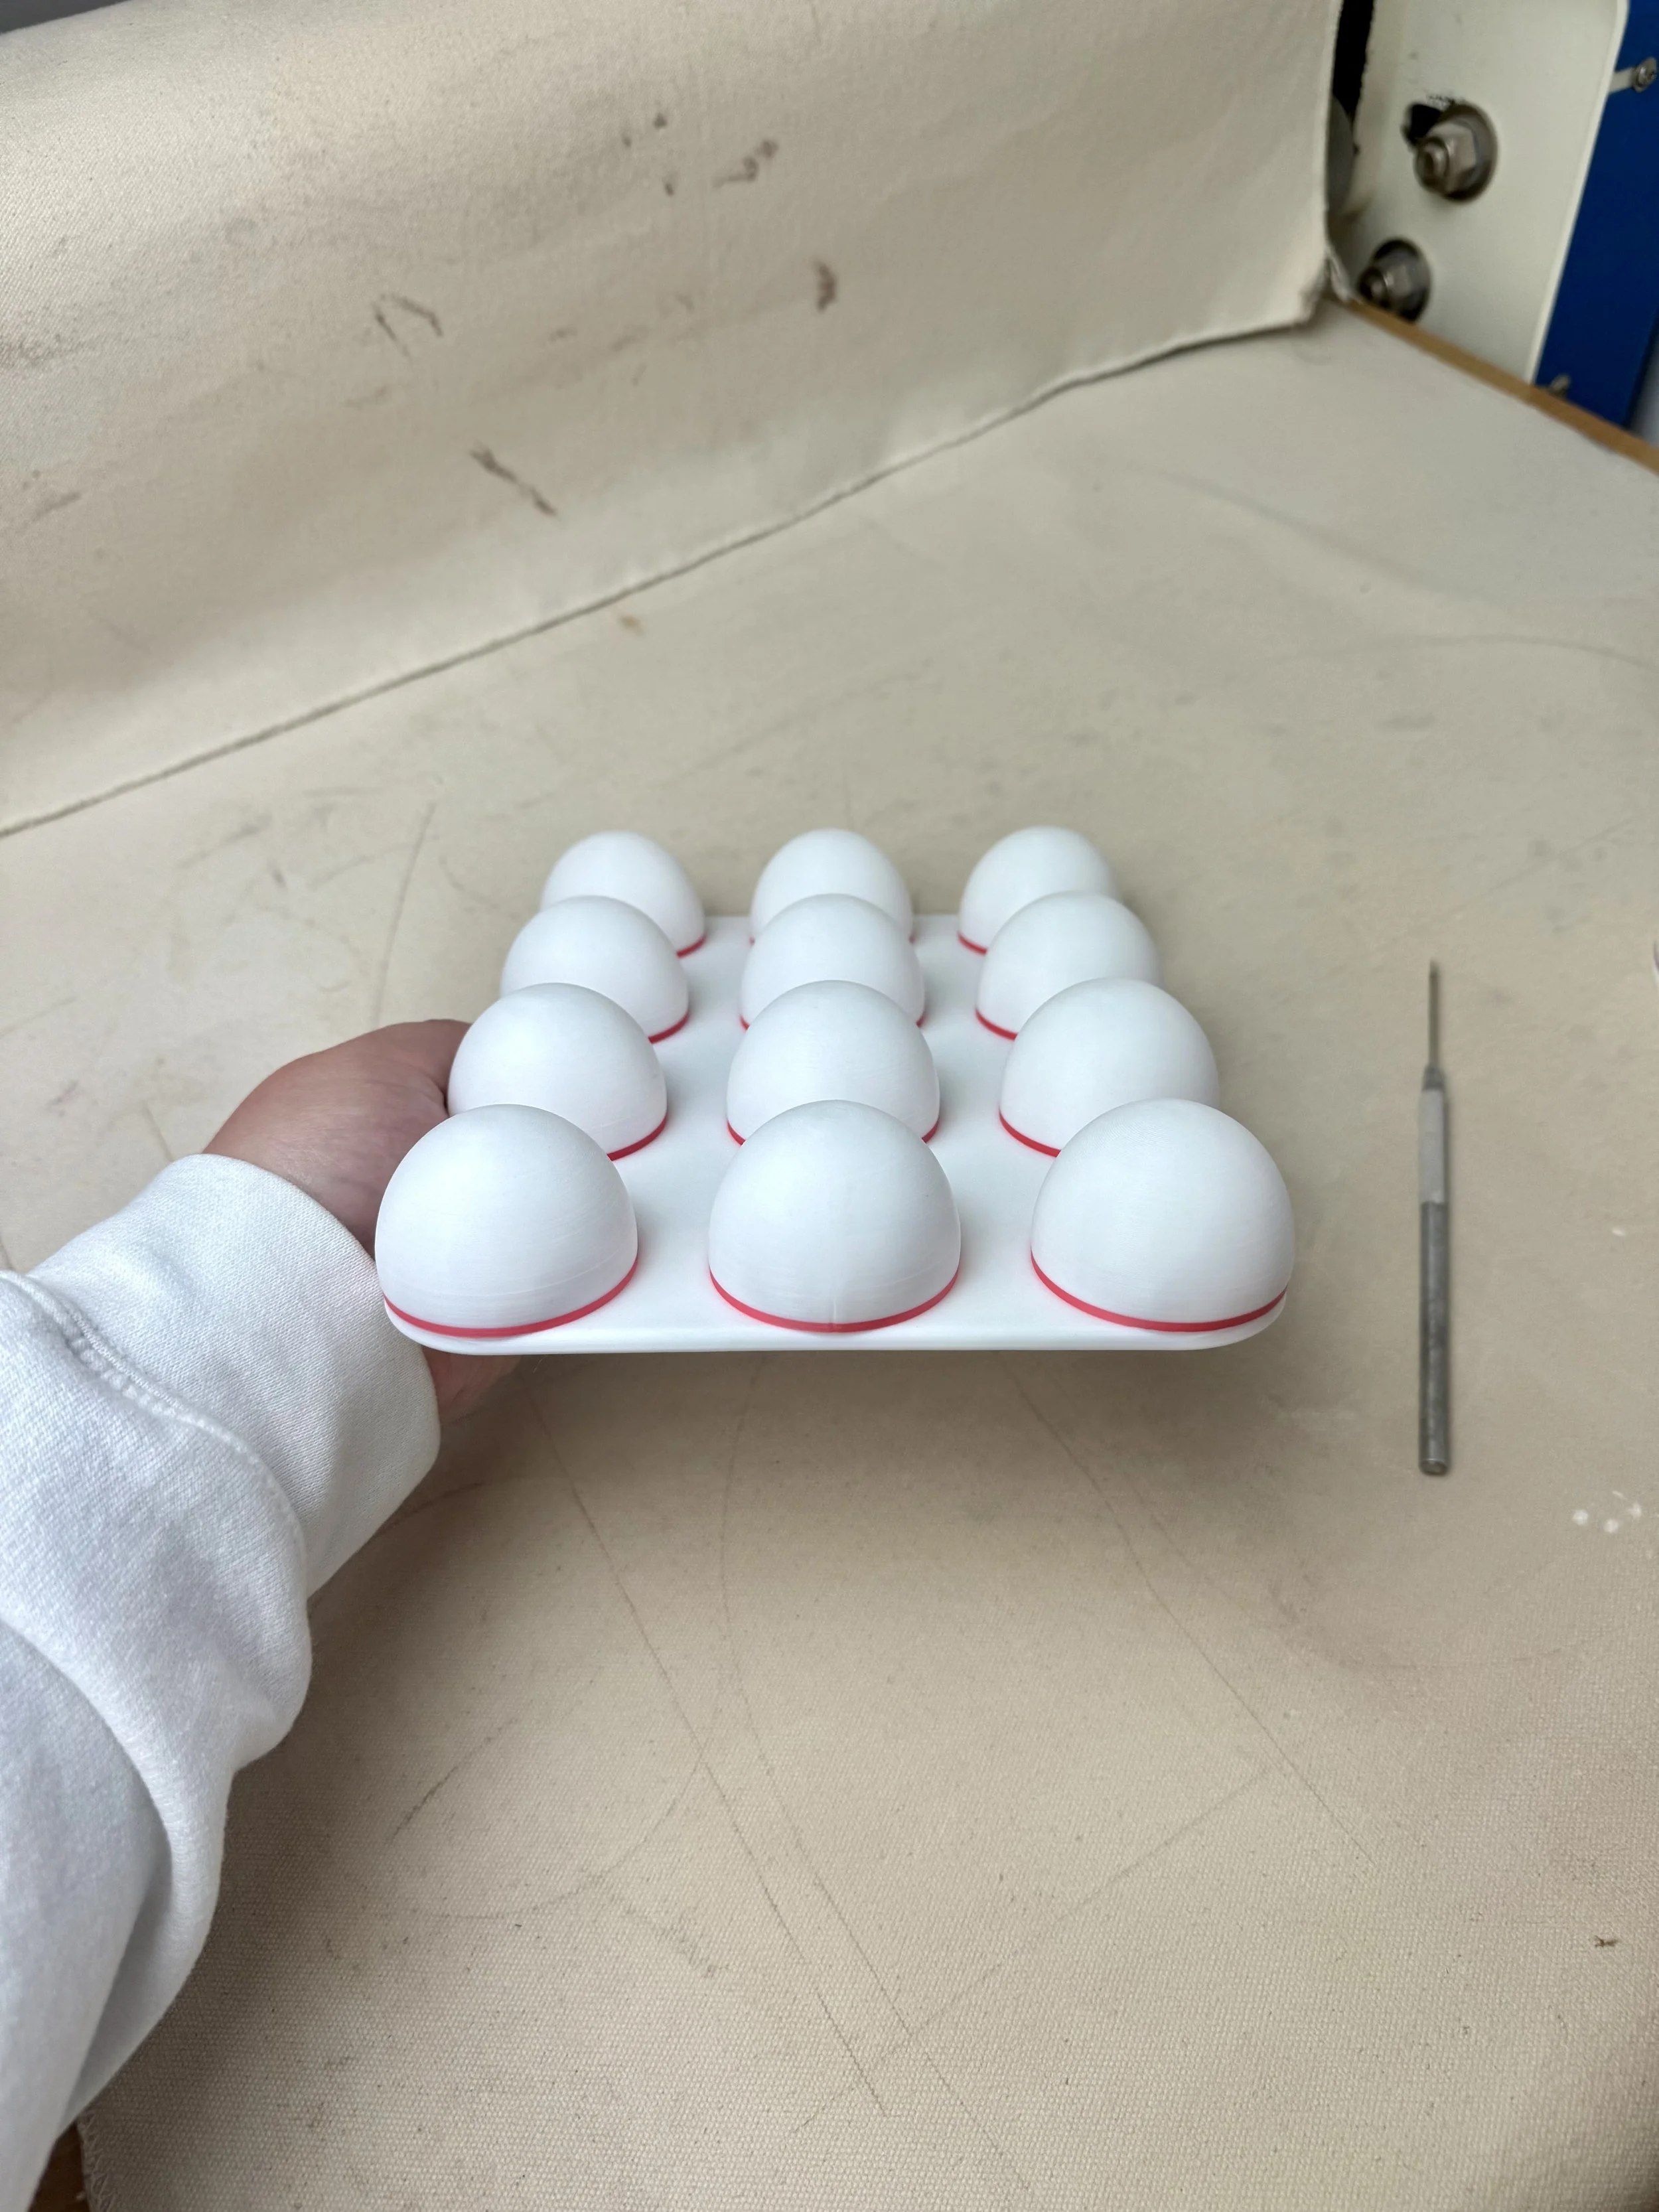
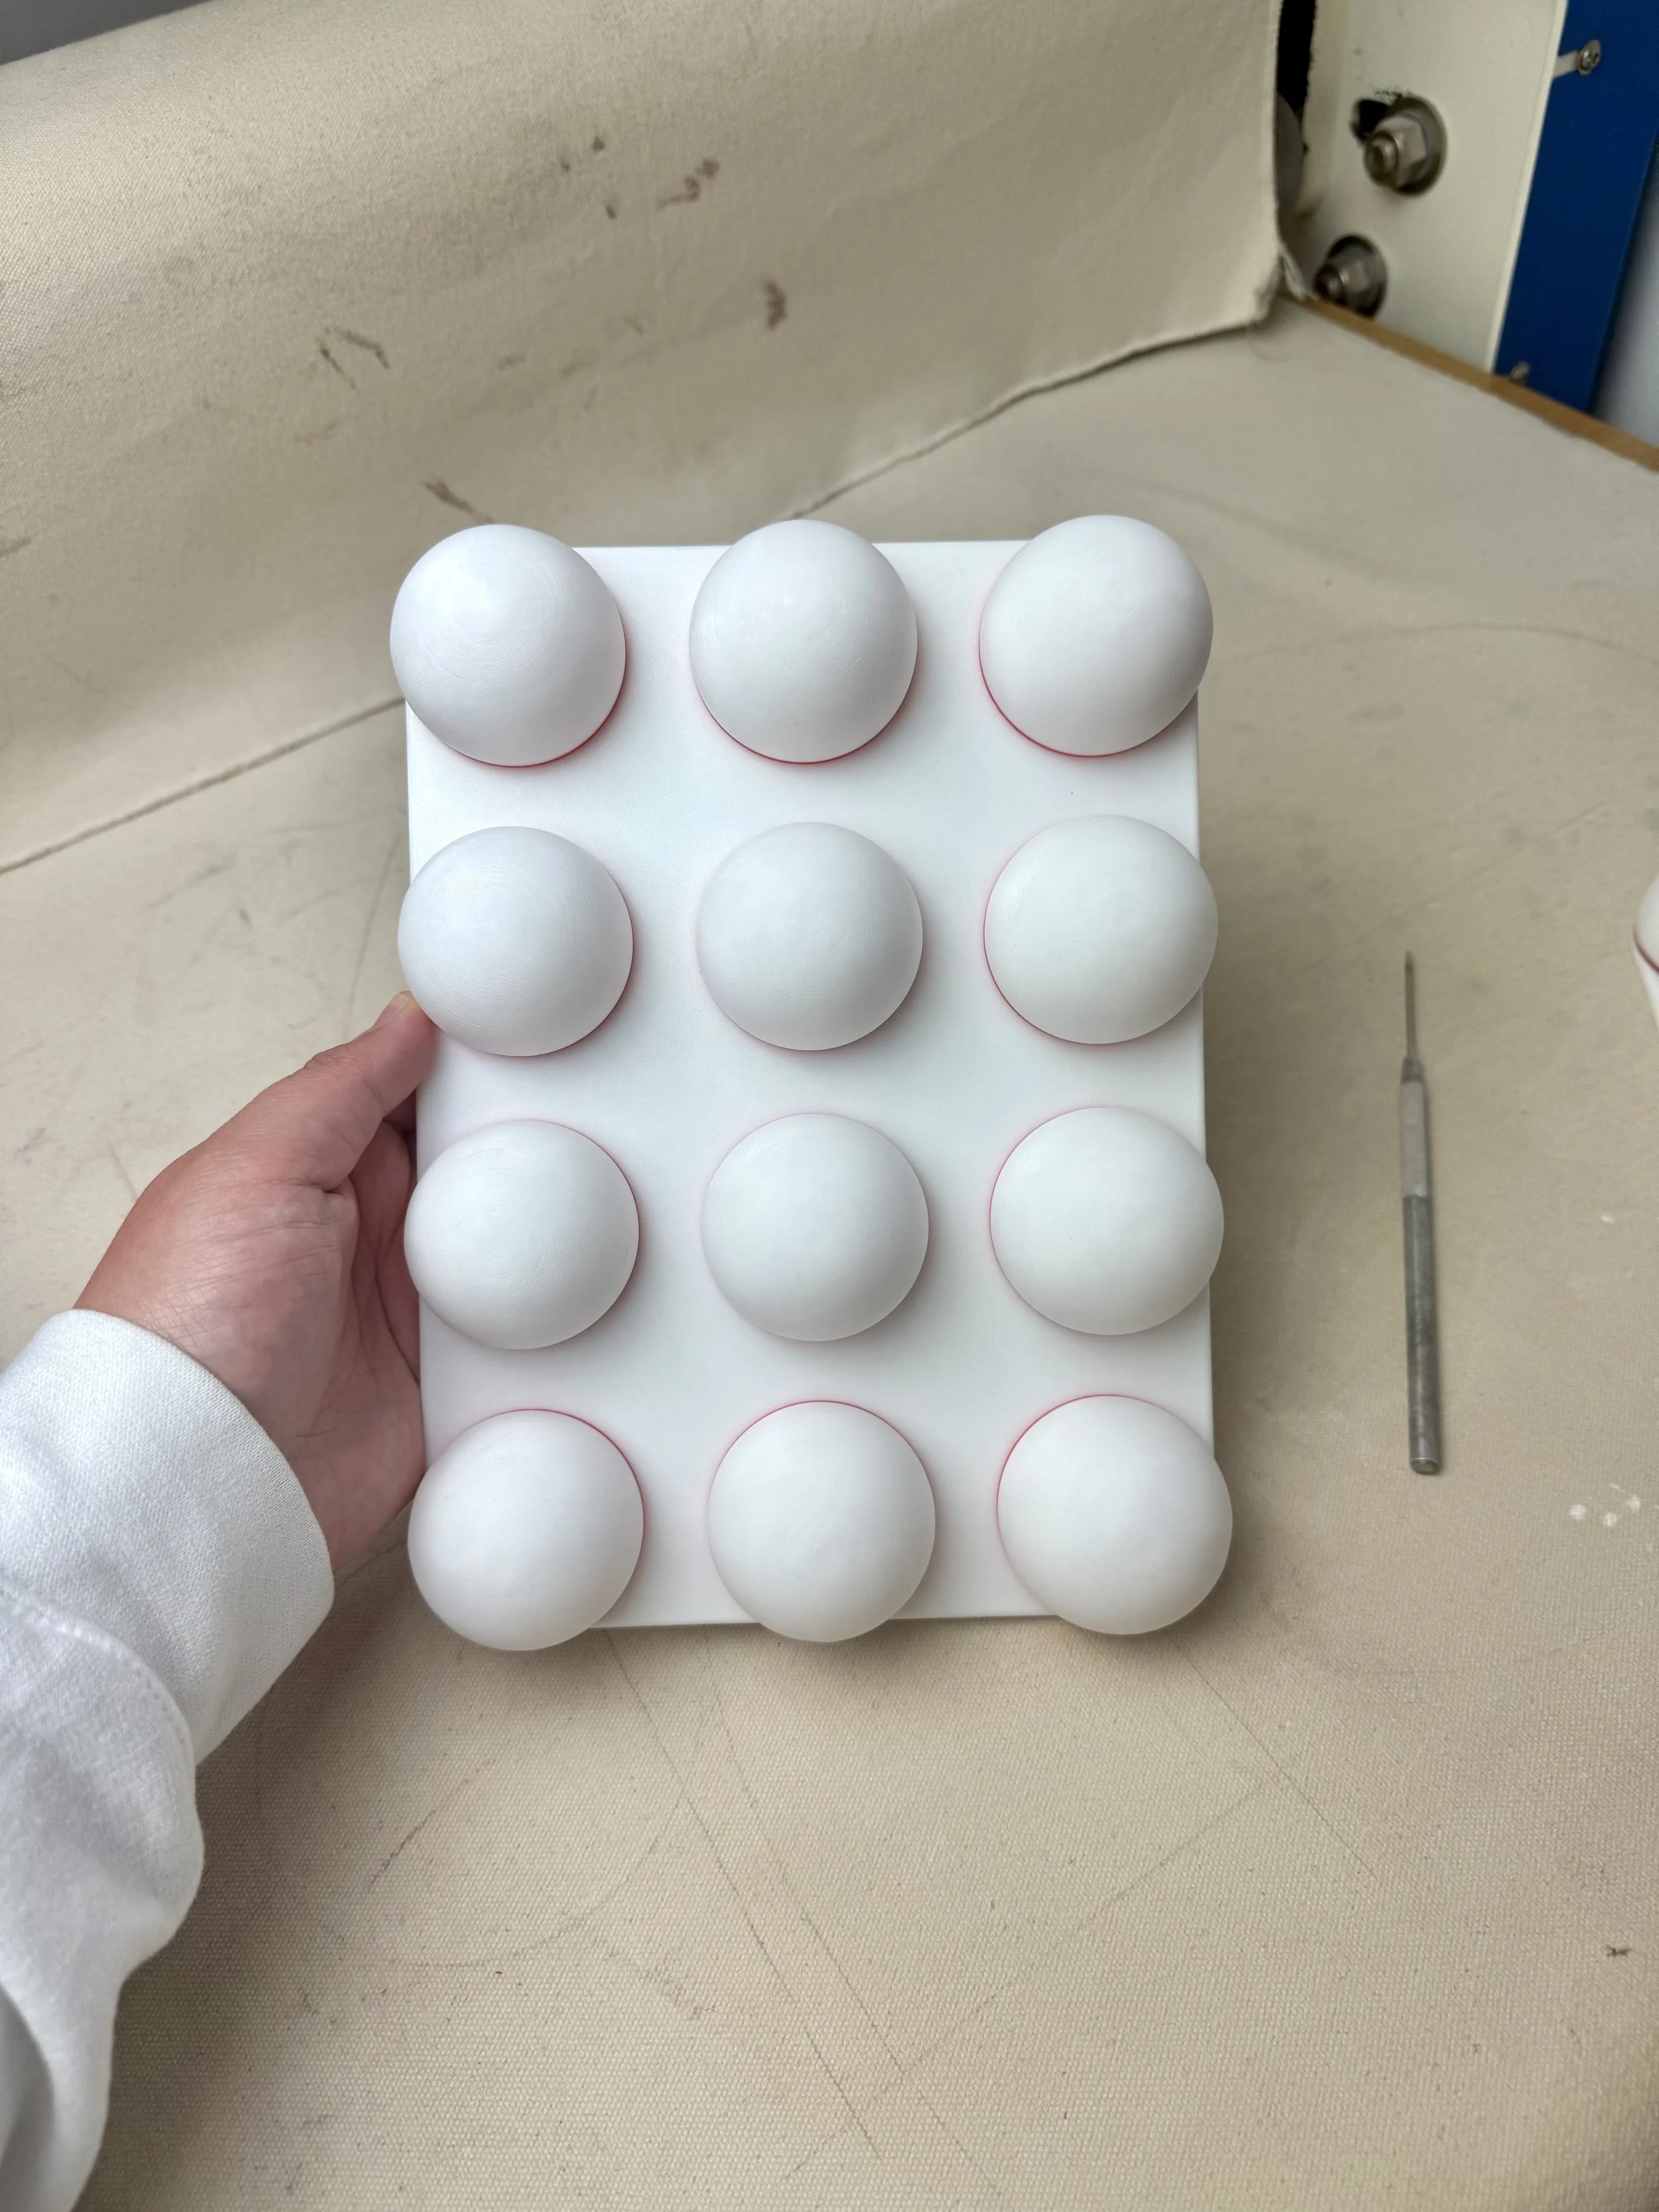
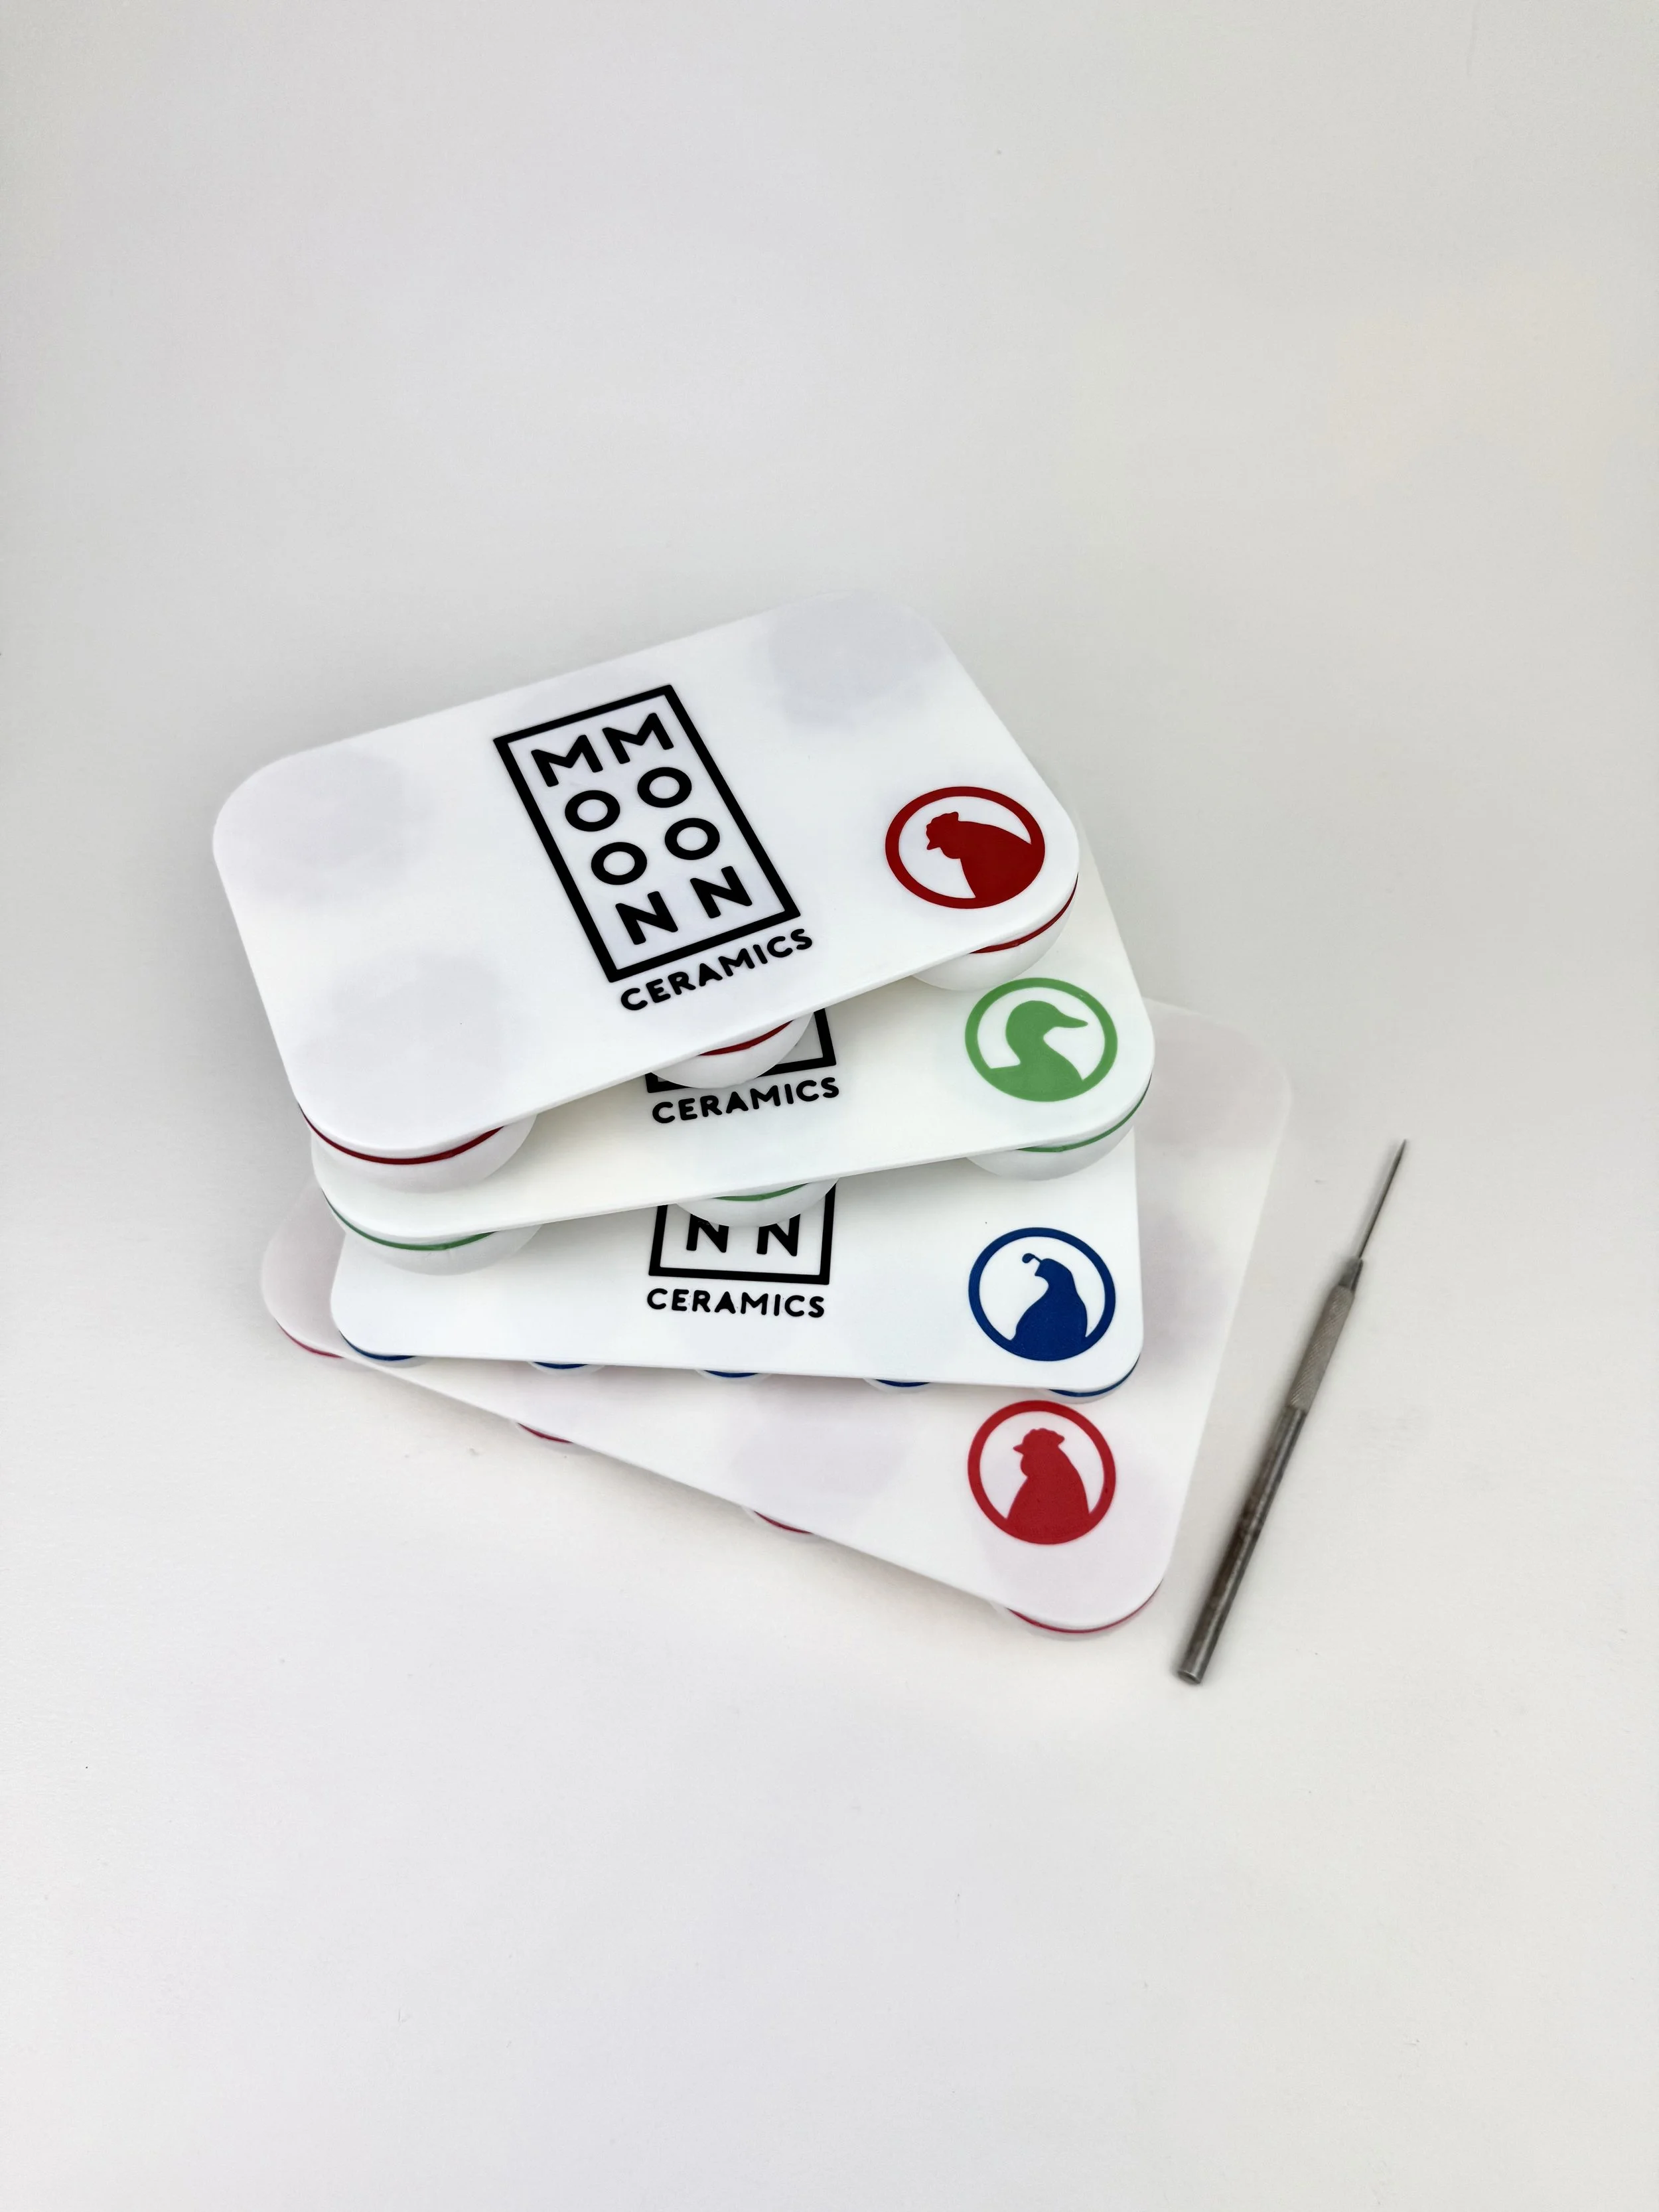

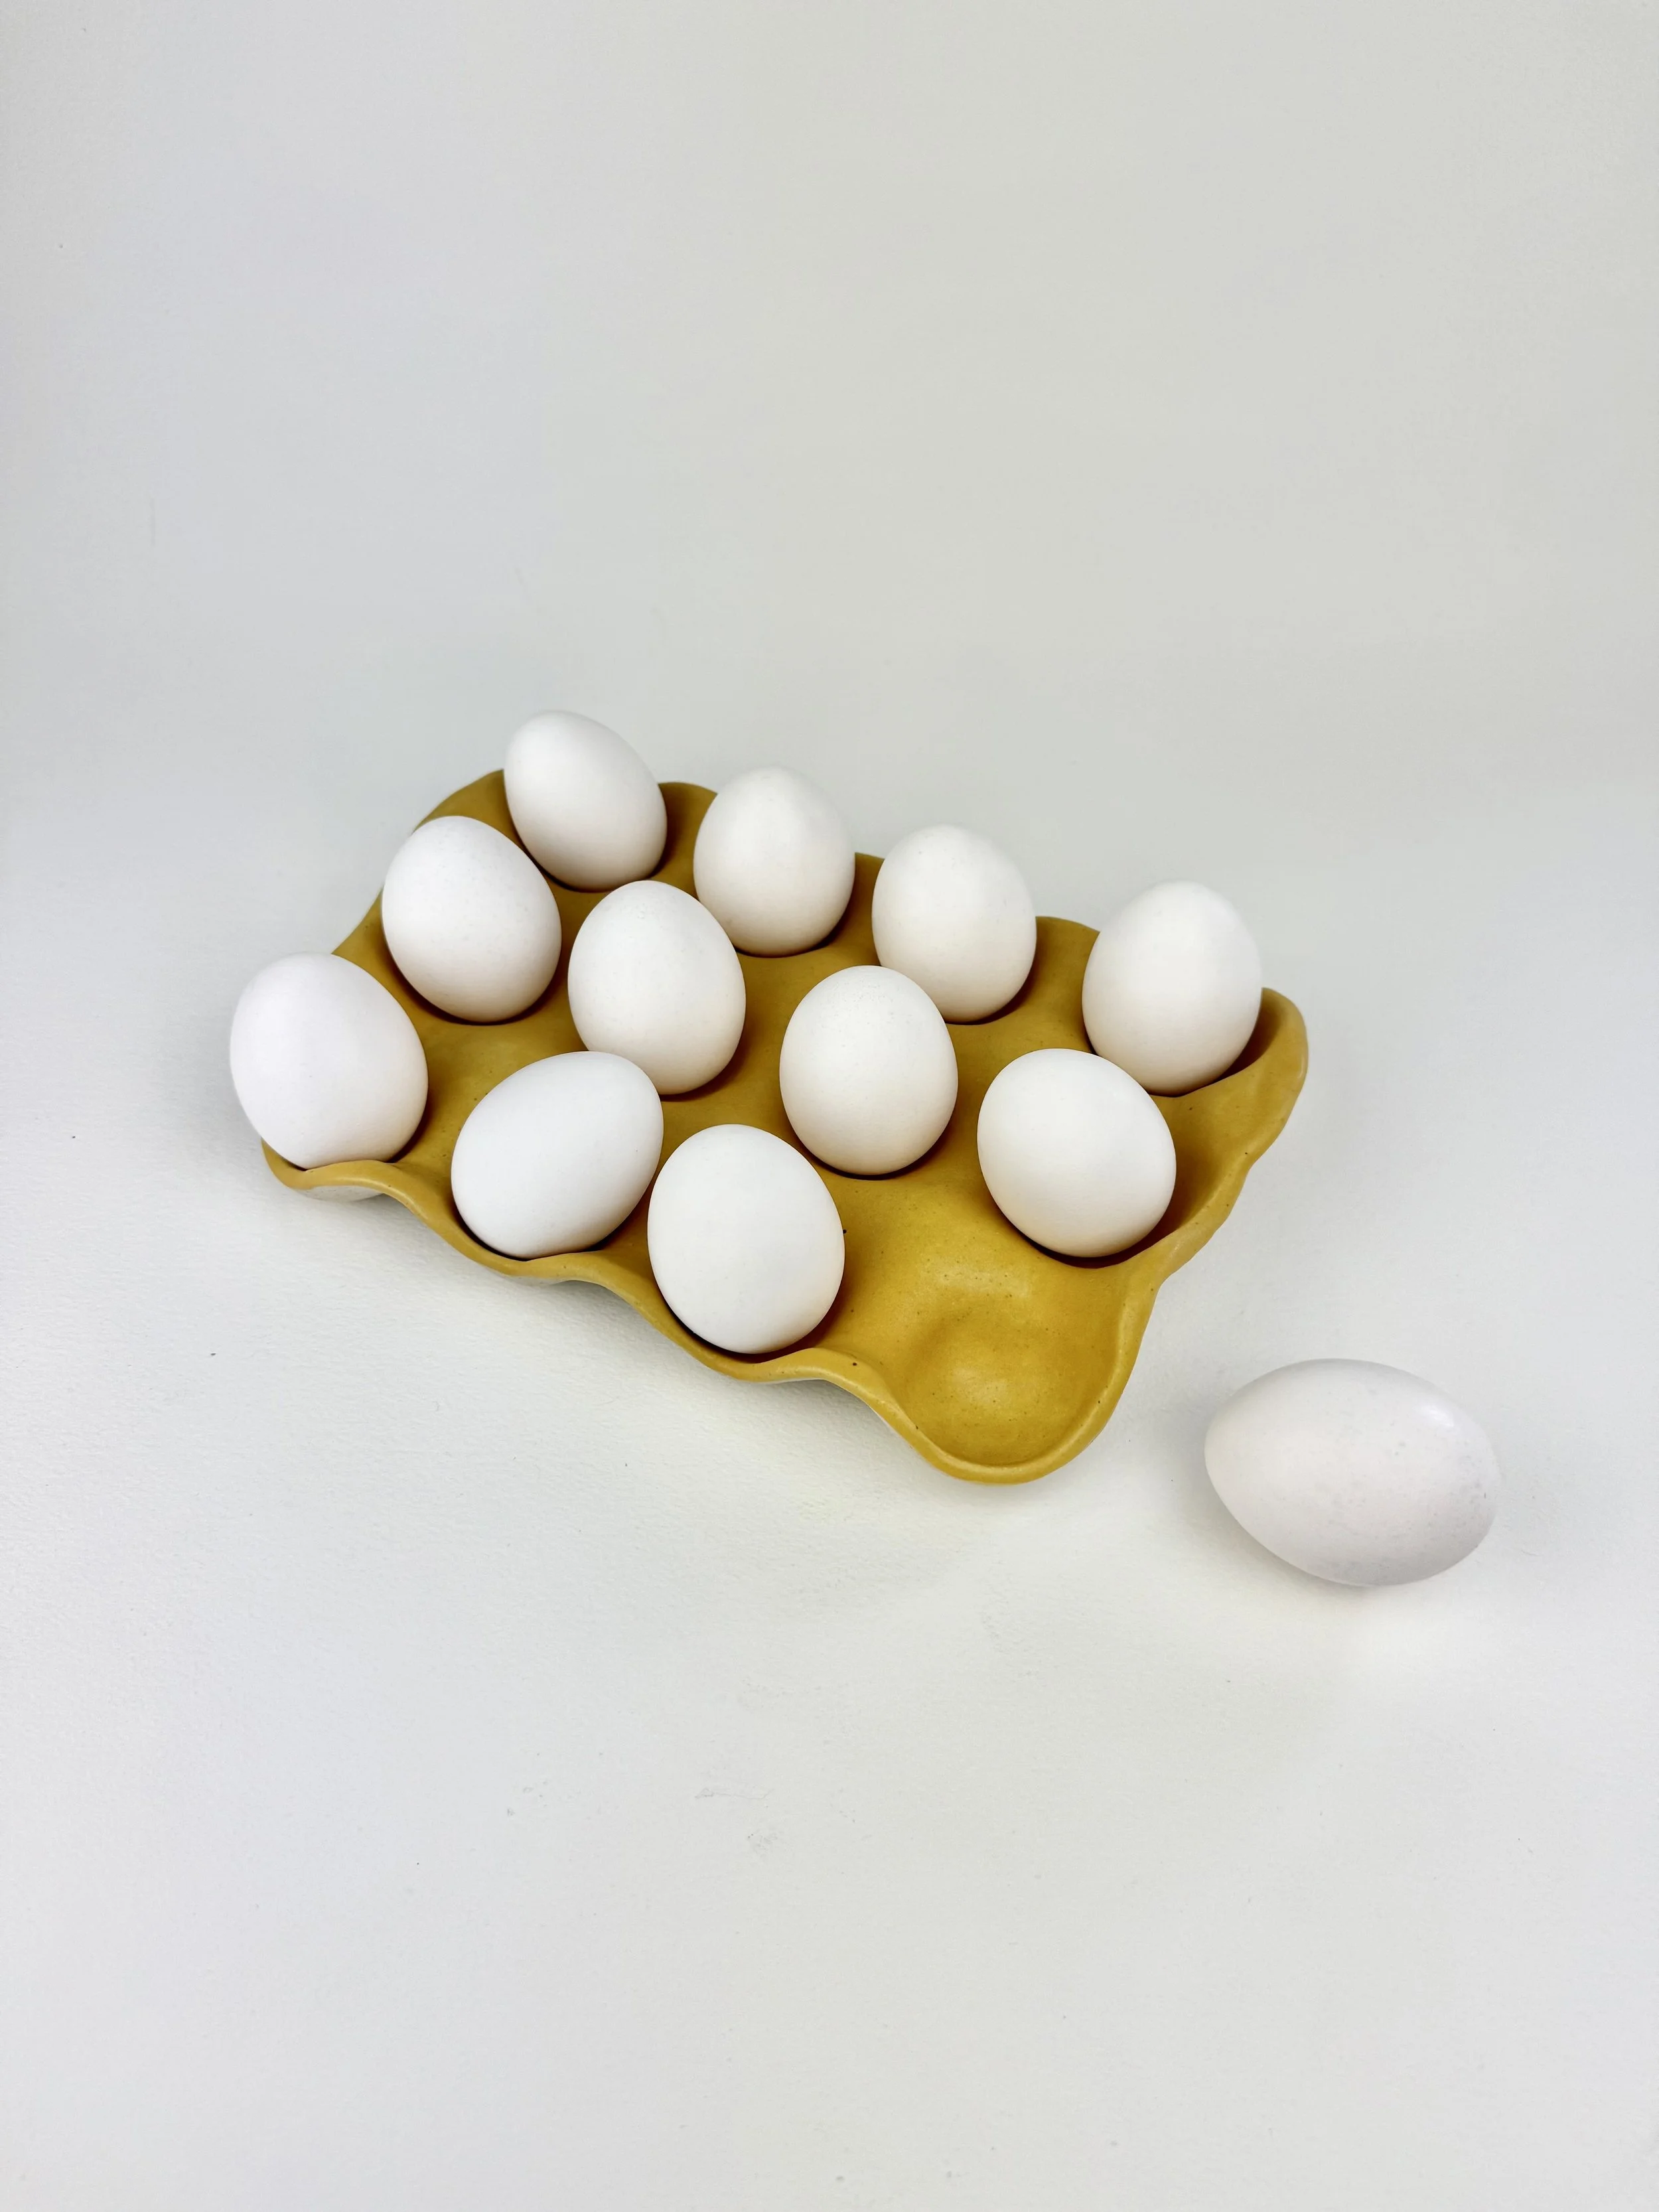
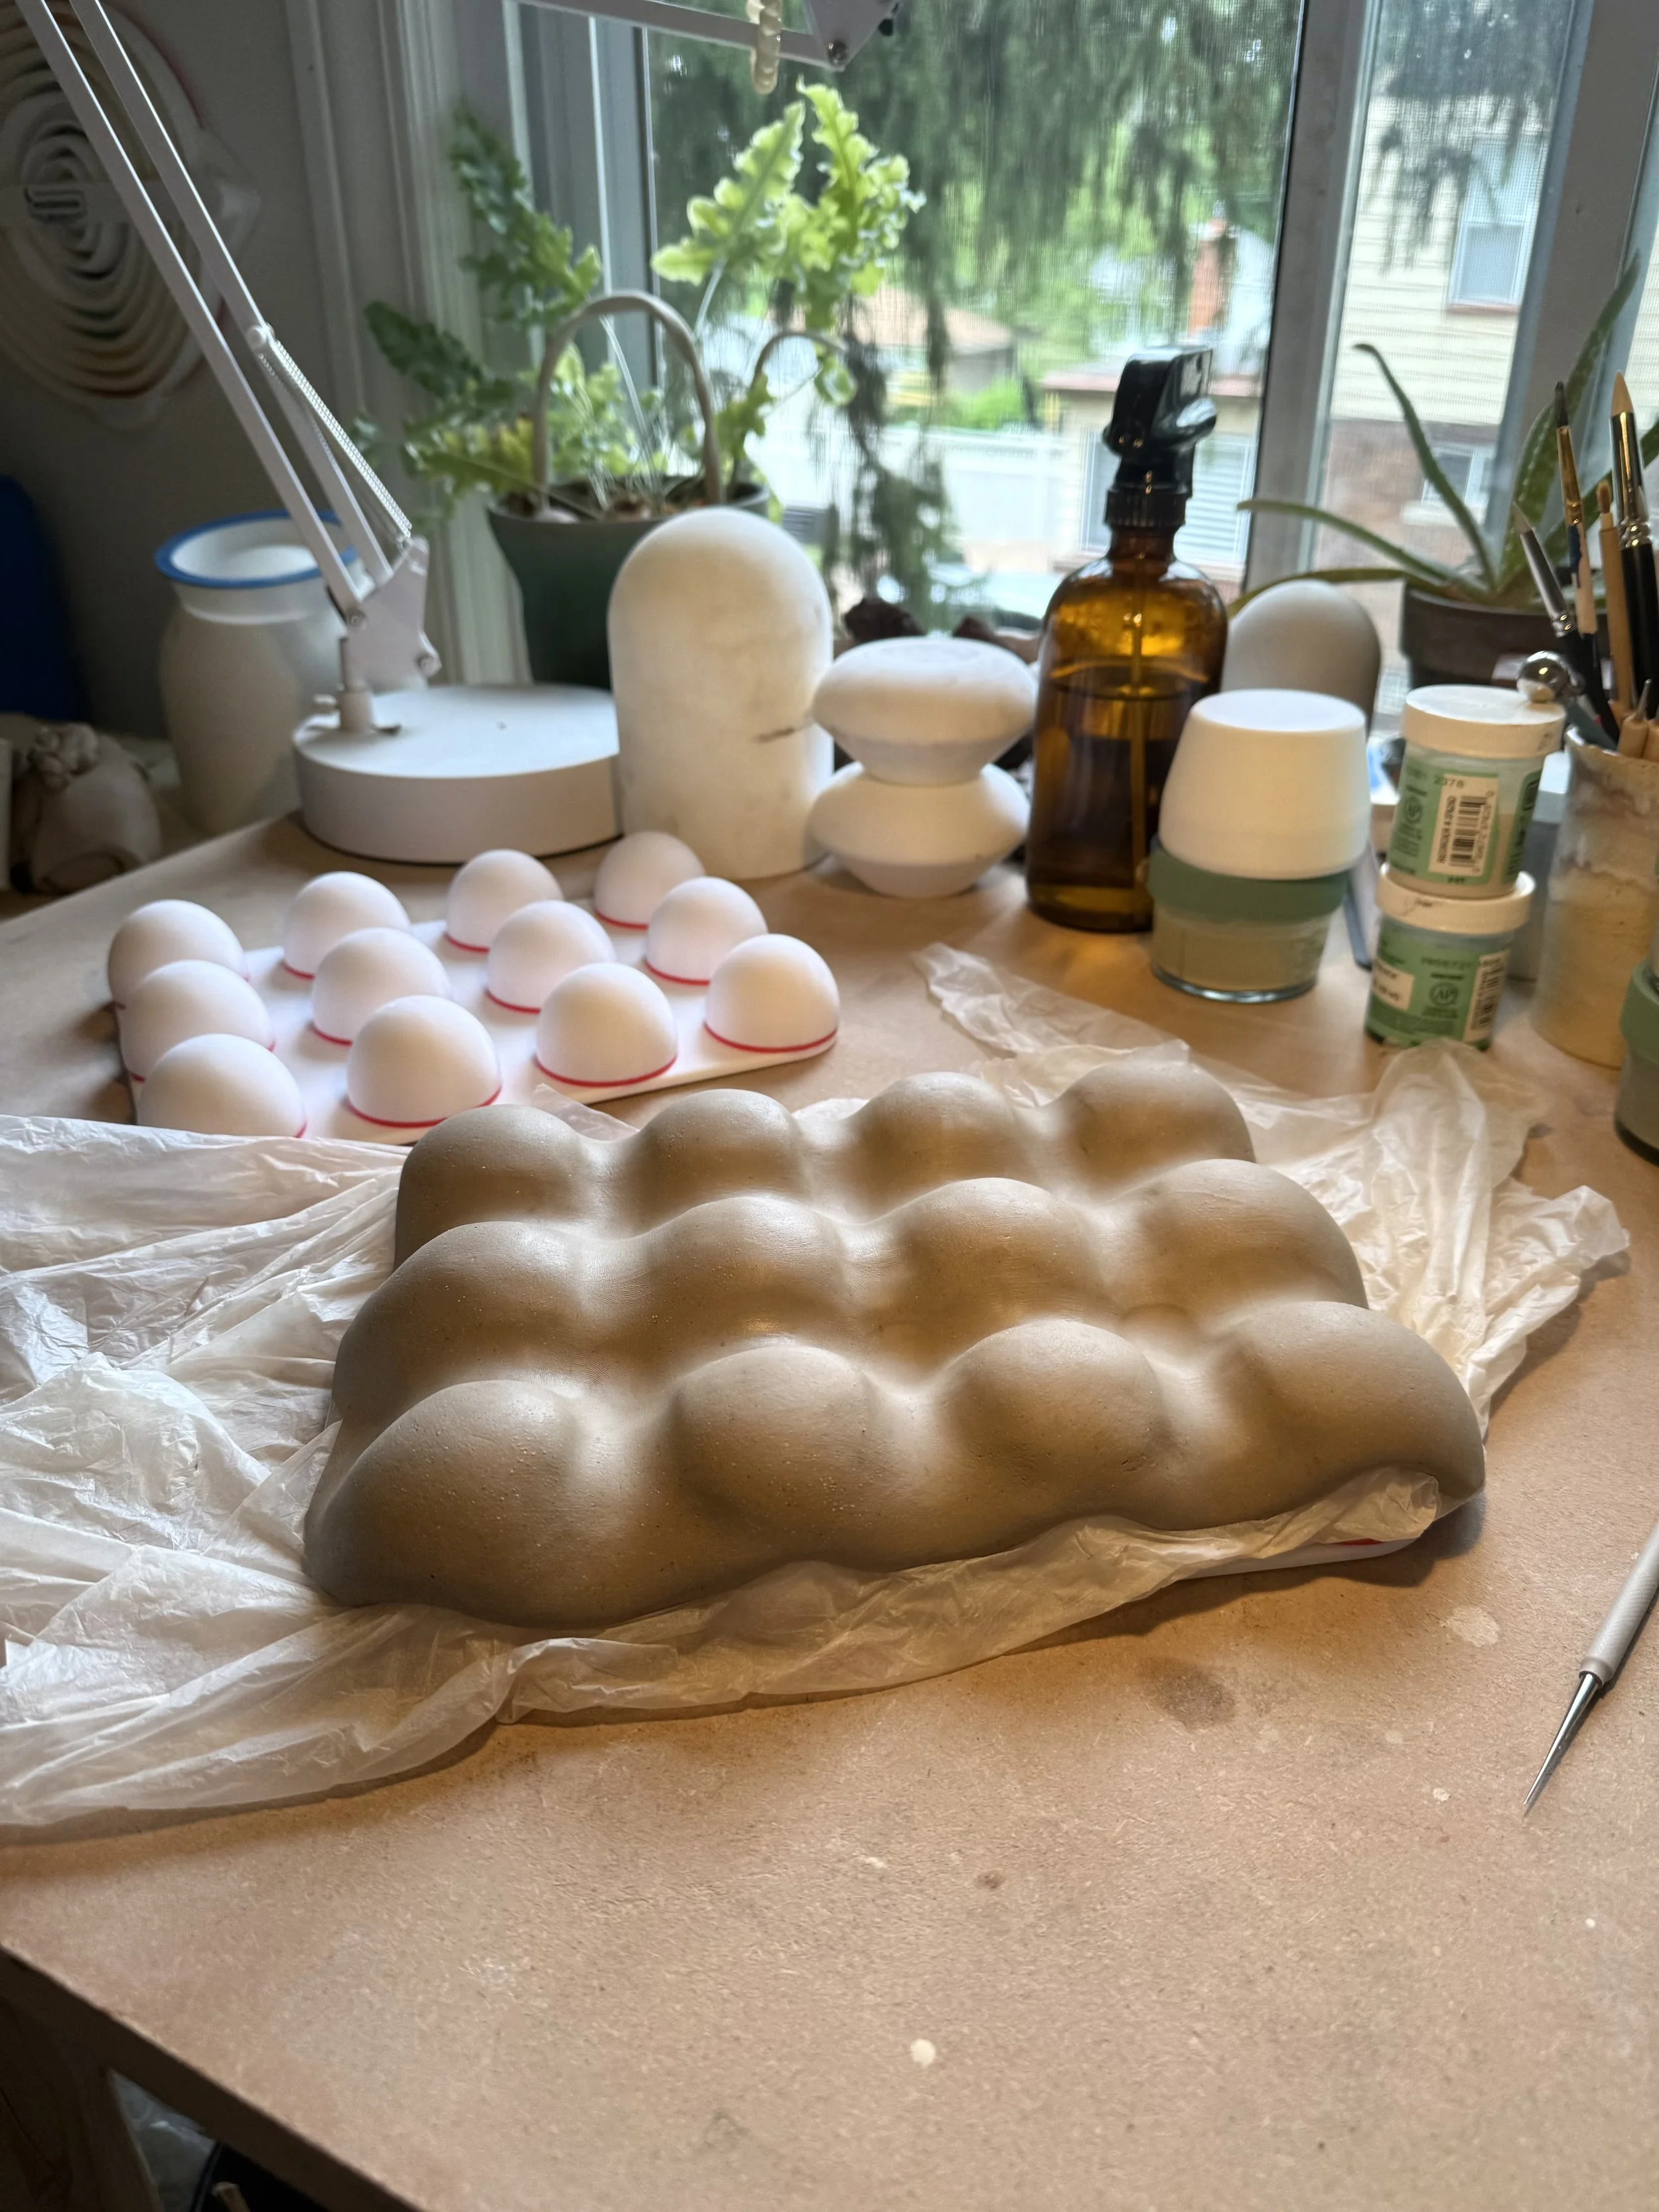
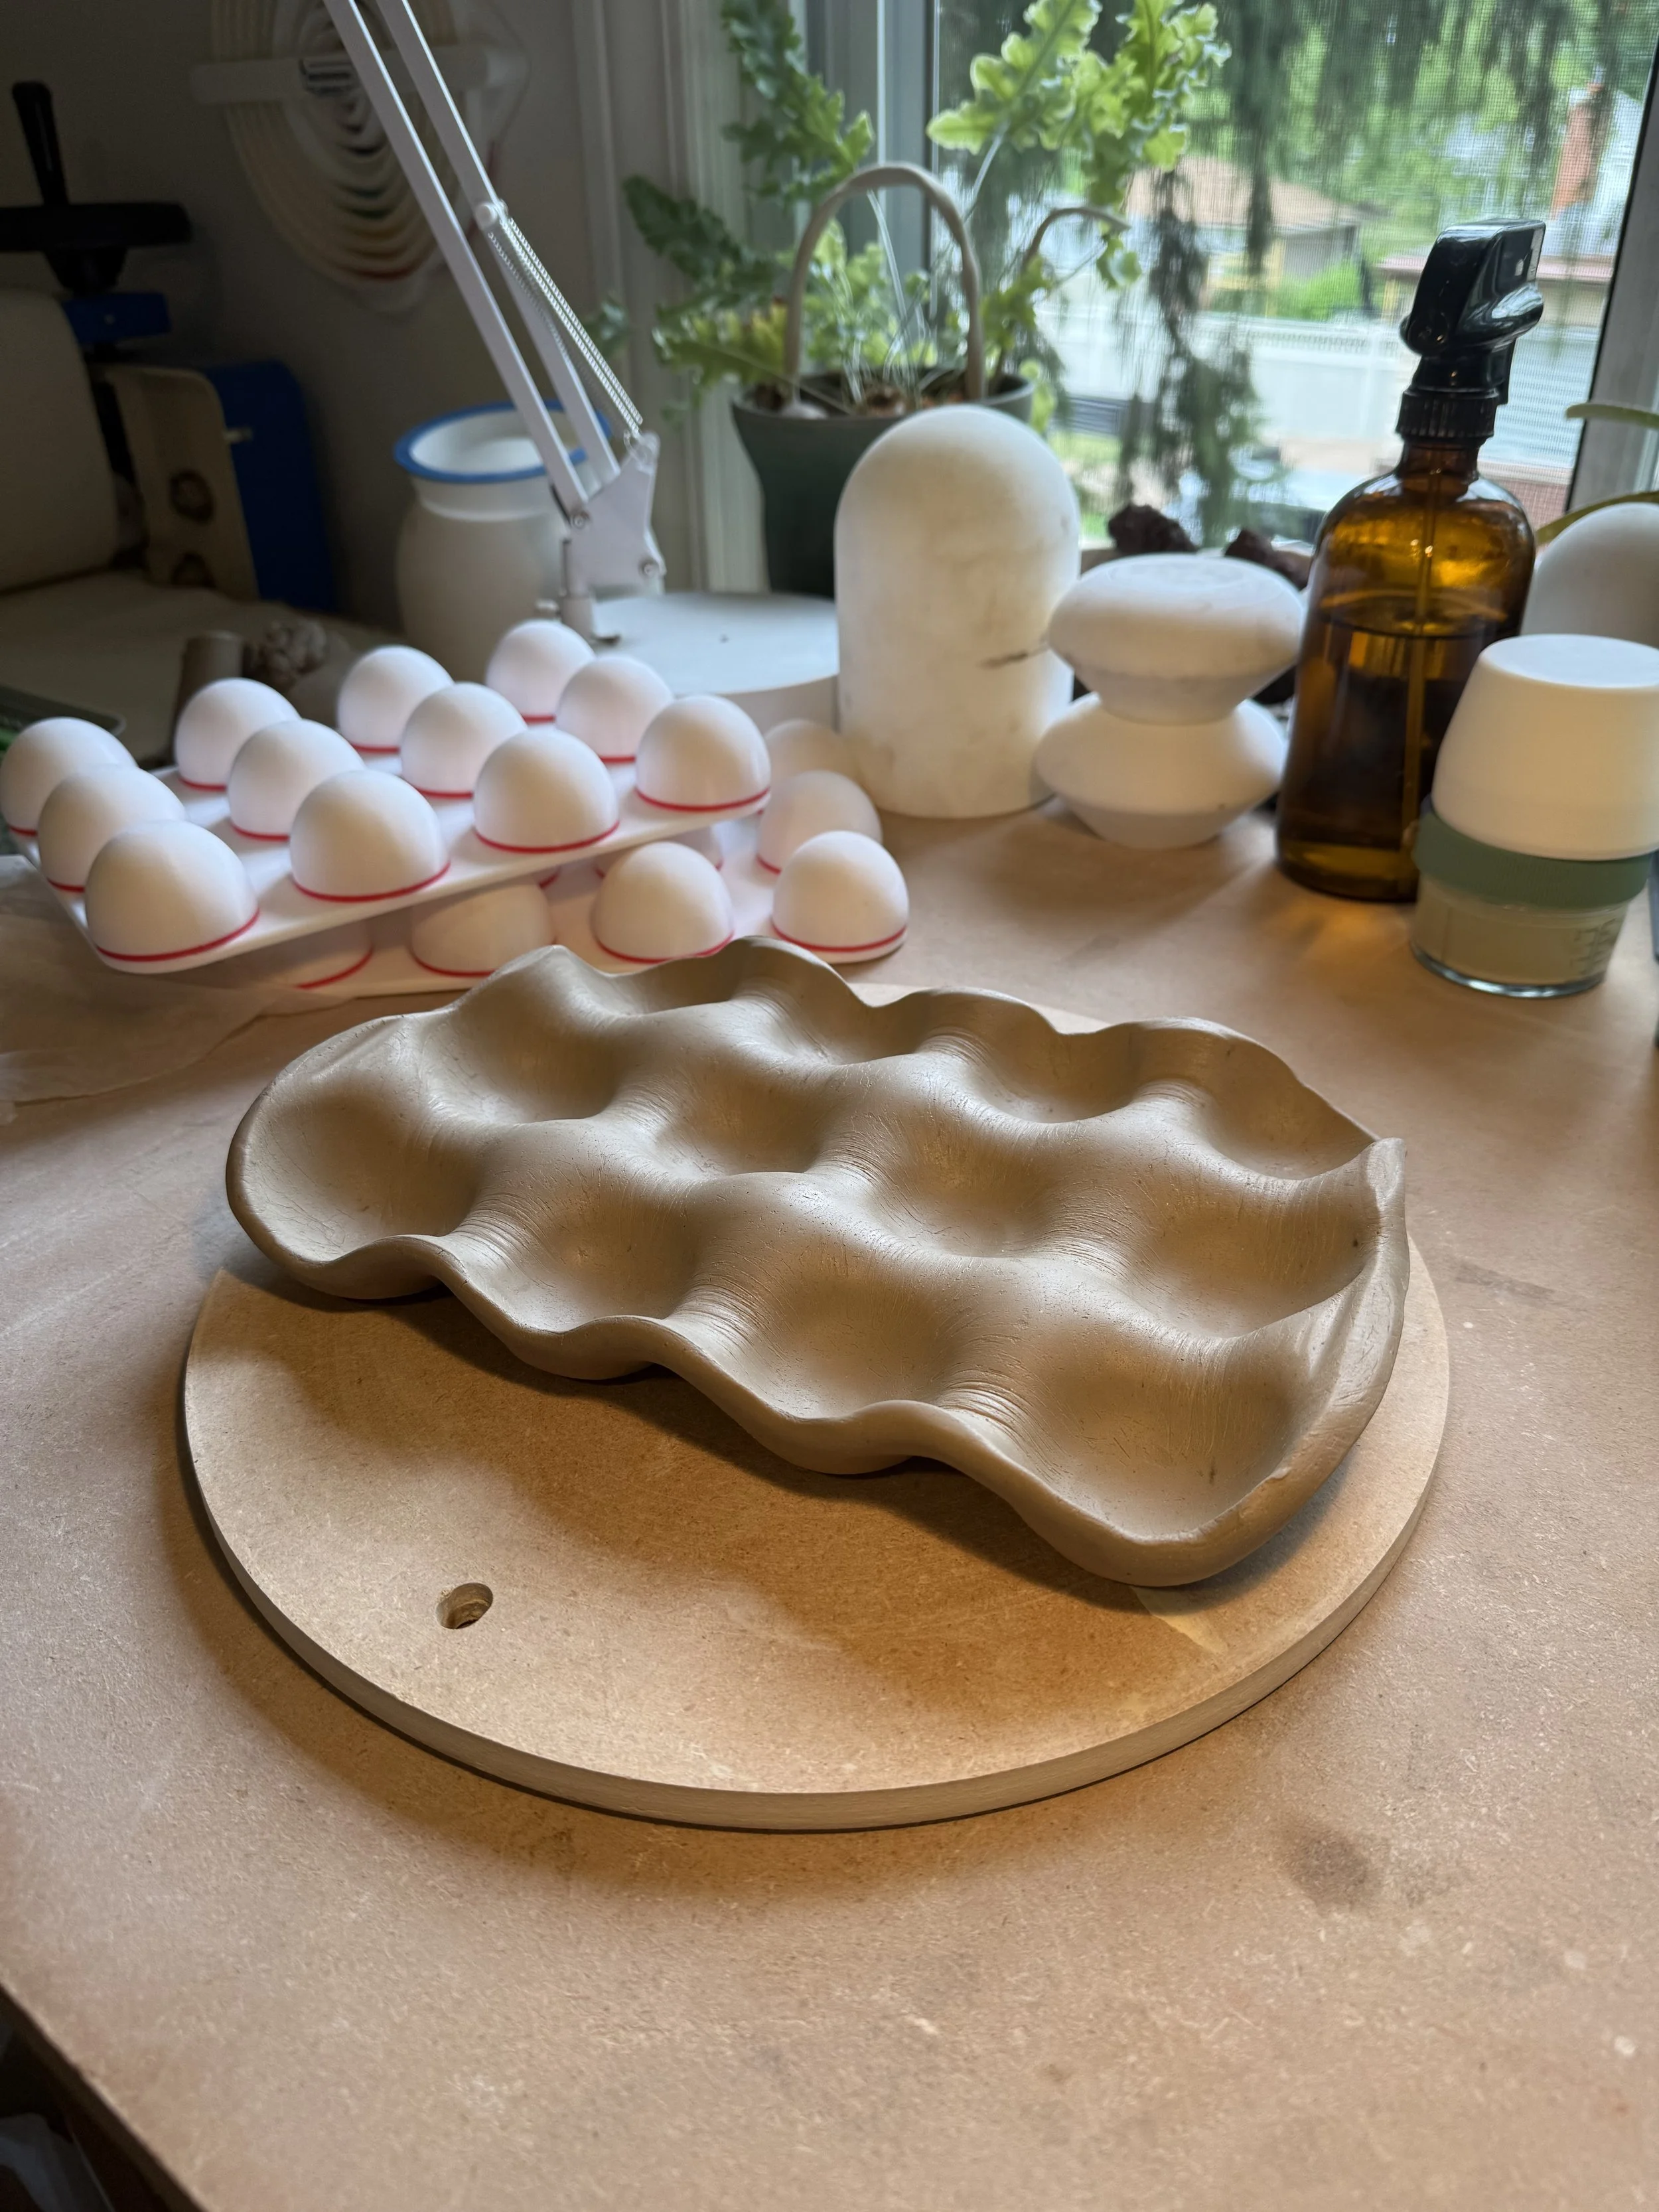

This is a set of 3D printed pottery drape form for making a ceramic egg tray. Set includes these forms - small chicken 6, duck 6, 15 quail and chicken 12 egg forms. All eggs are enlarged to accommodate average 12% clay shrinkage. After your egg tray has been fired it will fit a standard egg.
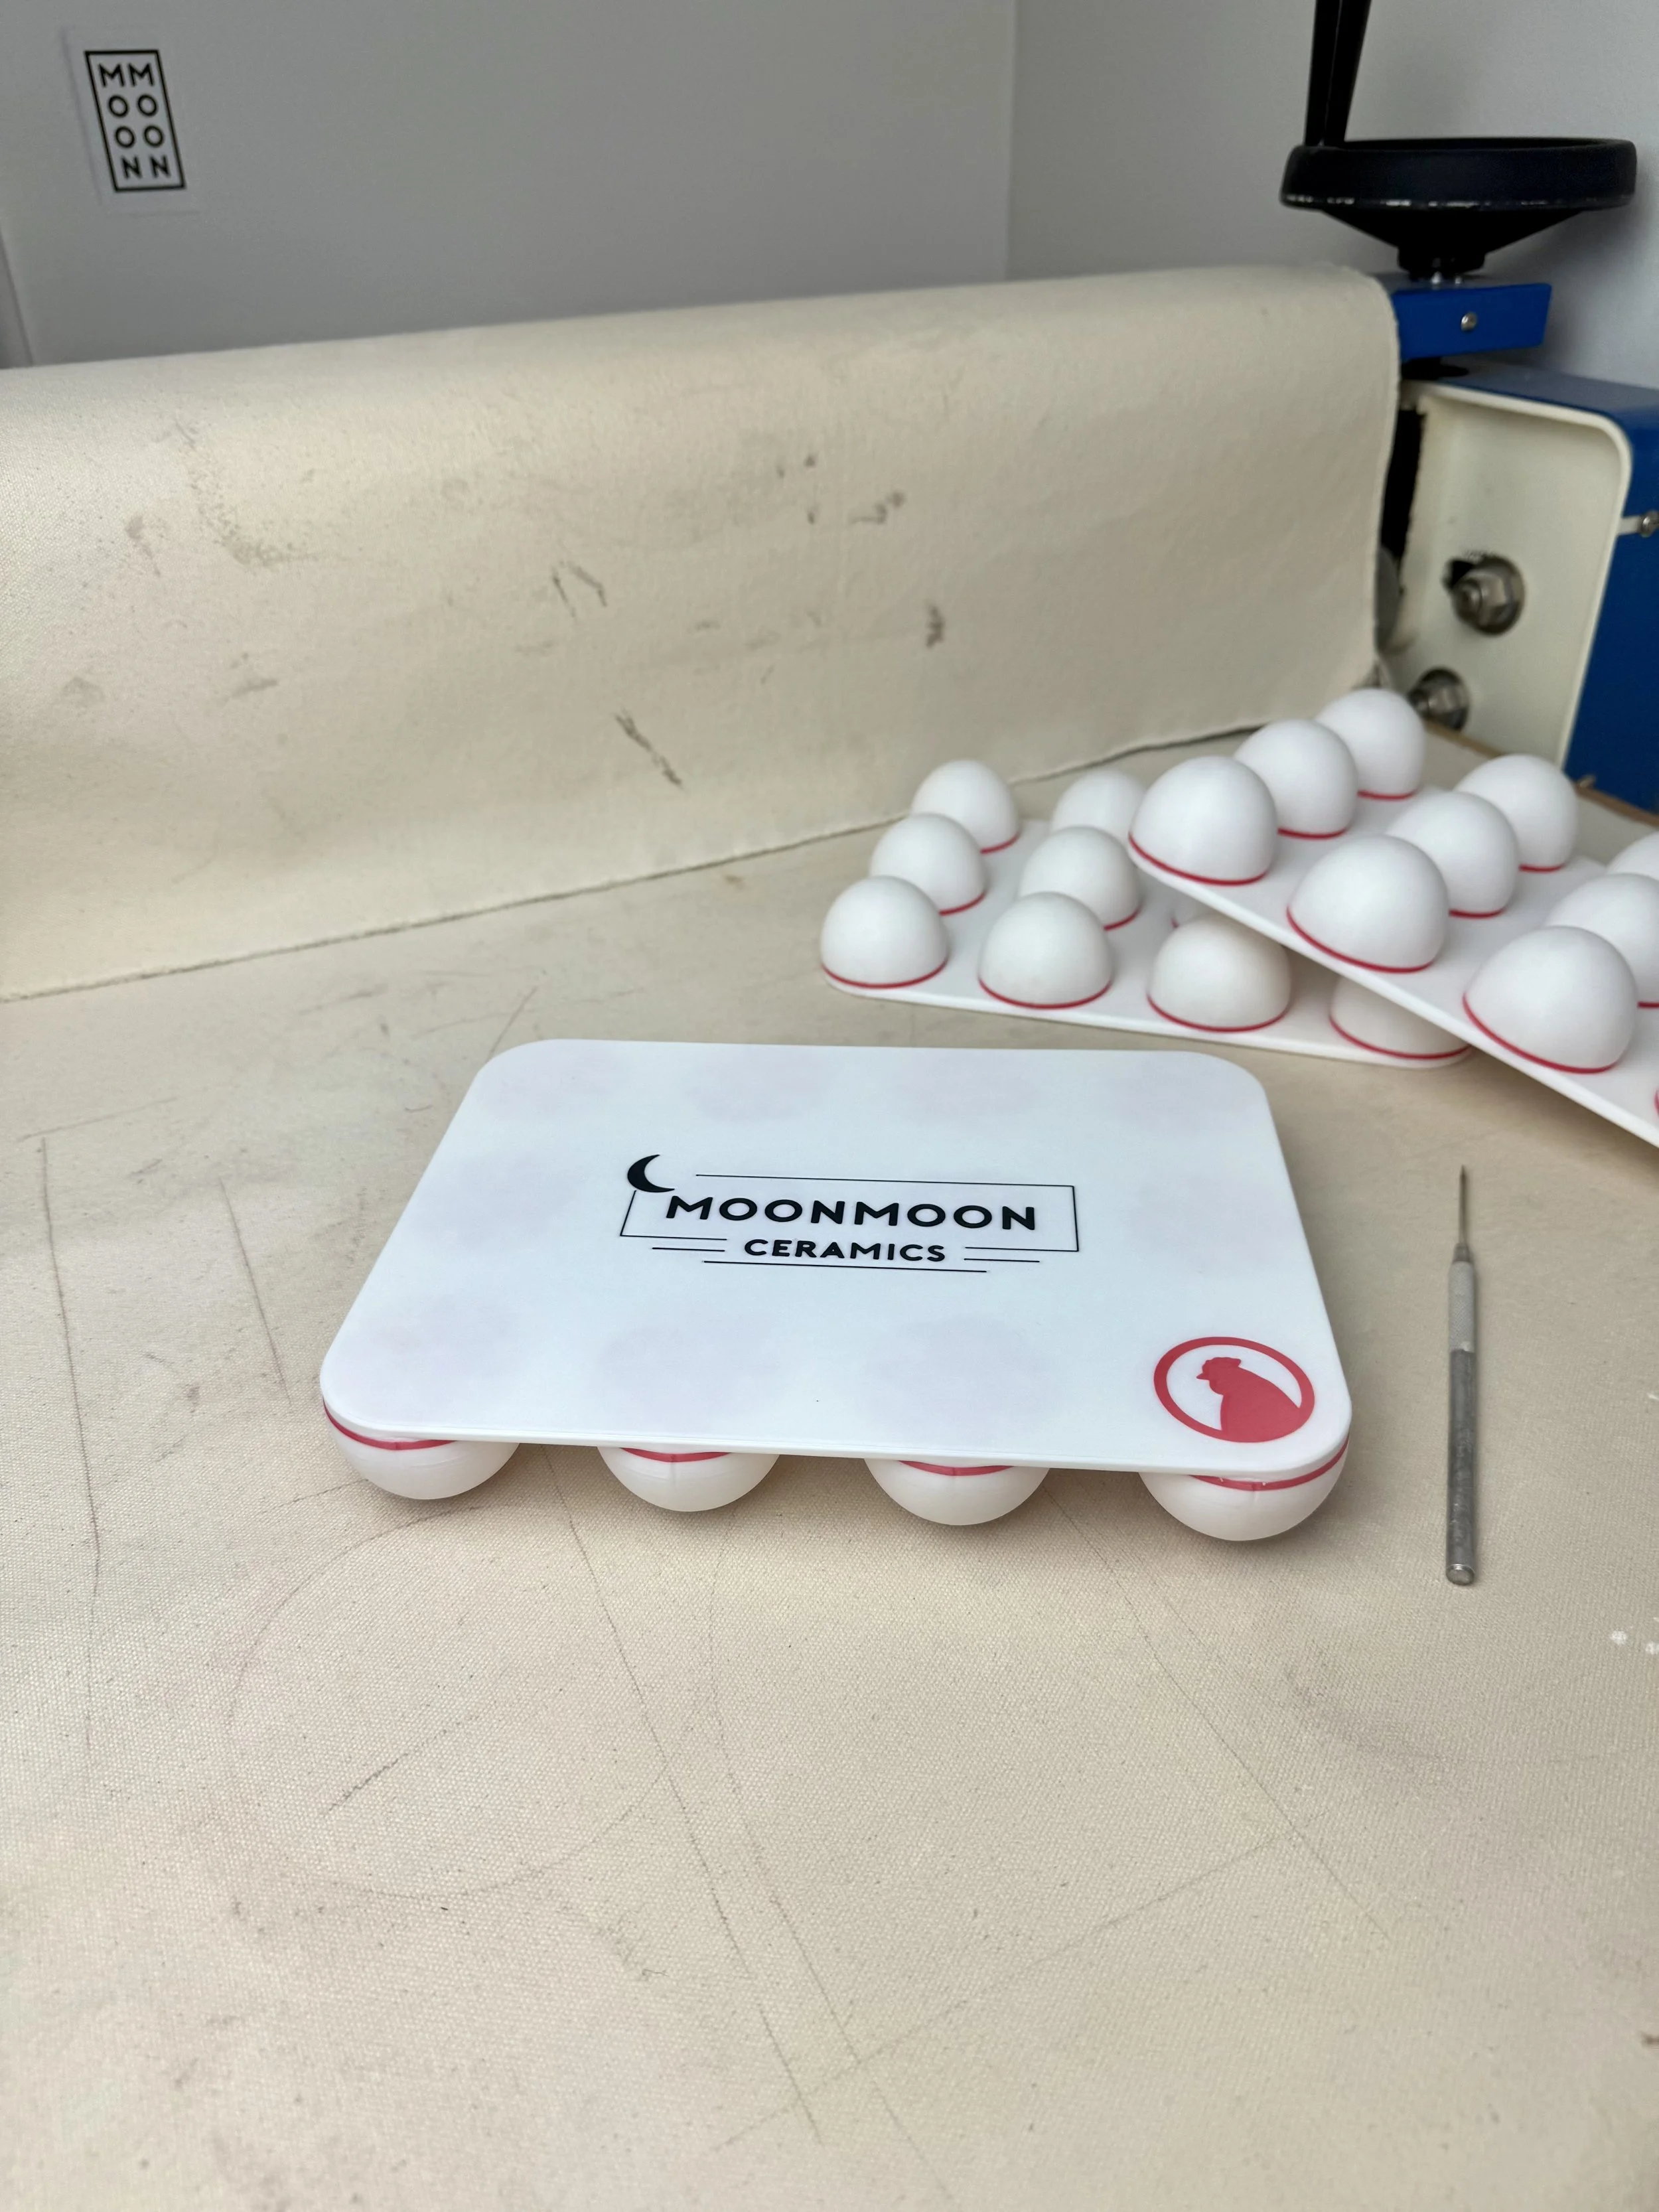
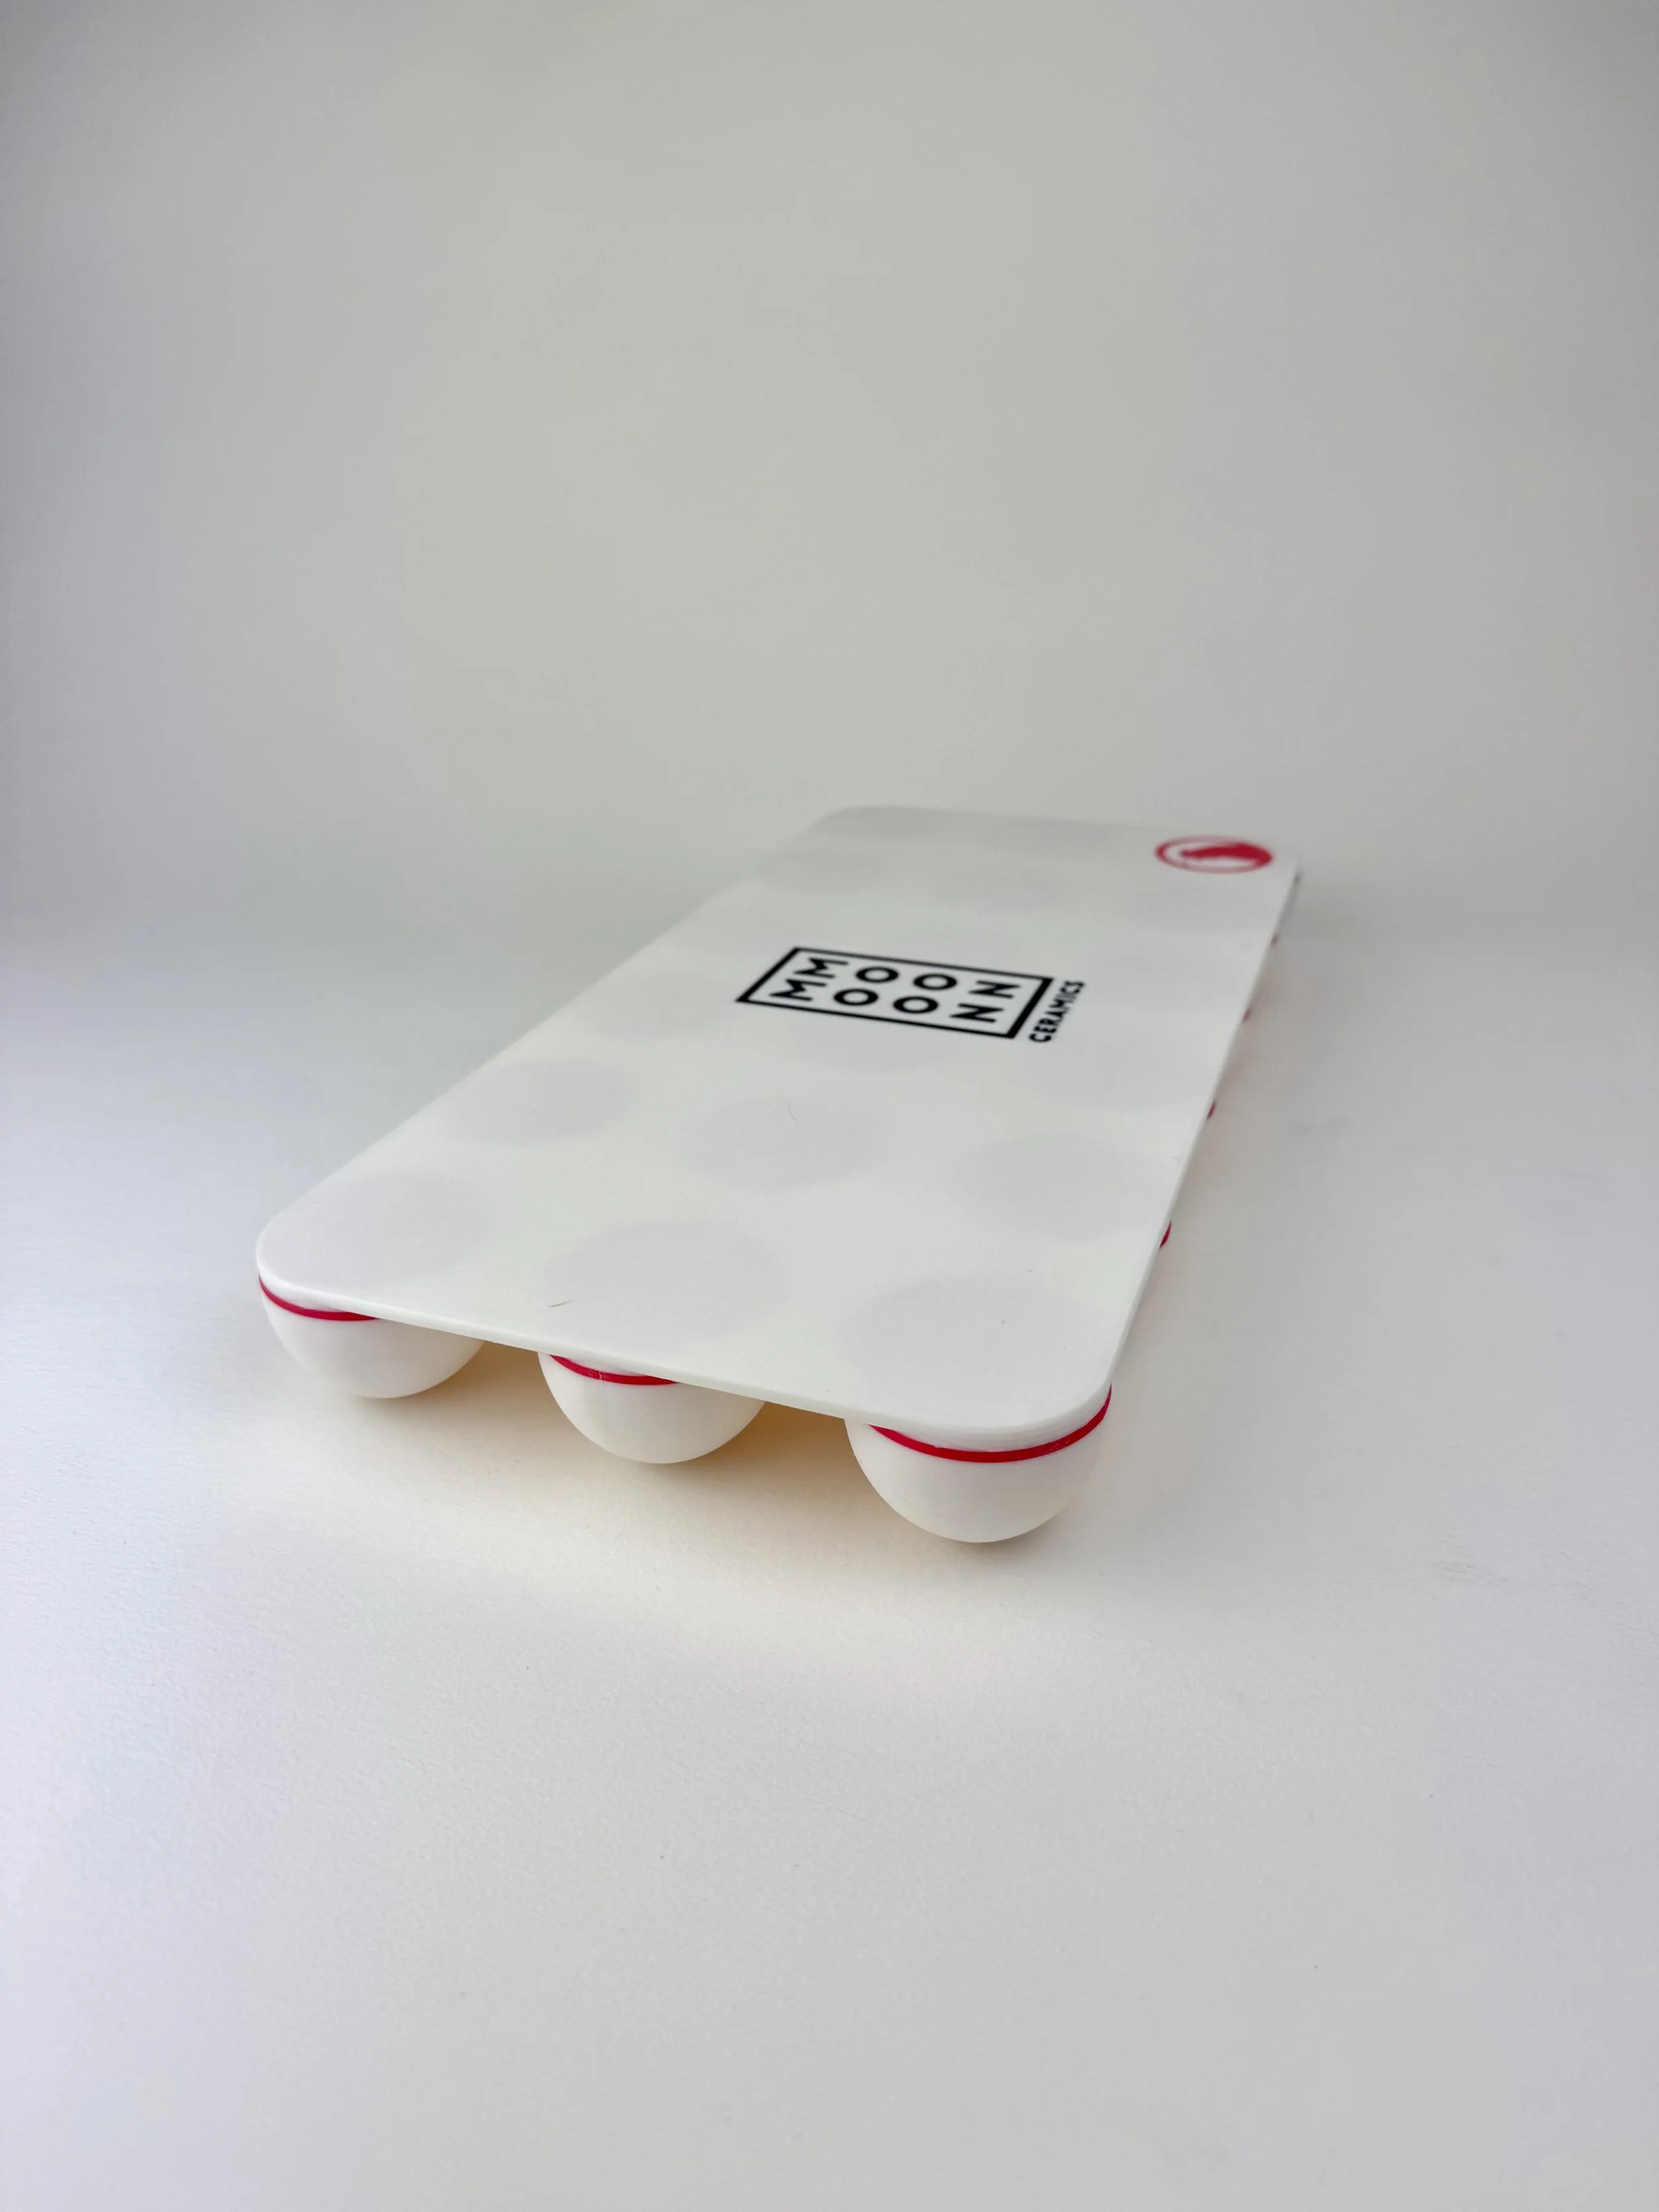
Each egg drape form has a smooth matte surface and is made from strong pla+ plastic. It is durable, easy to clean and light weight.
Sizes
Chicken 6 Count - 7" x 4.5"
Duck 6 Count - 7" x 4.5"
Quail 15 Count - 7.5" x 4.25"
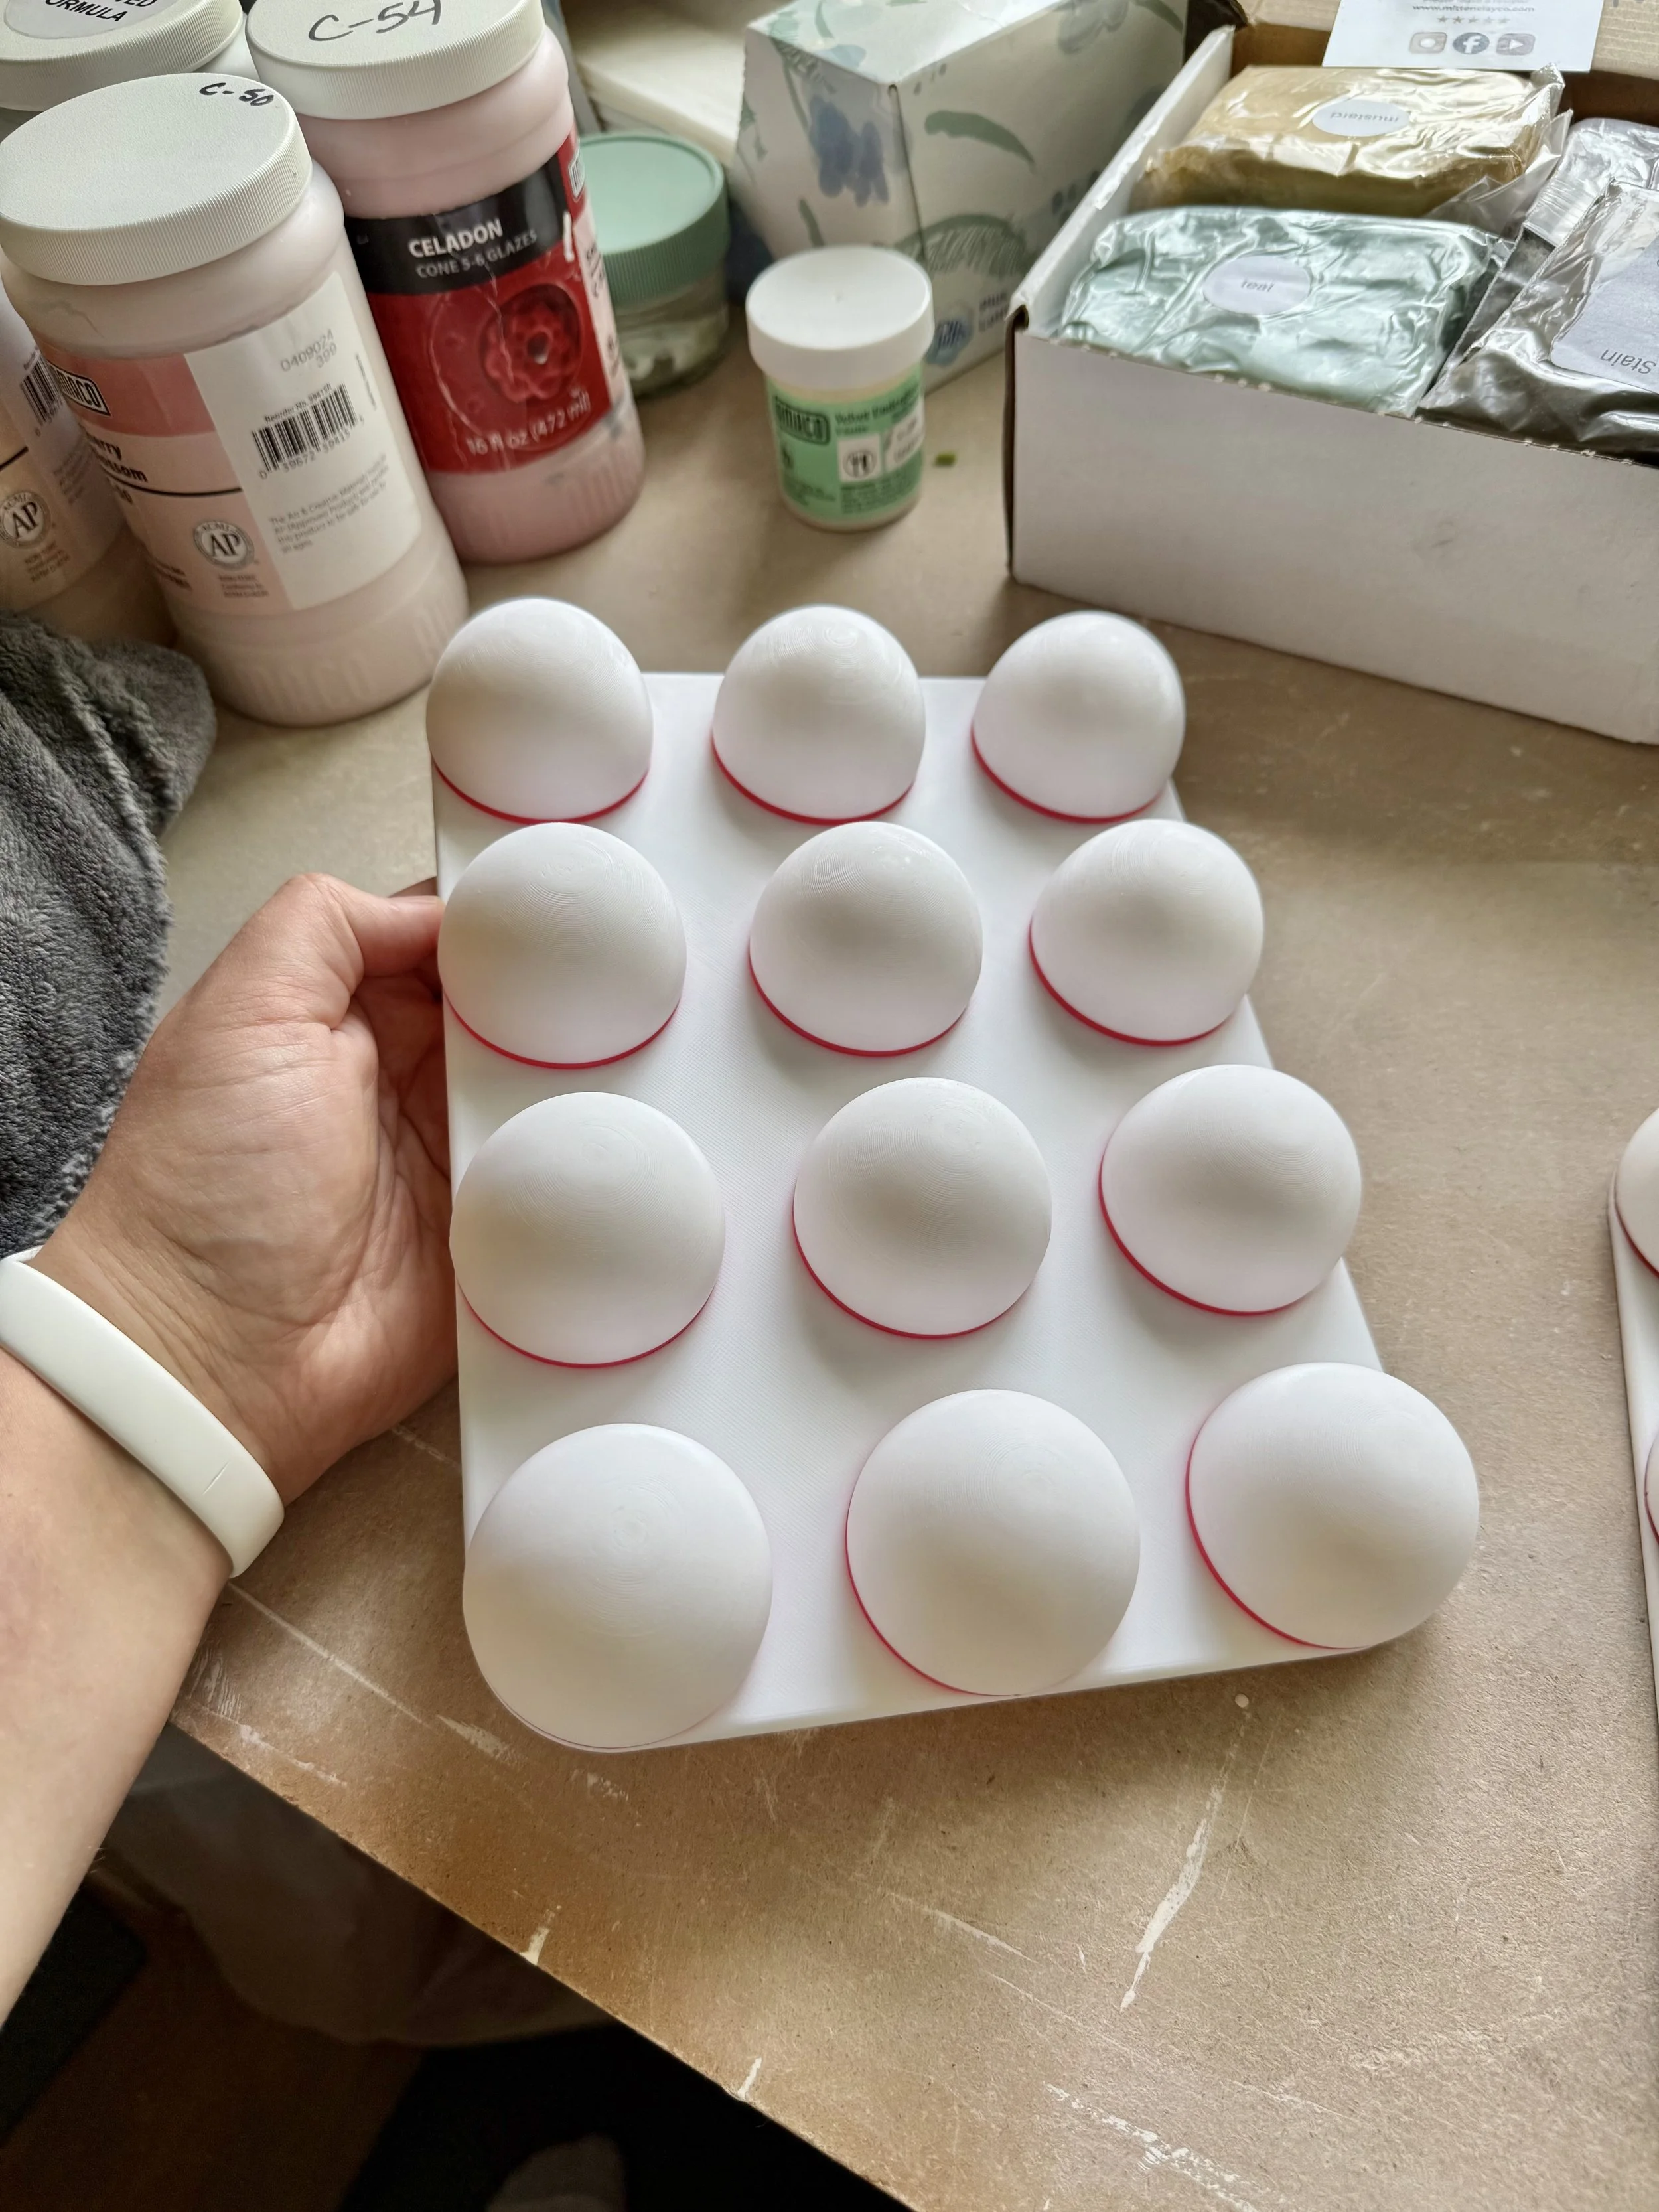
Chicken 12 Count 9" x 7"
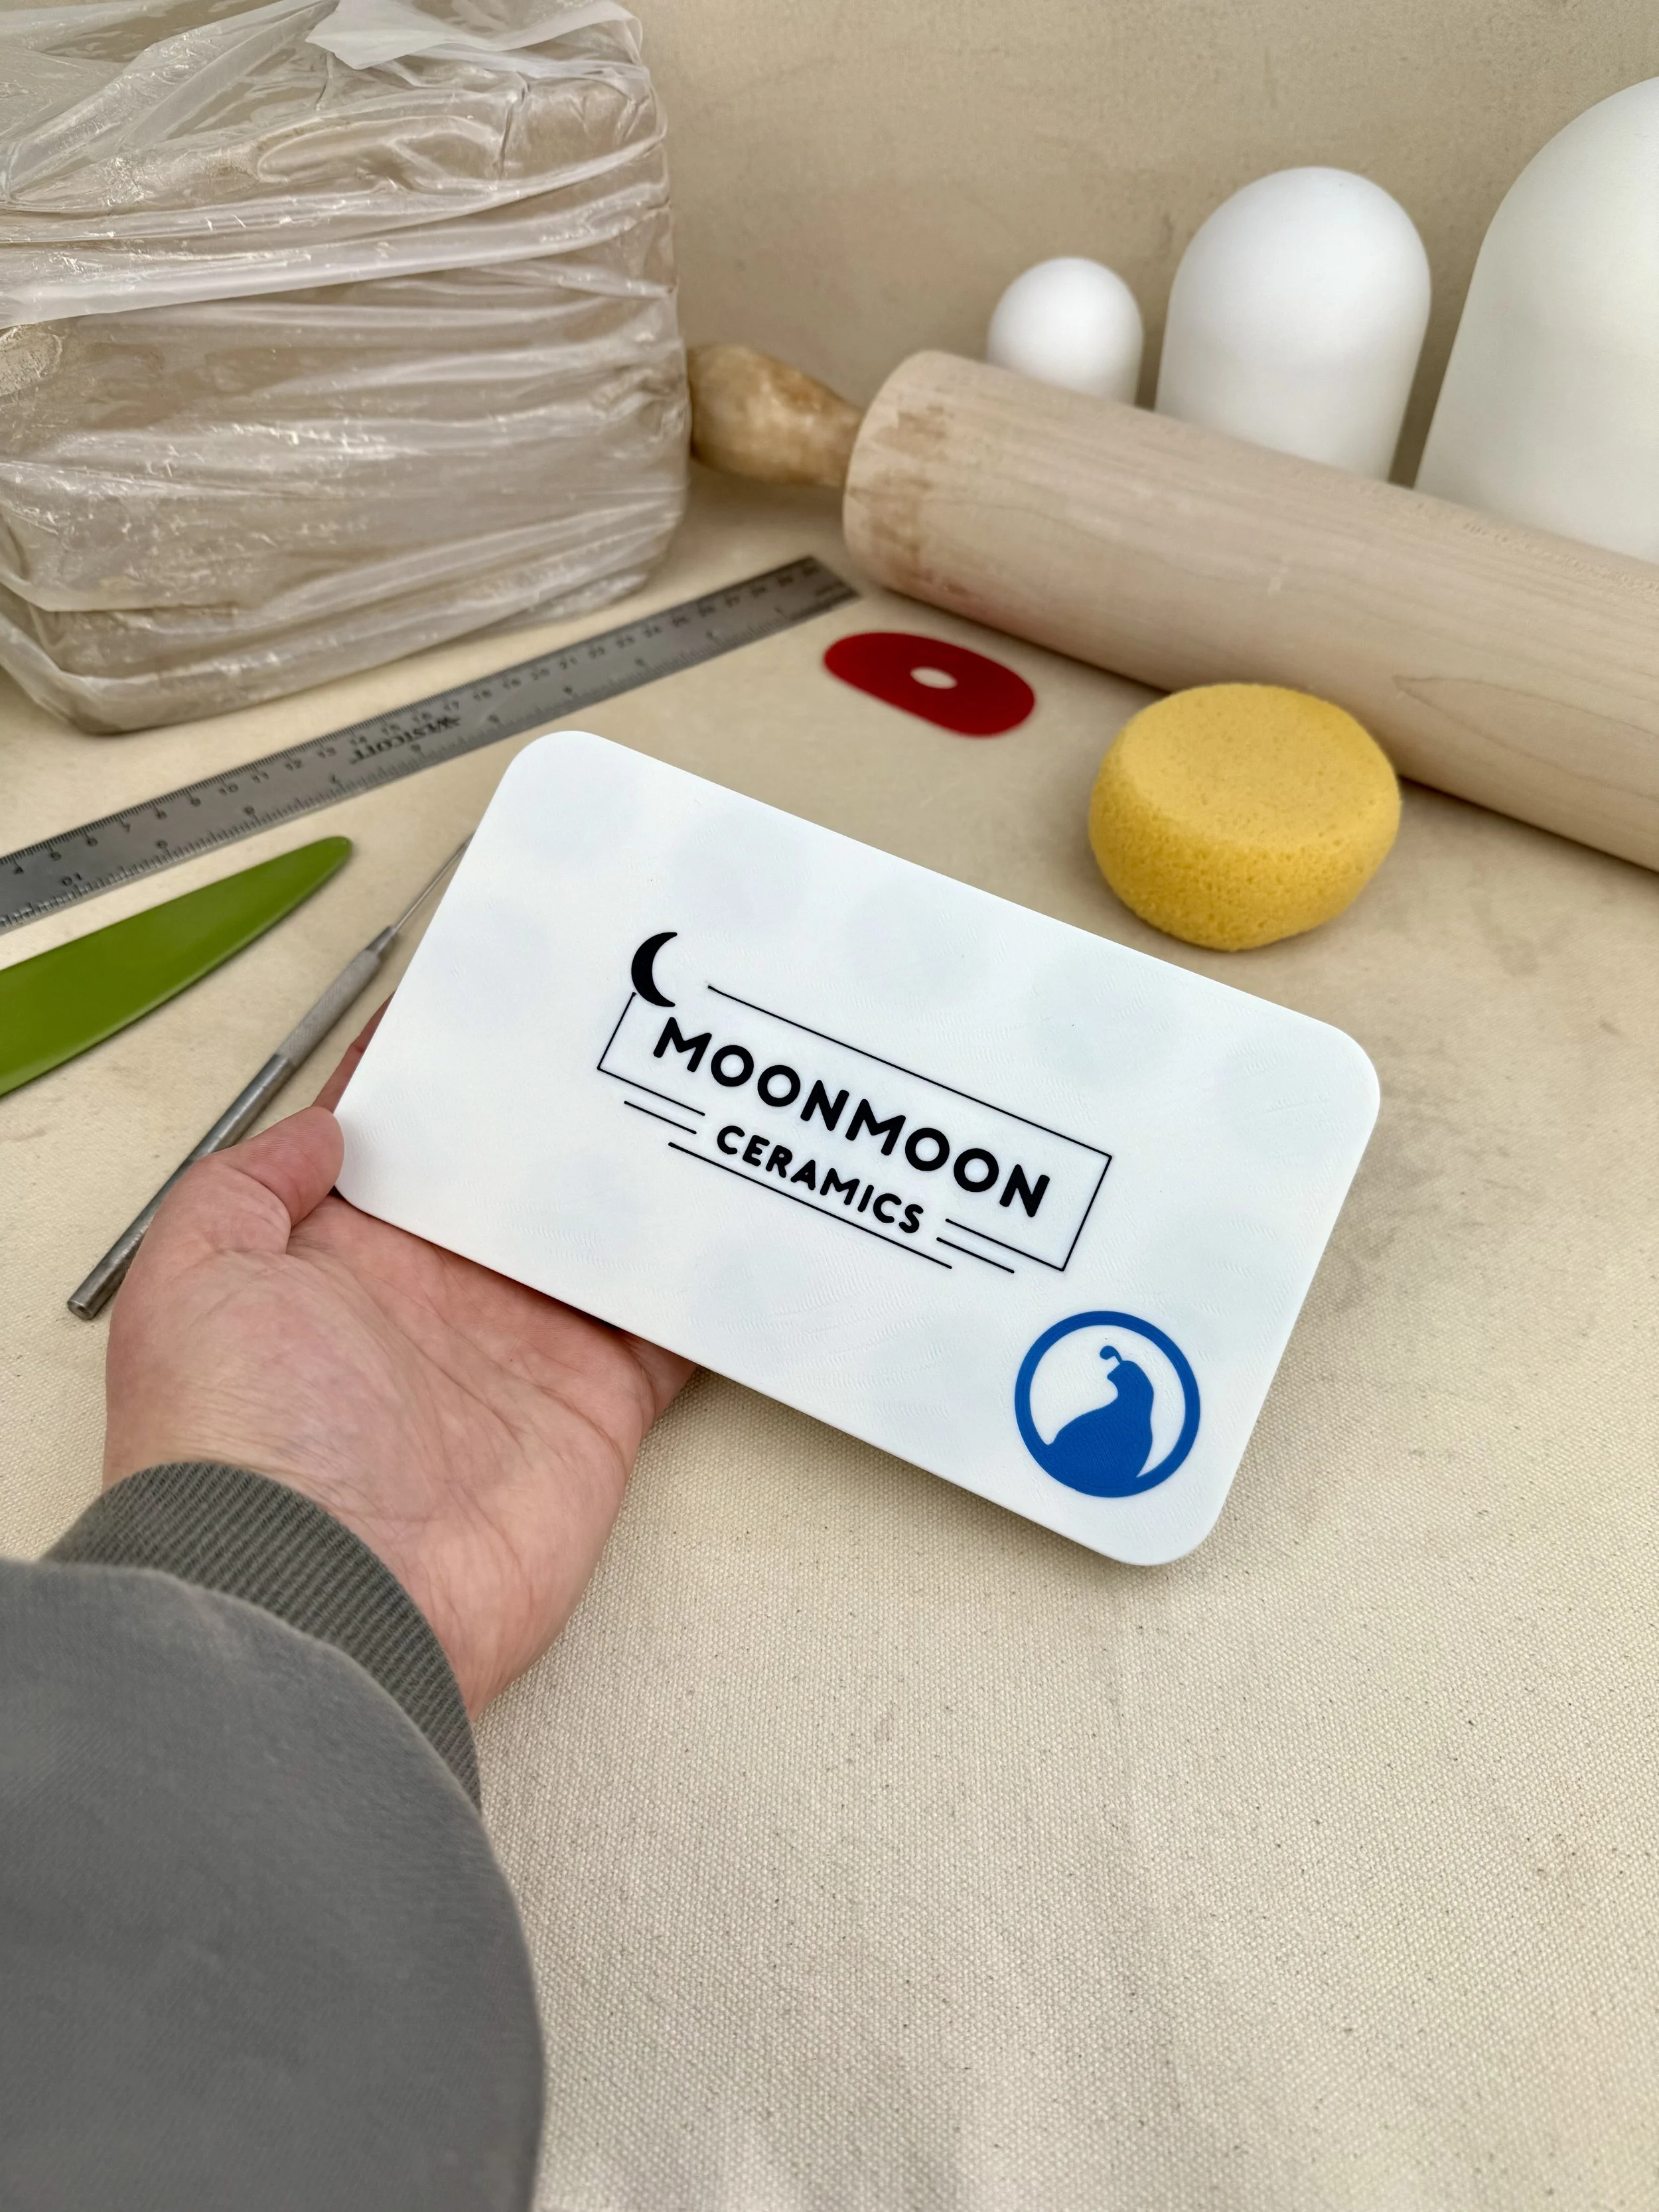
Care Instructions- clean with wet sponge or wash directly in the sink. Dry before using.
Warning - heat sensitive. Do not leave in a hot car or pottery shed. It can melt under high temperatures. Not recommended to use with a heat gun.
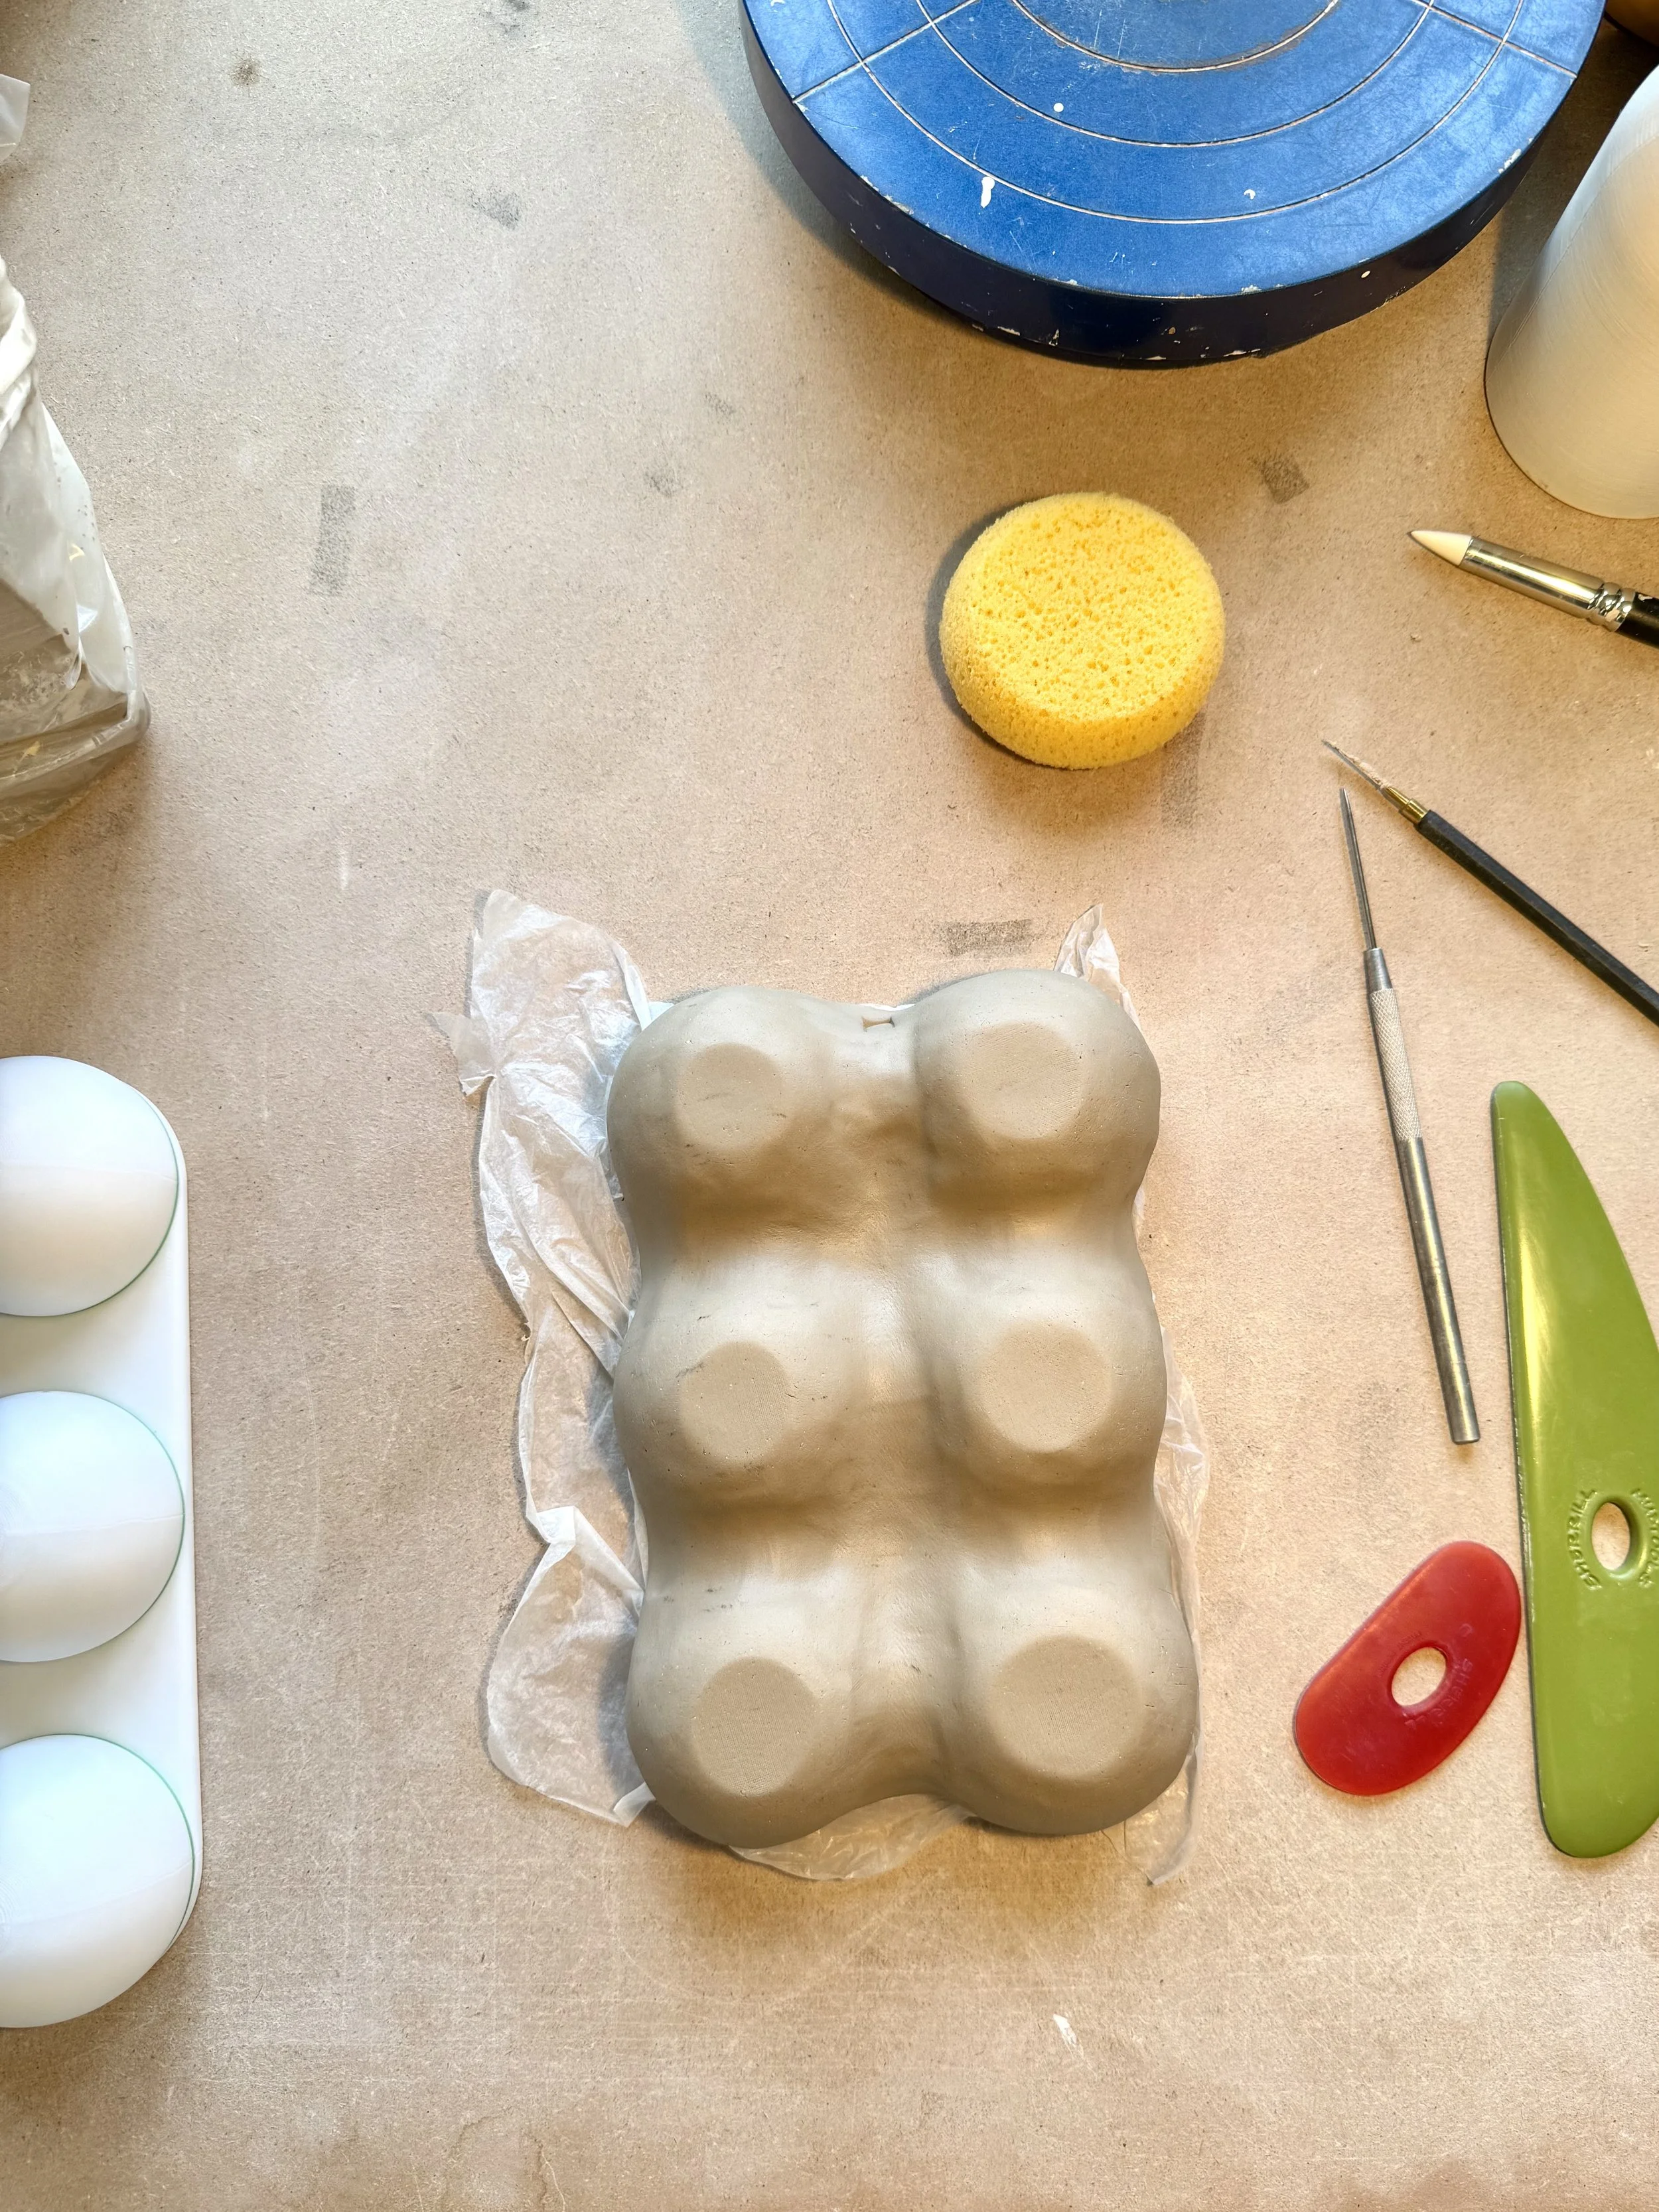
Clay Tips - For immediate release of your clay from then mold use a barrier. Such as thin cotton fabric, plastic or corn starch. If using corn starch as a release agent make sure to wash your bisque ware before glazing.
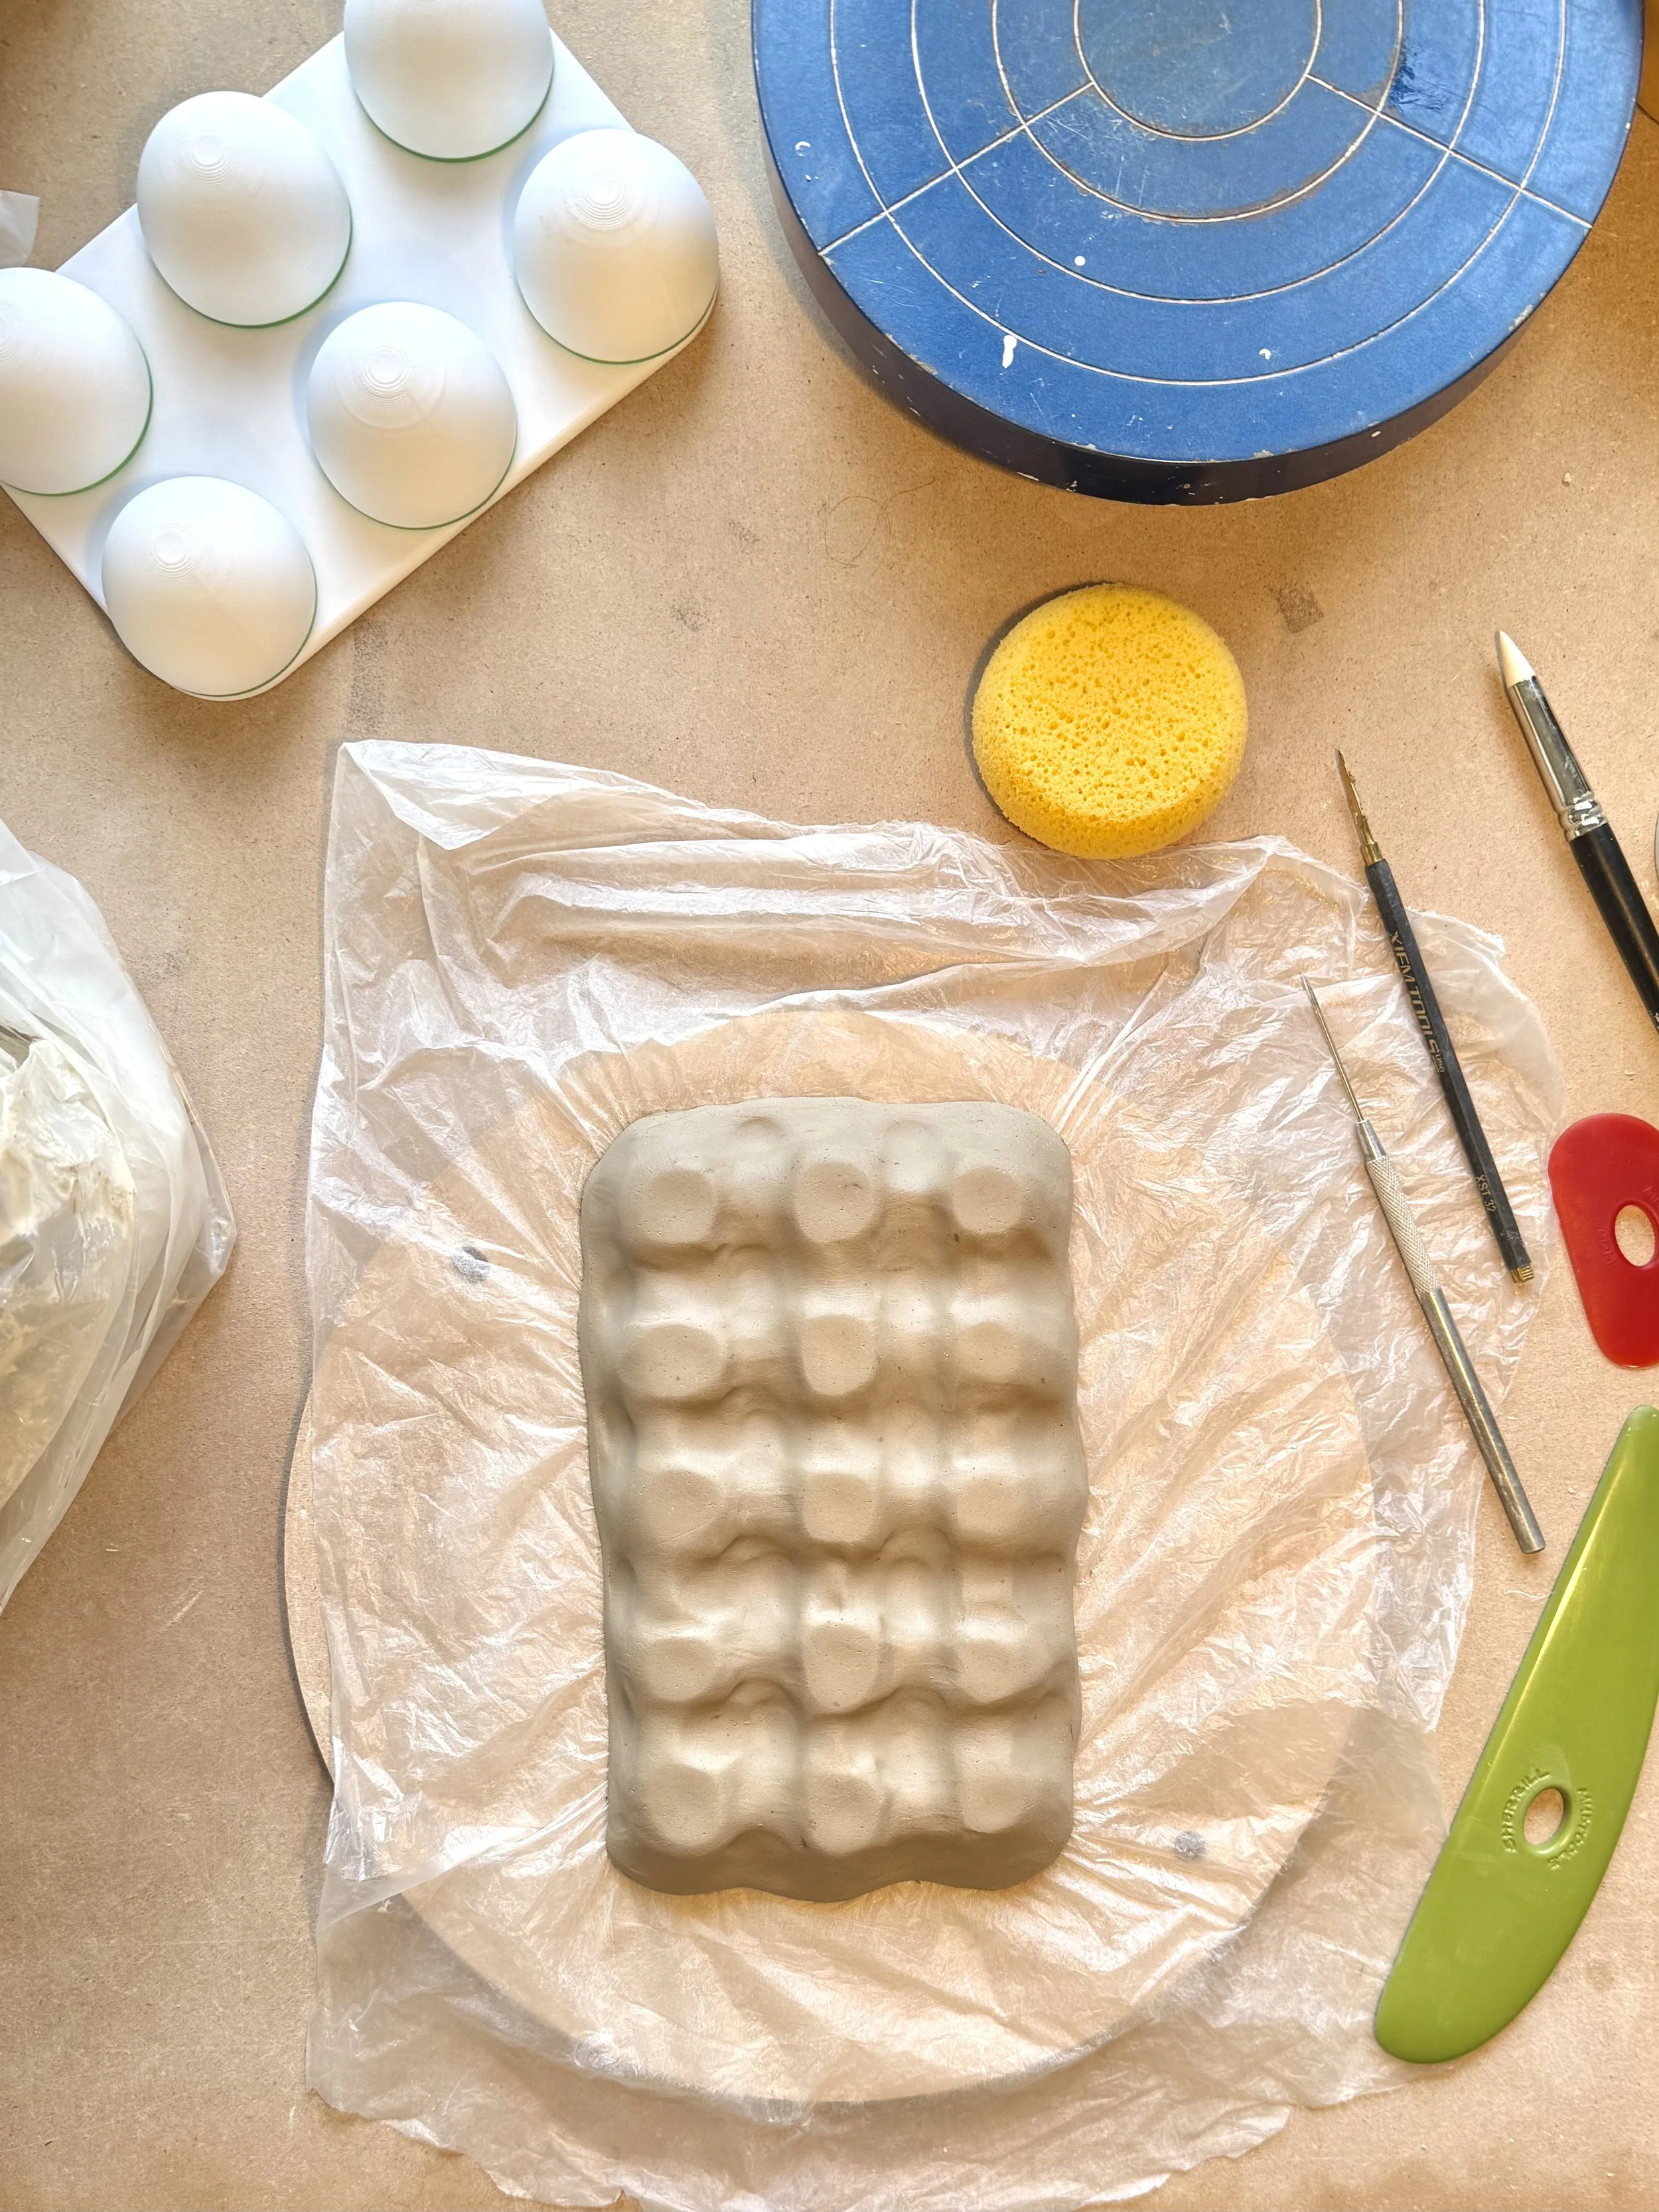
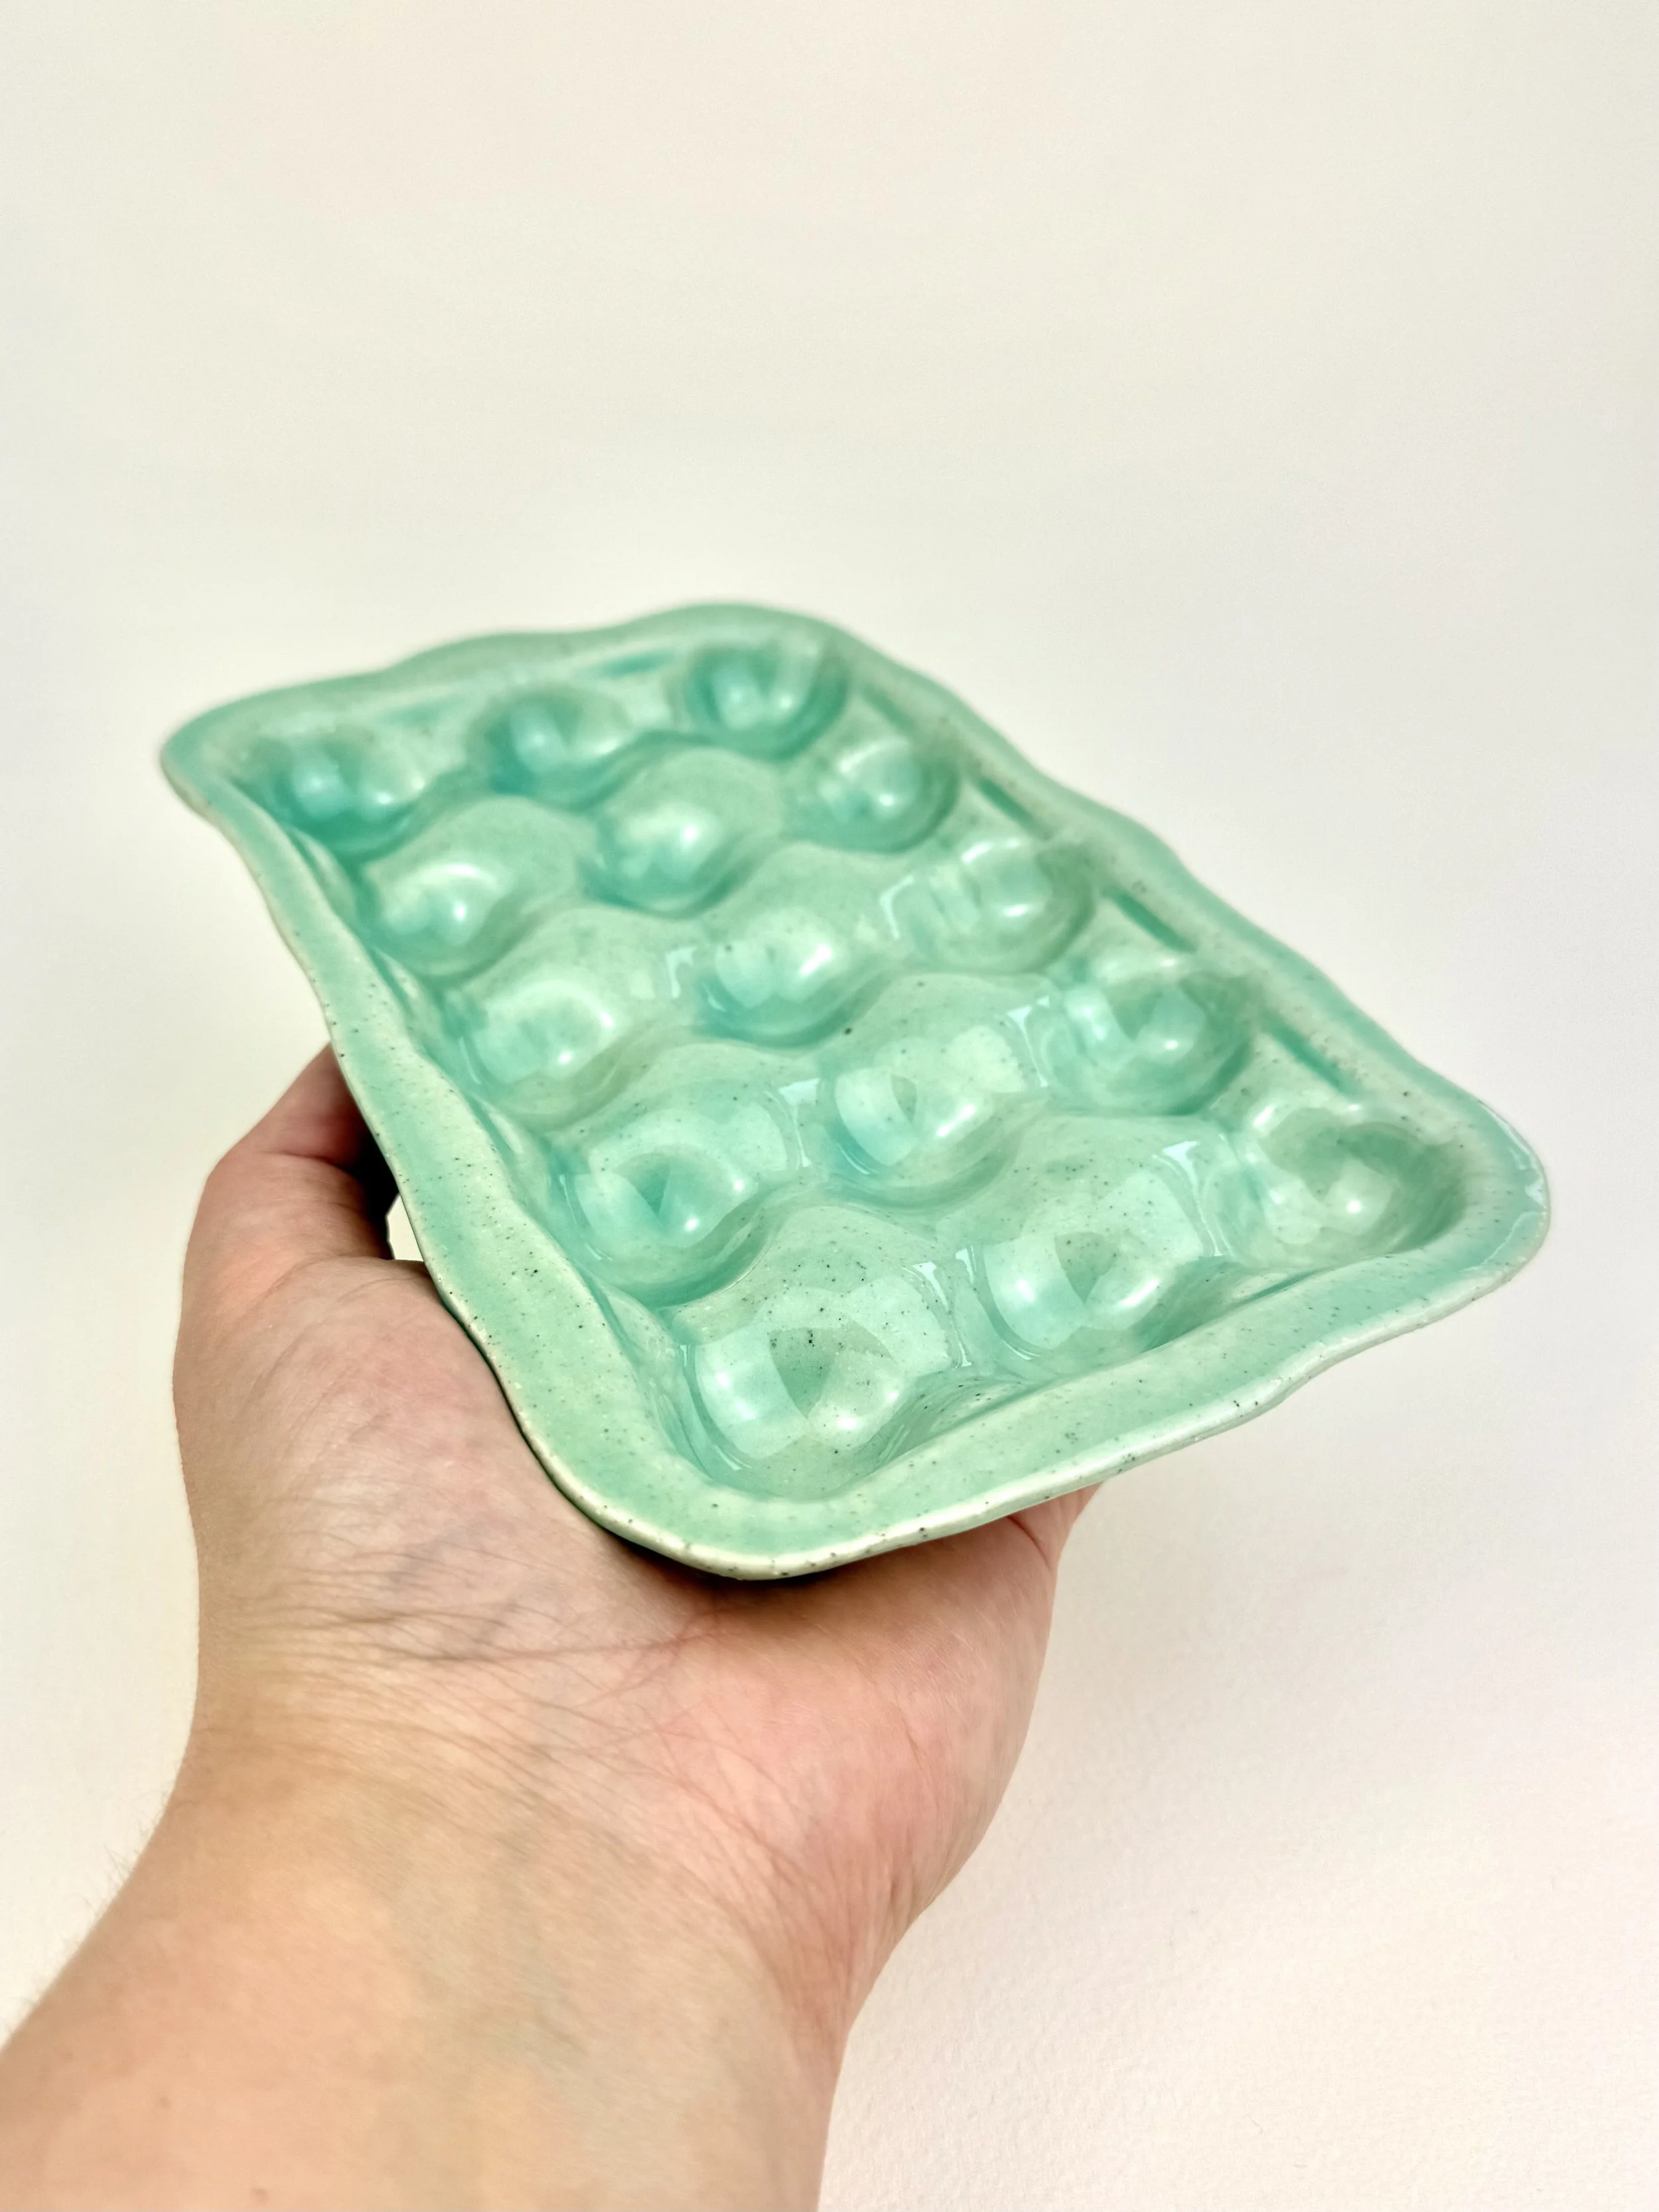
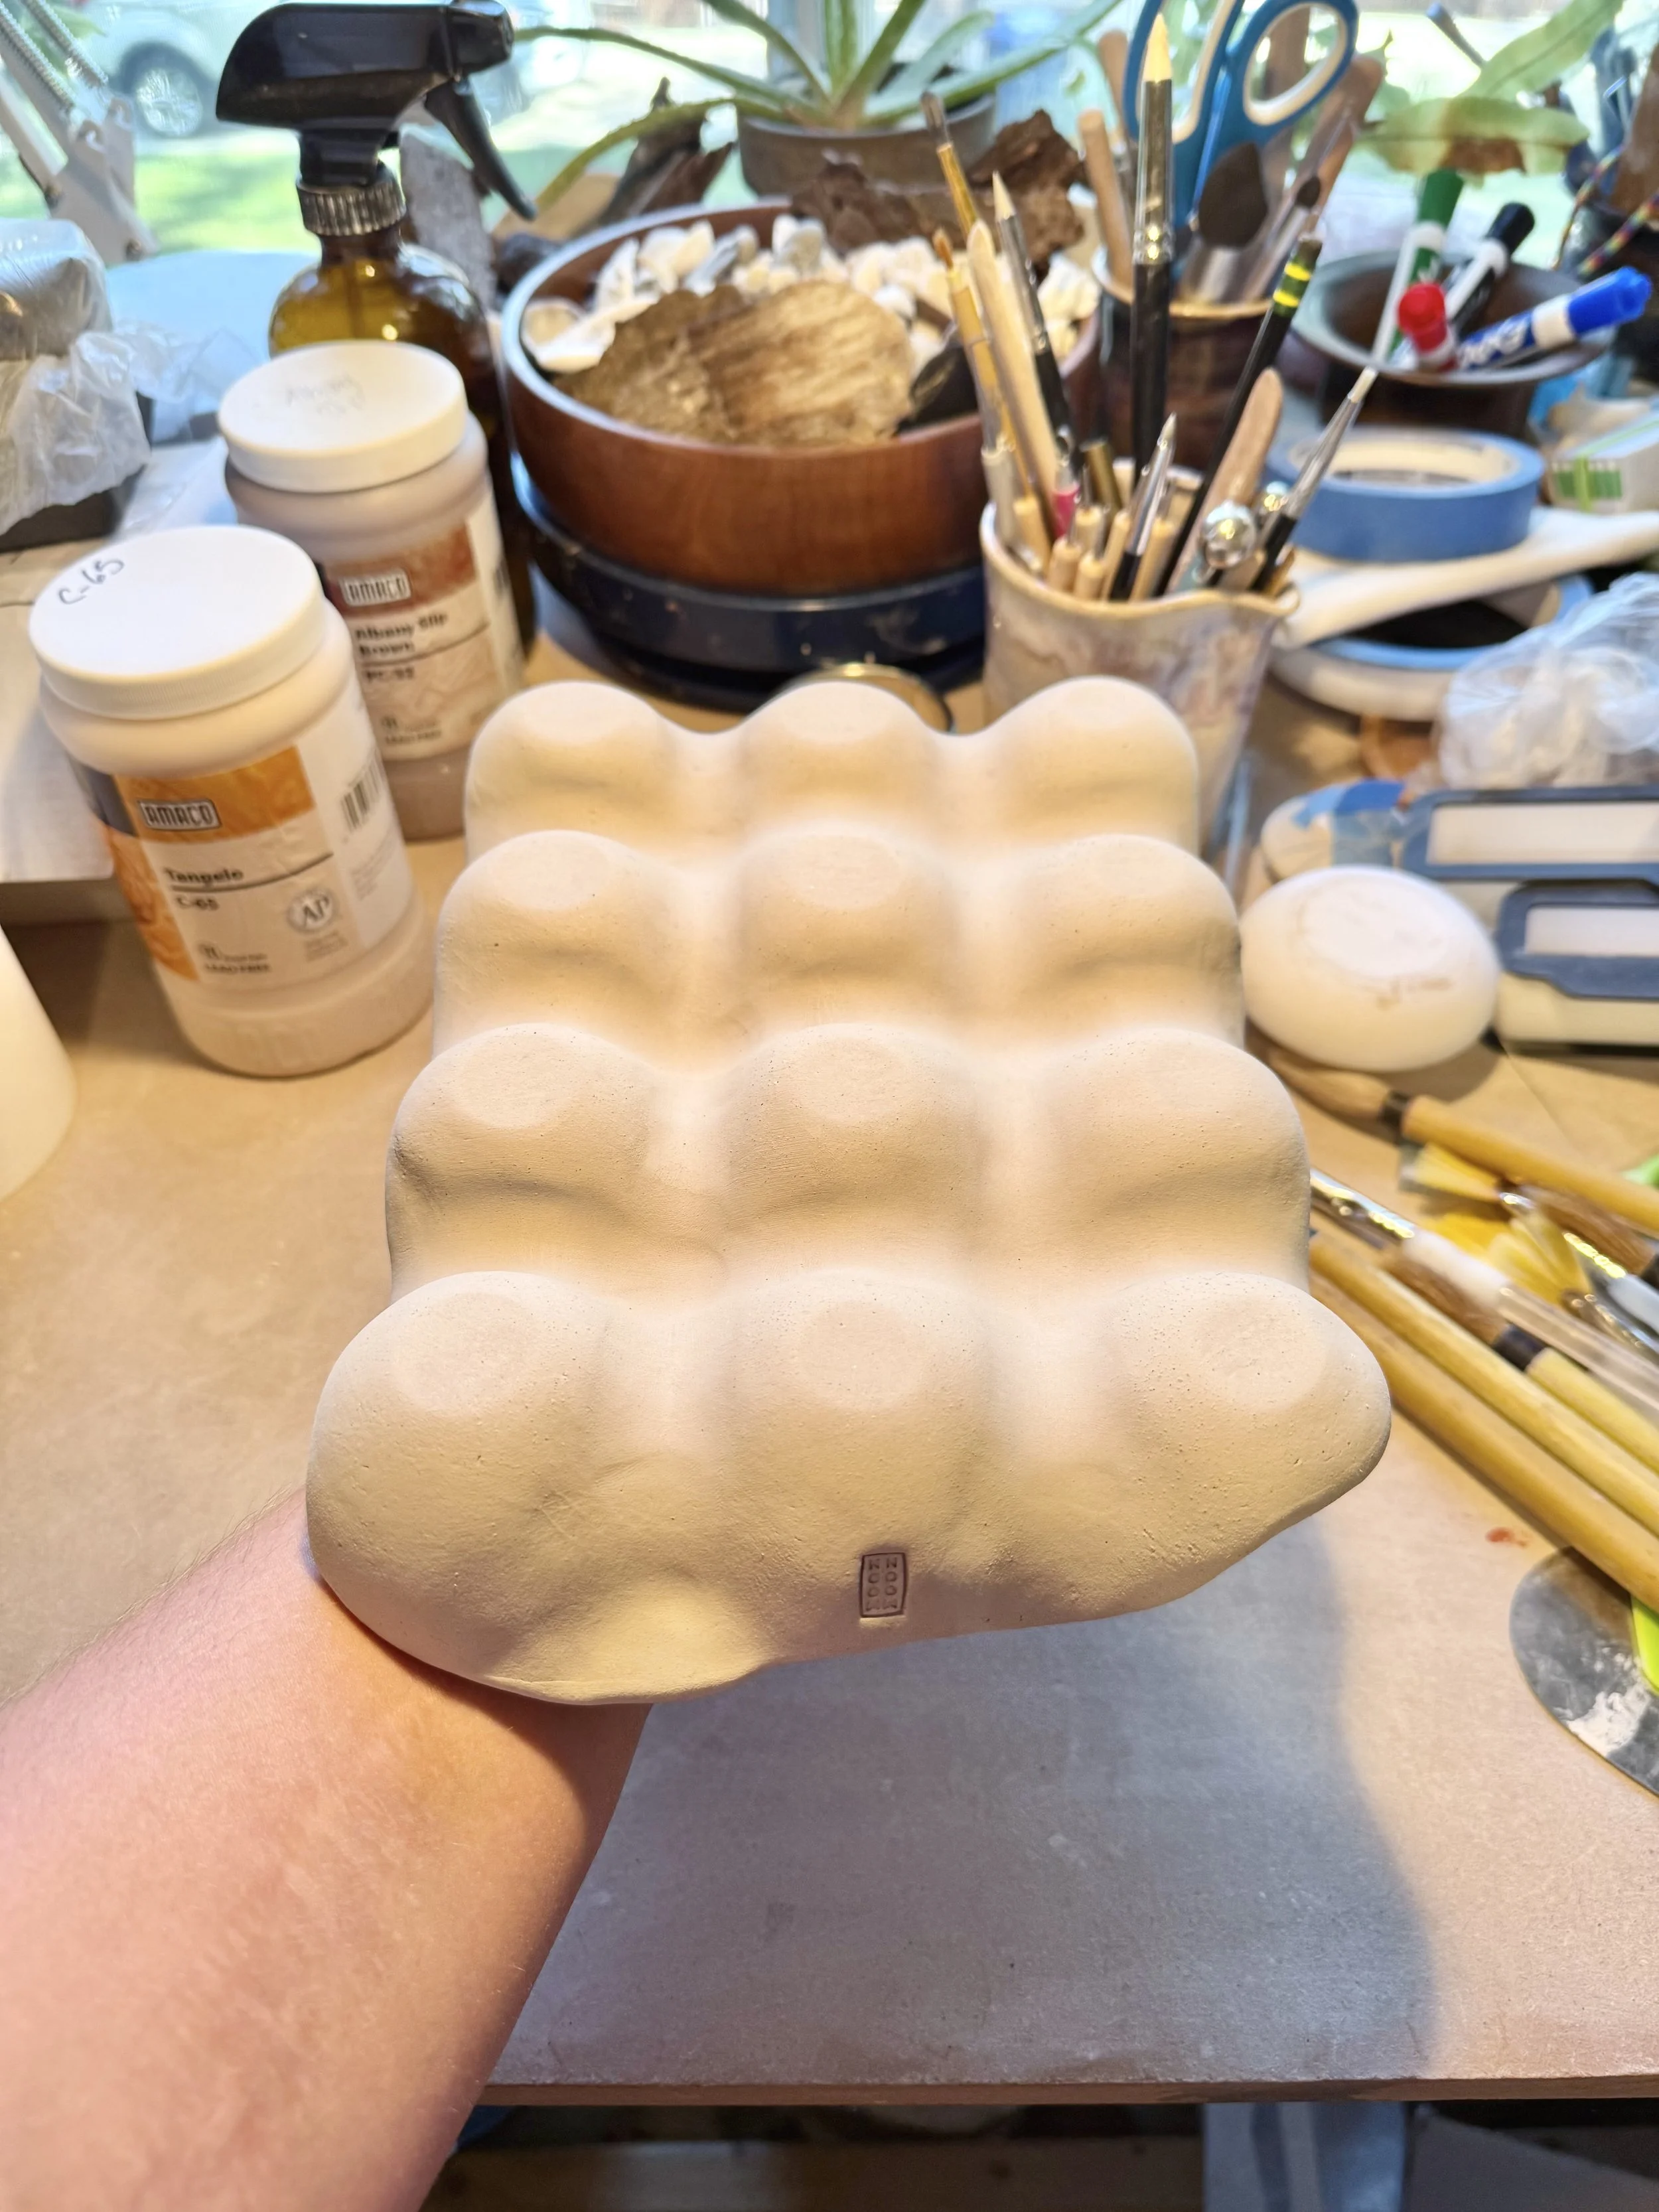
Directions - I have been using and perfecting my pottery forms for years. This is my method I have found to be successful. I like to roll out my clay, cut out the slab to the size I want, then I drape thin plastic on my ribbed smoothed out clay sealing down. Then I drape my cut slab with the plastic on it (plastic side down) onto my egg form starting from the center then working the clay into the form using a damp sponge. Place wareboard on bottom of clay egg try to flatten feet. Allow clay to stiffen up before flipping then remove drape form from clay. The peel off plastic, smooth with sponge or red rib if desired then dry slowly under plastic. Do not let your clay dry completely on the form, it will shrink and crack your piece.
Clay Tips - For immediate release of your clay from then mold use a barrier. Such as thin cotton fabric, plastic or corn starch. If using corn starch as a release agent make sure to wash your bisque ware before glazing.
Directions - I have been using and perfecting my pottery forms for years. This is my method I have found to be successful. I like to roll out my clay, cut out the slab to the size I want, then I drape thin plastic on my ribbed smoothed out clay sealing down. Then I drape my cut slab with the plastic on it (plastic side down) onto my egg form starting from the center then working the clay into the form using a damp sponge. Place wareboard on bottom of clay egg try to flatten feet. Allow clay to stiffen up before flipping then remove drape form from clay. The peel off plastic, smooth with sponge or red rib if desired then dry slowly under plastic. Do not let your clay dry completely on the form, it will shrink and crack your piece.
This is a set of 3D printed pottery drape form for making a ceramic egg tray. Set includes these forms - small chicken 6, duck 6, 15 quail and chicken 12 egg forms. All eggs are enlarged to accommodate average 12% clay shrinkage. After your egg tray has been fired it will fit a standard egg.
Each egg drape form has a smooth matte surface and is made from strong pla+ plastic. It is durable, easy to clean and light weight.
Sizes
Chicken 6 Count - 7" x 4.5"
Duck 6 Count - 7" x 4.5"
Quail 15 Count - 7.5" x 4.25"
Chicken 12 Count 9" x 7"
Care Instructions- clean with wet sponge or wash directly in the sink. Dry before using.
Warning - heat sensitive. Do not leave in a hot car or pottery shed. It can melt under high temperatures. Not recommended to use with a heat gun.
Clay Tips - For immediate release of your clay from then mold use a barrier. Such as thin cotton fabric, plastic or corn starch. If using corn starch as a release agent make sure to wash your bisque ware before glazing.
Directions - I have been using and perfecting my pottery forms for years. This is my method I have found to be successful. I like to roll out my clay, cut out the slab to the size I want, then I drape thin plastic on my ribbed smoothed out clay sealing down. Then I drape my cut slab with the plastic on it (plastic side down) onto my egg form starting from the center then working the clay into the form using a damp sponge. Place wareboard on bottom of clay egg try to flatten feet. Allow clay to stiffen up before flipping then remove drape form from clay. The peel off plastic, smooth with sponge or red rib if desired then dry slowly under plastic. Do not let your clay dry completely on the form, it will shrink and crack your piece.